Photoshop for Beginners: Essential Skills to Master Basic Photo Editing
Adobe Photoshop is a venerable tool that serves as the backbone of image manipulation and graphic design for professionals and hobbyists alike. As we embark on the journey of mastering this software, it's crucial to have a solid foundation in the basic tools and techniques that make Photoshop such a powerful platform. For beginners, understanding these essentials is the first step towards proficiency in editing photos and creating striking visual content.
Starting with Photoshop may seem daunting at first; however, familiarity with its workspace and core functionalities will quickly turn initial apprehension into confidence. Learning how to navigate the interface, customize the workspace for your needs, and utilize basic tools like selection, cropping, and layering are pivotal skills. Grasping these aspects allows us to manipulate images, enhance photos, and even venture into more complex design elements with greater assurance.
Key Takeaways
- Photoshop's interface and tools provide a broad canvas for editing and creating imagery.
- Mastering layers and masks is fundamental for non-destructive editing and complex compositions.
- Understanding color adjustment and retouching techniques is essential for refining images.
Getting Started with Photoshop
Before we delve into the exciting world of Photoshop, it's essential to familiarize ourselves with its environment. We'll begin by getting to grips with the interface, then create a new document to practice our skills, and finally learn how to effectively navigate the workspace.
Understanding the Photoshop Interface
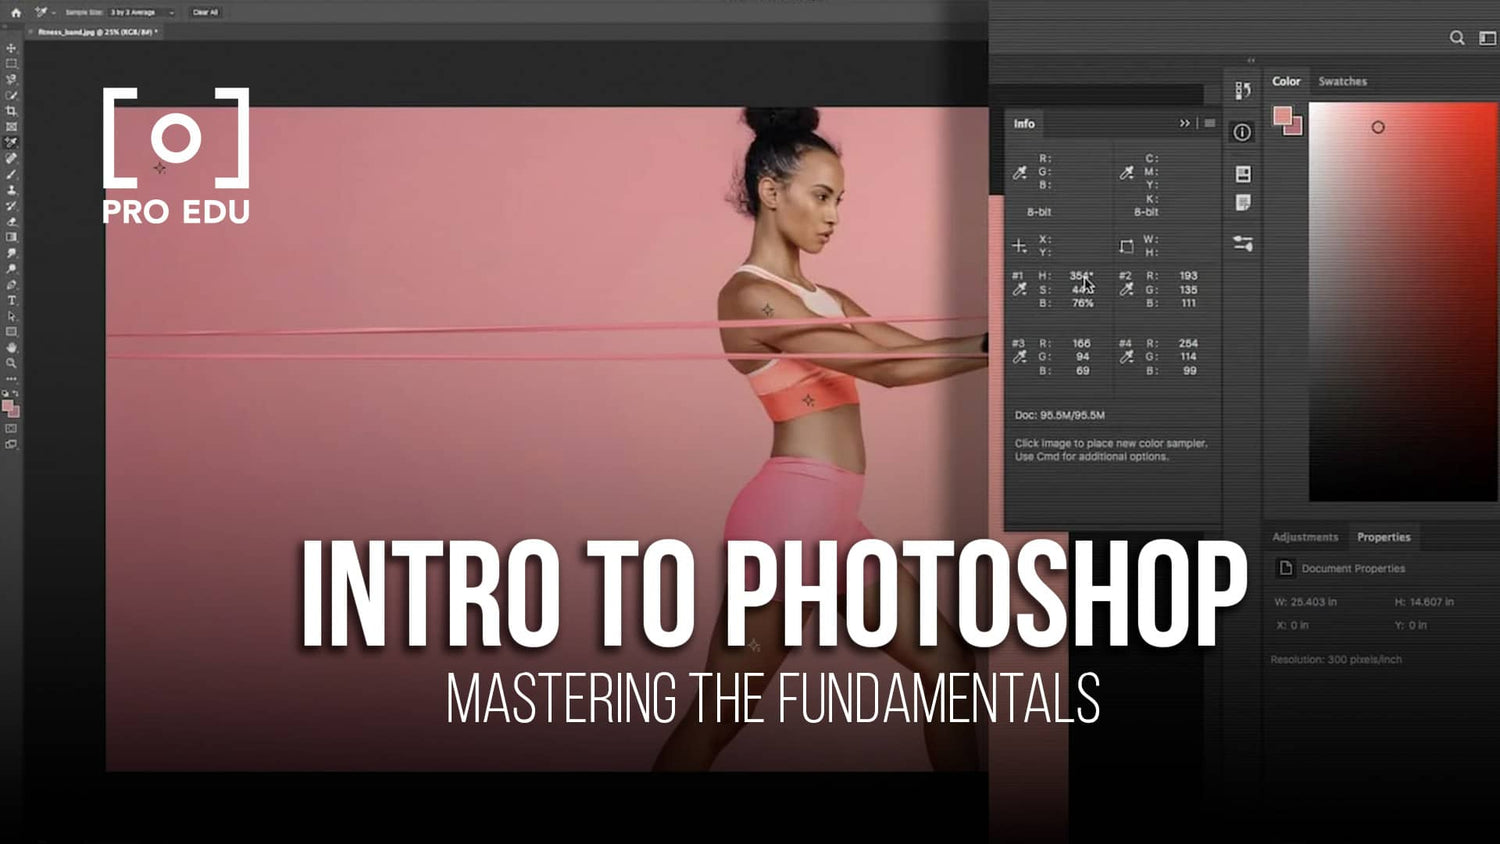
When we first open Photoshop, we're greeted by a sophisticated and customizable interface. At the heart of this interface is the Menu Bar, located at the top, which contains a variety of menus such as File, Edit, and Image, each holding an array of functions. Directly beneath, we find the Tool Options Bar, displaying settings for the selected tool. The main area, or canvas, is where our creativity comes to life, and surrounding it are panels like Layers, Adjustments, and History, which are integral to our workflow. It's here that we'll be spending most of our time, so becoming comfortable with these elements is crucial.
| Element | Function |
|---|---|
| Menu Bar | Access to main Photoshop features and commands. |
| Tool Options Bar | Settings for the currently active tool. |
| Canvas | The visual area where we create and edit images. |
| Panels (e.g., Layers) | Control aspects like layers, color adjustments. |
Creating a New Document
To start working, we need to create a new document by going to File > New or using the shortcut Ctrl+N (Cmd+N on Mac). Here, we're presented with several options:
- Name: Give our document a descriptive name.
- Width & Height: Choose the dimensions for our project.
- Resolution: Set the number of pixels per inch (higher for print, lower for web).
- Color Mode: Typically, we'll choose RGB for digital and CMYK for print.
Let’s ensure we select the settings that best match the purpose of our document.
Navigating the Workspace
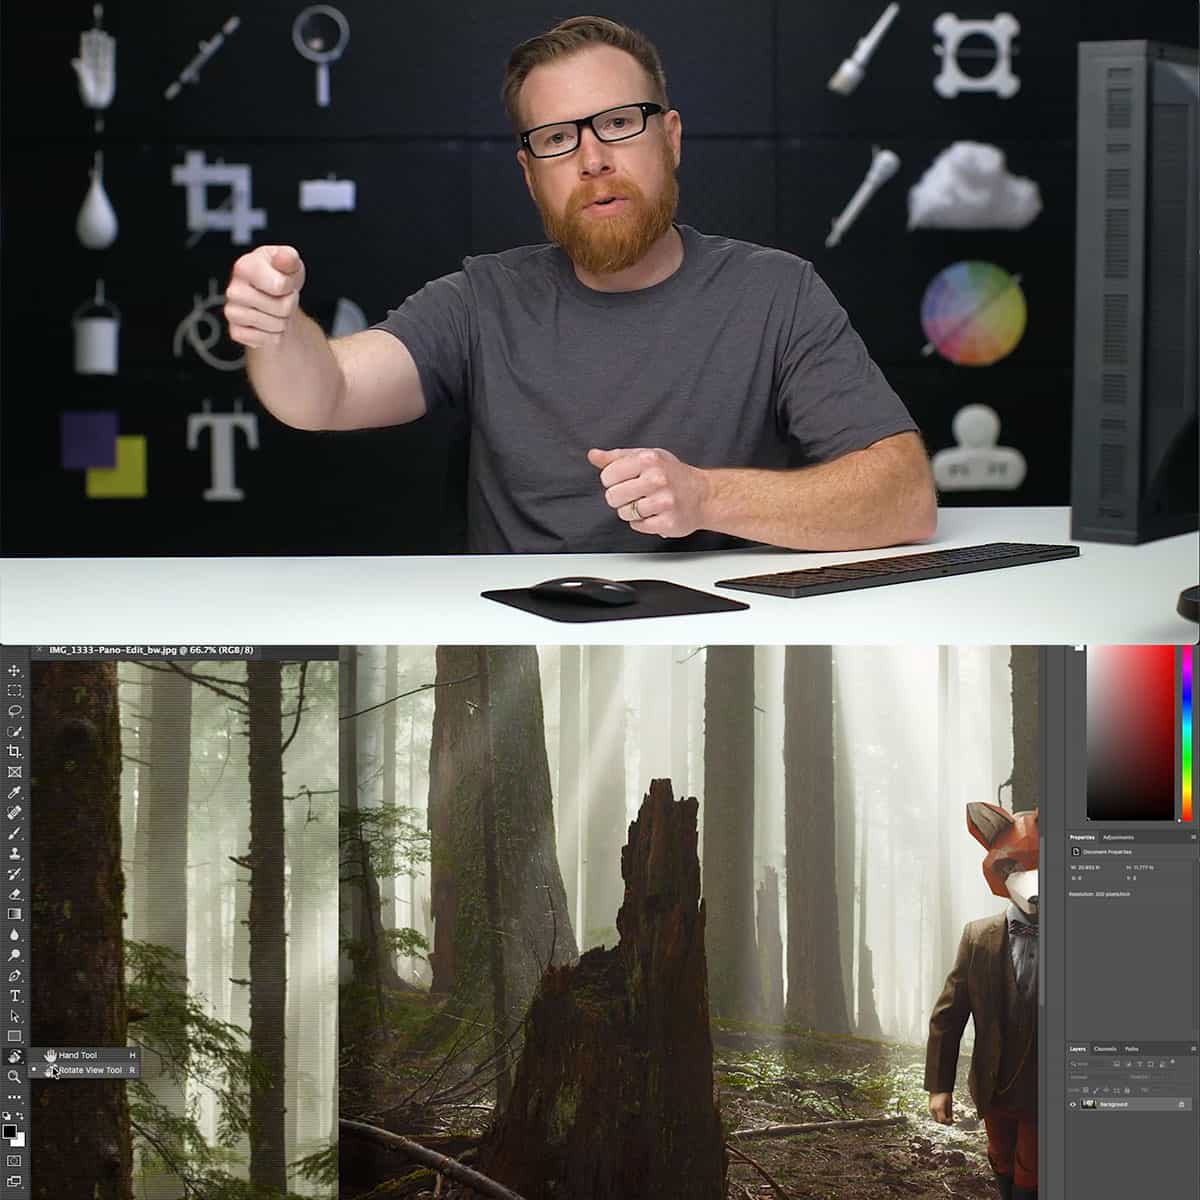
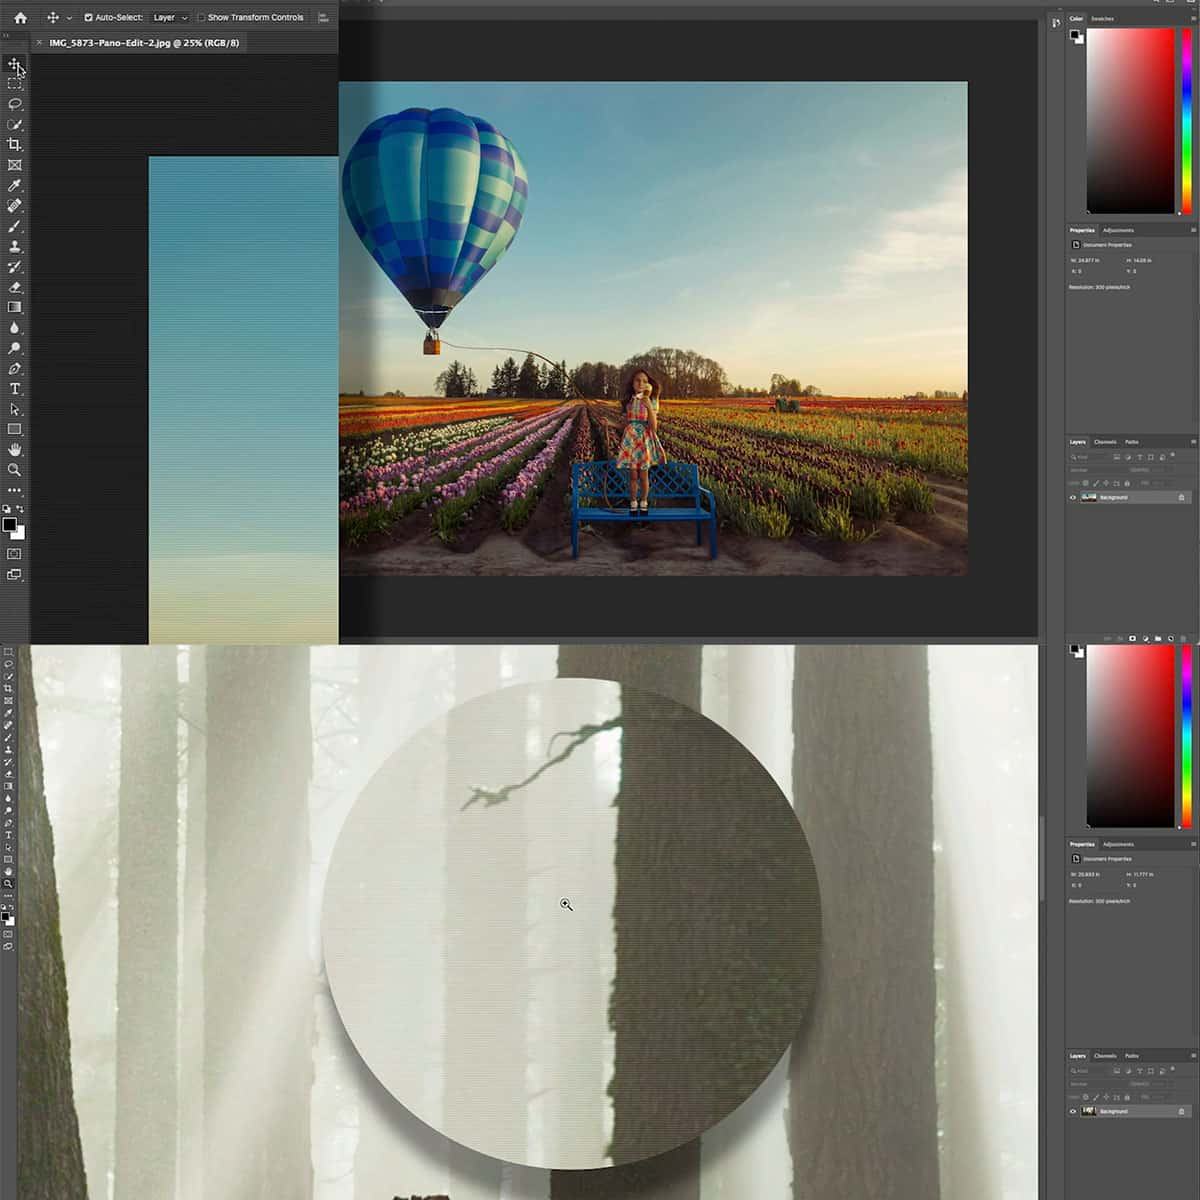
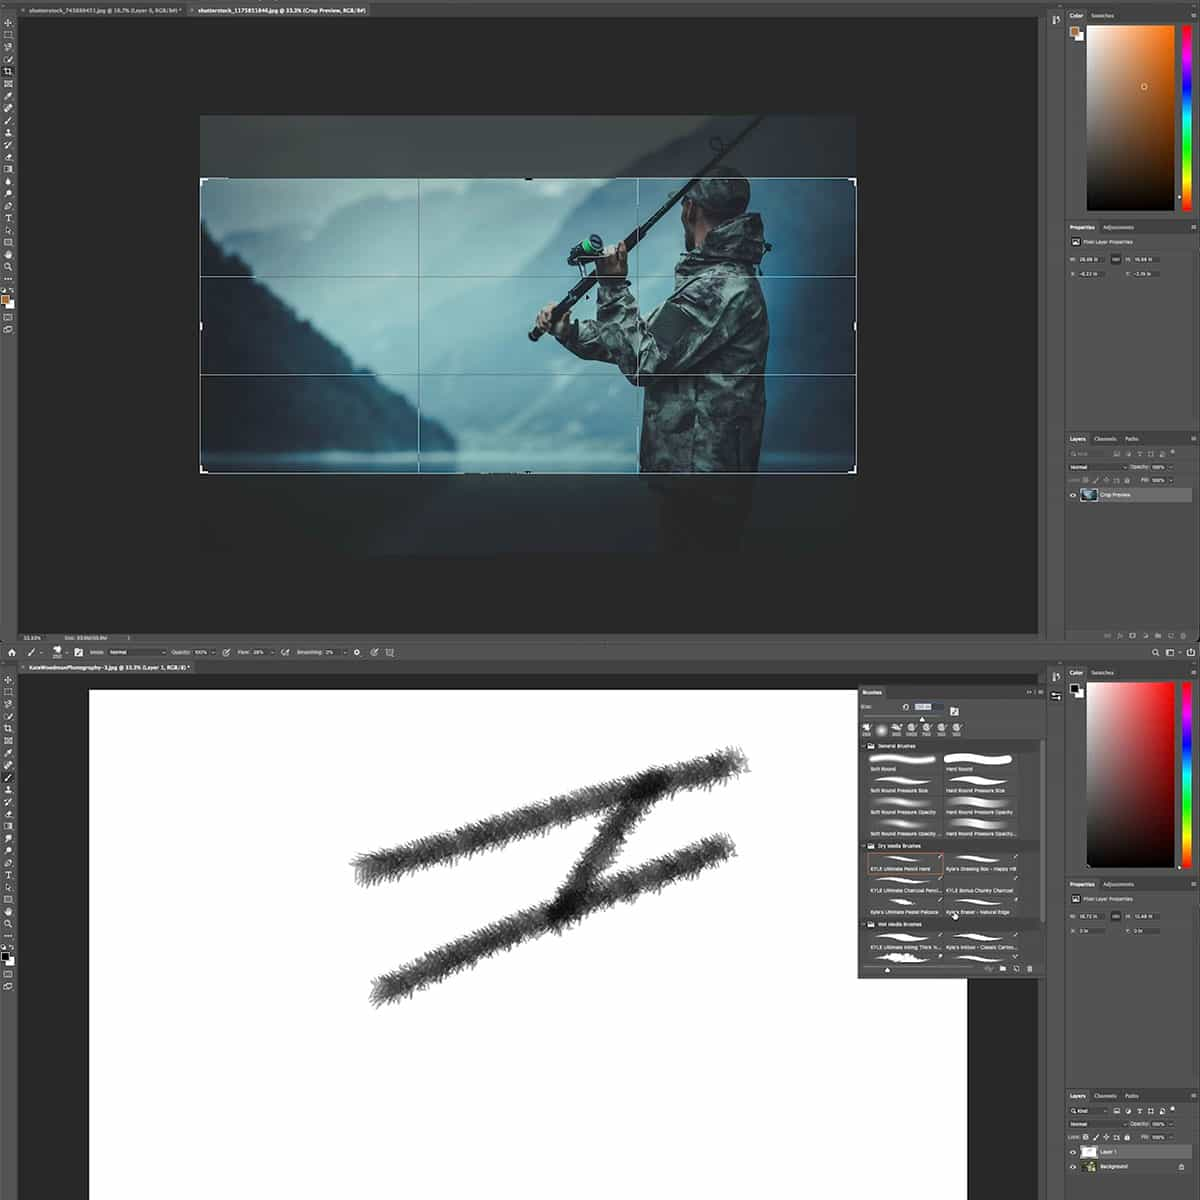
Once our document is set up, understanding how to navigate is key. We can use tools like the Zoom Tool or the Hand Tool to change our view. These can be accessed from the toolbar or with keyboard shortcuts like Z for Zoom and H for Hand. Our mouse cursor transforms into different icons depending on the tool we're using, providing a visual cue to its function. It's handy to know that using Spacebar temporarily switches to the Hand Tool no matter what tool is currently active.
To work efficiently in Photoshop, we must keep our workspace organized and know how to find our way around. This includes mastering navigation like zooming in and out with the mouse wheel or by pressing Ctrl and + or - (Cmd on Mac). With these fundamental skills, we take the first step towards creating impressive digital art.
Essential Photoshop Tools
Photoshop's extensive array of tools is what makes it a leading software in the image editing industry. To help beginners navigate this powerful program, we're focusing on the essential tools vital for crafting impressive imagery.
Working with the Toolbar
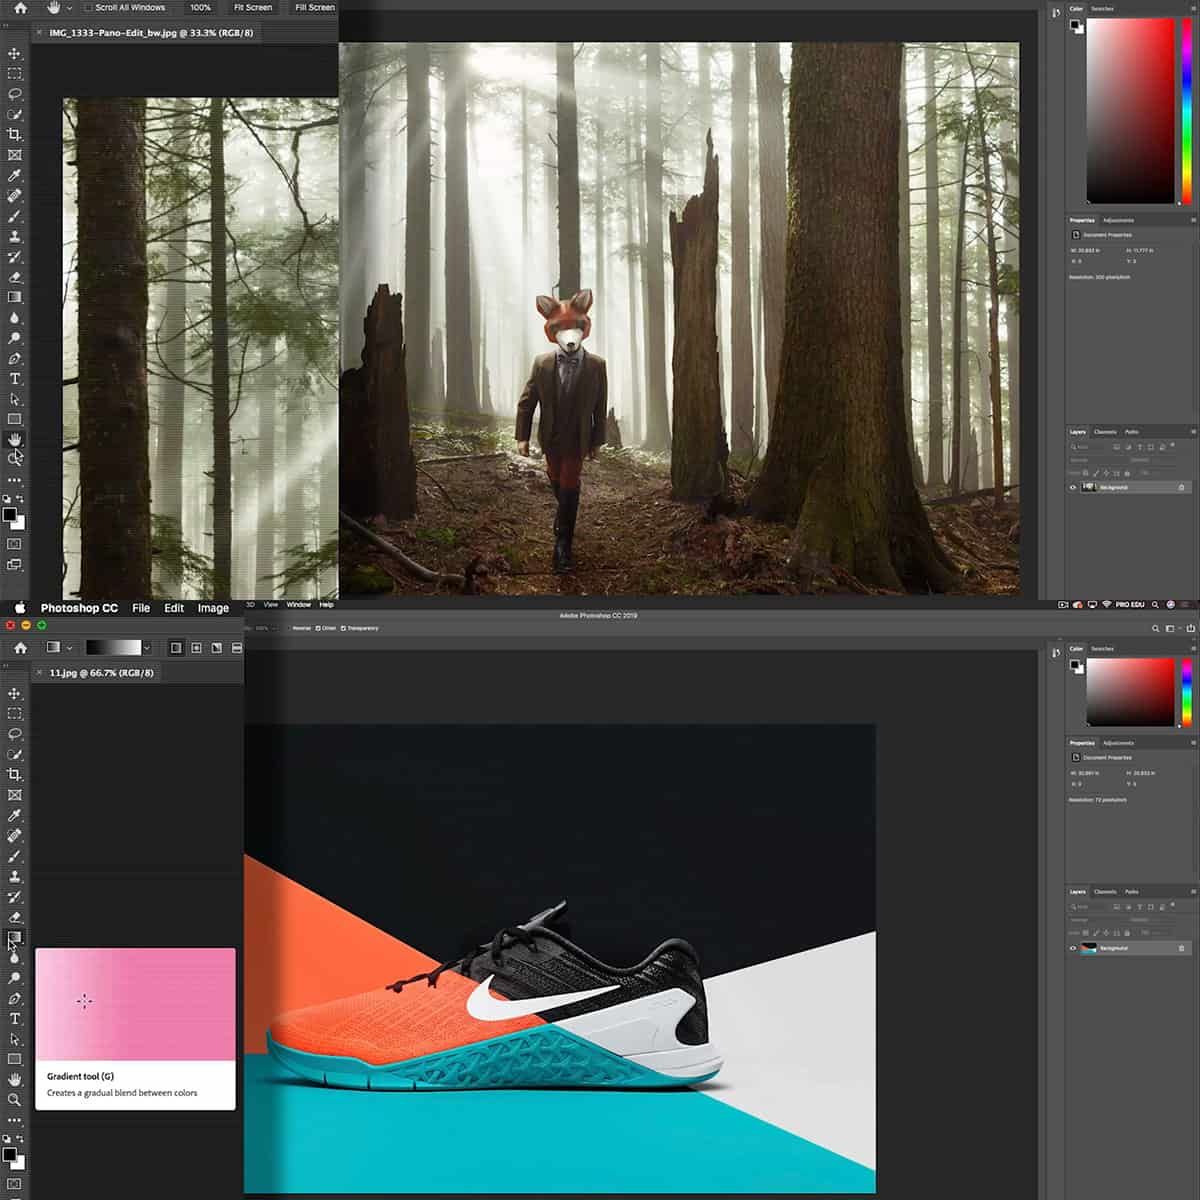
The Toolbar is a vertical strip of icons on the left side of the screen, each representing a different tool. Familiarize yourself with this major hub, where tools like the Move Tool, Brush Tool, and Eraser Tool are accessed. It's customizable, allowing us to keep our most frequently used tools at hand.
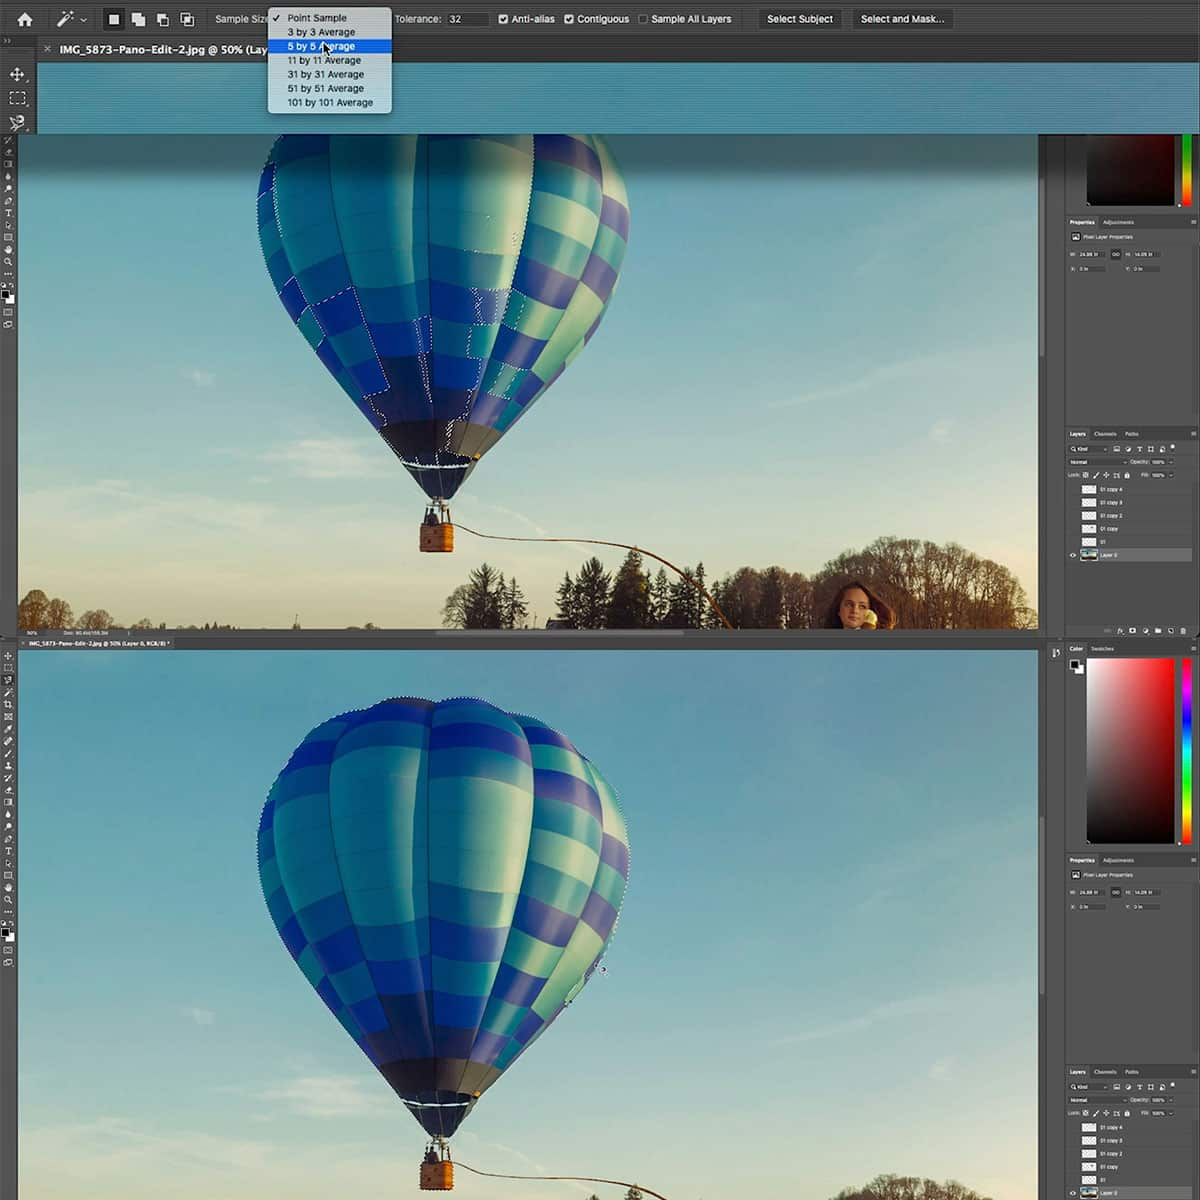
Selection Tools Explained
Selections are fundamental in Photoshop because they allow us to isolate and work on specific areas of an image. Key selection tools include the Marquee Tool for rectangular and elliptical selections, the Lasso Tool for freeform selections, and specialized ones like the Quick Selection Tool that work wonders for more complex shapes.
Brushes and Painting Tools
Photoshop is known for its versatility in brushes and painting tools. The Brush Tool is powerful, with a variety of brush presets available. Whether we're painting, drawing, or adding effects, the control over brush size, hardness, opacity, and flow allows for precise work on every project.
Retouching Tools Overview
Retouching tools like the Spot Healing Brush and Clone Stamp Tool are indispensable. The Spot Healing Brush quickly removes blemishes, while the Clone Stamp allows us to duplicate parts of an image—a real lifesaver when repairing or replicating image elements. Both tools require a deft touch to produce natural-looking results.
Photoshop Layers and Masks
Before we dive into the intricate world of Photoshop, it's essential to grasp the power of layers and layer masks. Layers form the foundation of your project, allowing for non-destructive edits, while layer masks provide precise control over the visibility of those layers.
Exploring Layers
Layers in Photoshop are akin to transparent sheets stacked on top of one another, where each layer holds different pieces of your image. When we begin working with layers, understanding that the stack order affects visibility is key—layers at the top cover those below them. Adjustment layers are special; they allow us to apply color and tonal adjustments to our image without permanently changing the original layer. Here's a quick rundown of layer essentials:
- Creating a New Layer: Shift + Ctrl + N (Win) / Shift + Cmd + N (Mac)
- Selecting Multiple Layers: Click one layer, then Shift-click another.
Mastering Layer Masks
Layer masks are our secret weapon for revealing or hiding portions of a layer. We use white on the mask to show content and black to conceal it—think of it as a grayscale map where shades of gray represent varying levels of transparency. What makes layer masks indispensable is their capacity for non-destructive editing; we can always adjust them without losing our original image.
To add a mask:
- Select the desired layer.
- Click Add Layer Mask at the bottom of the Layers panel.
And remember, painting with a soft brush on the mask can blend edges seamlessly.
Organizing Layers with Groups
Managing layers, especially in complex compositions, necessitates a structured approach. We use groups to keep related layers neatly organized, making our workflow more efficient and our project easier to navigate. To group layers:
- Shift-click to select the layers you wish to group.
- Press Ctrl + G (Win) or Cmd + G (Mac) to group them.
Boldly using these techniques arms us with control and flexibility, ensuring our creative process is both fluid and precise.
Photoshop Color and Adjustment Techniques
In this section, we'll explore how to enhance and correct image colors using Photoshop's robust tools such as adjustment layers, levels, and curves. We'll also touch on the importance of hue and saturation and how to employ blend modes to create the desired effect.
Adjustment Layers
Adjustment layers are the cornerstone of non-destructive editing in Photoshop. By using them, we can apply color and tonal adjustments to our image without permanently altering the original layer. These include but are not limited to Brightness/Contrast, Hue/Saturation, and Color Balance adjustments. For instance, to modify the mood of our image, we can adjust the Hue/Saturation layer to fine-tune colors or change them completely.
-
Brightness/Contrast: Modify the overall lightness or darkness and contrast with ease.
-
Hue/Saturation: Shift the colors in your image to enhance vibrancy or create a specific color scheme.
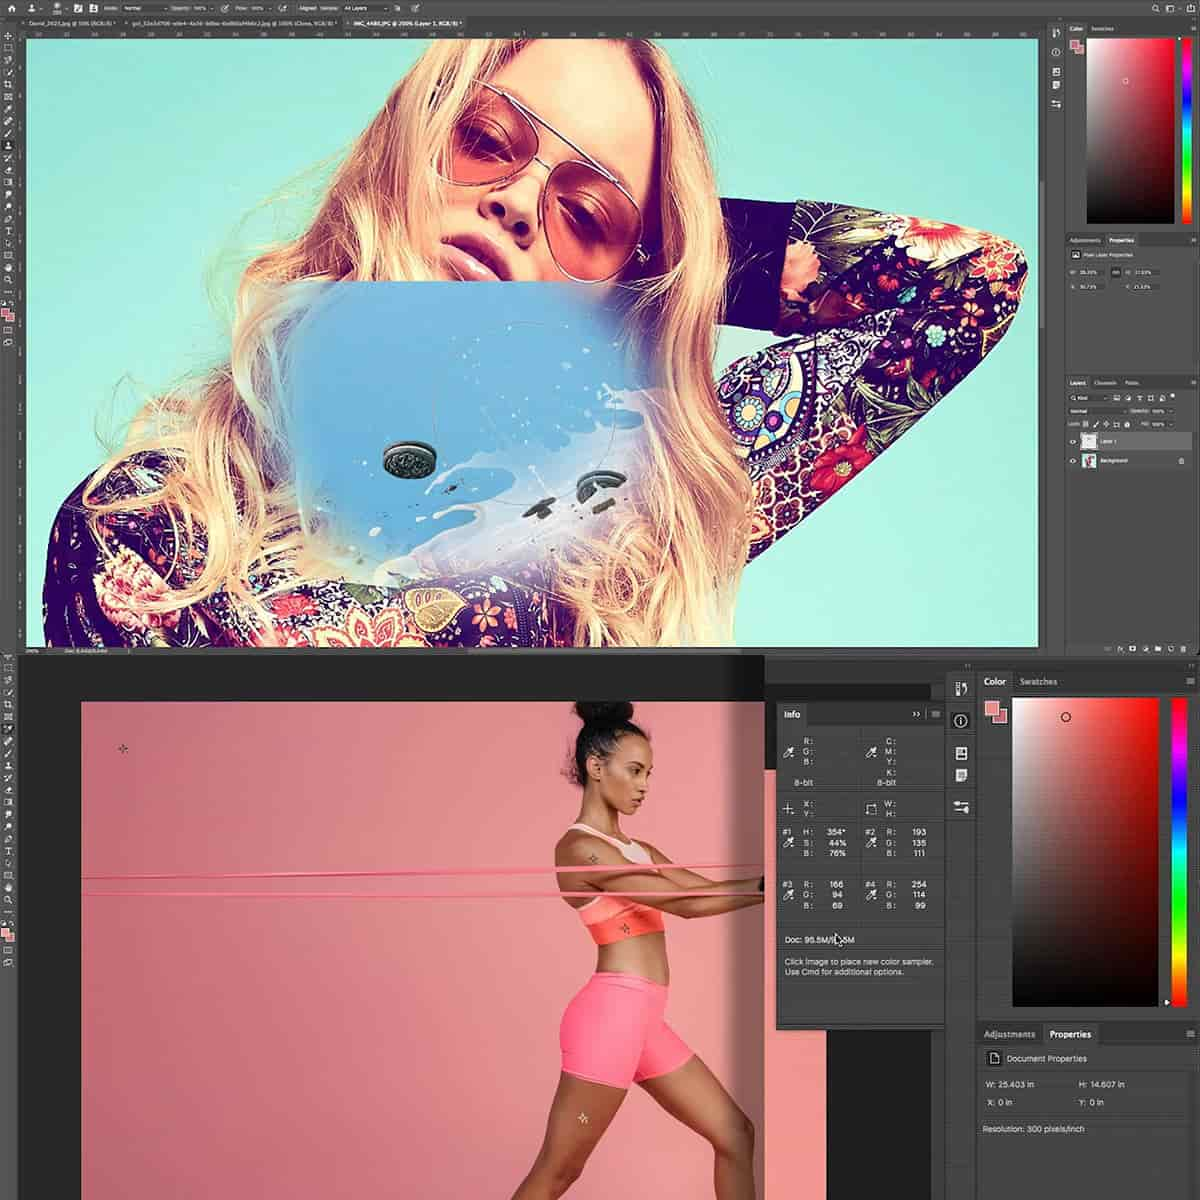
Working with Color
When we talk about working with color, we're focusing on creating the right color palette for our images. We do this by adjusting the hue (the color itself), saturation (the intensity of the color), and lightness.
- Hue: Change this to alter the actual color values in your image.
- Saturation: Increase this to make the colors more vivid or decrease it to make them more muted.
Incorporating different blend modes can also significantly affect how colors interact with each other on different layers. For example, the "Multiply" blend mode can darken images, which is useful in adding shadows or depth.
Using Curves and Levels
Curves and Levels are powerful tools for detailed color correction and exposure adjustments. With Curves, we can pinpoint specific tonal areas and adjust them with precision, creating contrasts or lightening shadows. Levels allow us to set black, white, and mid-points, essentially altering the intensity of shadows, midtones, and highlights.
-
Curves: Control shadows, midtones, and highlights separately for nuanced editing.
-
Levels: Quickly adjust color balance and tonal range by manipulating the histogram.
Mastering these techniques allows us to achieve professional-looking results, elevating the visual quality of our work. By practicing these steps and experimenting with their settings, we become adept at making our images stand out.
Advanced Design Elements
When venturing into advanced design elements in Photoshop, we'll focus on utilizing specialized tools and features to elevate our graphics. From precise customization of shapes and text to leveraging Smart Objects for non-destructive edits, and mastering advanced selection techniques, these skills are crucial for creating intricate and professional designs.
Custom Shapes and Text
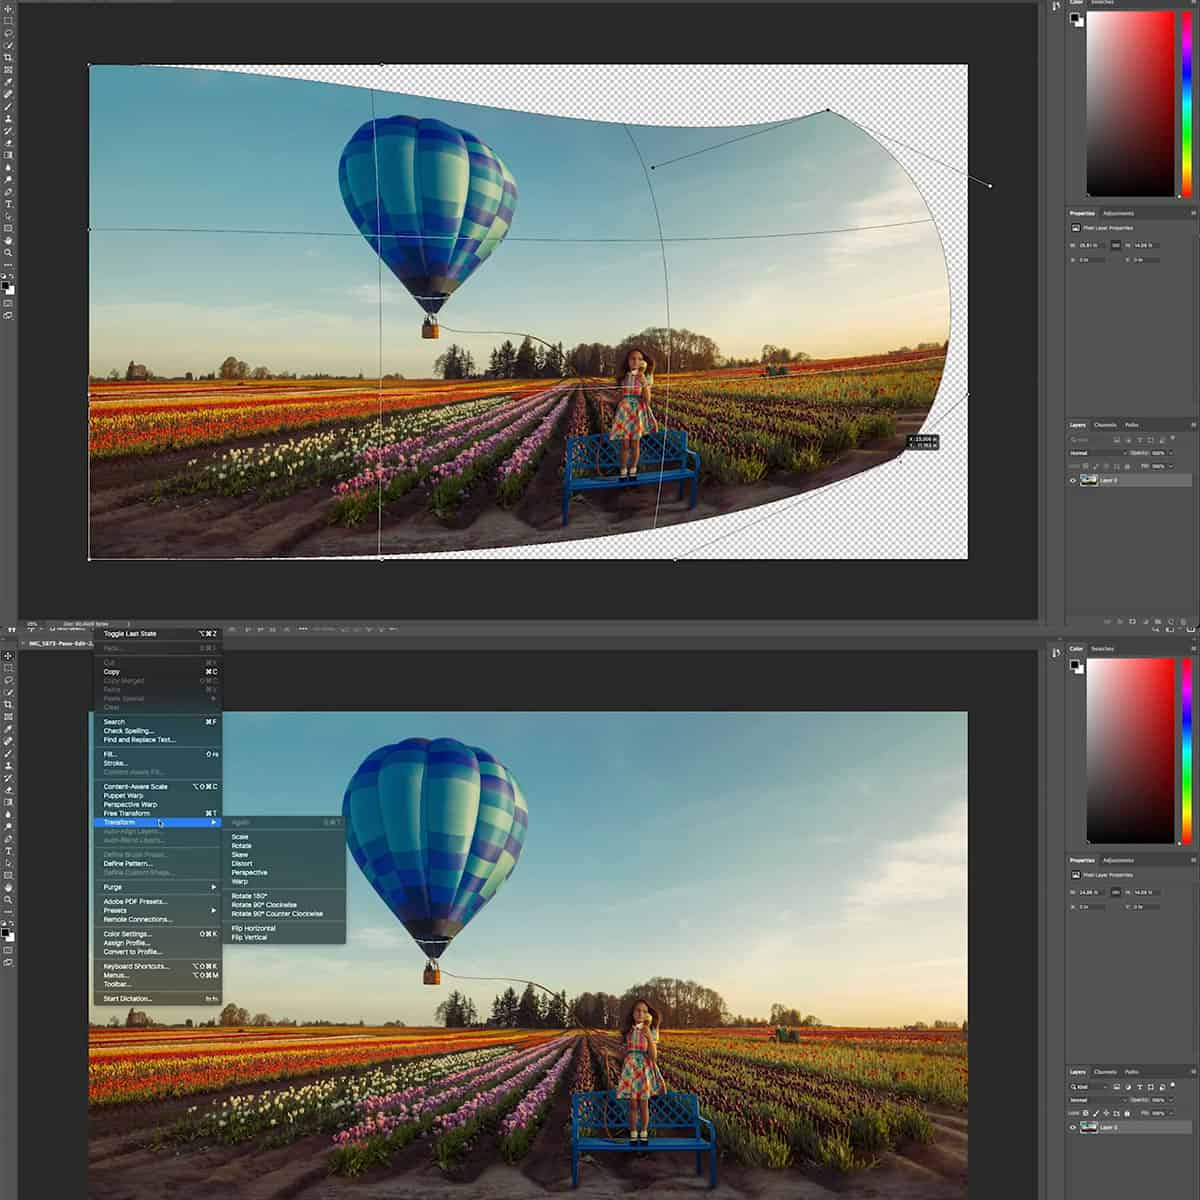
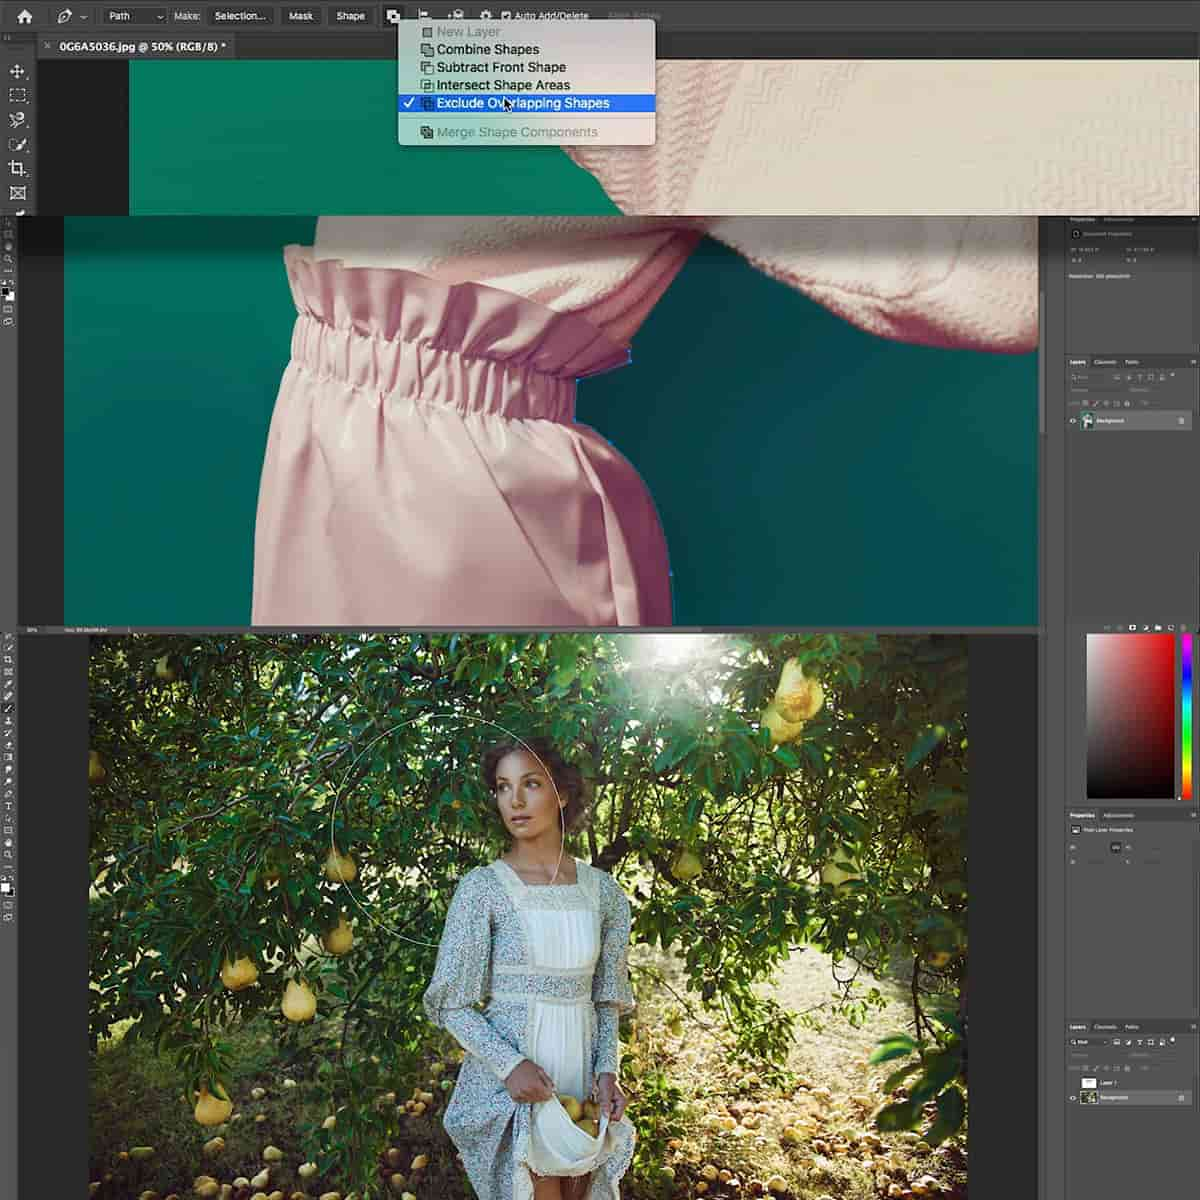
We can enrich our artwork with the Custom Shape Tool, which offers an array of preset shapes or the possibility to create our own unique designs. By exploring the Shapes Panel, we encounter an assortment of default options or can import custom shape presets to our library. If certain shapes are missing, we can easily replenish them via Photoshop's shape resources. For text, we utilize layer styles and warp transformations to integrate text seamlessly with our design elements, crafting visually captivating compositions.
Utilizing Smart Objects
In our workflow, Smart Objects are essential for maintaining the integrity of our design's original elements. By converting layers into Smart Objects, we allow ourselves the freedom to transform and apply filters without permanently altering the original graphic. This is particularly beneficial when working with complex compositions where repetitive adjustments are the norm.
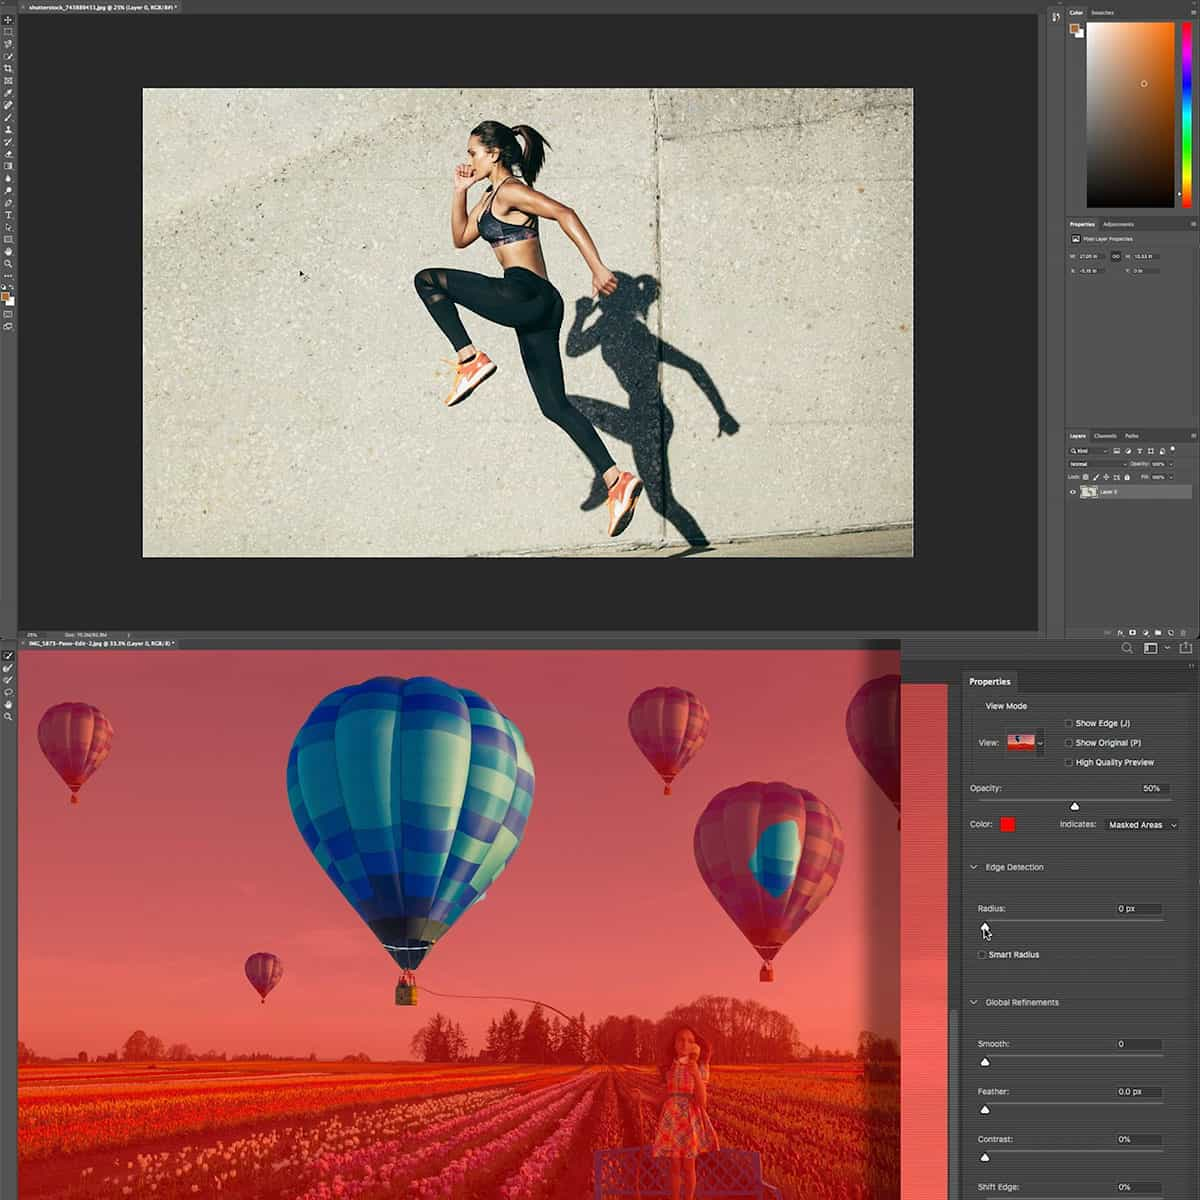
Advanced Selection Techniques
To isolate and modify specific design components with precision, we must harness advanced selection techniques. The Pen Tool is one of our best allies for creating anchor points and intricate paths to achieve clean and exact selections. For more complex shapes or when we need to merge shapes, Photoshop's shape tool options facilitate this process, allowing us to manipulate and combine shapes on a level that surpasses the basics. This adeptness in selection is imperative as it affects the overall quality and sharpness of the finished product.
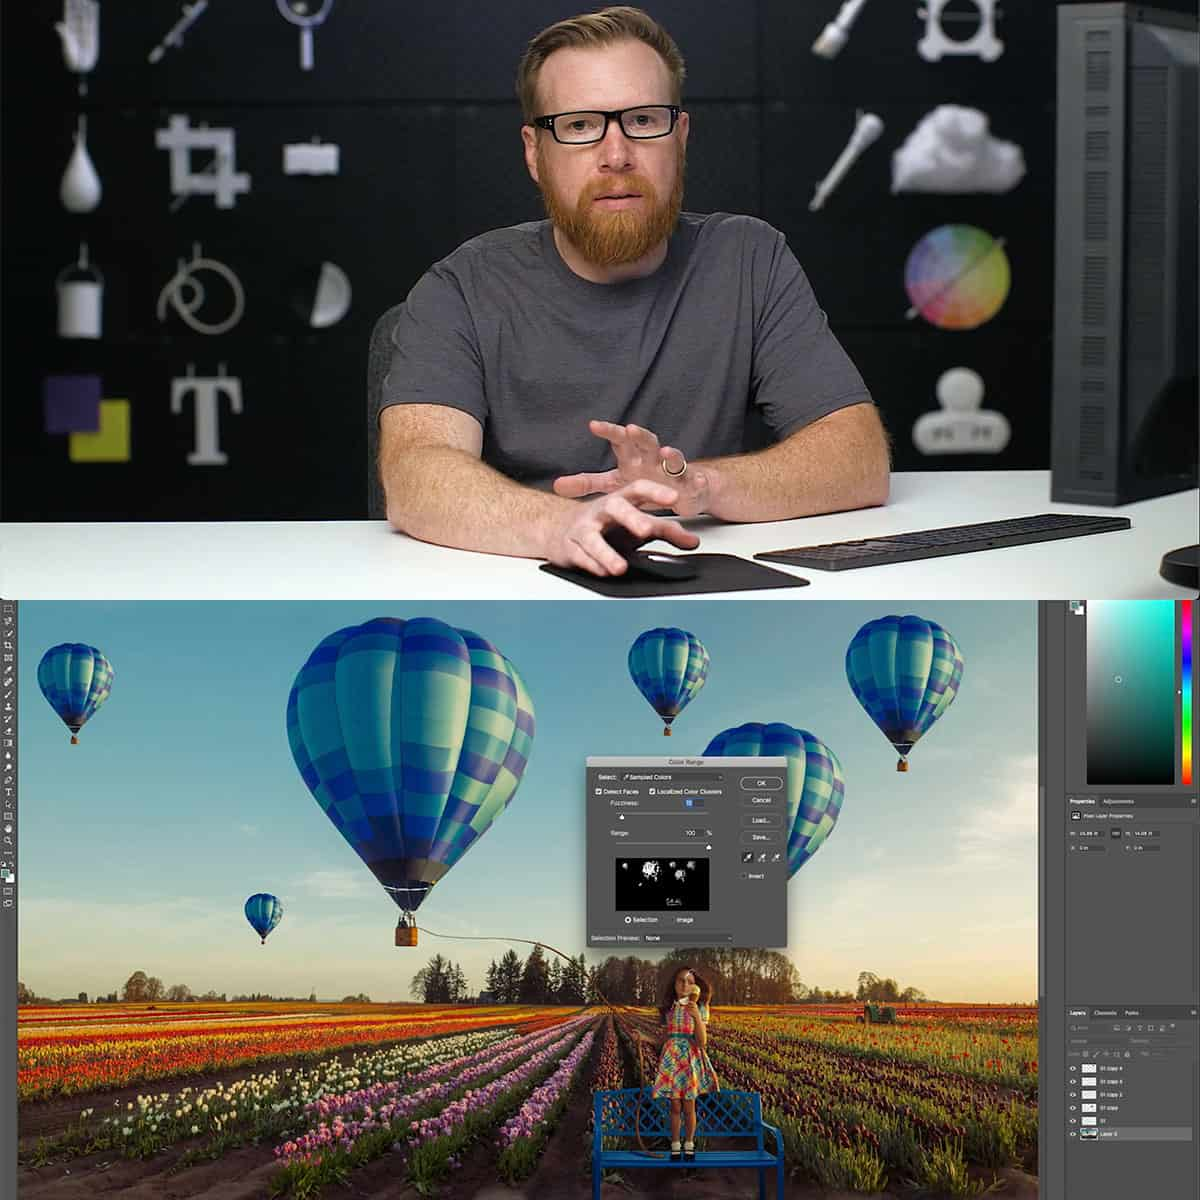
Refining Photos and Retouching
When we approach the art of refining photos, retouching them is essential for producing professional and eye-catching results. With a selection of powerful tools at our fingertips, we can correct imperfections and enhance details to make our images truly stand out.
Essential Photo Editing Tools
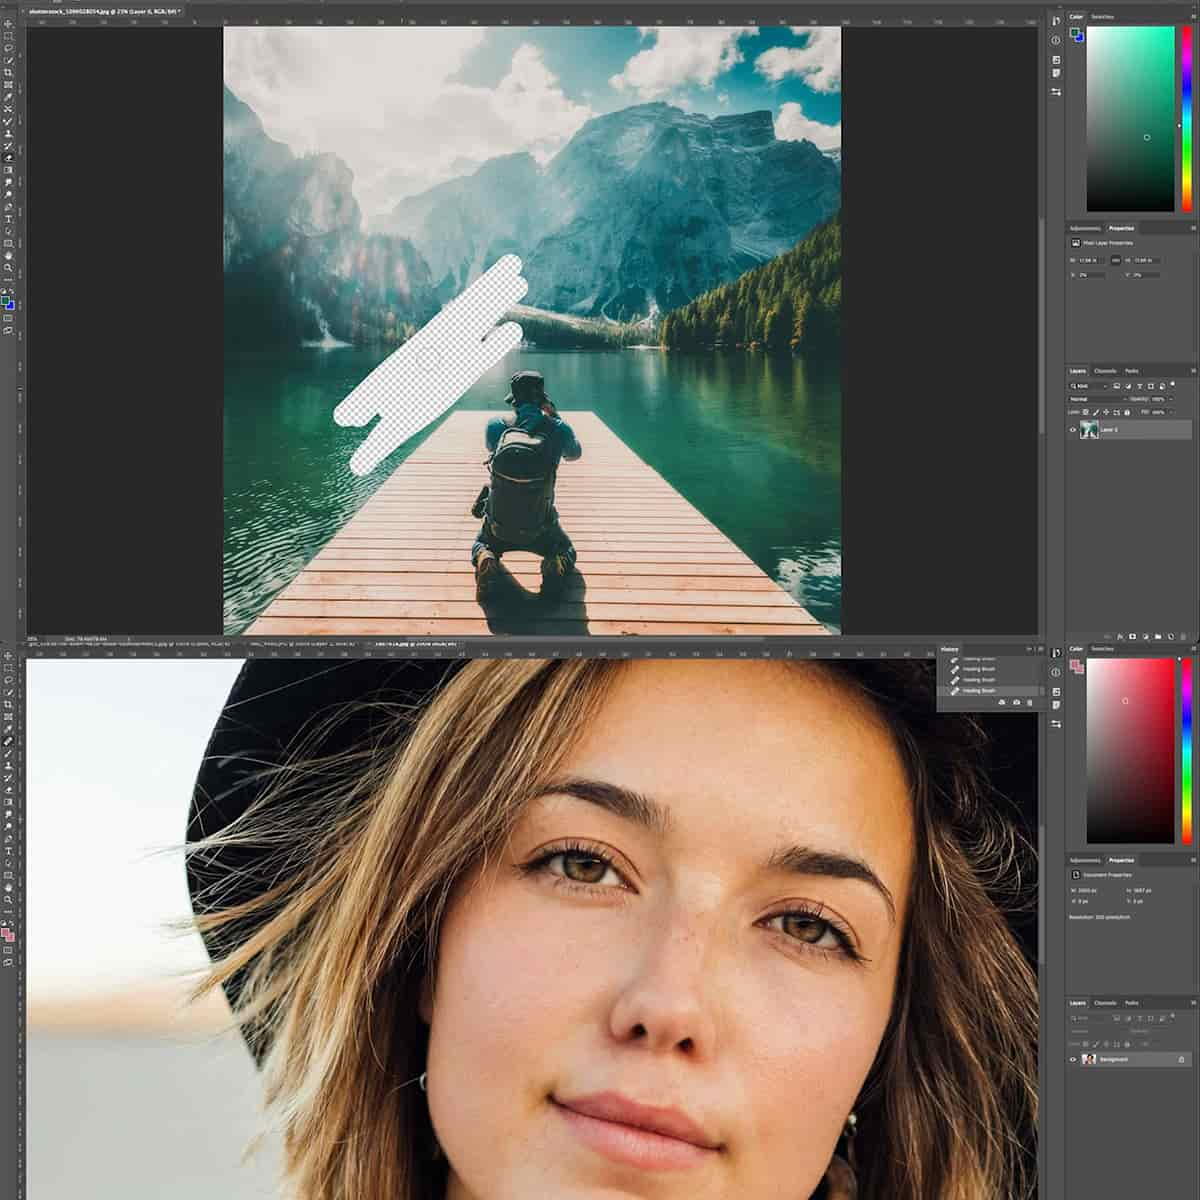
In the realm of photo editing, familiarizing ourselves with the core tools is crucial. The Spot Healing Brush Tool is perfect for quick fixes, such as removing blemishes or small objects, as it blends the affected area with the surrounding pixels. For precise corrections, we employ the Clone Stamp Tool, which allows us to duplicate parts of an image to cover unwanted elements.
When it comes to adjusting exposure, the Dodge and Burn Tools are particularly handy. We use the Dodge Tool to lighten areas of our photo, and conversely, the Burn Tool to darken them. The Sponge Tool is useful for either saturating or desaturating parts of our image, giving us control over the vibrancy of colors.
- Healing Brush: Manual selection for detailed retouching
- Spot Healing Brush: Automatic and quick corrections
- Clone Stamp: Duplication of image areas
- Dodge Tool: Lightening of image areas
- Burn Tool: Darkening of image areas
- Sponge Tool: Adjusting saturation of colors
These tools provide us with the elementary capabilities to refine photographs, paving the way to more advanced methods.
Advanced Retouching Methods
As we advance our skills, we delve into sophisticated retouching methods to tackle complex editing tasks. Utilizing layers and masks allows us to apply non-destructive edits, meaning we can readjust any changes without permanently altering the original image. We achieve detailed corrections through the Healing Brush when the Spot Healing Brush doesn’t suffice, enabling us to select the source pixels for a more controlled retouch.
Crafting photo effects often involves manipulating the exposure or color balance, which is where our understanding of tools like the Dodge, Burn, and Sponge Tools is essential. Here, finesse is key — subtle changes can have a significant impact on the overall mood of a photograph.
- Layers and Masks: For non-destructive editing techniques
- Healing Brush: For high-precision touch-ups
- Photo Effects: To alter mood and style through exposure and color
Mastering these advanced methods endows us with the capability to transform a good photograph into an exceptional one, using retouching as a form of digital artistry.
Saving and Exporting Work
When we work with Adobe Photoshop, especially the latest iteration, Photoshop 2022, saving and exporting are foundational skills that ensure the integrity and usability of our work. We'll guide you through essential steps and considerations to preserve your documents effectively.
Export Options and Formats
When ready to export a document, Adobe Photoshop offers a myriad of formats. JPEG is commonplace for web use due to its balance of quality and file size. For lossless quality, TIFF and PSD are preferred, with PSD being the native Photoshop format containing all layers and adjustments. It's crucial to choose the correct format based on our end use. For instance, to maintain transparency, we'd use PNG, whereas SVG is optimal for vector graphics.
- JPEG: Best for web use.
- TIFF: Ideal for lossless quality prints.
- PSD: Photoshop's native format, preserving layers.
- PNG: Supports transparency.
- SVG: Used for vector graphics.
Preparing Files for Printing
To prepare our documents for printing, a few key adjustments are necessary. Resolution is a top priority; we aim for 300 dpi (dots per inch) to ensure high-quality prints. In addition, it's critical to confirm that our color mode is set to CMYK to align with printer capabilities, as screens display in RGB. Lastly, we must include bleed and crop marks if our prints extend to the paper's edge, ensuring no unprinted edges occur.
- Set the resolution to 300 dpi for high quality.
- Change color mode to CMYK to match printing processes.
- Incorporate bleed and crop marks for edge-to-edge designs.
Adjusting Resolution and Canvas Size
Our document's resolution and canvas size directly impact the final output. Adjusting the resolution dictates the clarity of our print and digital work. For web images, we might reduce the resolution to 72 dpi to decrease file size and enhance loading times. Modifying the canvas size allows us to change the active area of our Photoshop document. This could involve altering the height, width, or both to fit specific requirements, such as social media dimensions or poster sizes.
- Resolution: Adjust for clarity; 300 dpi for print, 72 dpi for web.
- Canvas Size: Modify height and width as needed for the project's dimensions.
Frequently Asked Questions
In this section, we'll cover the most common inquiries beginners have about learning and mastering the basics of Photoshop.
What are the essential tools and features a beginner should learn first in Photoshop?
As beginners, we should focus on understanding layers, which form the building blocks of non-destructive editing in Photoshop. It's also important to learn about selection tools, which help isolate and modify specific parts of your image.
How can one effectively self-learn the basics of Photoshop?
Effective self-learning begins with exploring trusted tutorials and resources, such as 10 must-know Photoshop skills for beginners, which outline key edits and adjustments. Practice by applying new skills to a variety of projects to solidify your understanding.
Which Photoshop techniques should beginners focus on to enhance their editing skills?
Beginners should enhance their editing skills by mastering basic adjustments like cropping, resizing, and color correction. Techniques such as using layers effectively and understanding blending modes also play a crucial role.
What are the fundamental skills in Adobe Photoshop that are considered essential for all beginners?
All beginners need to understand the interface, including navigating images, and fundamental concepts like resolution and image adjustment layers. Mastering these will provide a solid foundation for more complex projects.
How can beginners practice and improve their Adobe Photoshop skills consistently?
Consistent practice can be achieved by setting regular learning goals and following structured tutorials, such as a beginner's guide to Adobe Photoshop. Regularly experimenting with new techniques on different images will also help to improve proficiency.
What are the best ways to demonstrate Photoshop proficiency on a resume?
To showcase Photoshop proficiency on a resume, include specific projects you've worked on or link to an online portfolio. Highlighting any formal training or certificates, such as those from eLearning Adobe, can also bolster credibility.


