What Is A Zoom Tool In Photoshop: A Comprehensive Guide
Adobe Photoshop is a powerful photo editing software with countless tools and features to help users perfect their images. One essential tool in Photoshop is the Zoom tool, which allows users to easily magnify or reduce the view of their images, enabling precise edits as well as overall enhancements.
The Zoom tool is quite versatile, offering different ways to zoom in and out, such as by clicking the magnifying glass icon, using keyboard shortcuts or scrolling with a mouse wheel. It plays a critical role in the editing process, allowing for intricate adjustments that would be difficult to make without zoom capabilities.
Key Takeaways
- The Zoom tool is a crucial feature in Photoshop that enables precise image edits.
- Multiple methods are available for zooming, such as clicking, scrolling, or using keyboard shortcuts.
- Understanding and utilizing the Zoom tool effectively can greatly improve the overall editing process.
Understanding the Basics of Zoom Tool in Photoshop
Role and Functionality of Zoom Tool
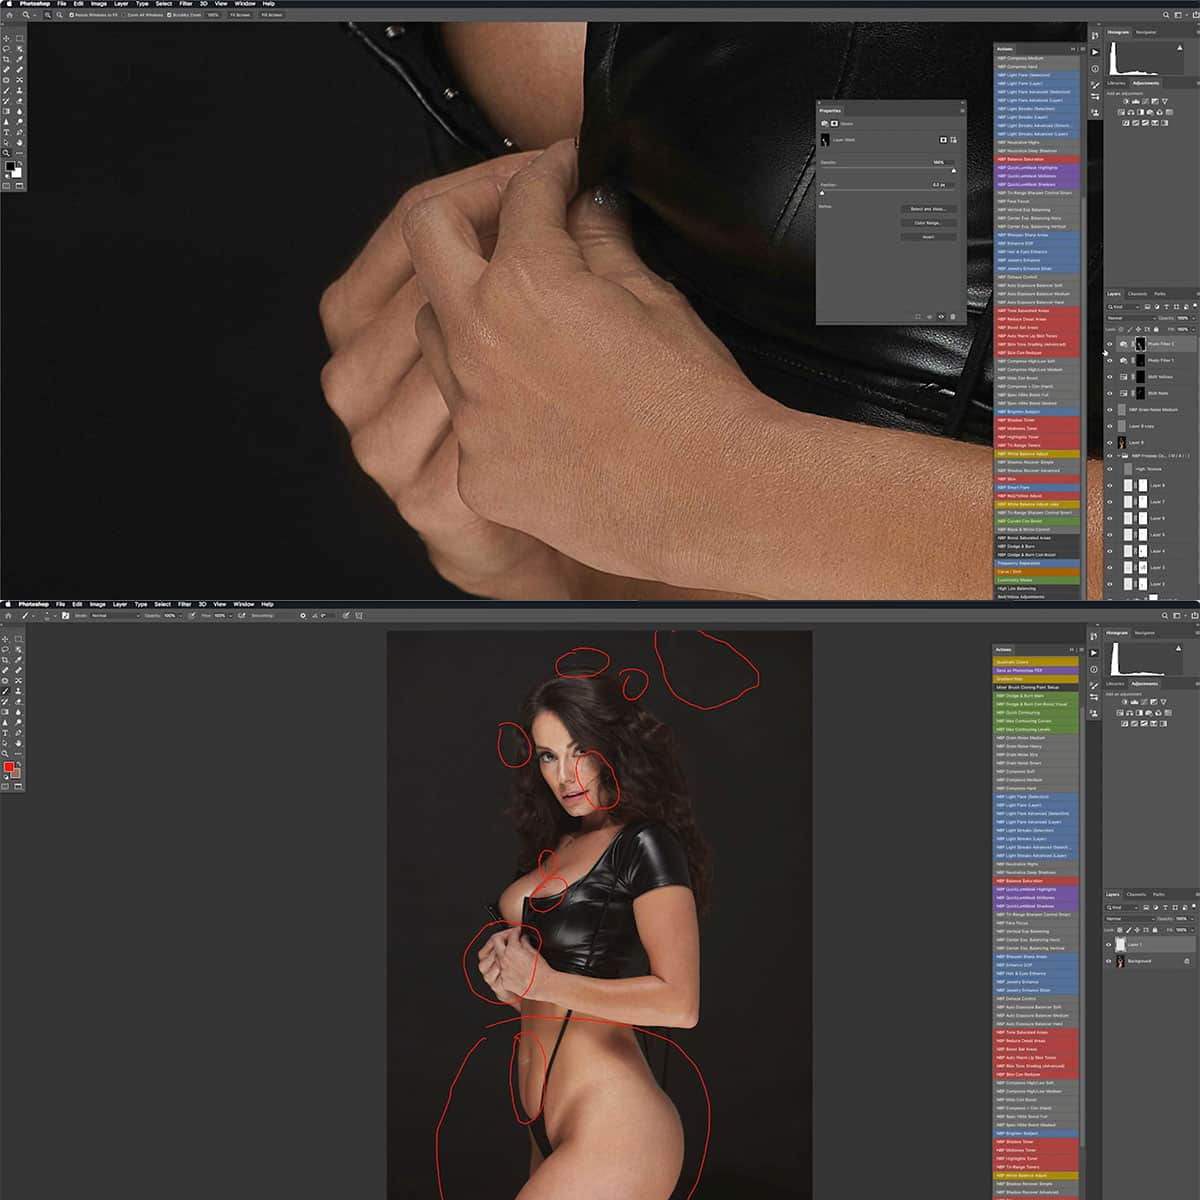
The Zoom tool plays a vital role in Photoshop, allowing us to zoom in and out of an image to work on fine details or to get a broader view of the composition. It is one of the most frequently used utilities in Adobe Photoshop, being crucial for precise pixel manipulation and a better understanding of the overall image.
As we work with the zoom tool, it is important to gain knowledge about various keyboard shortcuts, tips, and tricks for smooth navigation and better efficiency. These shortcuts enable us to manage the zoom percentage and focus on specific areas of the image we want to work on.
Interface of Zoom Tool in Adobe Photoshop
To access the Zoom tool in the Photoshop interface, we can select it from the toolbar or use the shortcut key 'Z'. This ensures a faster and more convenient way of switching between tools during the editing process.
Once we select the Zoom tool, we can choose between the 'Zoom In' and 'Zoom Out' options in the tool options bar. By clicking on the desired area in the image, we can zoom in or zoom out accordingly. Each click will magnify or reduce the image according to the pre-set percentages, centering the display around the point we clicked on.
In addition to using the Zoom tool from the toolbar, there are alternative methods for navigating the zoom levels, such as pressing Ctrl++(PC)/Cmd++(Mac) for zooming in, and Ctrl+-(PC)/Cmd+-(Mac) for zooming out. These shortcuts, along with the understanding of the Zoom tool's interface, will help us achieve a smoother and more efficient workflow while working on our projects in Adobe Photoshop.
How to Use Zoom Tool
Zooming In and Out with the Tool
To zoom in and out in Photoshop, we select the Zoom tool, which is represented by a magnifying glass icon. Clicking on the specific area we want to zoom into provides maximum clarity and precision. To switch between zooming in and out, we can either click the "+" or "-" icons within the tool options bar, or hold the "Alt" key (Windows) or "Option" key (Mac) while clicking on the image 1.
Here's a quick list of keyboard shortcuts for zooming:
- Zoom In: Ctrl/Cmd + "+"
- Zoom Out: Ctrl/Cmd + "-"
- Fit on Screen: Ctrl/Cmd + 0
- Actual Pixels: Ctrl/Cmd + 1
Panning and Scrolling with the Tool
When we're zoomed in on a document or image, we might need to pan around to view different areas. To pan the display, we can select the Hand tool (represented by a hand icon) and click and drag the document to the desired area2.
Another option is to use scrollbars located on the edges of the document window, or our mouse's scroll wheel to navigate. When we're using the Zoom tool, we can switch to the Hand tool by simply holding down the spacebar, allowing us to pan as needed then release the spacebar to return to the Zoom tool3.
By mastering these techniques, our efficiency and precision when working in Photoshop will significantly improve.
Advanced Features of Zoom Tool
Scrubby Zoom and Other Features
One of the unique features with the Zoom Tool in Photoshop is the Scrubby Zoom. This allows us to click and drag to the left or right in our image to easily adjust the magnification at which we're viewing the image. This intuitive feature helps in making the zooming process faster and more responsive.
Along with the Scrubby Zoom, there are other convenient zoom options available, such as the ability to quickly adjust the zoom percentage according to our needs. By default, we can easily zoom to a 100% view, which displays pixels at a 1:1 ratio.
Optimizing Zoom Tool for Better Viewing
To ensure optimal viewing of images while using the Zoom Tool, we can utilize these additional features:
- Fit on Screen (or Fit Screen): This option allows us to fit the whole image within the visible screen area by resizing the zoom level accordingly. It's useful when you want to quickly see the entire image after closely examining specific details.
- Magnification: Through various controls like the zoom options bar, we can customize the magnification levels to better suit our requirements, enabling us to enlarge or reduce the view of specific areas.
- Zoom Feature Integration: To enhance our workflow and overall productivity, we can learn and incorporate various zoom shortcuts and techniques in our daily usage. This helps in seamlessly navigating, zooming in and out, and refining our images.
By utilizing these advanced features of the Zoom Tool, we can improve our overall experience while working in Photoshop and achieve better results in editing and manipulating our images.
Handy Shortcuts for Zoom Tool
Keyboard and Mouse Shortcuts
In Photoshop, the Zoom tool is essential for navigating large and detailed images. We can efficiently use keyboard shortcuts to speed up our workflow. Some common shortcuts include pressing Ctrl (or Cmd on a Mac) and the + key to zoom in, and Ctrl (or Cmd) and the - key to zoom out1. Holding the Alt key (or Option key on a Mac) and using the mouse scroll wheel will also allow us to zoom in and out easily2.
Optimization with Shortcuts
Besides the basic keyboard shortcuts, Photoshop offers additional options to optimize our zooming experience. For instance, we can quickly fit the image to the screen by pressing Ctrl (or Cmd) and 03. Pressing and holding the spacebar will temporarily switch to the Hand tool, enabling us to click and drag the canvas when zoomed in4. It is important to learn and utilize these shortcuts to increase our efficiency when working with the Zoom tool in Photoshop.
Additional Zoom Tool Options and Settings
Resizing and Workflow Enhancement Options
In addition to basic zooming in and out, Photoshop offers several options and settings to enhance resizing and workflow experience. Resize Windows to Fit is one such feature, which automatically resizes the window to fit the canvas after zooming. This can be particularly useful when working on a project with multiple image windows open, as it improves workspace organization.
The Zoom All Windows feature magnifies or reduces all open image windows concurrently, ensuring a consistent view across your entire project. This can be time-saving for those who often work on multitasking projects both on Creative Cloud desktop applications and portable devices like iPads or other tablets.
Additional and Advanced Settings
A few more useful options for managing your zoom experience are easily found and applied in Photoshop. The current zoom level can be located in the bottom left corner of the application window, and clicking on the percentage accesses a drop-down menu that enables you to select specific preset zoom levels or enter a custom percentage.
Moreover, the zoom settings can be customized even further through three separate options:
- Option 1: Scrubby Zoom - When enabled, clicking and dragging left or right in your image quickly zooms in or out, creating a smooth, seamless zooming experience.
- Option 2: Animated Zoom - Capable of being enabled in Photoshop's preferences (under Tools), this setting adds animation to the zooming process, providing a visually appealing transition between zoom levels.
- Option 3: Quick Zoom Tool Shortcuts - Press 'Z' to quickly access the Zoom Tool, and utilize various modifier keys for different functions, such as holding the Alt or Option key while spinning the mouse wheel to rapidly zoom in and out at the cursor location.
By leveraging these additional and advanced settings in our editing process, we can achieve a more streamlined and efficient workflow in Photoshop.
Frequently Asked Questions
How does the Scrubby zoom feature work?
The Scrubby zoom feature in Photoshop allows you to quickly zoom in and out of images by simply clicking and dragging. To use this feature, first select the Zoom tool from the toolbar, then check the "Scrubby Zoom" option in the tool options bar. Now, click and drag to the right to zoom in, or to the left to zoom out.
What are the keyboard shortcuts for the Zoom tool?
Keyboard shortcuts can speed up your workflow while using the Zoom tool in Photoshop. Press "Z" to select the Zoom tool quickly. To zoom in and out, you can use the "+" and "-" keys, respectively. For more precise zooming, press "Cmd/Ctrl" and "+" or "Cmd/Ctrl" and "-", depending on your operating system.
How can I zoom with my mouse in Photoshop?
To zoom in and out with your mouse in Photoshop, select the Zoom tool from the toolbar and click on the desired area of the image. Alternatively, you can use the mouse scroll wheel while holding down the Alt/Option key (Windows/Mac). This allows you to zoom in and out without having to switch to the Zoom tool.
Where can I locate the Zoom tool in Adobe?
The Zoom tool can be easily found in the left-hand toolbar in Adobe Photoshop. It is represented by a magnifying glass icon. Click on the icon or press "Z" on your keyboard to select the tool and begin using it to zoom in and out of your image.
What are the functions of zoom in and zoom out?
The zoom in and zoom out functions in Photoshop allow you to magnify and reduce the view of your image, respectively. Zooming in helps you focus on specific areas of your image for detailed editing, while zooming out helps you get a better view of your image as a whole, making it easier to evaluate and adjust the overall composition.
How do I apply the match zoom option in Photoshop?
The Match Zoom option in Photoshop helps you synchronize the zoom level of multiple open images simultaneously. To apply this option, first make sure all the images you want to match are open. Then, navigate to the "Window" menu, and under "Arrange," click on "Match Zoom". This will apply the same zoom level to all open images, making it easier to compare and edit them side by side.


