
What Is Color Balance In Photoshop: A Concise Guide for Accurate Color Adjustments
Color balance is a fundamental concept in photography and image processing, playing a crucial role in producing accurate and visually appealing images. In Photoshop, this concept is just as important, as color balance adjustments provide users with the tools necessary to correct color imperfections and create stunning effects in their projects.
Understanding and mastering the color balance tools in Photoshop allows creatives to bring out the most vibrant and accurate colors in their images. Working with the Color Balance Adjustment Layer is crucial for professional results, and familiarizing oneself with the detailed process of adjusting colors is essential for users who strive for perfection in their work.
Key Takeaways
- Color balance is essential for producing accurate and visually appealing images in Photoshop
- Mastering the Color Balance Adjustment Layer is crucial for professional results
- Familiarizing yourself with the detailed process of adjusting colors enhances the quality of your work
Understanding Color Balance
Color balance plays a vital role in photography and image processing. It is an adjustment that affects the overall mixture of colors in an image, aiming to achieve realistic and accurate colors. We use color balance to correct color imperfections and create dramatic effects by changing the overall mixture of colors in composites.
In Photoshop, color balance is achieved by adjusting the intensities of the cyan, magenta, and yellow tones. The adjustment can be performed using the Color Balance adjustment feature, which allows us to individually fine-tune colors in highlights, shadows, and mid-tones. To give a quick example, if an image has a red cast, we can add more cyan to balance out the colors and create a more natural appearance.
There are various methods in Photoshop to maintain and adjust color balance, such as using adjustment layers. These layers are nondestructive, providing flexibility to make successive tonal adjustments without discarding or permanently modifying data from the image layer. However, it's important to note that using adjustment layers can increase the file size of the image and require more RAM from our computers [>Adobe Inc.].
By understanding color balance and applying appropriate adjustments, we can enhance the aesthetics of an image and bring out the true essence of our photographs. So, next time when working on an image in Photoshop, make sure to pay close attention to color balance for more accurate, realistic, and visually appealing results.
Working with Photoshop
In Photoshop, we can use the Adjustments panel to make various color changes to our images. One of the adjustments available is the Color Balance adjustment, which helps in correcting color imperfections in your image. The Color Balance adjustment can also be used to create dramatic effects by changing the overall mixture of colors used in the composite.
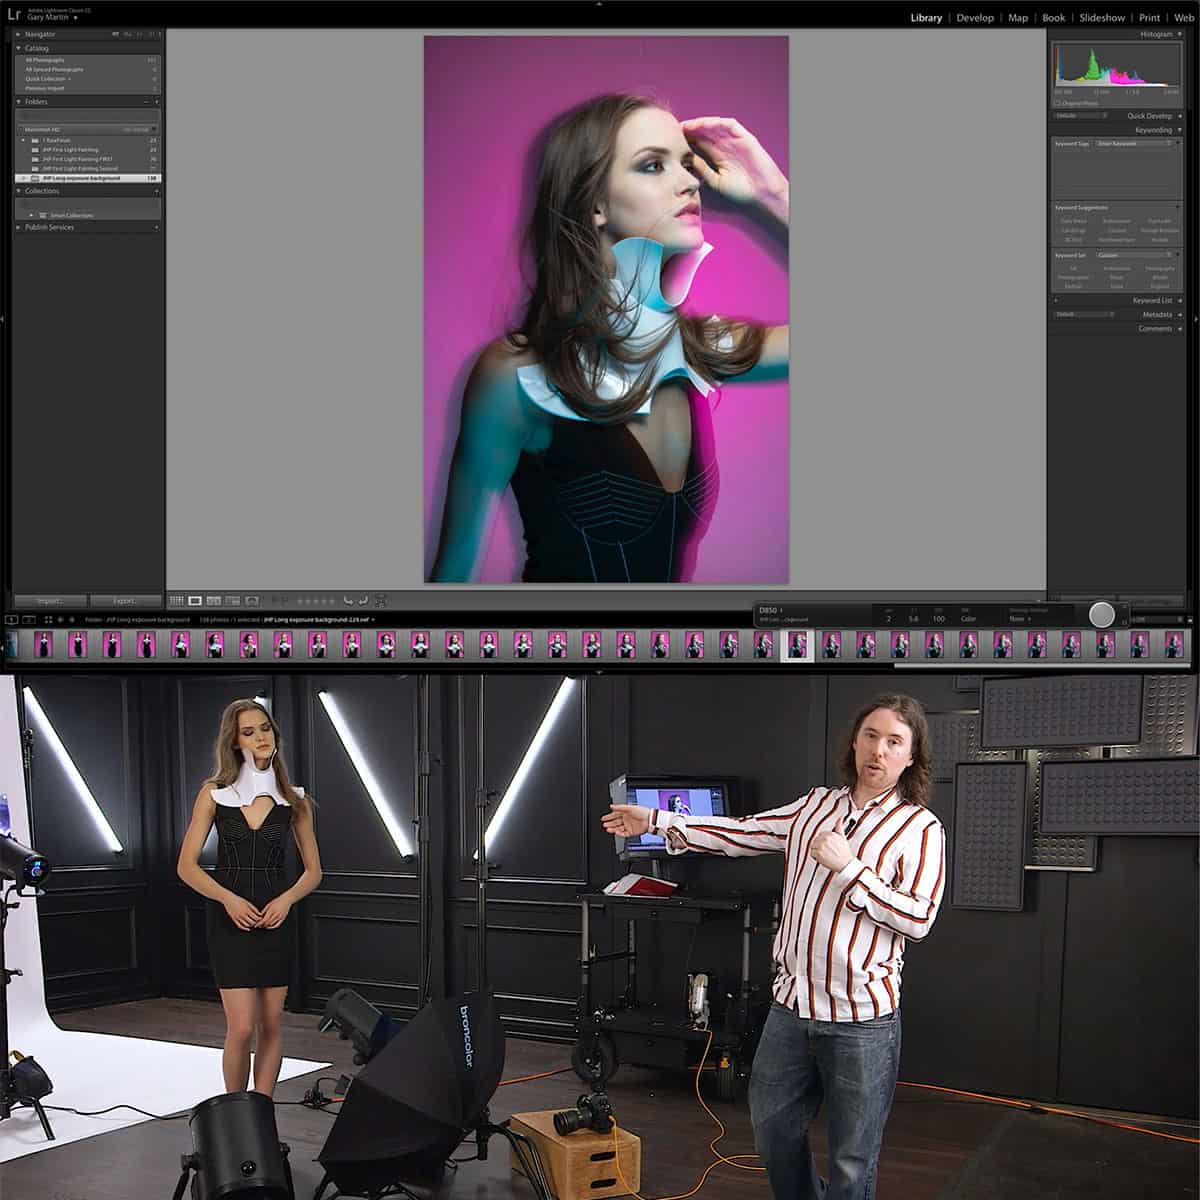
To access the Adjustments panel, click on the adjustment layer button at the bottom of the Layers panel. After selecting Color Balance, the Properties panel will appear where we can modify the color balance settings.
Similar to Photoshop, Lightroom is another popular Adobe product that provides a streamlined workflow for editing photos. While Lightroom covers a wide range of adjustments, it's important to note that Photoshop offers a more extensive set of tools for advanced edits.
Considering the following steps to edit your first photo in Photoshop:
- Open your image in Photoshop.
- Duplicate the background layer by pressing Ctrl+J (PC) or Cmd+J (Mac).
- Add a Color Balance adjustment layer above the duplicated background layer.
- Experiment with the sliders in the Properties panel to achieve the desired color effect.
By incorporating the use of adjustment layers in our editing process, we can ensure a non-destructive workflow, allowing us to make changes to the image without affecting the original layer. This technique enables us to experiment with different adjustments and find the optimal balance that suits our preferences.
In summary, both Photoshop and Lightroom are powerful Adobe products for editing images. However, Photoshop provides a more comprehensive set of tools, including Color Balance adjustments, which can significantly improve the appearance of your images.
Color Balance Adjustment Layer in Photoshop
Color balance in Photoshop refers to the process of adjusting the intensity of primary and secondary colors in an image. The Color Balance adjustment layer allows us to easily make these changes in a nondestructive manner. This means that our original image remains unaltered, offering us the flexibility to make changes at any point.
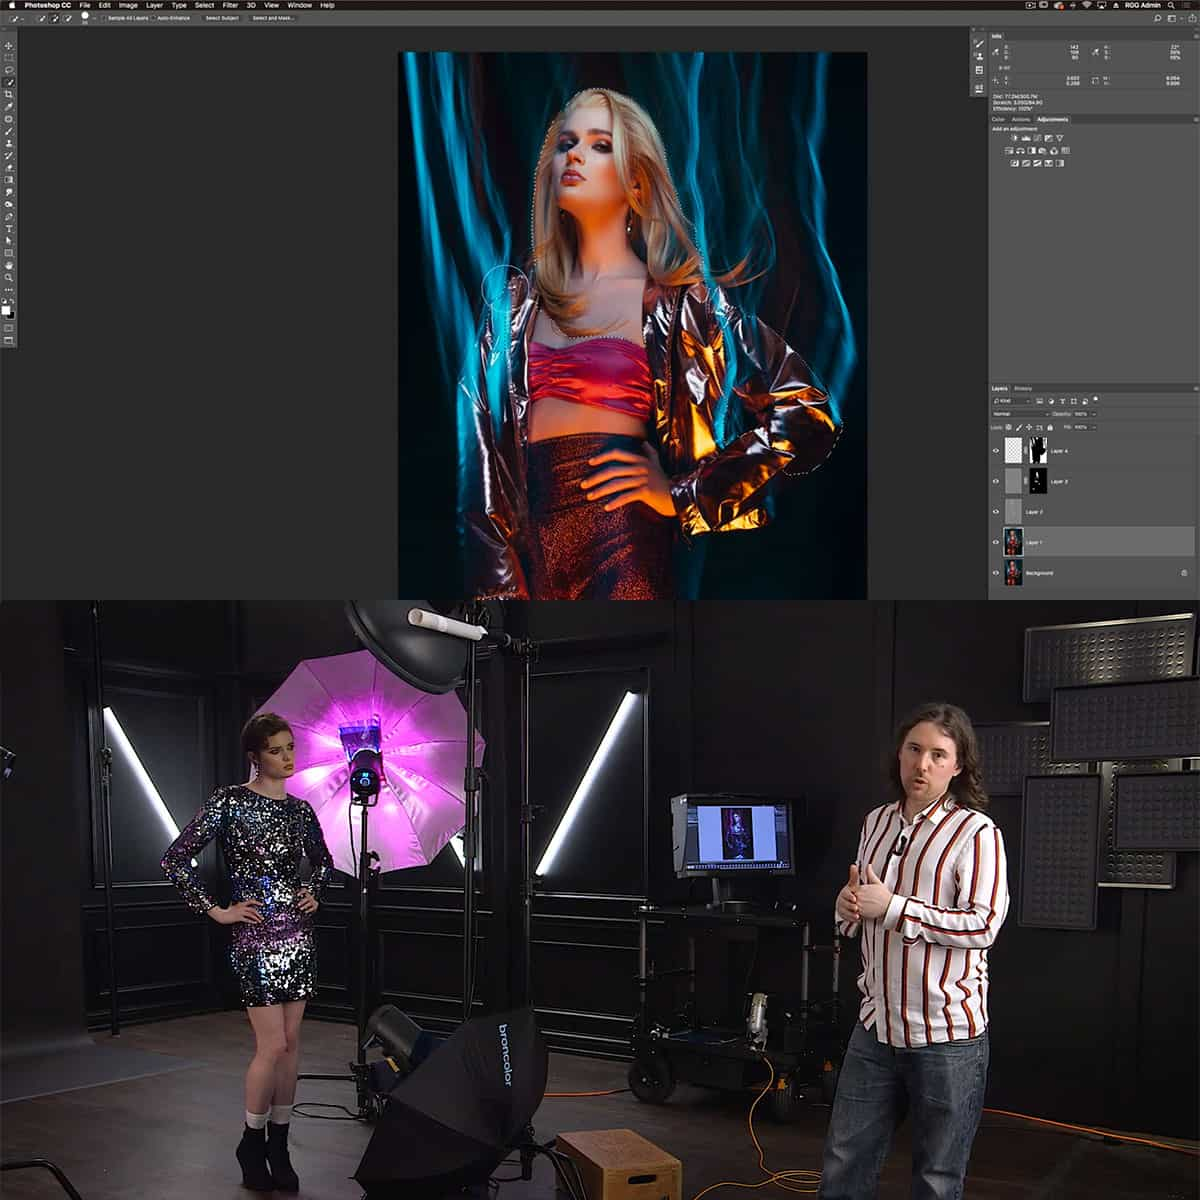
To begin, we can add a color balance adjustment layer by clicking on the adjustment layer icon at the bottom of the Layers panel. By providing a mask with the adjustment layer, we are able to control the areas of the image that will be affected by our color adjustments. This is useful when we want to affect only specific parts of the image.
Using the Color Balance adjustment layer, we have the opportunity to adjust colors separately for shadows, mid-tones, and highlights. This granularity in control allows us to make subtle and precise changes to get the desired effect.
If you're working with smart objects, such as images imported from Adobe Camera Raw, you can still utilize the Color Balance adjustment layer. This way, your adjustments will be applied as part of the nondestructive editing process, ensuring no permanent alterations to your original image.
In conclusion, the Color Balance adjustment layer in Photoshop is a powerful and flexible way to adjust the colors within your images. With its nondestructive approach and mask support, you can easily fine-tune your photos to achieve the desired look.
Detailed Process: Adjusting Colors
In this section, we will explain the process of adjusting colors in Photoshop using selective color, levels, midtones, shadows, and highlights to attain a perfect color balance.
First, let's talk about selective color. This technique allows us to target specific colors in the image and adjust them individually. To use selective color, we create a Selective Color Adjustment Layer. Here, we can modify the primary and secondary colors in our image, making them more vibrant or muted as needed. Read The Ultimate Guide to Adjustment Layers in Photoshop for more details.
Now, let's move on to the levels. Levels help in adjusting the tonal range of an image by changing the intensity of shadows, midtones, and highlights. We can use the Levels Adjustment Layer to make these changes. For instance, if our image looks too dark or too light, levels can be adjusted to attain the desired effect.
Midtones are the middle values between the darkest shadows and the brightest highlights of an image. Adjusting midtones has a great impact on the overall appearance and color balance of a photograph. To adjust midtones, we can use the Curves Adjustment Layer and manipulate specific parts of the tonal curve to achieve the desired balance.
Shadows and highlights play a significant role in making our images look more appealing. The Shadows/Highlights Adjustment tool can help us emphasize or reduce detail in the dark and light areas of an image. Using this tool, we can independently modify the shadows and highlights to create a well-balanced image.
Lastly, maintaining control over our adjustments is essential to avoid over-processing. By using layer masks and opacity sliders, we can choose which parts of an image are affected by each adjustment, thus retaining a natural appearance and ensuring a perfect color balance.
Applications of Color Balance
In the realm of digital images and art, color balance plays a crucial role in achieving realistic and accurate colors. We can use this technique to correct color imperfections in photos, as well as enhance the overall visual appeal. It is important to consider the texture of the elements in the image when adjusting color balance, as different textures may react differently to color adjustments.
Some common applications of color balance in Photoshop include:
- Correcting color casts: Fixing unwanted tints or hues in images, often caused by variations in lighting conditions.
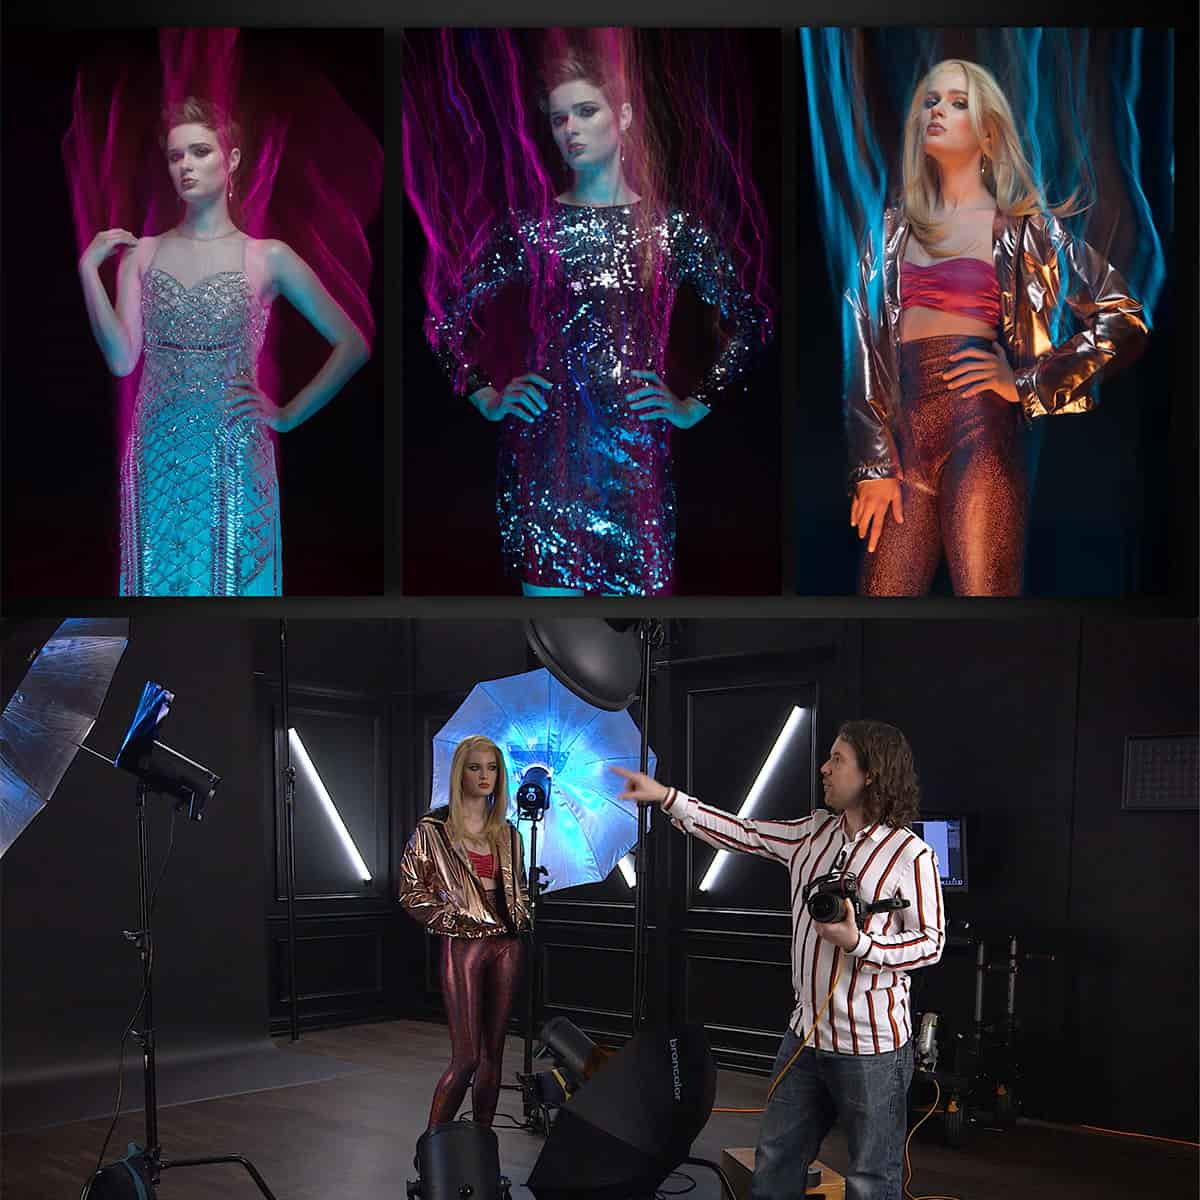
- Stylizing images: Creating unique and interesting effects by altering the overall color scheme, giving the image a specific mood or atmosphere.
- Unifying color themes: Ensuring consistent color palettes throughout a series of images or an entire project, providing a cohesive look.
By paying attention to color balance, we can significantly improve the quality of our images, whether for personal or professional use. When applied effectively, color balance allows us to produce visually pleasing and realistic results, enhancing the overall impact of our art.
Conclusion
In this article, we discussed the concept of color balance in Photoshop. Using this powerful tool, we can correct color imperfections in our images and create dramatic effects by altering the color mixture. One popular technique for adjusting color balance in Photoshop is using the Color Balance adjustment layer, which allows us to manipulate the different color channels and their complementary colors to achieve the desired look.
Another approach to improve color balance in our images is by using the Camera Raw filter. This feature enables us to access Adobe Camera Raw's interface within Photoshop, providing a comprehensive range of adjustment options for white balance. When making such adjustments, it's important to strike the right balance between achieving a natural look and preserving the artistic intent of the photograph.
In summary, understanding color balance techniques in Photoshop allows us to enhance our images effectively. With the right knowledge and practice, we can drastically improve our photographs' visual appeal and ensure they communicate the intended message. Whether we're fixing color imperfections or adding creative color grading, Photoshop offers various tools that empower us to achieve captivating results confidently.
Frequently Asked Questions
How does Color Balance adjust image tones?
Color Balance in Photoshop adjusts the tones of an image by altering the percentages of primary and secondary colors. By modifying the intensities of cyan, magenta, and yellow, we can achieve a balanced image with accurate colors source.
What are the benefits of using Color Balance?
Using Color Balance allows us to correct color imperfections in photos and create more accurate representations of the original scene. Additionally, we can use this tool to create dramatic effects or enhance the overall appearance of our images source.
How can I fix color cast issues in Photoshop?
To fix color cast issues in Photoshop, we can use the Color Balance adjustment layer to individually adjust the tones in the highlights, shadows, and mid-tones of the image source. This can help effectively reduce and eliminate color casts caused by improper lighting conditions or camera settings.
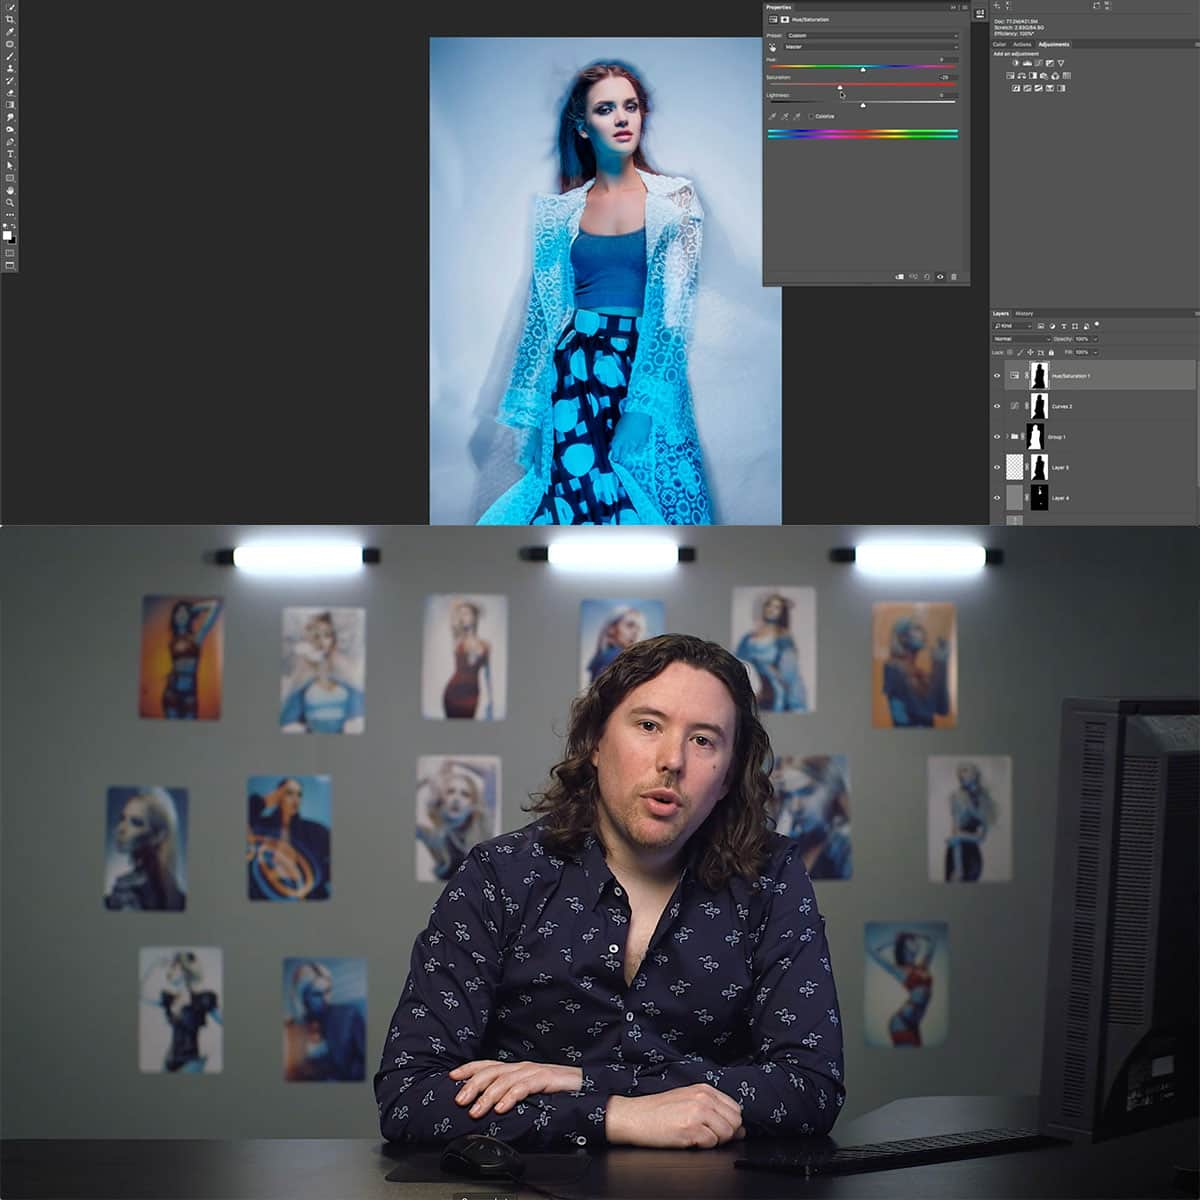
What's the difference between Color Balance and Hue/Saturation?
While Color Balance focuses on adjusting the relative intensities of primary and secondary colors, Hue/Saturation deals with changing the hue and saturation of specific color ranges or the entire image. In essence, Color Balance corrects the color mixtures, whereas Hue/Saturation adjusts the distinctiveness and vividness of colors source.
How does the Color Balance tool relate to Levels?
Both Color Balance and Levels are tools for adjusting the overall tones and colors of an image. However, the Levels tool is designed to manage the tonal range by setting the black, white, and mid-tone levels, whereas the Color Balance tool focuses on fine-tuning the color relationships in your image source.
Why might Color Balance adjustments not be working?
If Color Balance adjustments don't seem to be working, it might be because the image has other underlying issues that need to be addressed first, such as exposure or contrast problems. It's also possible that the adjustments are too subtle, or that the Color Balance layer is beneath other adjustment layers, causing the changes to be less visible.


