Curves Tool in Photo Editing: Mastering Tonal Adjustments Made Easy
The Curves Tool in photo editing is a powerful and versatile feature found in popular software like Adobe Photoshop and Lightroom. This remarkable tool allows photographers and designers to make precise adjustments to the tonality, contrast, and color balance of an image, resulting in improved image quality and creative control.
Understanding the basics of the Curves Tool is essential for anyone who is passionate about digital photography or design. By manipulating points on a graph that represents the image's tonality, we can create subtle or dramatic adjustments to different regions of the image, such as highlights, shadows, and midtones.
Key Takeaways
- The Curves Tool is a powerful feature for making tonal adjustments in photo editing software
- Users can improve image quality by manipulating points on a graph representing the image's tonality
- Mastering the Curves Tool allows for greater creative control and precision in photo editing
Understanding Curves in Photo Editing
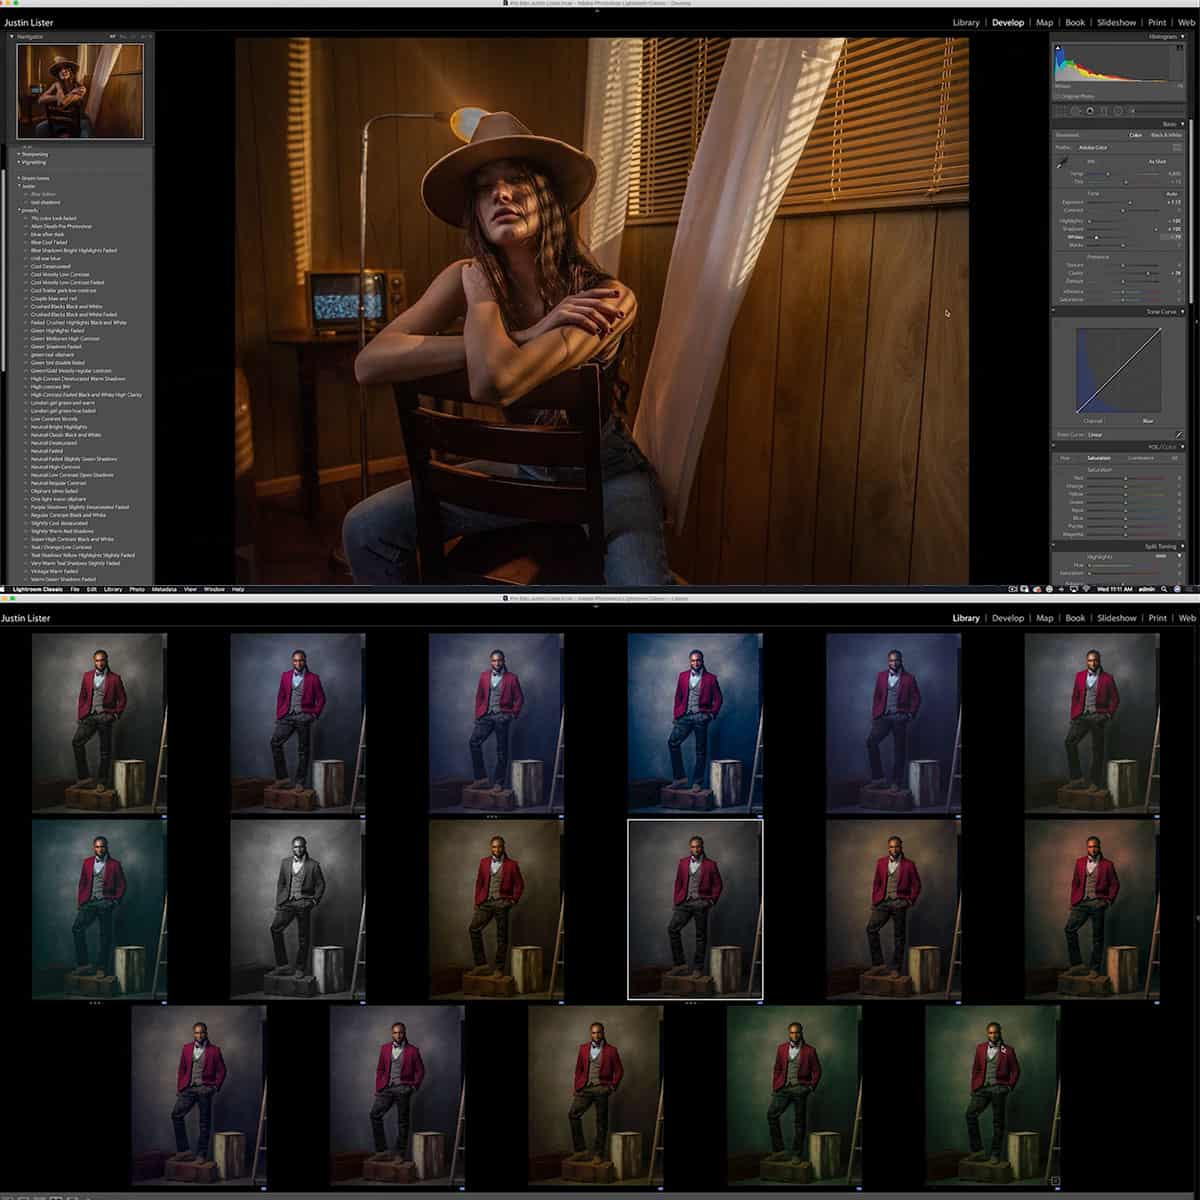
In photo editing, the Curves tool plays a vital role in mastering tonal adjustments. It allows us to adjust the overall brightness, contrast, and color balance of an image with precision. Curves can be found in various software, such as Photoshop, where it's commonly used as a Curves Adjustment Layer.
One of the essential aspects of using the Curves tool is understanding how to manipulate the curve itself. Essentially, the curve represents the input of pixel values (horizontal axis) and their corresponding output values (vertical axis). By adjusting the curve, we can alter the brightness and contrast of specific tonal ranges in our image.
For instance, applying an S-curve increases the overall contrast of an image. This is done by darkening the shadows and lightening the highlights. Conversely, an inverted S-curve can be used to lower the contrast, creating a more subdued look. While using the Curves tool, it's important to remember that it not only affects luminosity but also the color channels - red, green, and blue - of an image.
A practical technique when working with Curves is to add anchor points, which help adjust specific tonal ranges without affecting others. Anchor points should be placed on the curve strategically, allowing for gradual and smooth transitions between them. This avoids the creation of harsh contrasts across tones, as noted by Pictureeditor.
In conclusion, mastering the Curves tool in photo editing software like Photoshop requires understanding its basic principles and practicing various techniques. By doing so, we can greatly improve our image's tonal range and overall appearance, making our work look more professional and visually appealing.
Mastering Tonal Adjustments with Curves
When it comes to photo editing, the Curves tool can greatly enhance the tonal range of your image. Within this tool, we can easily manipulate shadows, brightness, and darken specific areas to create the desired effect. Understanding how to adjust midtones and preserve the overall tonality helps us unlock the full potential of this advanced tool.
Curves allows us to modify the hue and make tonal adjustments to emphasize certain areas of the image. By using the graphical interface, we can create custom, non-linear adjustments for specific parts of the photo, which comes in handy especially for graphic designers and photographers. Here is a step-by-step guide for mastering the use of the Curves tool.
We can start the process by adjusting mid-tones, then moving on to the shadow and highlight tones. The key is to create an S-curve for increased contrast, but this can be reversed to form an inverted S-curve to decrease contrast when needed. Here are some examples and techniques that can help you understand how to use the Curves tool for precision photo editing.
Improving Contrast and Color with Curves
Curves is a powerful tool in photo editing software that allows us to make precise adjustments to tone, contrast, and color in our images. By manipulating the curve, we can adjust the highlights, midtones, and shadows separately, giving us more control over the overall image.
We can easily improve the contrast in our photos by creating an s-curve. This involves raising the values for the highlights and lowering the values for the shadows. The s-curve shape mimics the natural curve of a photograph and helps to make our images appear more vibrant and striking.
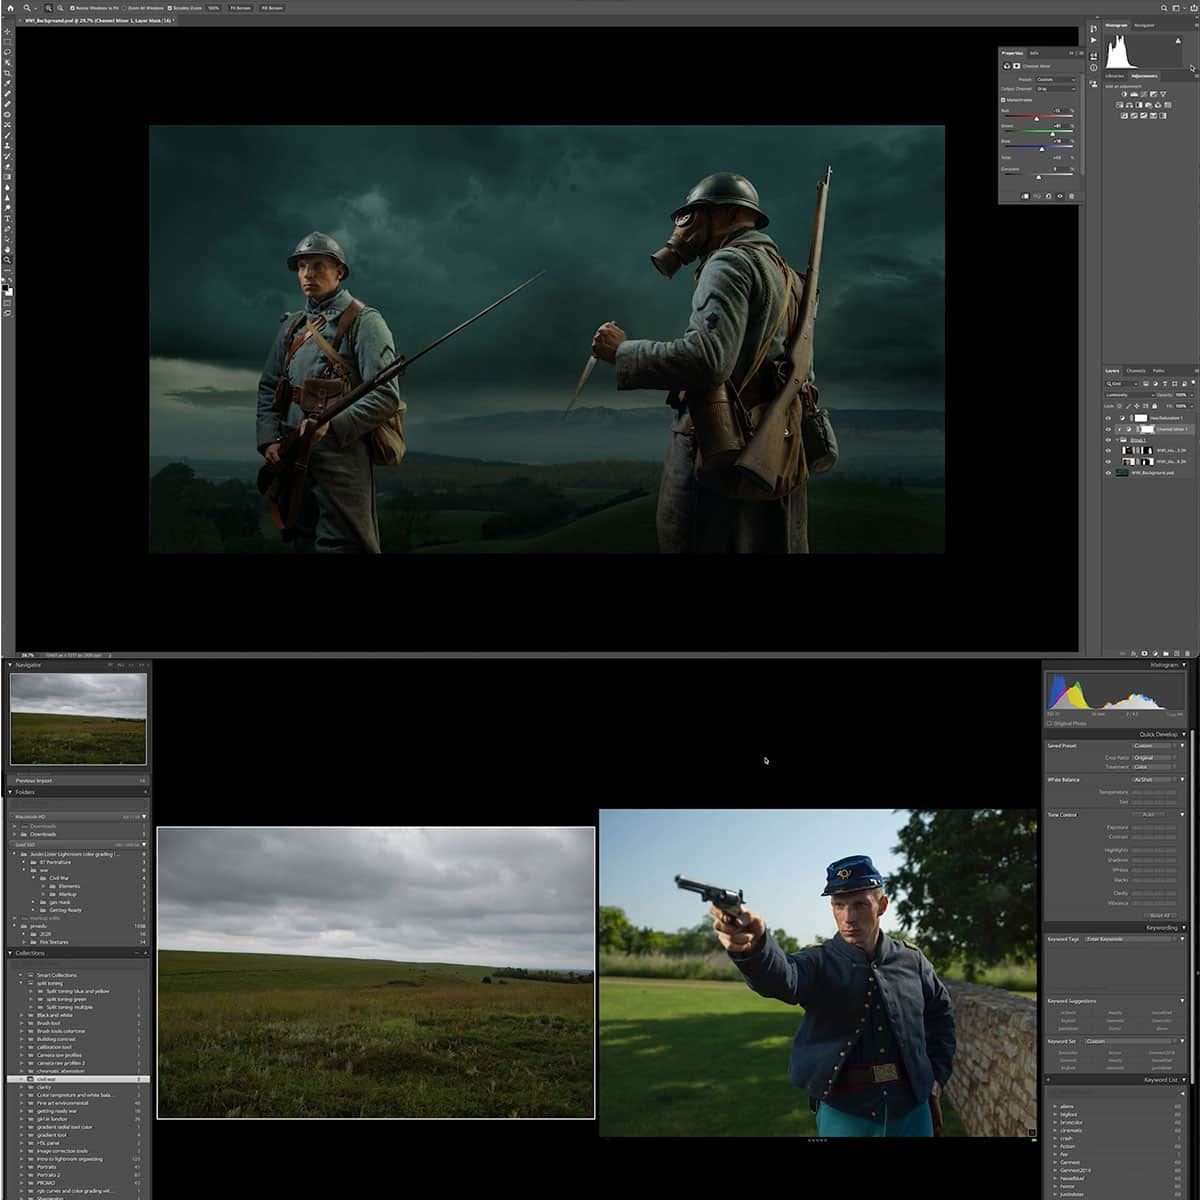
Another important aspect of the Curves tool is its ability to adjust individual color channels (red, green, and blue). By adjusting each color channel separately, we can enhance or balance the colors in our image. For example, if we want to emphasize the red tones, we can increase the contrast for the red channel by adjusting the curve.
Saturation and opacity can also be changed with the Curves tool. To improve saturation, we can increase the distance between the color channels' black and white points. This will increase the colors' intensity without making them appear unnatural. On the other hand, to control the opacity of an area in our photo, we can adjust the corresponding color balance in the curve.
Finally, the Curves tool can help us achieve a more polished finish by setting the proper black and white points in our image. By doing this, we ensure that the darkest and brightest parts of our photo are represented accurately, without losing any precious detail.
In summary, mastering tonal adjustments with the Curves tool allows us to enhance our photos in a nuanced and precise manner. By understanding how to improve contrast, adjust individual color channels, and fine-tune saturation and opacity, we can create stunning, professional-looking images.
Working with Curves Adjustment Layers
Curves Adjustment Layers in photo editing offer precise control over tonal adjustments in your images. By creating a Curves Adjustment Layer, you can make adjustments without affecting the original image layers.
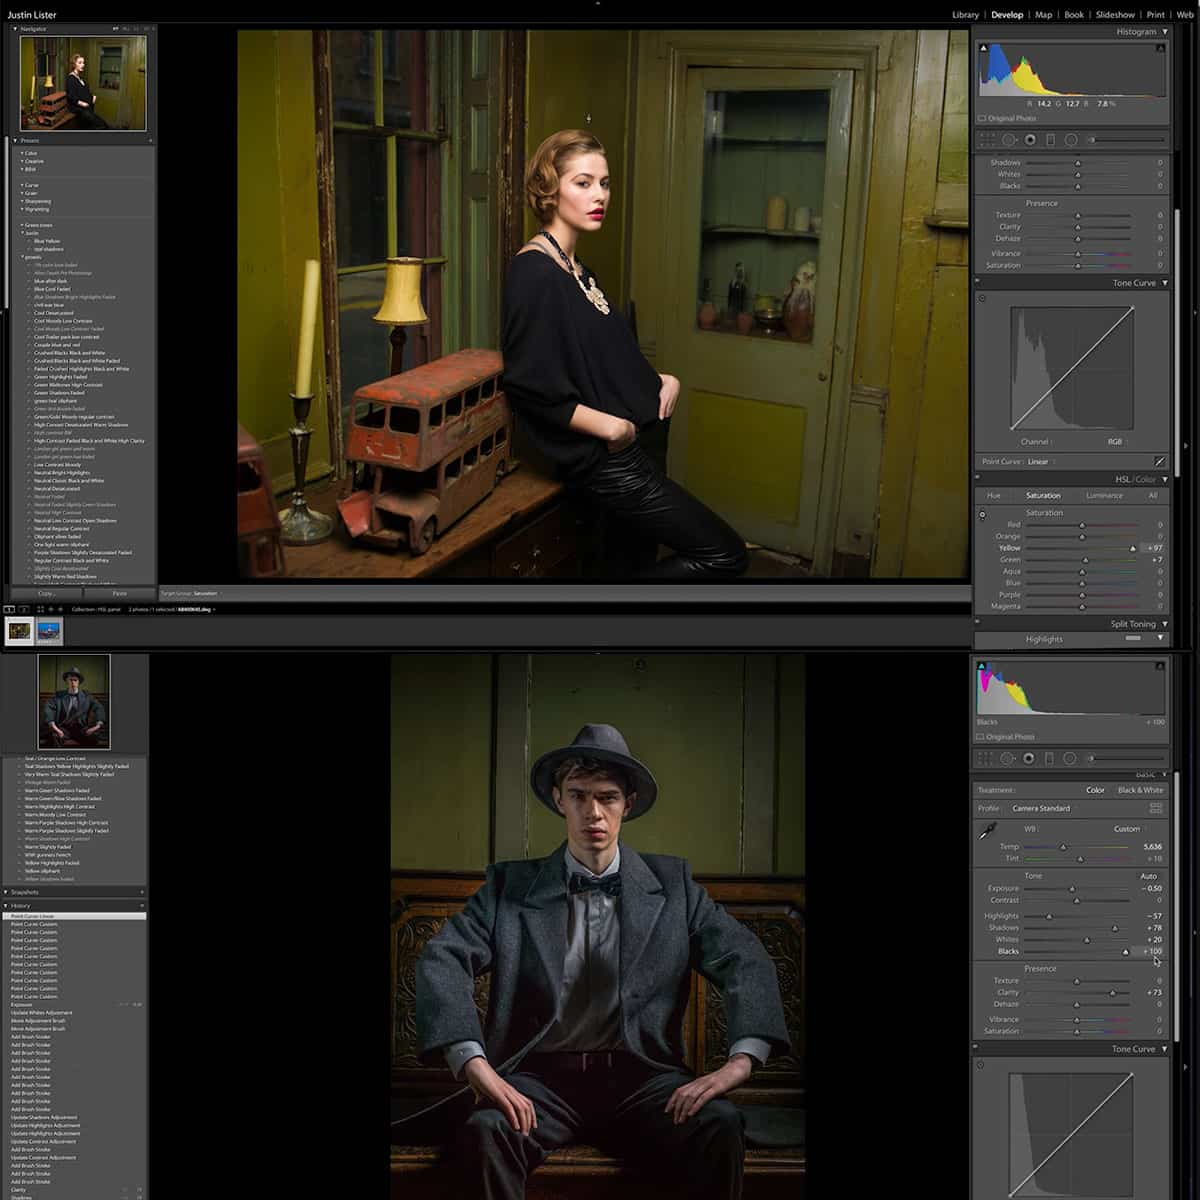
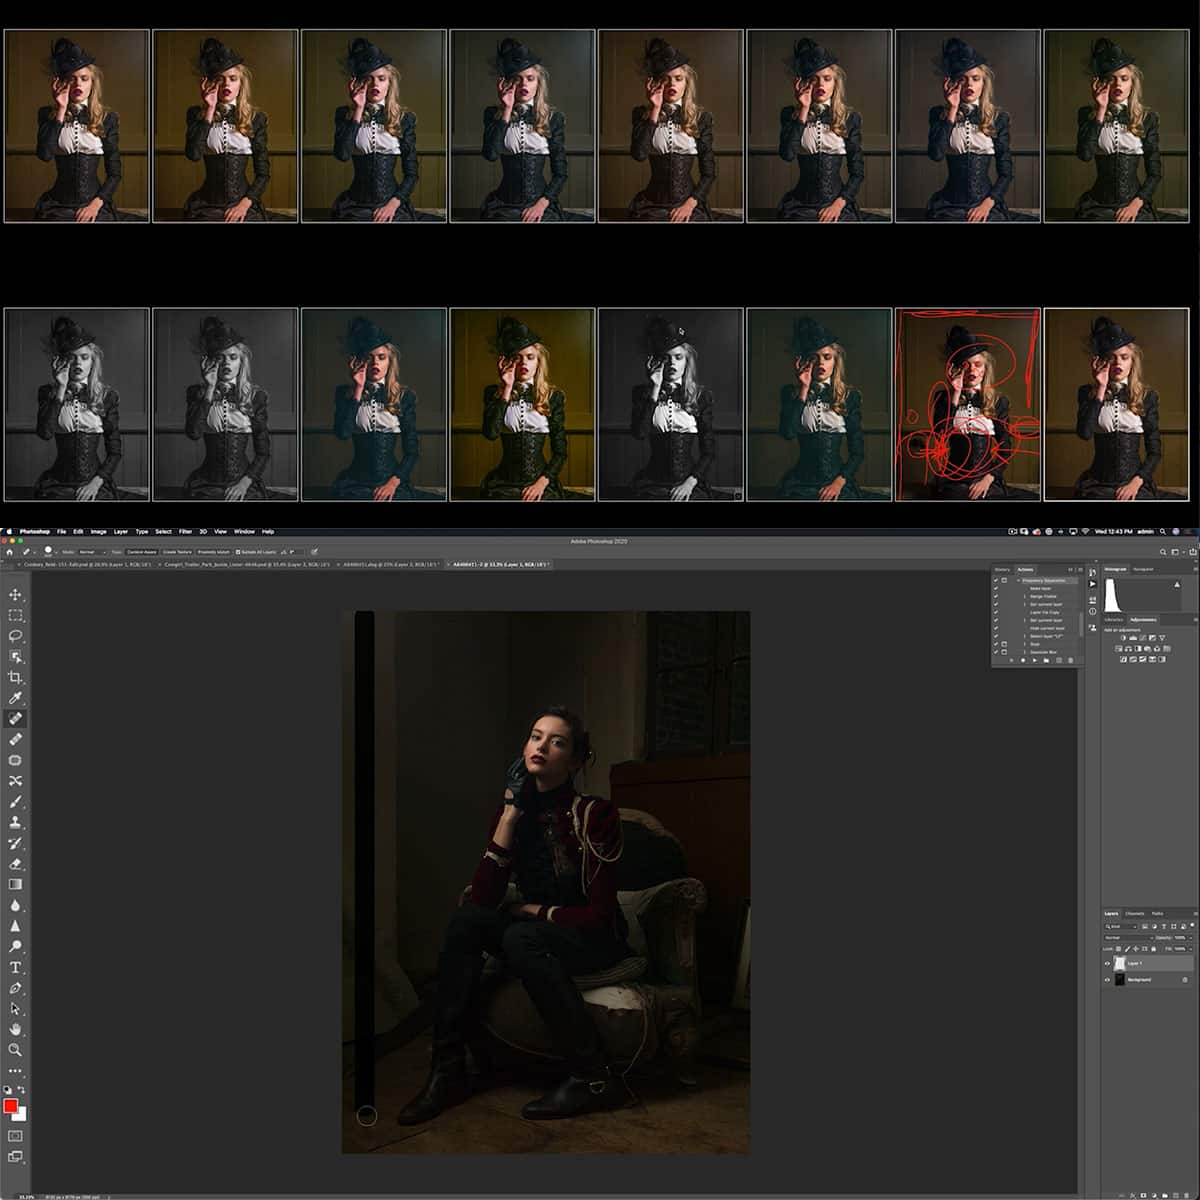
To start, locate the Layers Panel in your editing software. Select the Create Adjustment Layer icon at the bottom, and choose Layer > New Adjustment Layer > Curves. This will create a new Curves layer with an accompanying mask.
One of the key benefits of using Adjustment Layers is that they can be edited at any time, offering non-destructive editing. The layer mask allows us to target specific areas of our image while protecting others from changes.
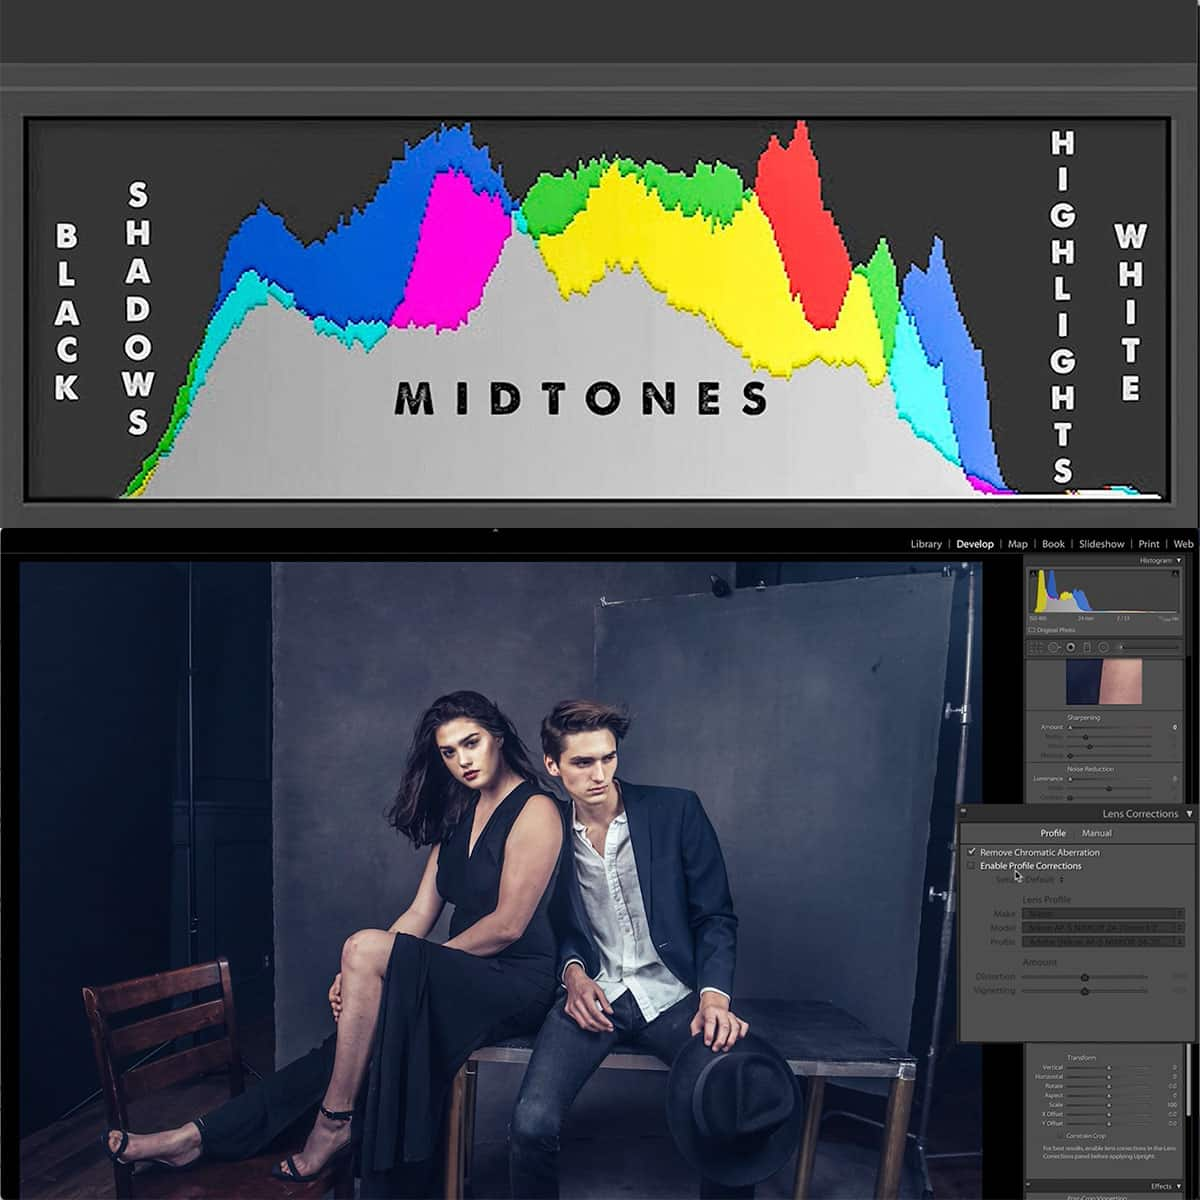
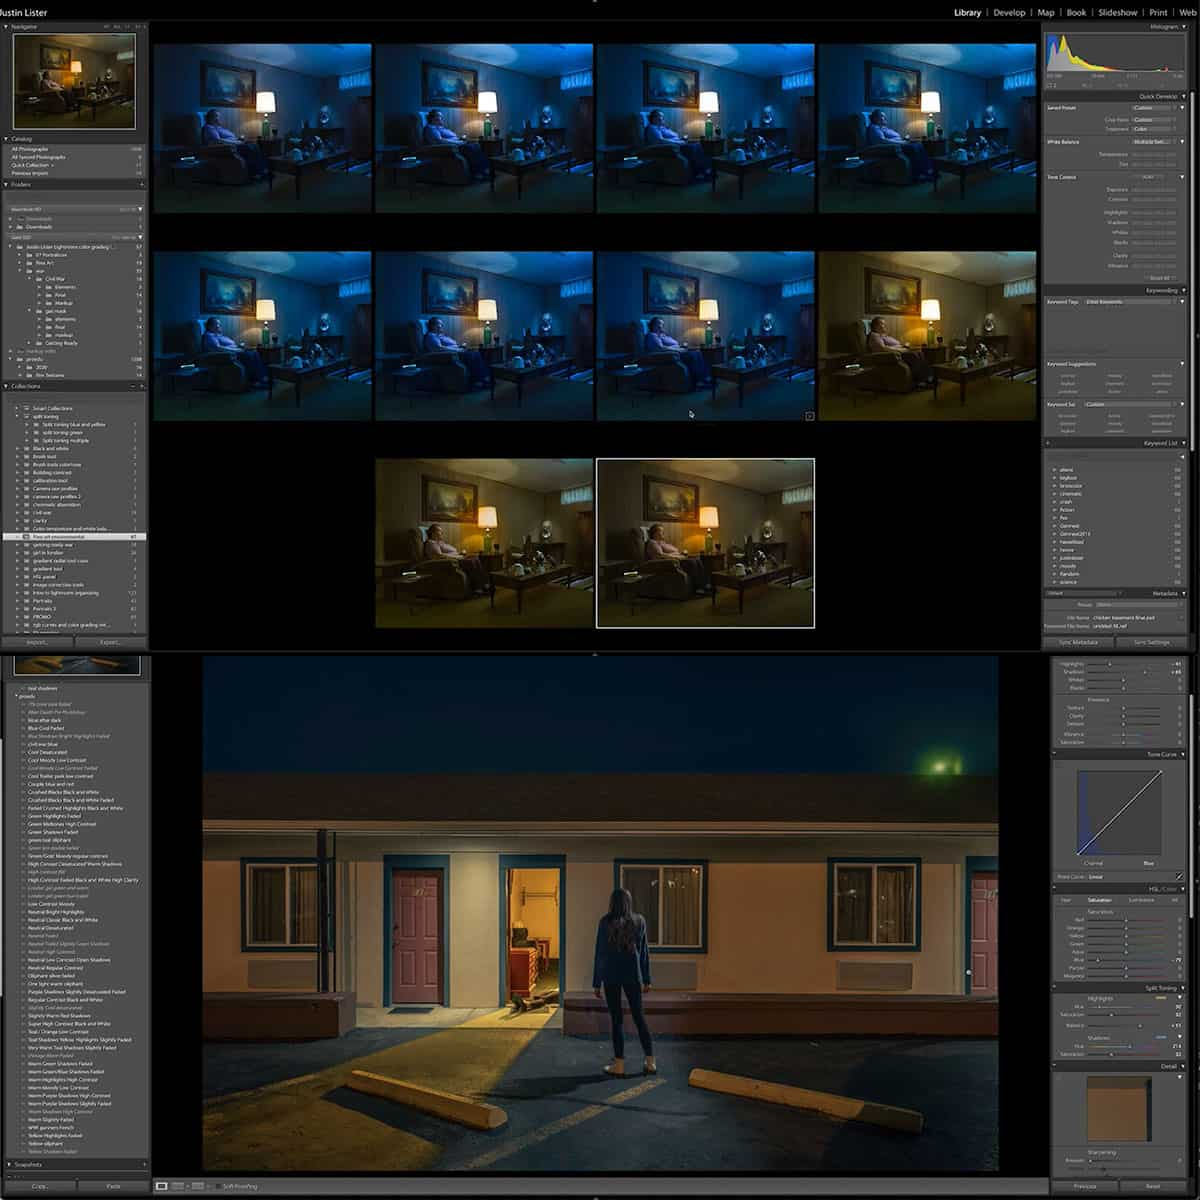
When using the Curves Adjustment Layer, you can make changes to the image's tones by altering the curve on a graph. This graph is representative of the image's histogram, with dark tones on the left and light tones on the right.
Consider the following steps to make adjustments using Curves:
- Open the Curves Adjustment Layer dialog box.
- Click and drag points on the curve to adjust the tonal values of your image.
- Optional: Select different color channels in the Curves Adjustment Layer to make adjustments to specific colors.
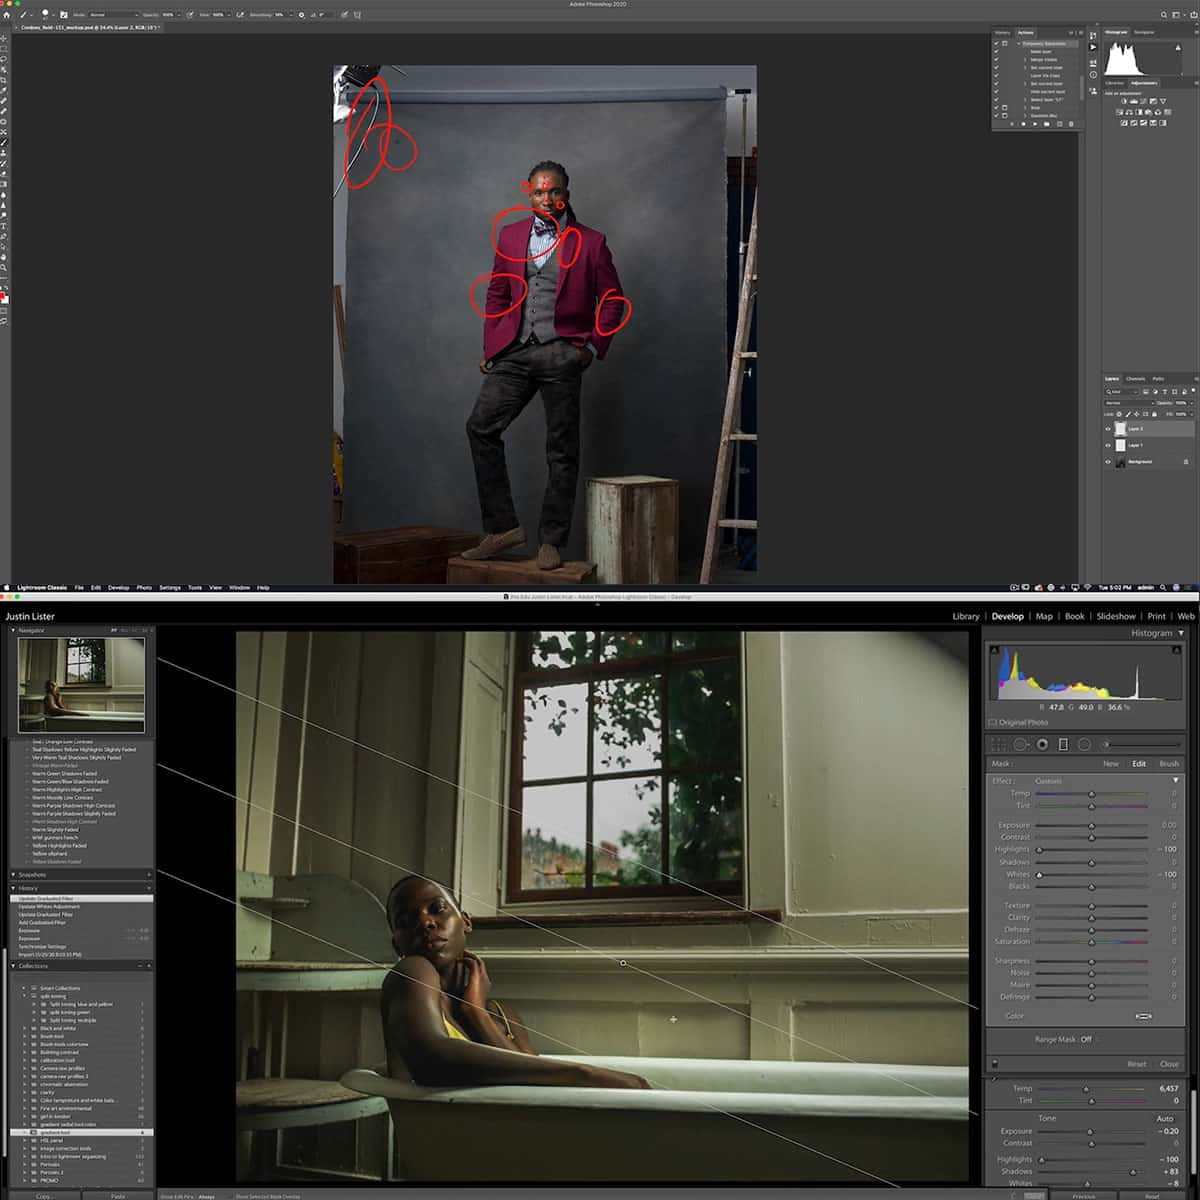
- Refine the mask on the Adjustment Layer to target specific areas of the image, if desired.
Using Curves Adjustment Layers, we can achieve a variety of effects in our images, from correcting contrast and exposure issues to enhancing colors and creating custom tonal adjustments. As you continue to practice and refine your skills with this powerful tool, it will become an essential part of your photo editing process.
Advanced Techniques in Curves Tool
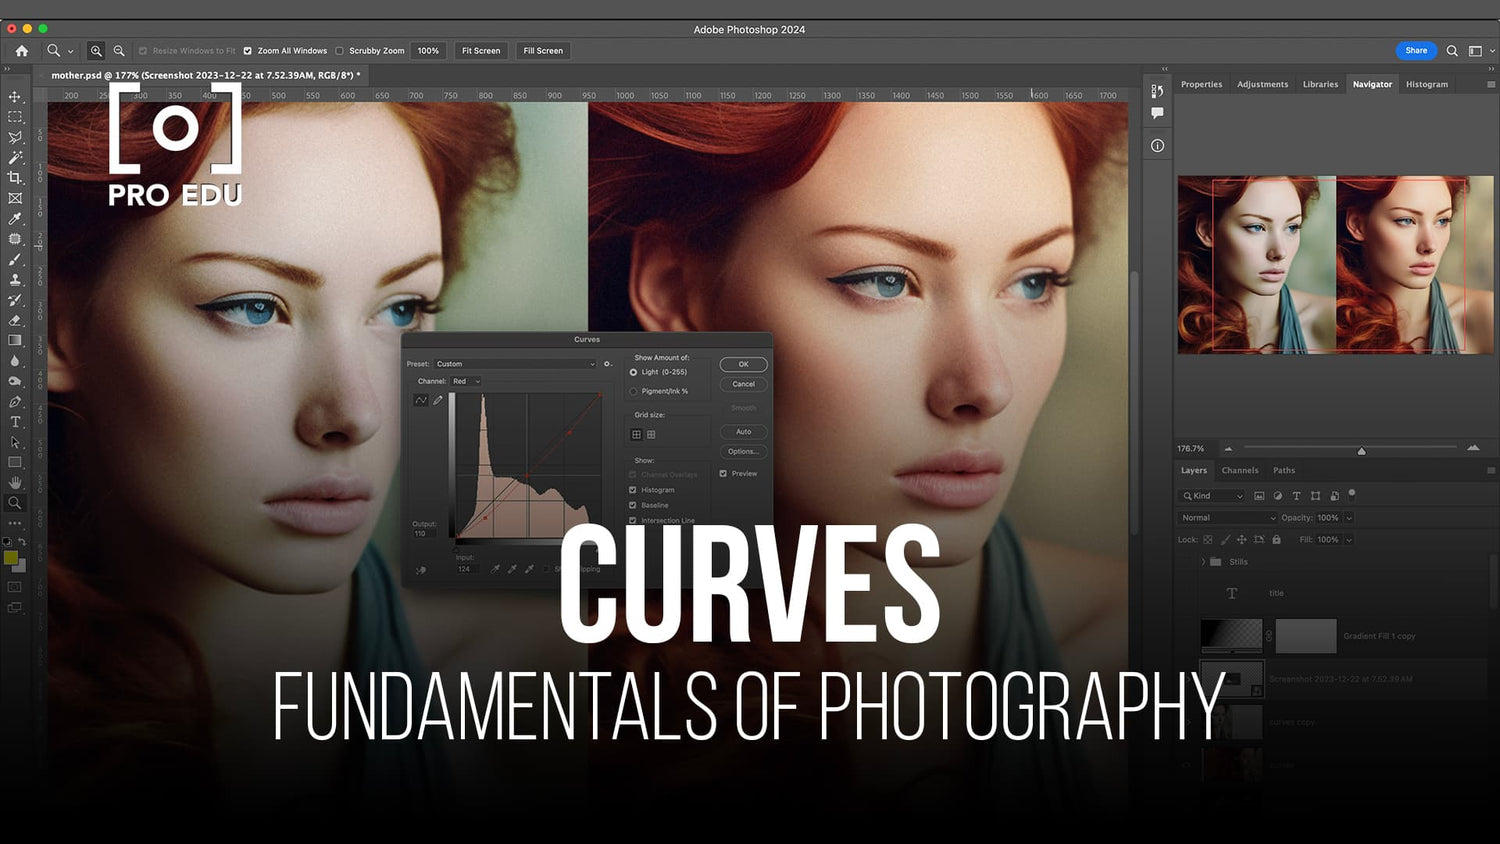
In our photo editing journey, mastering tonal adjustments using the Curves Tool is essential. Let's take a look at some advanced techniques that involve working with input, output, and other functionalities.
Presets and sliders come in handy for quick adjustments. You can choose a preset or manually manipulate sliders to modify the image. Selecting a white point or black point with the eyedropper tool helps correct color balance.
The diagonal line visible on the grid represents the tonal range. If you want to brighten an area, click and drag the line upwards, while dragging the line downwards can darken areas. The horizontal axis reflects input levels, while the vertical axis indicates output levels.
The Auto button is useful for automatic corrections; however, manual adjustments can offer better control over the results. Eyedroppers are essential tools in setting black, gray, and white points. This helps to correct white balance but be cautious, as using all three may not always be necessary.
Keep in mind that working with edit points can be tricky. To create the desired effect, the lesser, the better. A smooth curve ensures a consistent and visually appealing result. Integrating these advanced techniques into your workflow will help you achieve professional-looking photo edits.
Conclusion
In our exploration of the Curves Tool in photo editing, we have seen how this powerful feature allows for precise control over tonal adjustments. By skillfully manipulating the curve within our photo editing software, we can transform the exposure and contrast of our images for stunning effects.
As we delve deeper into mastering the Curves Tool, we discover how it provides a more detailed understanding of color grading and image editing. A well-rounded knowledge of this feature is crucial for experimenting with specialized edits and revitalizing our digital creations.
To further solidify our expertise in using the Curves Tool, it's essential to focus on precision editing. By taking the time to master this tool, we can unlock its full potential and elevate our photo editing skills to new heights.
The Curves Tool can indeed be an intimidating feature at first glance, but with dedication and practice, we can overcome any obstacles and emerge as proficient users of this essential photo editing instrument. So go ahead and continue refining your skills with the Curves Tool in Photoshop or other photo editing software, and watch your creative vision come to life!
Frequently Asked Questions
What is the purpose of Curves Tool in photo editing software?
The Curves Tool is a powerful feature in photo editing software that allows us to adjust the tonal range and contrast of an image. With it, we can make precise adjustments to the highlights, midtones, and shadows, improving the overall quality of the image.
How do you use the Curves Tool to improve tonal range in an image?
To improve the tonal range in an image, start by creating a point in the middle of the curve and adjusting it up or down. This will modify the midtones. Then, add points to the highlights and shadows, and manipulate them accordingly to adjust the overall tonal range.
What are the differences between RGB curves and Color Curves?
RGB curves adjust the overall luminance levels, while Color Curves focus on individual color channels (red, green, and blue). When using Color Curves, we can make adjustments to a specific color channel without affecting others, granting us more control over the image's color balance.
How can you use the Curves Tool to adjust individual color channels?
To adjust individual color channels using the Curves Tool, first select the desired channel (red, green, or blue) from the dropdown menu in your photo editing software. Then, adjust the curve for that specific channel, making sure not to affect the others. This will allow you to fine-tune the colors in your image.
What are some tips for making precise adjustments with the Curves Tool?
When using the Curves Tool, it's important to use a gentle touch and make small, incremental changes. Utilize the grid overlay on the histogram to guide your adjustments, and frequently check the before and after states of your image. This will ensure you are improving the image without introducing artifacts.
Are there any keyboard shortcuts for using the Curves Tool in Photoshop?
Yes, in Photoshop, you can quickly access the Curves Tool by pressing [Ctrl + M] on Windows or [Cmd + M] on Mac. Once the Curves window is open, you'll see the histogram of your image overlaid with a grid and one diagonal line, allowing you to make adjustments as needed.


