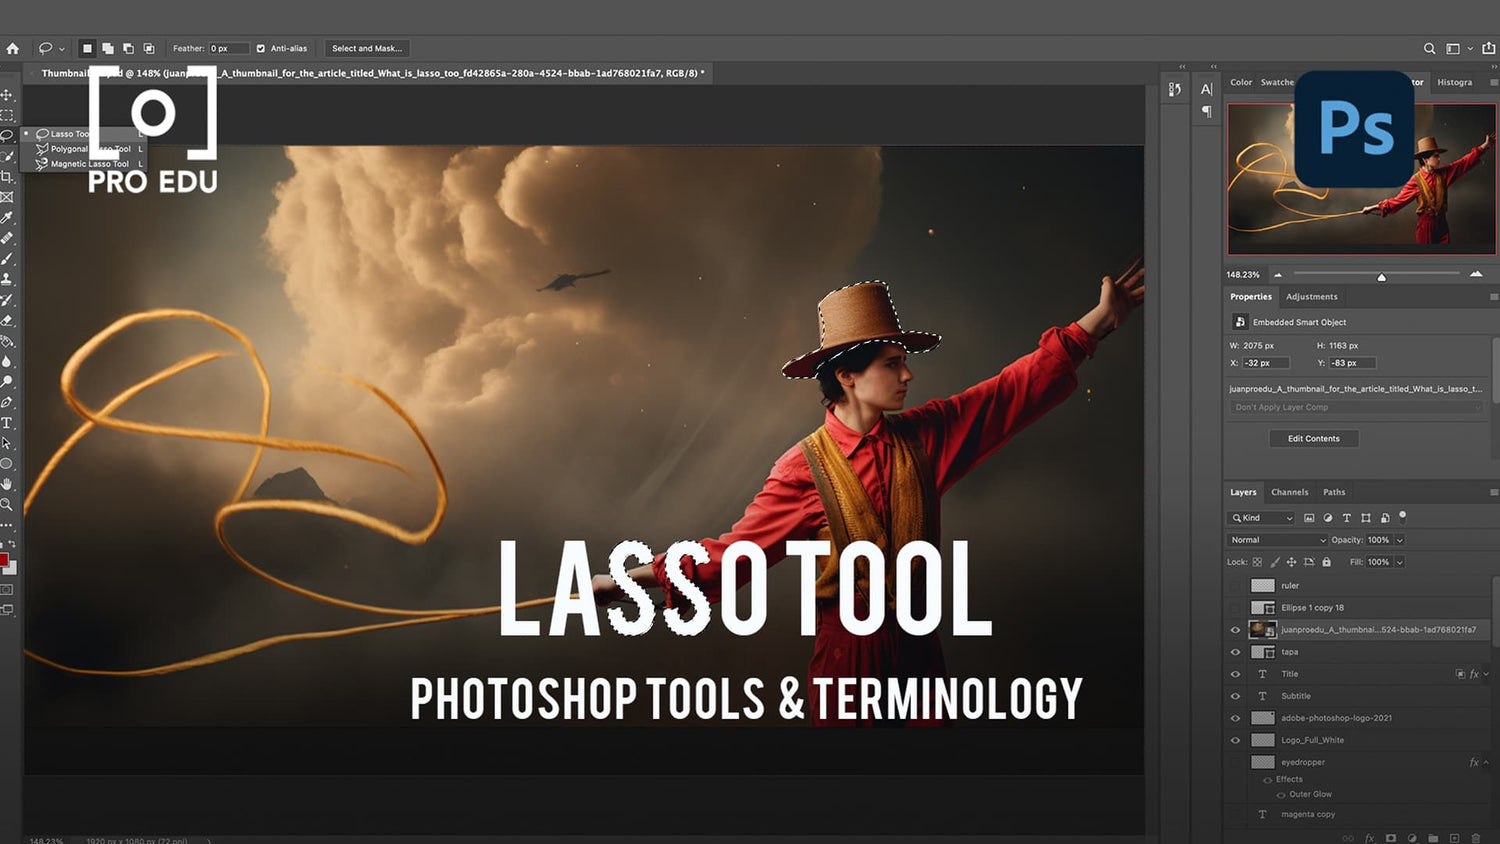
What Is a Lasso Tool in Photoshop? Simplified Guide for Beginners
The Lasso Tool in Photoshop is a versatile and creative selection tool for designers and photographers alike. It allows you to make freehand selections around objects in your image, making it an intuitive way to isolate specific elements within your project.
There are a variety of Lasso Tools available, each with their own unique capabilities for creating simple to complex selections. By exploring the different types of Lasso Tools and the accompanying selection options, users can enhance their workflow and achieve the desired effect in their work.
Key Takeaways
- The Lasso Tool is a versatile selection tool in Photoshop, enabling freehand selections around objects
- Different types of Lasso Tools offer unique capabilities to create simple to complex selections
- Familiarizing yourself with various Lasso Tool options can greatly enhance your design and photography workflow
Understanding the Lasso Tool
The Lasso Tool in Photoshop is an essential part of any designer's toolkit. Its primary function is to allow users to create precise selections of objects or areas within an image. We can achieve this by using three main types of lasso: the regular Lasso, Polygonal, and Magnetic.
To begin using the regular Lasso Tool, locate it in the toolbar on the left side of the Photoshop workspace. You can also press "L" on your keyboard to quickly select it. The regular Lasso Tool is essentially a freehand selection instrument, allowing you to manually draw around the desired area with your mouse. This tool is perfect for selecting objects that have irregular shapes or edges.
When using the Lasso Tool, it's important to maintain a steady hand while tracing around your subject; otherwise, the selection might not be as accurate as intended. If you find it challenging to create a precise selection with the regular Lasso Tool, Photoshop offers two other lasso options that can simplify the process.
Keep in mind that practice is key to mastering the Lasso Tool in Photoshop. As you become more familiar with the tool and its capabilities, you'll be able to create selections more efficiently. Don't hesitate to experiment with the different lasso options and discover which one works best for your particular project.
Different Types of Lasso Tools
Polygonal Lasso Tool
The Polygonal Lasso Tool is an excellent choice for making selections with straight edges. By clicking on a starting point, we can create straight lines with each subsequent click. This tool is ideal when working with geometric forms or objects with well-defined borders. To close the selection, we can either double-click or connect the last point to the starting point.
Using a stylus can further enhance the precision of this tool, providing a smoother and more controlled experience. The Polygonal Lasso Tool can be easily accessed by pressing 'L' on your keyboard and cycling through the lasso tools with 'Shift + L.'
Magnetic Lasso Tool
The Magnetic Lasso Tool offers another way to make selections in Photoshop, especially around objects with clear boundaries. As we trace around the edge of an object, the tool automatically detects and snaps to the object's edge, making the selection process more comfortable and more accurate. If necessary, we can adjust the edge detection strength with the Contrast setting for better results.
Again, using a stylus with the Magnetic Lasso Tool can improve control and precision, making it even more effective in capturing the desired selection. Just like the Polygonal tool, pressing 'L' followed by 'Shift + L' cycles through the available lasso tools, allowing you to quickly access the Magnetic Lasso Tool.
Exploring Selection Options
In Photoshop, the Lasso Tool is a versatile selection tool that allows us to make freehand selections around objects in our images. Among its numerous applications, our selection options include Add to selection, Subtract from selection, and more. Let us explore the different selection options the Lasso Tool offers.
When working with multiple objects or areas, we can utilize the Add to selection option. This enables us to combine selections without deselecting the previous ones by simply holding down the Shift key while using the Lasso Tool.
The Subtract from selection option, on the other hand, allows us to remove parts from an existing selection. To do this, hold down the Alt/Option key while using the Lasso Tool to eliminate any undesired areas within our current selection border.
In conclusion, the Lasso Tool in Photoshop gives us a great amount of control over our selections and allows us to add or subtract from them with ease. By understanding these selection options, we can enhance our editing capabilities and create nuances in our designs.
Abrupt Selection Using Marquee Tools
When working with Photoshop, the Marquee tools are important selection tools in our arsenal. These utilities allow us to create abrupt or sharp-edged selections in distinct shapes like rectangles, ellipses, and even single rows/columns. Using these tools, we can isolate specific areas of an image and perform various actions on those selections.
One important option to consider while making selections with Marquee tools is anti-aliasing. This feature smooths the jagged edges of our selections, providing a more visually appealing result. By default, Marquee tools have anti-alias disabled, leading to an abrupt or hard-edged selection. To enable anti-aliasing, we can simply tick the "Anti-alias" checkbox in the options bar of the Marquee tools.
- Rectangular Marquee Tool: This tool helps us make rectangular selections and can be used by clicking and dragging diagonally across an area in the image.
- Elliptical Marquee Tool: The elliptical variant of the Marquee tool allows us to create circular or elliptical selections. We use it by clicking, dragging, and maintaining a balanced diagonal movement in the desired area.
- Single Row/Column Marquee Tool: These tools come in handy when we want to make one-pixel-wide selections, either horizontally or vertically. Just click on the image where you want the single row or column selection to be created.
In summary, the Marquee tools within Photoshop provide us with a solid foundation to perform basic, abrupt selections in various shapes and sizes. By toggling the anti-alias option on or off, we can achieve various edge qualities in our selections, creating different visual effects.
Navigating Through Tool Options Bar
When working with the Lasso Tool in Photoshop, we will find several options and settings in the Tool Options Bar. This bar presents the available adjustments for each selection tool, including the Lasso Tool. In this section, we focus on the options for width, frequency, feathering, and contrast.
The width option affects the Magnetic Lasso Tool. It sets the detection width for detecting edges when creating a selection. A larger width value helps the tool detect more distant edges, while a smaller value makes it more precise and selects only nearby edges.
Frequency is another setting specifically for the Magnetic Lasso Tool. It determines how often the tool adds anchor points to the selection border. A higher frequency results in more anchor points, making the selection more accurate, while a lower frequency creates fewer anchor points and smoother selections.
To create a softer edge in the selection, we can adjust the feathering option. Feathering determines the amount of blur applied to the selection border, creating a smoother transition between selected and non-selected areas. For a sharper edge, use a lower feathering value; for a softer edge, increase the value.
Finally, the contrast option comes into play when using the Magnetic Lasso Tool. It allows us to set the tool's sensitivity to edges based on brightness and color contrast. A higher contrast value makes the tool more sensitive to edges with greater differences in brightness or color, while a lower value makes it more sensitive to subtle edges.
In summary, the Tool Options Bar provides user-friendly settings for customizing the Lasso Tool's performance in Photoshop. Understanding and experimenting with width, frequency, feathering, and contrast can help us achieve the desired precision and smoothness in our selections.
Further Tools and Commands
In addition to the Lasso Tool, there are other essential tools and commands provided by Photoshop. The Pen Tool, for instance, offers greater precision in making selections or creating paths. When working with paths, you can use the Pen Tool to add or remove anchor points, adjust direction lines, or create curved segments.
To deselect an active selection, you can use the keyboard shortcut Command + D on Mac or Ctrl + D on Windows. This command quickly clears any active selection, allowing you to continue working on other areas of your image. Another important key is the Caps Lock key, which changes the appearance of the Lasso Tool pointer. When pressed, the Caps Lock key toggles between a crosshair, indicating the exact point you are selecting, and an icon representing the specific Lasso Tool variant you are using.
The italic zoom tool allows you to magnify specific areas of your image for a closer look. This tool is particularly useful when you are working on intricate details or when you need to make precise selections. To access the Zoom Tool in Photoshop, press Z on your keyboard or click the magnifying glass icon in the toolbar. With the Zoom Tool active, click and drag over an area of interest to zoom in, and hold the Alt or Option key while clicking to zoom out.
When you need to remove a selection or information within a selection, you can use the Delete key. Doing so deletes the selected content and leaves an empty area, either transparent or filled with the background color, depending on your settings. This function is useful for removing unwanted elements from your image or when you need to move certain elements to different layers.
Using these essential tools and commands in combination with the Lasso Tool will improve your workflow and make the most of your image editing process in Photoshop.
Frequently Asked Questions
How do the different types of Lasso tools function in Photoshop?
There are three types of Lasso tools in Photoshop: the regular Lasso tool, Polygonal Lasso tool, and Magnetic Lasso tool. The regular Lasso tool is a freehand selection tool, allowing for more creative and flexible selections. The Polygonal Lasso tool creates straight-edged selections and is useful for selecting objects with clear, straight edges. The Magnetic Lasso tool automatically snaps to the edges of objects, making it easier to select complex shapes.
What are the best practices for using the Lasso tool to remove backgrounds?
When using the Lasso tool to remove backgrounds, zoom in on the image to improve accuracy. Select the appropriate Lasso tool depending on the image's complexity and edges. For example, use the Magnetic Lasso tool for selecting objects with clear edges against contrasting backgrounds. To ensure a clean selection, feather the edges and refine the mask to avoid jagged or unnatural edges.
How can I access the Magnetic Lasso tool if it's missing?
If the Magnetic Lasso tool appears to be missing, it might be hidden under one of the other Lasso tools. To access it, click and hold the Lasso tool icon in the toolbar, and a flyout menu will appear, allowing you to choose the Magnetic Lasso tool.
Which shortcut keys are associated with the Lasso tool in Photoshop?
Shortcuts keys for the Lasso tools include "L" to select the last Lasso tool used, "Shift + L" to cycle through the Lasso tools, and "Ctrl (Cmd) + D" to deselect the current selection. For the Magnetic Lasso tool, increase or decrease the edge width by 1 pixel using "]" or "[" keys, respectively.
What are the main differences between Lasso tool and Marquee tool?
The Lasso tool allows for freehand, flexible, and complex selections, whereas the Marquee tool creates rectangular or elliptical selections. Marquee tools are best for selecting regular shapes with clearly defined edges, while Lasso tools are more versatile and suitable for selecting irregular or more complex shapes.
How does the Lasso tool compare to the Quick Selection tool for precise selections?
The Lasso tool provides a manual method for selecting objects, requiring a steady hand for accurate selections. On the other hand, the Quick Selection tool detects and selects similar-colored pixels, making it faster and more precise for selecting areas with similar colors and textures in the image. Both tools have their strengths, and the choice depends on the specific selection task and user preference.


