
What Is The Burn Tool In Photoshop: A Concise Guide
Adobe Photoshop offers a myriad of powerful tools to enhance your images, and one such tool is the Burn tool. This versatile tool allows users to selectively darken specific areas of an image, giving it depth and drawing attention to key elements. Working closely with the Dodge tool, which is used to lighten parts of an image, the Burn tool plays a crucial role in refining digital images for both professional and amateur designers.
The Burn tool in Photoshop has various settings that photographers and designers can use to subtly tweak the shadows, midtones, and highlights of their images. With this tool, you can bring out the precise details and brilliance of your work in ways that other image editing software may not offer.
As you master the Burn tool, you'll be better equipped to tackle various lighting effects, adjust contrast, and create more captivating visual compositions.
Key Takeaways
- The Burn tool in Photoshop is used to selectively darken areas of an image
- Works well with the Dodge tool, which lightens parts of an image to refine digital designs
- Mastery of the Burn tool can help enhance contrast and create captivating visuals
Understanding The Burn Tool
The Burn Tool in Photoshop is a powerful feature that allows us to darken specific areas of an image. By using a brush to paint over the desired area, we can create shadows and enhance the contrast in the image. This tool is ideal for those looking to add depth and dimension to their artwork or photographs.
We can adjust the properties of the brush and burn effects to achieve the perfect level of darkening. The more we run the brush over an area, the darker it becomes. Furthermore, we can control the intensity and flow of the effect, giving us more creative freedom in our work.
- Main uses of the Burn Tool:
- Darken areas of an image
- Create shadows for a more realistic appearance
- Enhance contrast and depth in an artwork
One thing to keep in mind is to avoid overusing the Burn Tool, as excessive darkening can result in unnatural or overly dramatic effects. By mastering the basics and experimenting with different techniques, we can greatly improve the quality of our images and become more proficient in Photoshop.
Remember to always protect skin tones while using the Burn Tool, to avoid discoloration or unrealistic results. With practice and patience, we'll be well on our way to creating stunning, professional-looking images with the Burn Tool in Photoshop.
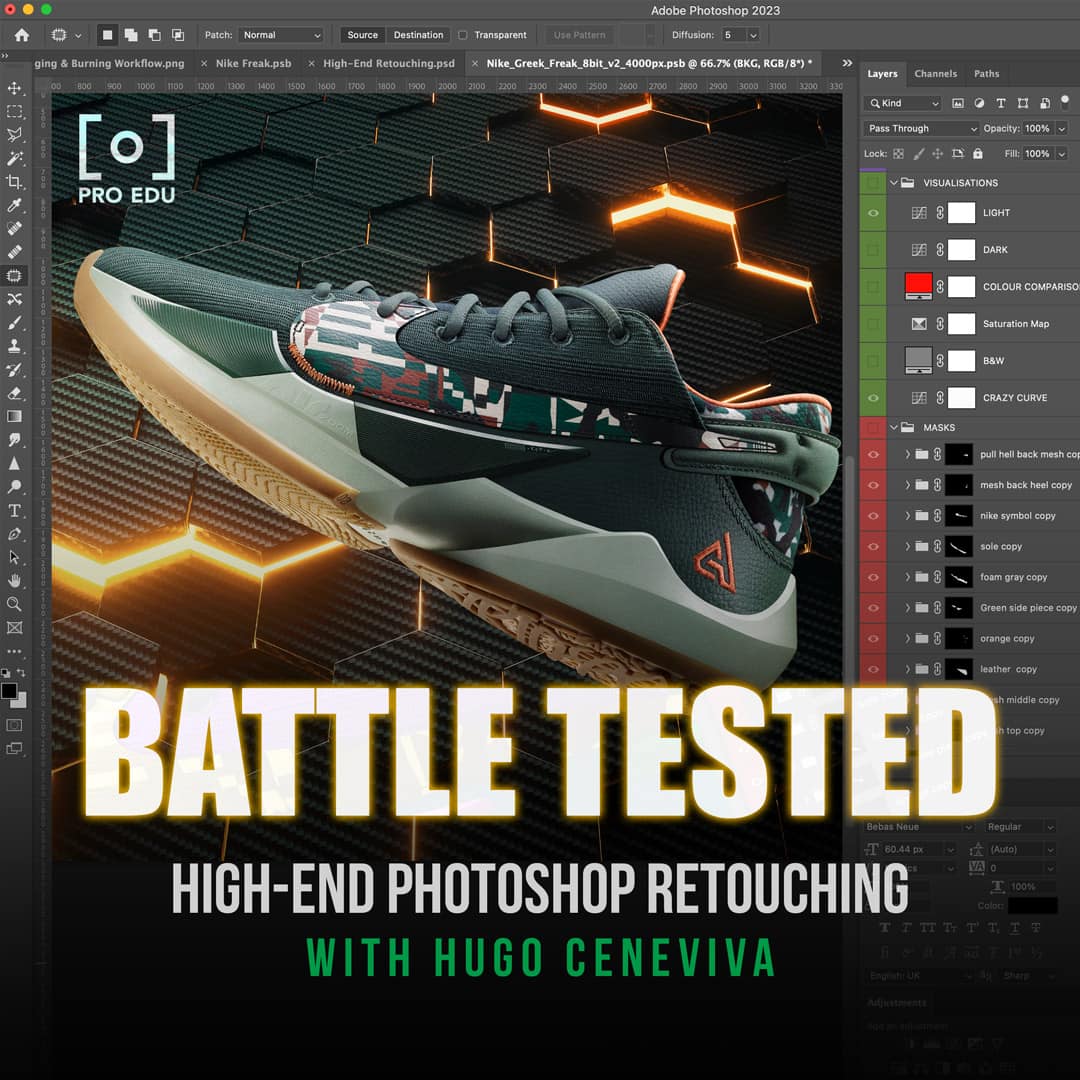
Burn Visualization Tools from Battle Tested Retouching
Burn Tool Functions Explained
Burn Tool In Color And Lighten Illustrations
The Burn Tool in Photoshop is a versatile feature that allows us to selectively darken areas in an image. One application is manipulating color and lighten illustrations. By setting the range to highlights or midtones, we can enhance specific areas without affecting the overall image.
In contrast to the Burn Tool, the Sponge Tool is helpful in modifying saturation, while both tools can be used together for a more profound effect. Changing the opacity of the brush provides flexibility and control over the desired outcome.
Burn Tool For Creating Depth And Value
Another advantage of the Burn Tool is its ability to create depth and value in an image. By applying the Burn Tool to specific layers, we can enhance the illusion of depth and add visual interest to our designs. This is particularly useful in creating a realistic appearance in digital paintings or illustrations.
To achieve the desired effect, adjust the tool's settings, such as tone and contrast, for a more accurate and detailed result.
Burn Tool In Photo Editing
The Burn Tool also plays a crucial role in photo editing, adding vital detail to images by darkening specific areas like shadows and focusing light. The tool keeps the source image intact, saving time and ensuring consistency throughout the editing process.
By carefully painting over the parts of the image we wish to darken, we can control the final outcome with incredible precision. Tweaking settings such as range and opacity allows us to achieve the perfect balance and deliver professional-quality results in our photo editing endeavors.
Tips And Tutorials for Burn Tool
Using Burn Tool In Adobe Creative Cloud
We can use the Burn Tool in Photoshop to darken areas of an image selectively. Available in Adobe Creative Cloud, the Burn Tool is often paired with the Dodge Tool which lightens the image areas.
Blend Modes in Burn Tool
To enhance the Burn Tool's effects, we can utilize different blend modes. The default mode is Multiply, which darkens the pixels, but you may experiment with other modes like Overlay and Color Burn to achieve various outcomes.
Brush Tips for Burn Tool
For precise control, customizing the brush settings is essential. You may choose different brush sizes, adjust the hardness, and even try the airbrush mode for smooth application. For a natural effect, consider adjusting the opacity and flow parameters as needed.
Protect Tones with Burn Tool
A useful feature of the Burn Tool is the Protect Tones option. Activating this ensures that the specified color range remains unaltered while applying the tool. Additionally, using layer masks can provide non-destructive editing and enhanced flexibility for your design projects.
Comparisons Between Burn Tool and Others
Burn Tool Versus Dodge Tool
The Burn tool and Dodge tool are closely related, as both are used to selectively modify the brightness of an image. While the Burn tool darkens areas of an image, the Dodge tool does the opposite by lightening them. This creates contrast and enhances details within a photo.
By understanding the differences between the Burn and Dodge tools, we can effectively use them both for dodging and burning in our photo editing process.
Burn Tool Versus Sponge Tool
While the Burn and Dodge tools focus on altering the brightness of an image, the Sponge tool targets the saturation of the colors. The Sponge tool acts in two ways: it can either desaturate colors, making them less vibrant, or it can saturate the colors, enhancing their intensity.
The Burn tool darkens specific areas, and the Sponge tool can play a complementary role by adjusting the saturation of colors in those areas. Together, we can utilize these tools to achieve the desired overall effect on our images.
Burn Tool Versus Layer Masks
Layer Masks, while not directly related to the Burn tool, offer a non-destructive editing method that allows us to hide or reveal portions of a layer. In this way, Layer Masks improve our editing flexibility compared to the Burn tool, which makes permanent changes to the pixels.
For instance, with Layer Masks, we can apply the Burn effect on a duplicate layer and then use a mask to manipulate which areas to reveal or hide. This way, the original image remains intact, and our editing is much more versatile and reversible.
Conclusion
The Burn tool in Photoshop is one of the more advanced tools available for image editing and digital art. We can confidently state that mastering this tool can significantly enhance the quality of our work.
When using the Burn tool, it's important to remember that it selectively darkens areas of an image. By painting over specific areas multiple times, we can create shadows and depth, resulting in more realistic and professional-looking visuals. It's also worth noting that this tool is quite versatile, as seen in various examples such as adding light focusing and protecting skin tones.
In the world of digital art, tools like the Burn tool give us the ability to refine our creations and make them stand out from the rest. By experimenting with different techniques and settings, we can unlock the full potential of Photoshop and ultimately elevate our art to new levels.
Frequently Asked Questions
How does the Burn tool affect an image in Photoshop?
The Burn tool in Photoshop is used to darken areas of an image, giving them a "burned" appearance. When we use the Burn tool, it increases the density of the pixels in the selected area, resulting in a more visually striking image. The more we paint over an area with the Burn tool, the darker it becomes.
What's the purpose of the Burn tool in photo editing?
We use the Burn tool in photo editing to create depth, enhance details, and play with shadows in an image. It allows us to selectively darken areas, simulating the traditional technique of "burning" photographic negatives for darker prints.
How can I use the Burn tool to alter exposure in an image?
To use the Burn tool for altering exposure, first, select the Burn tool from the toolbar in Photoshop. Then, choose the brush size and adjust its hardness accordingly. Now, paint over the areas of the image you want to darken. The longer you paint, the more the exposure of the selected area will decrease, darkening the image.
What are the differences between the Burn and Dodge tools?
The Burn and Dodge tools in Photoshop essentially achieve the opposite results. While the Burn tool darkens the pixels you paint, the Dodge tool lightens them. We often use these tools in conjunction to modify the exposure and create a balanced image with enhanced highlights and shadows.
Can I apply the Burn tool selectively to a specific layer?
Yes, we can apply the Burn tool selectively to a specific layer. To do this, select the desired layer in the Layers panel and then use the Burn tool on that layer. This allows us to darken specific elements of our image without affecting other layers.
Are there any keyboard shortcuts for using the Burn tool in Photoshop?
Yes, there are keyboard shortcuts for using the Burn tool in Photoshop. Press the letter 'O' on your keyboard to quickly access the Burn tool. You can also cycle between the Burn, Dodge, and Sponge tools by holding down the Shift key and pressing 'O' until the desired tool is selected.


