What Is JPEG In Photoshop: Decoding the Popular Image Format
JPEG is a popular file format widely used for storing and sharing digital images, particularly in Adobe Photoshop. This format is known for its efficient compression capabilities, which help reduce file sizes while maintaining relatively high image quality. Photoshop users often work with JPEG files in various ways, including manipulating, exporting, and optimizing images for web use.
In Adobe Photoshop, understanding how JPEG works can enhance our ability to create visually appealing images that are optimized for specific use cases. By using this versatile format, we can effectively manipulate images, ensuring they meet the desired visual and technical requirements. To get the most out of our work in Photoshop, it's crucial for users to know when and how to use JPEGs, as this file format can have a significant impact on the image's overall look and performance.
Key Takeaways
- JPEG is a widely used file format in Adobe Photoshop for its compression capabilities and image quality balance
- Knowing how to manipulate and optimize JPEG images in Photoshop can improve visual results and performance
- Familiarizing yourself with JPEGs in Photoshop allows you to effectively export, convert, and enhance images
Understanding JPEG in Photoshop
JPEG is a widely used file format for compressing digital images, especially photographs. It stands for Joint Photographic Experts Group, the organization that created the format. In Photoshop, JPEG is one of the most common formats for saving and working with images.
We often use JPEG because it offers a good balance between quality and file size. Compression in JPEG is achieved by selectively discarding data that is less noticeable to the human eye. This process can reduce the file size significantly, making it ideal for uploading images on websites or sharing through email.
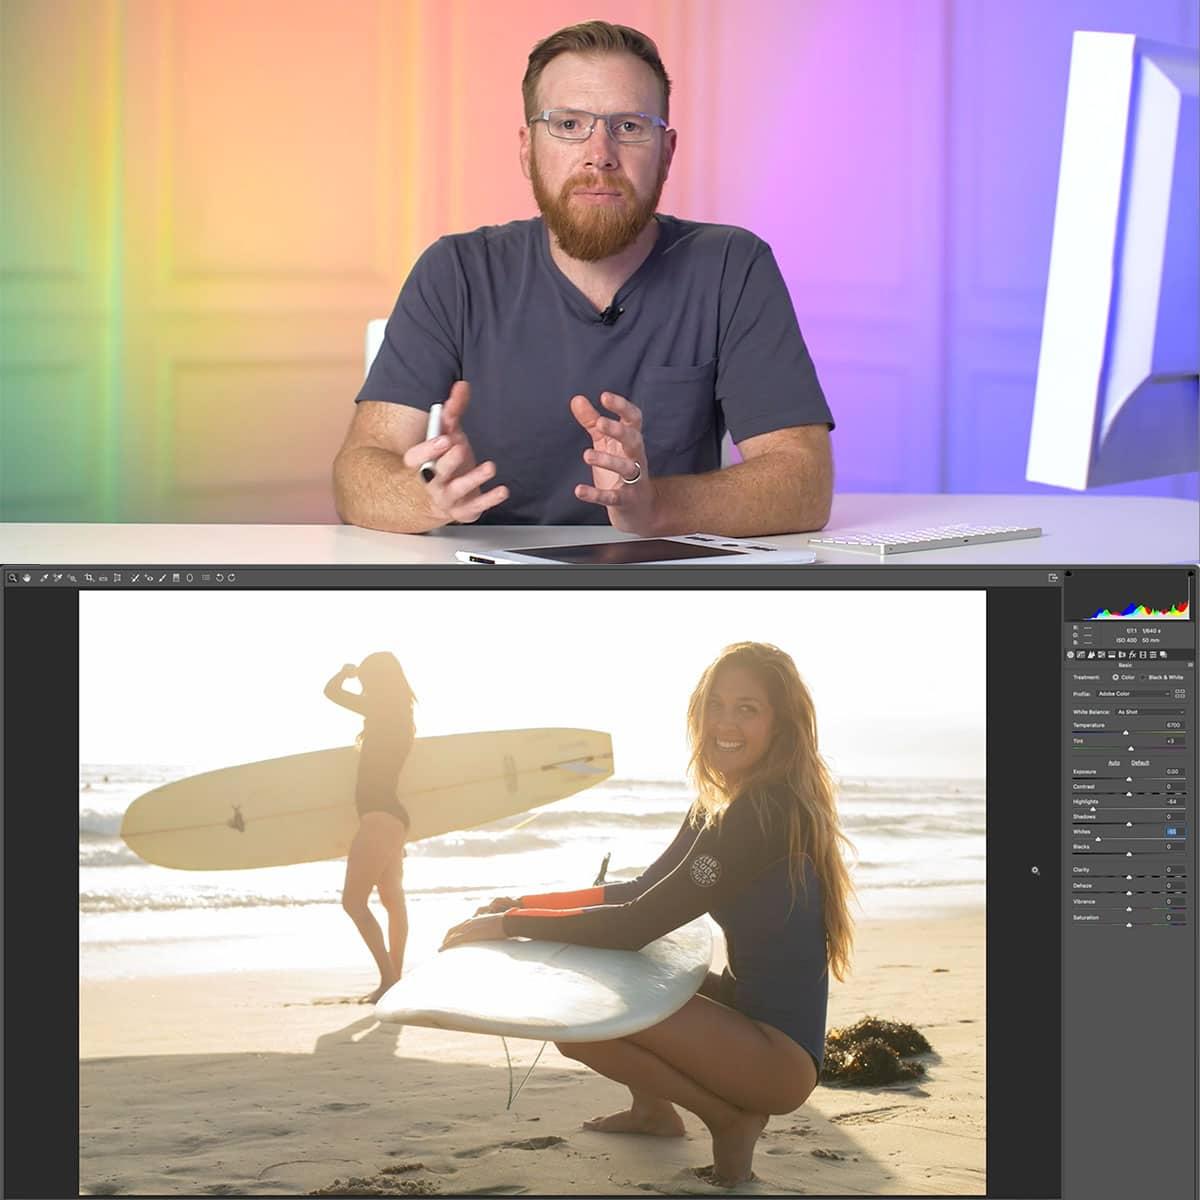
When saving files as JPEG in Photoshop, we have the option to control the level of quality. Lower quality settings result in a smaller file size, but with a noticeable loss of image detail. On the other hand, high-quality settings produce a larger file size but retain more details. It is crucial to find a balance between file size and quality when working with JPEGs.
Photoshop has a preview feature that allows us to see the effects of the quality setting before saving the image. This way, we can adjust the quality and observe the difference in file size and visual output simultaneously. We recommend utilizing this preview feature to find the right balance for your particular project.
Keep in mind that JPEG is a lossy compression format, meaning that some data will be irreversibly lost during the compression process. Therefore, it's essential to work on a copy or save your work as a non-compressed format like PSD or TIFF before exporting it to JPEG.
Manipulating Images in JPEG Format
Working with Layers and Blending Modes
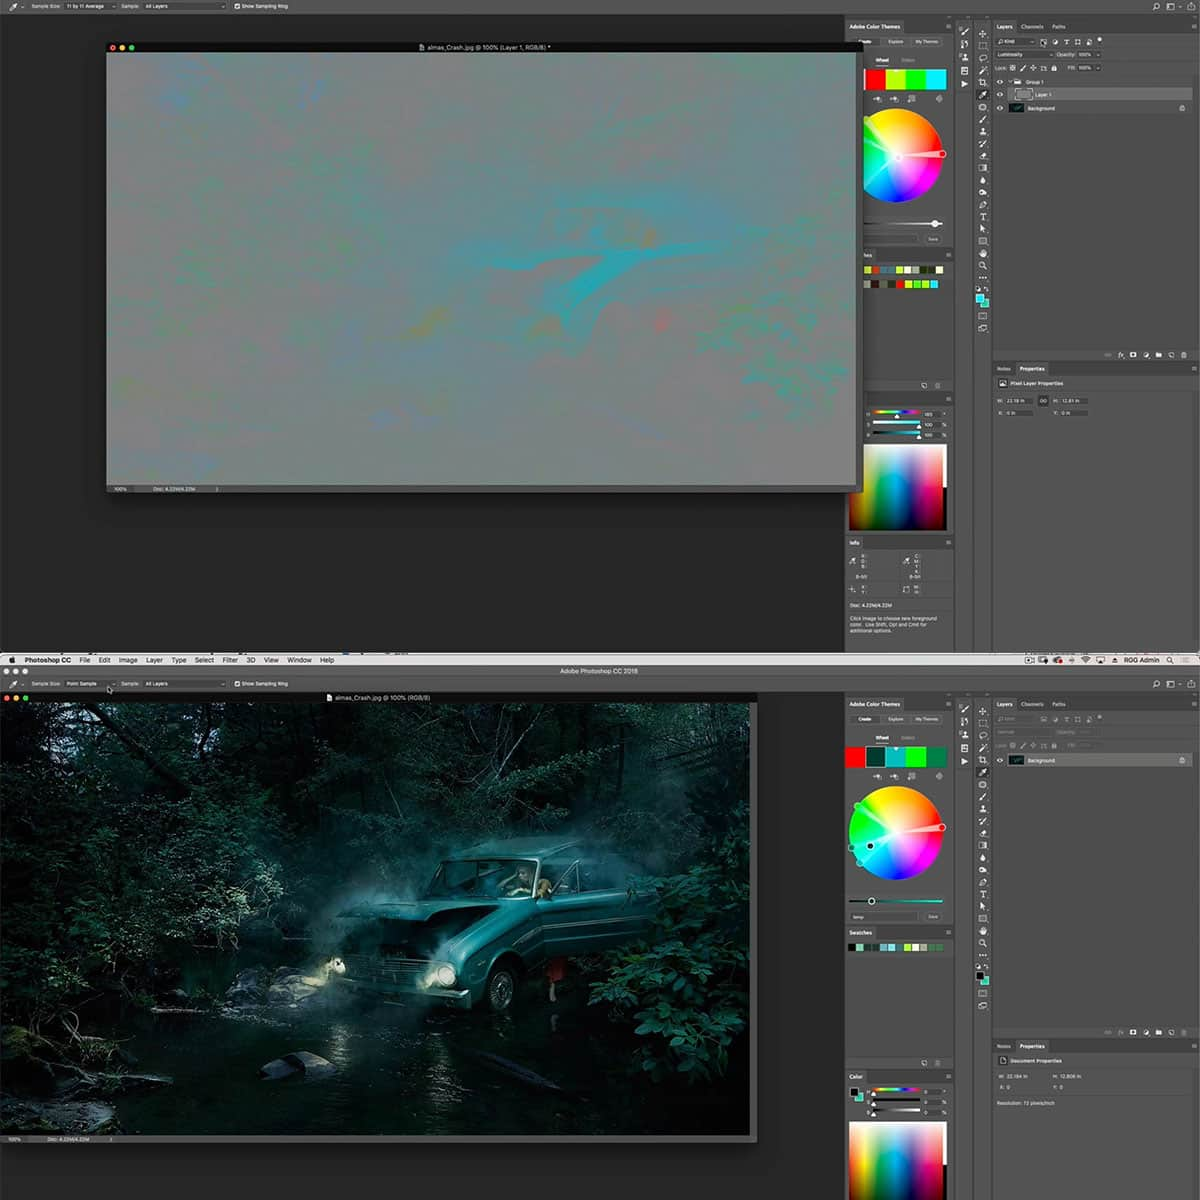
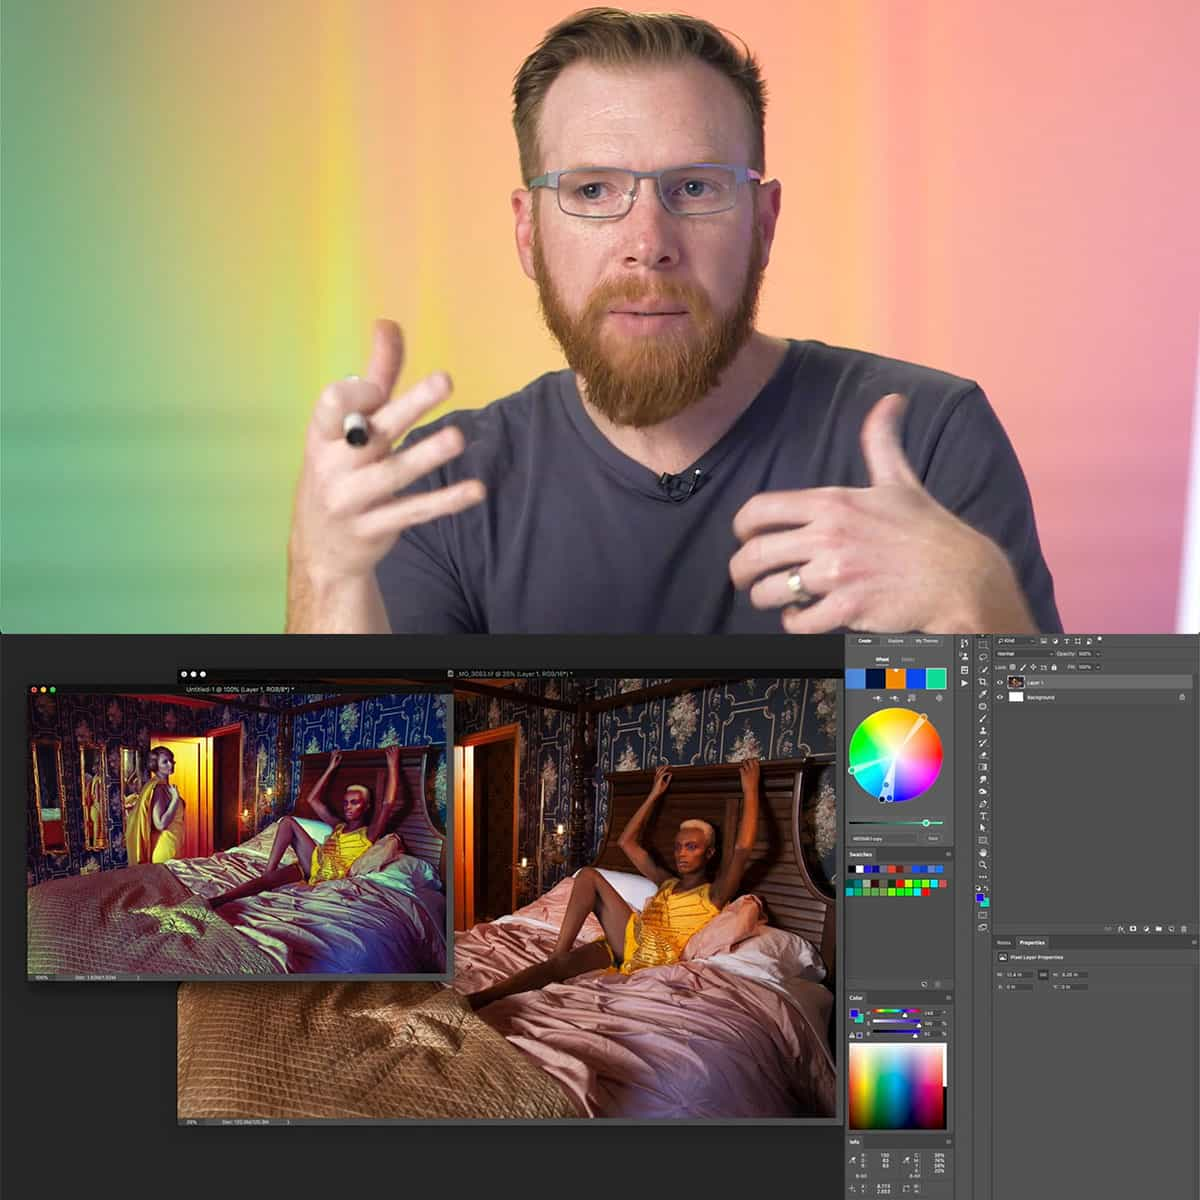
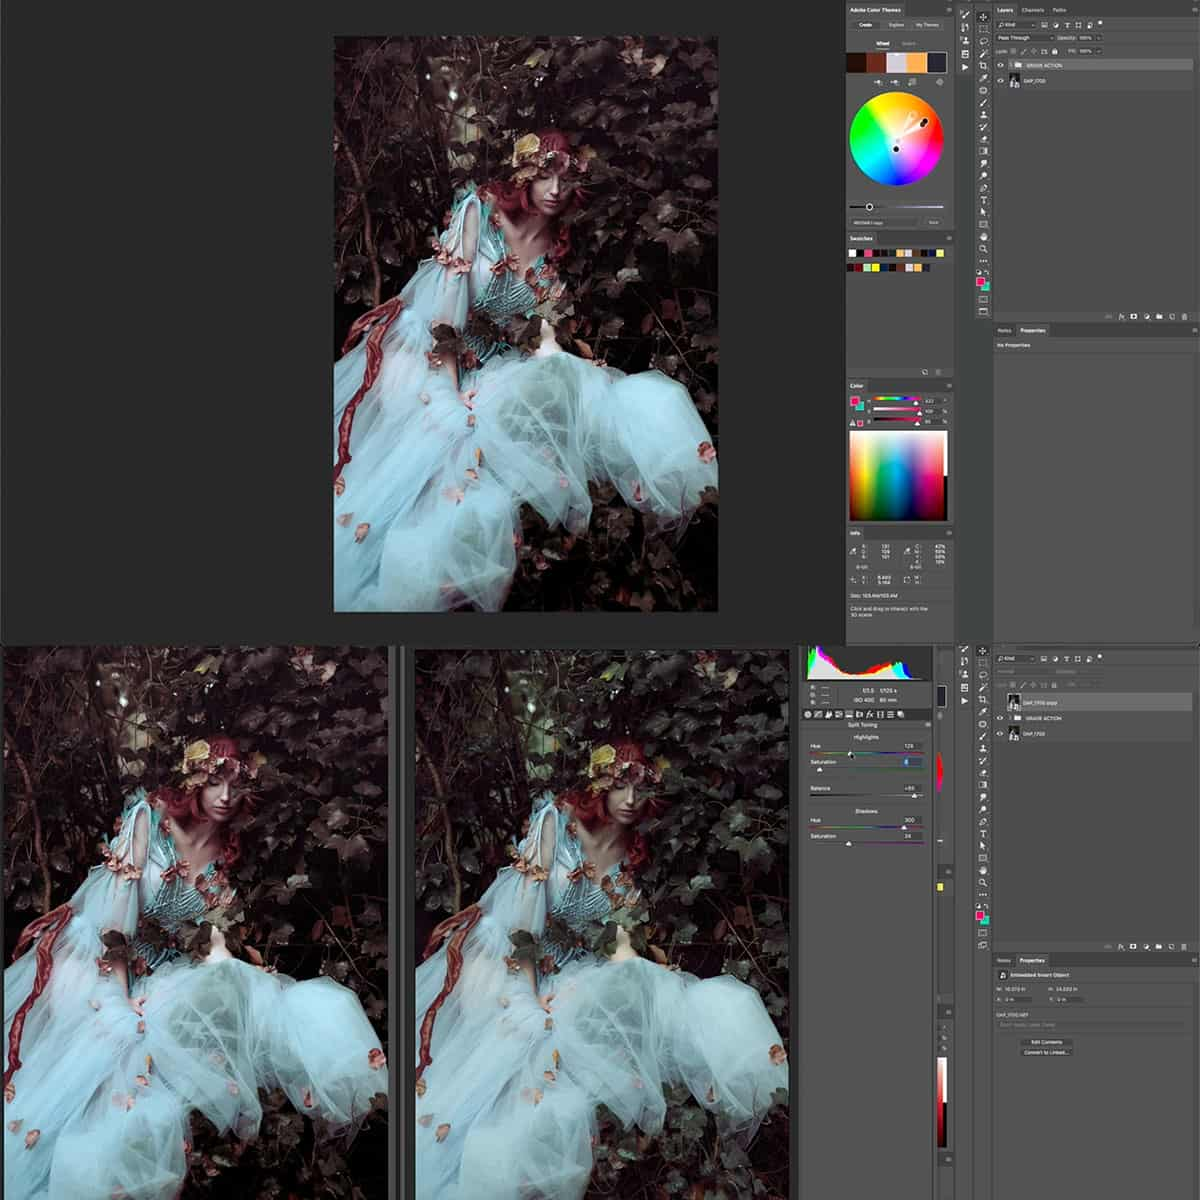
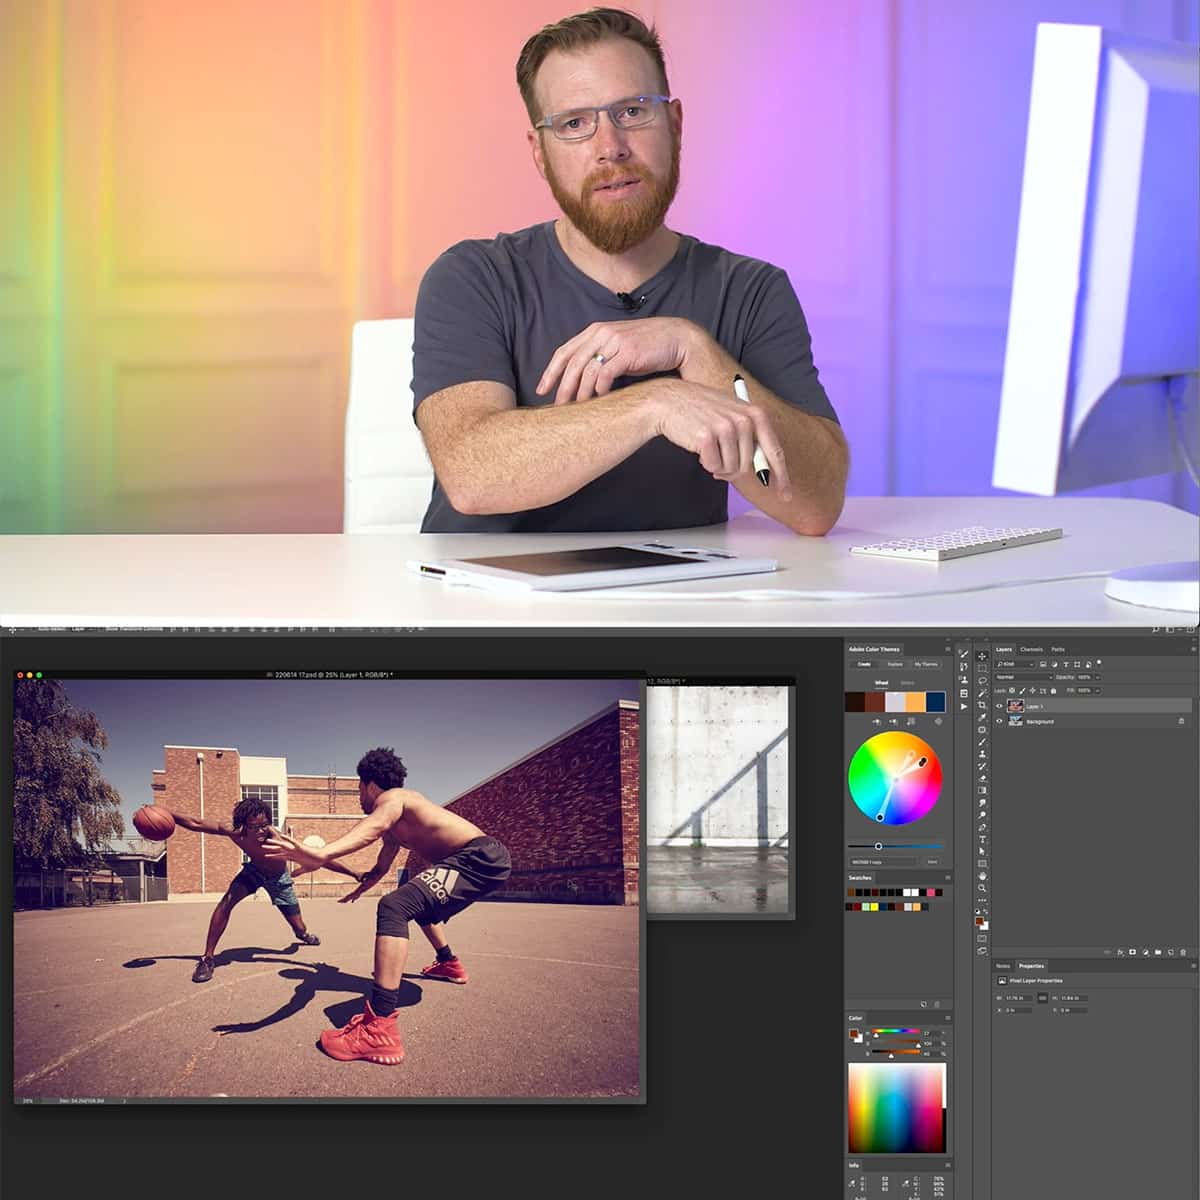
When working with JPEG images in Photoshop, utilizing layers is essential to non-destructively modify the image. We can add adjustment layers to perform color and exposure corrections, as well as blending modes to achieve unique effects.
Blending modes determine how layers interact with each other, such as the popular overlay and multiply modes. These modes can create various results, from adding noise to simulating lighting effects.
Adjusting Saturation, Light, and Effects
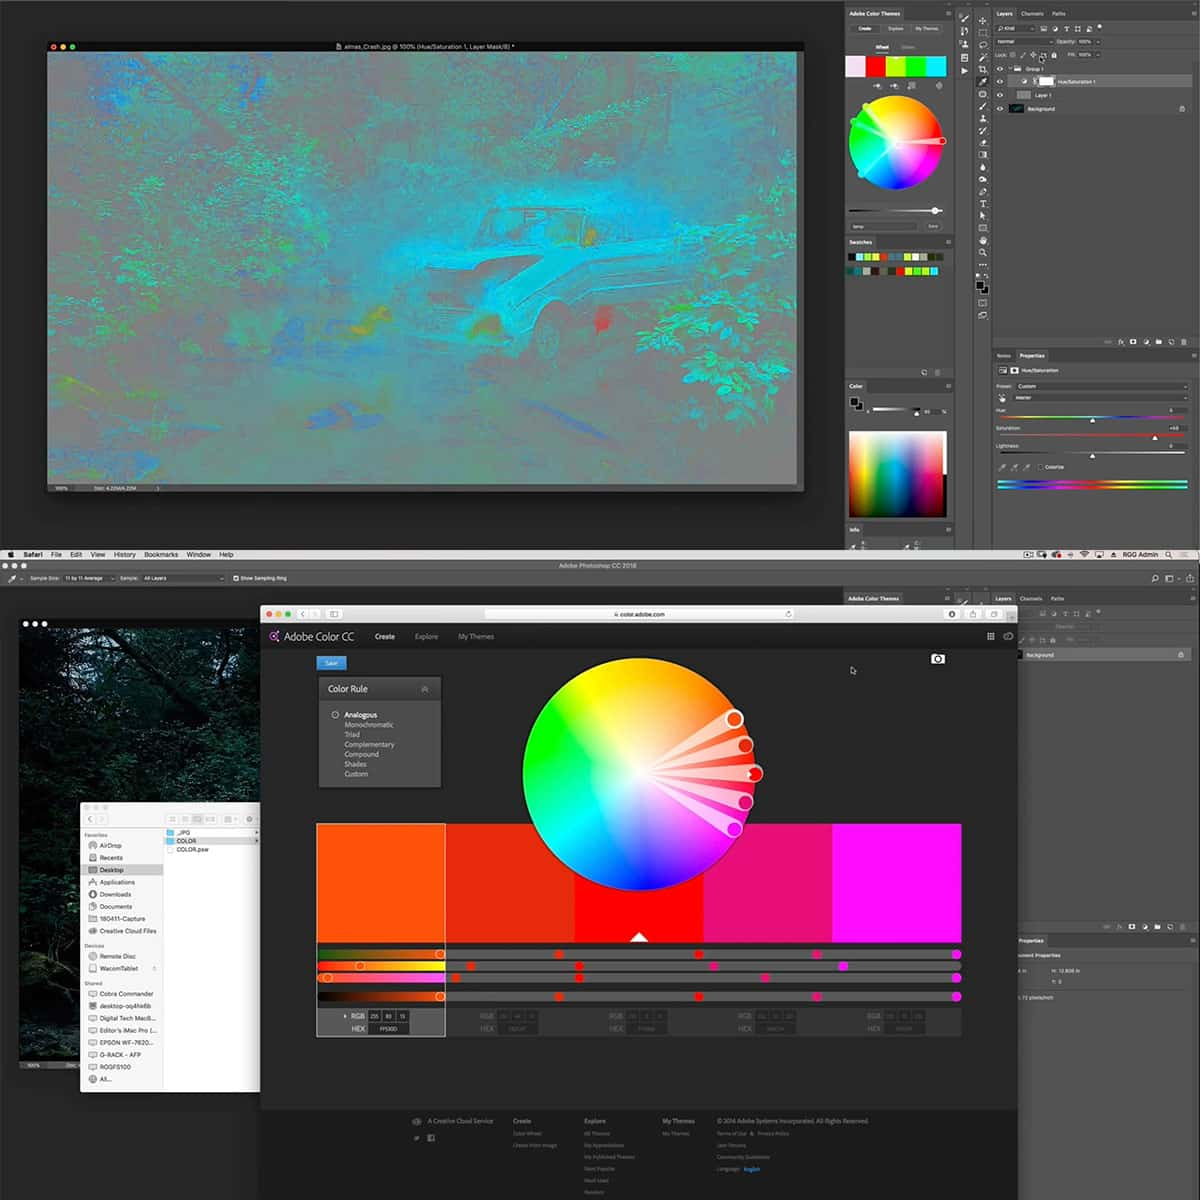
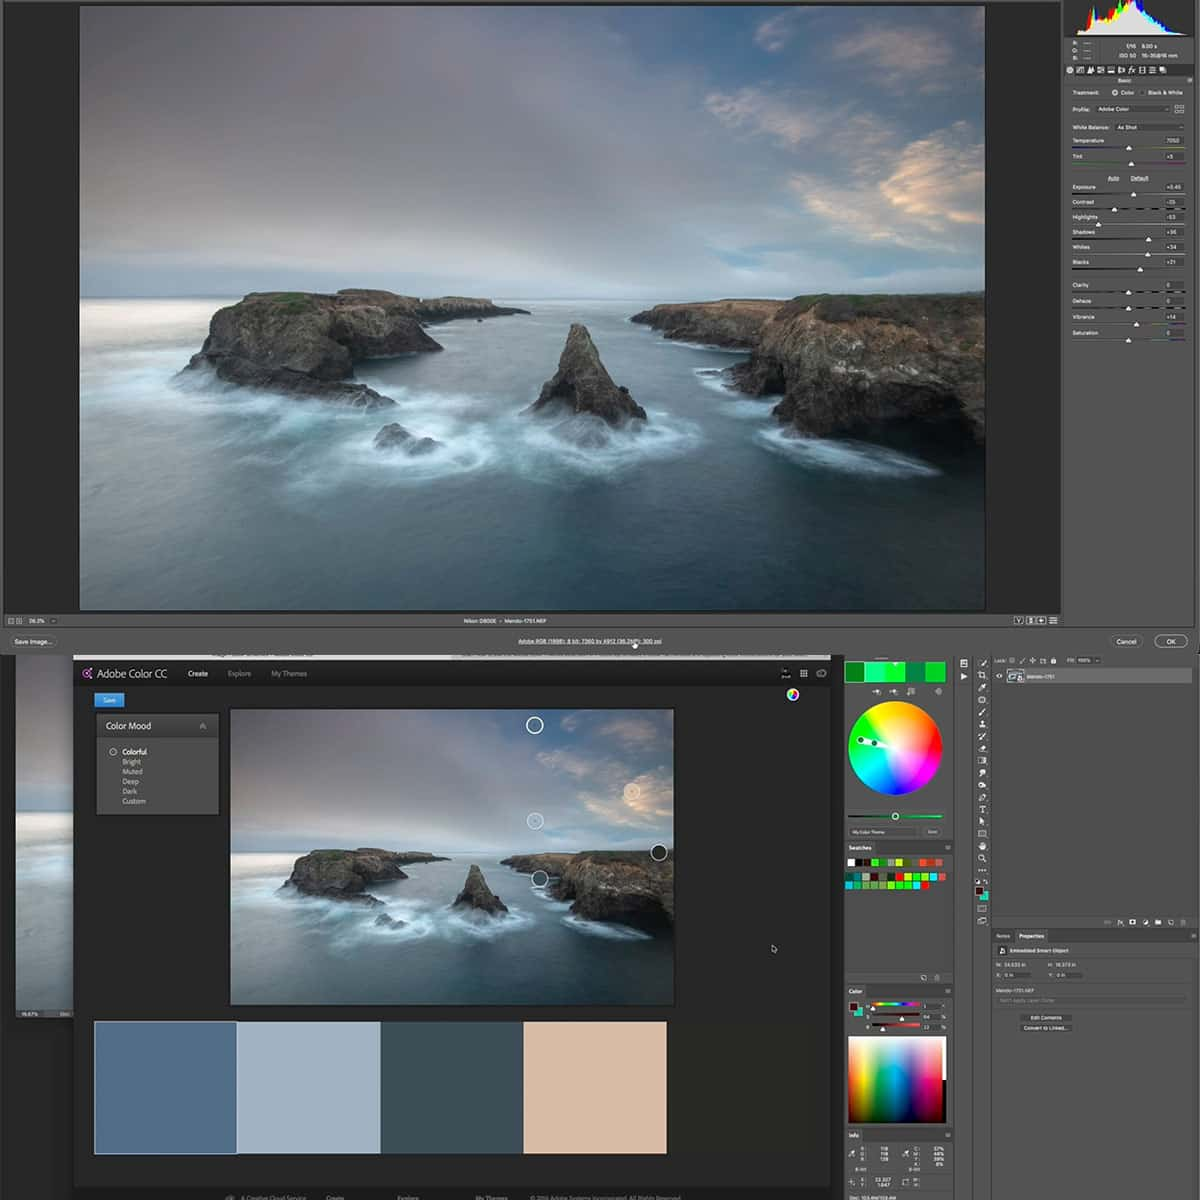
To enhance the appearance of JPEG images in Photoshop, we can adjust saturation, light levels, and apply various effects. Adding an adjustment layer such as Hue/Saturation or Brightness/Contrast allows us to tweak our image's appearance without altering the original data.
For more dramatic alterations, try applying one of Photoshop's built-in effects from the Filter menu. These effects can simulate artistic styles, add texture, or create an entirely new look for your image.
Using Tools and Brushes
In addition to layers and adjustment layers, Photoshop offers a wide array of tools and brushes to assist in manipulating JPEG images. The Clone Stamp tool is useful for duplicating parts of an image or removing unwanted elements.
We can use Photoshop's extensive brush library to paint, create custom textures, or enhance existing features in our images. Brushes can be adjusted in size, hardness, and opacity, allowing precise control over the final result.
Exporting and Converting to JPEG
Export and Save Options
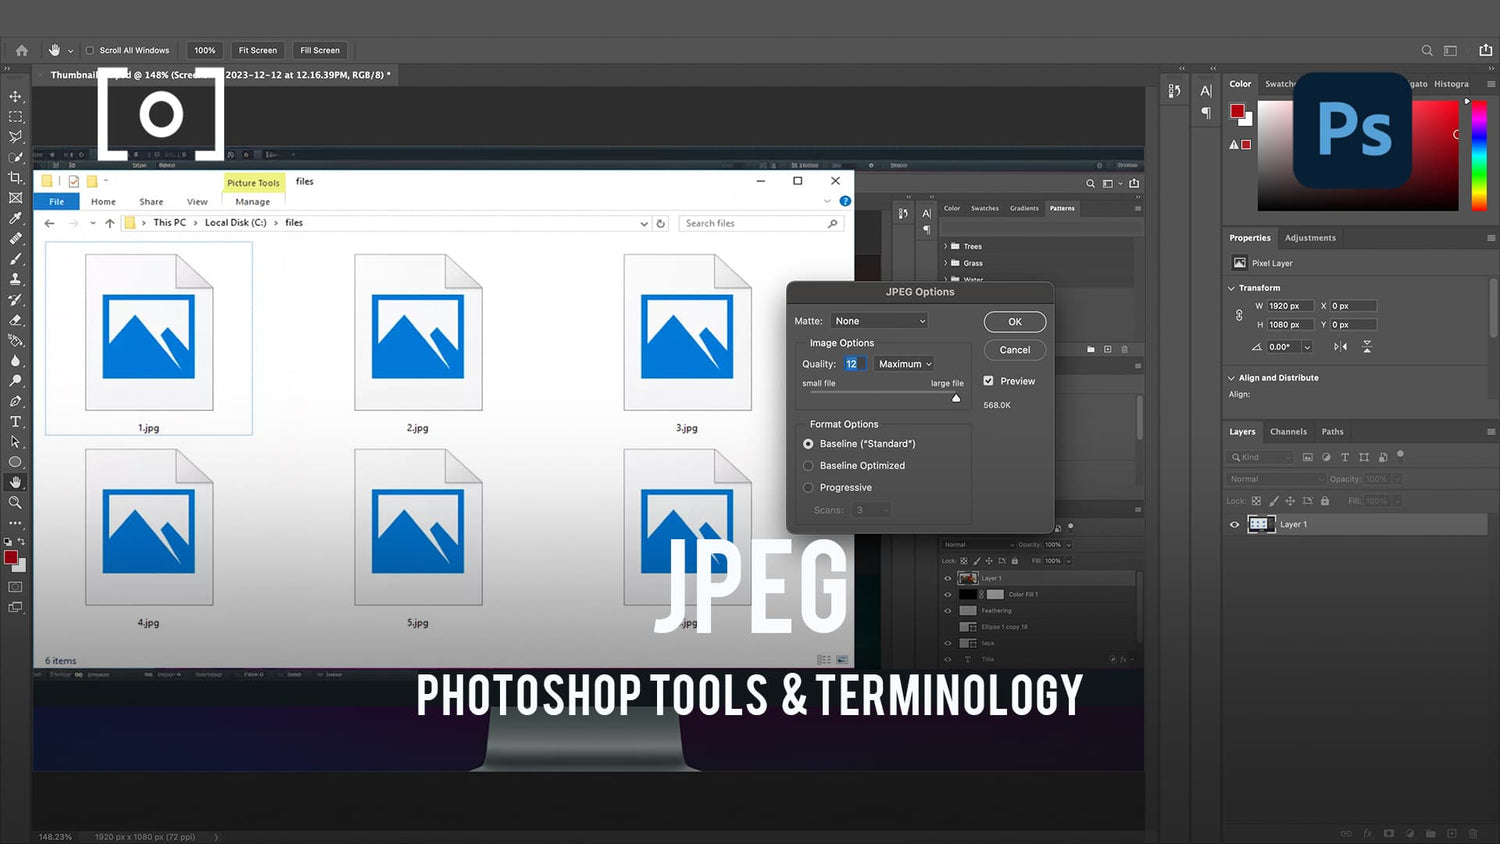
When working with Photoshop, we have multiple options for exporting and saving our images in the JPEG format. One popular method is to use File > Save As and then select JPEG from the available file formats. Alternatively, we can choose File > Export > Save For Web (Legacy), which provides more advanced options for optimizing the output image for web usage 1.
File Size and Quality Considerations
When exporting to JPEG, it's important to consider both file size and quality. JPEG is a lossy compression format, which means that image data is selectively discarded during compression, resulting in a smaller file size at the cost of reduced image quality2. By adjusting the Quality slider in the Save dialog, we can control the level of compression applied to the image. High-quality settings will produce larger files with less visible compression artifacts, while lower quality settings will result in smaller file sizes but reduced image quality.
Conversion to Different File Formats
In addition to JPEG, Photoshop supports exporting and converting to other popular file formats such as PSD, TIFF, and PNG3. Each file format has its own set of advantages and considerations. For example, PSD files retain layer information, making them ideal for continued editing in Photoshop. TIFF files offer lossless compression, resulting in higher image quality and larger file sizes, while PNG files provide a lossless compression option for images with a limited color range, such as logos or graphics with sharp edges. Depending on your specific needs, you may choose to export or convert your images to any of these formats.
Improving JPEG Images in Photoshop
Retouching and Editing Techniques
One of the first steps in improving JPEG images in Photoshop is to retouch and edit them. We can start by using the healing brush tool to remove any unwanted spots or blemishes from the image. Next, we can utilize the dodge and burn tools to adjust the exposure of certain areas of the image, adding depth and contrast.
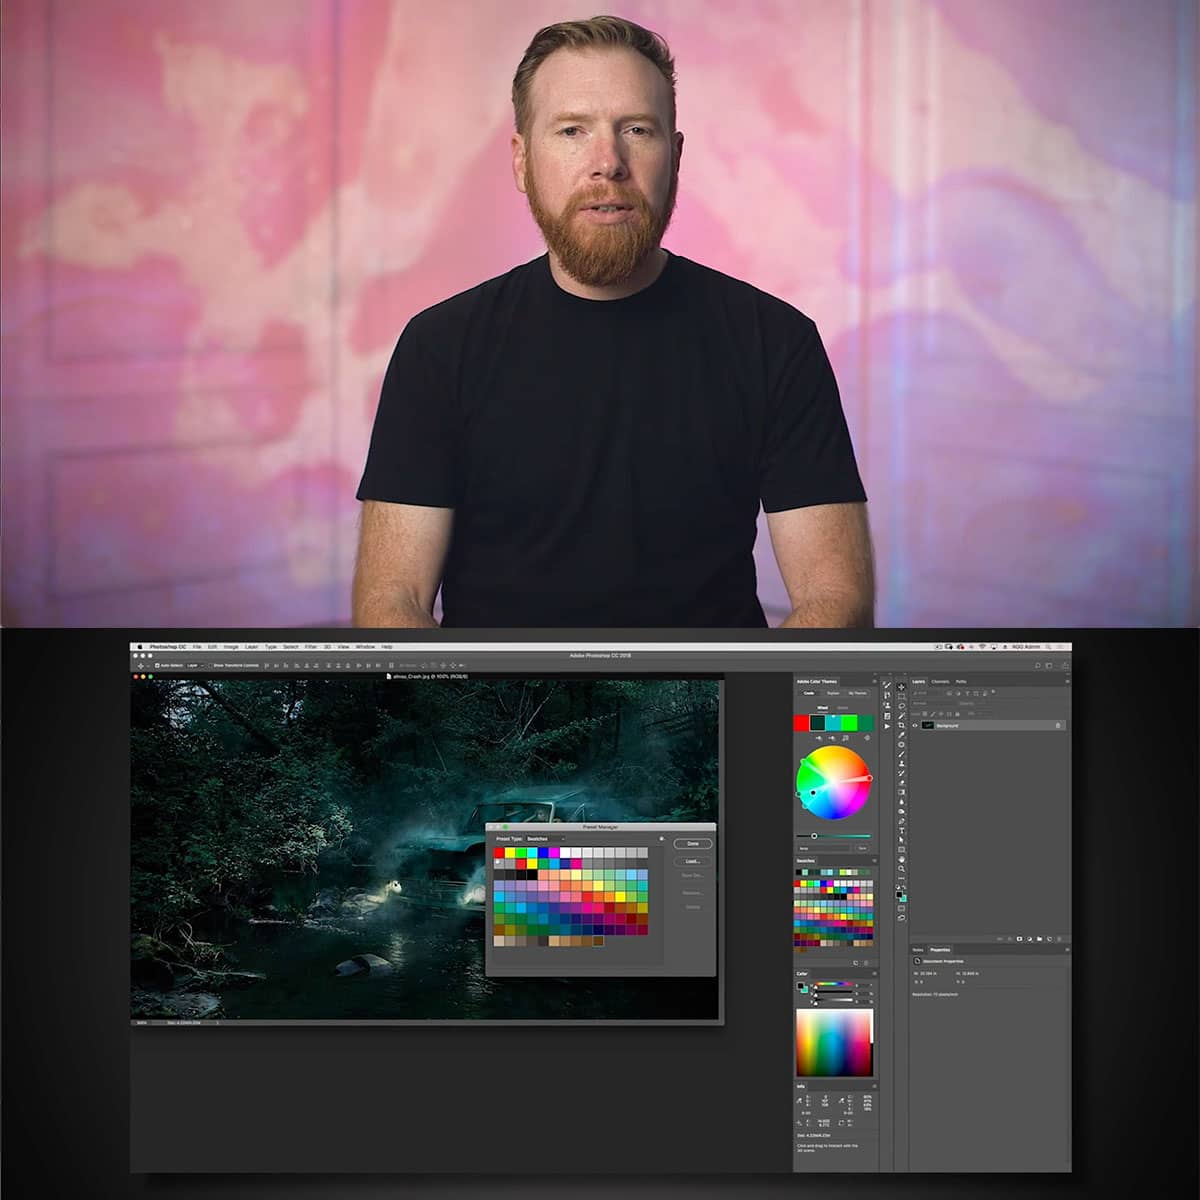
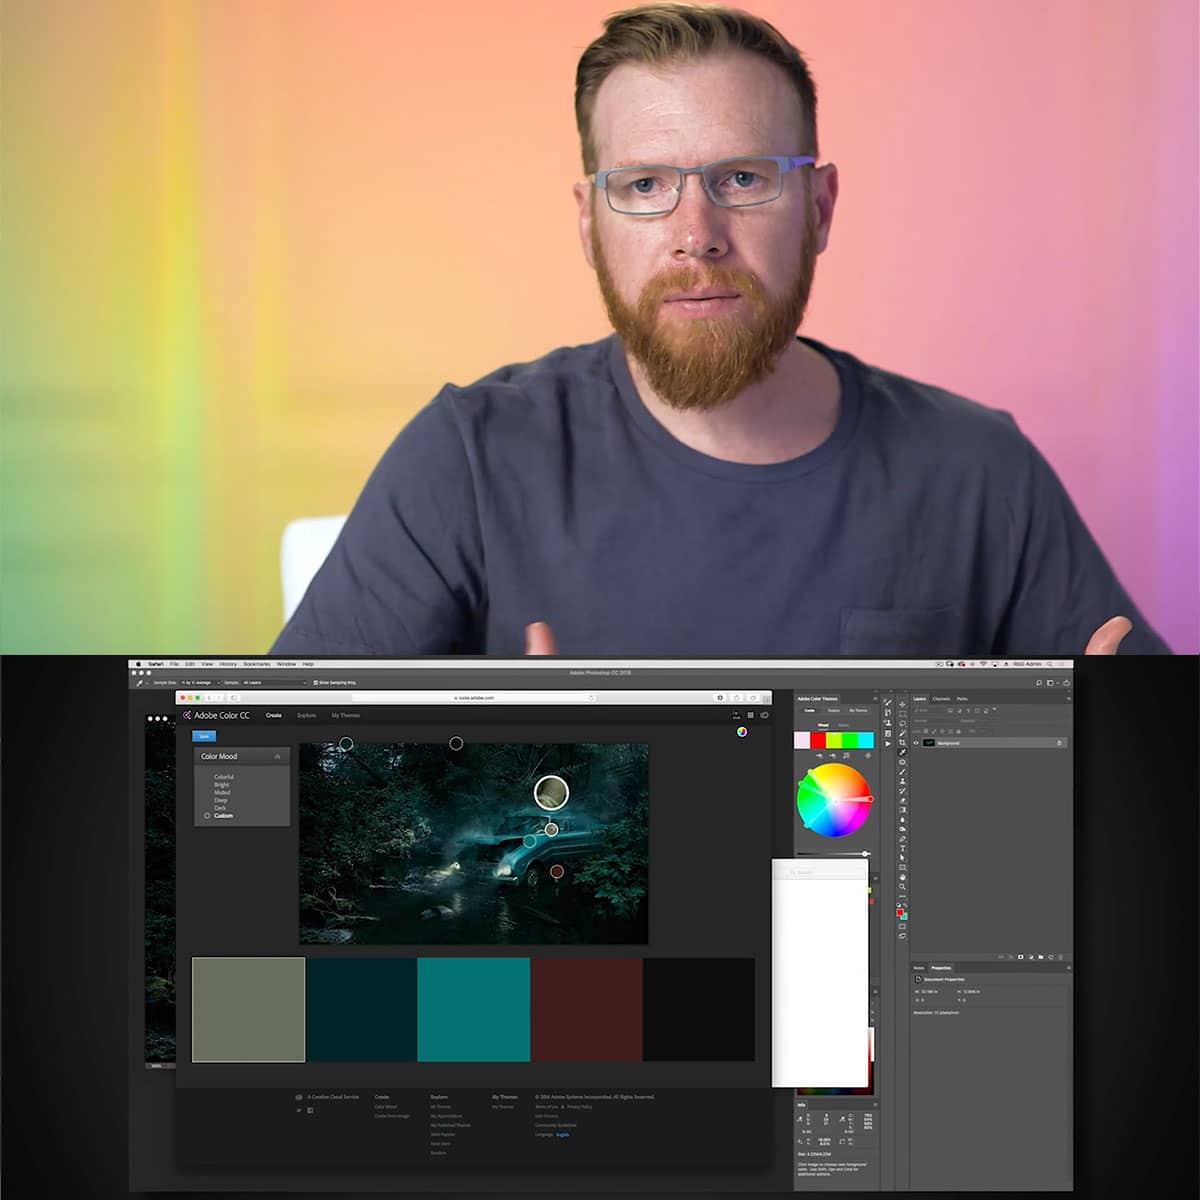
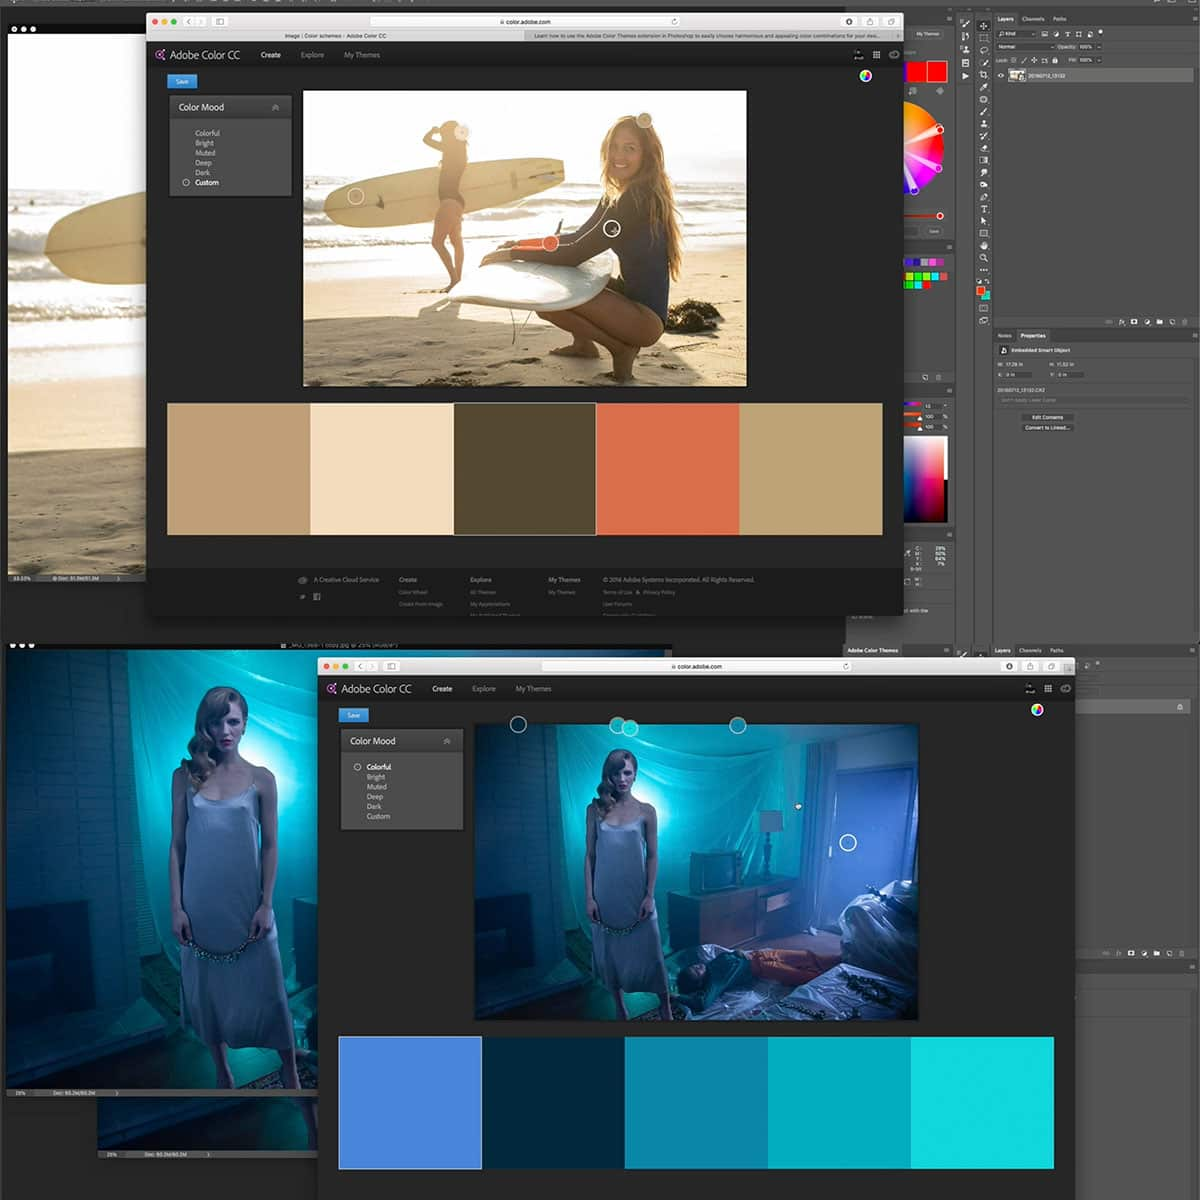
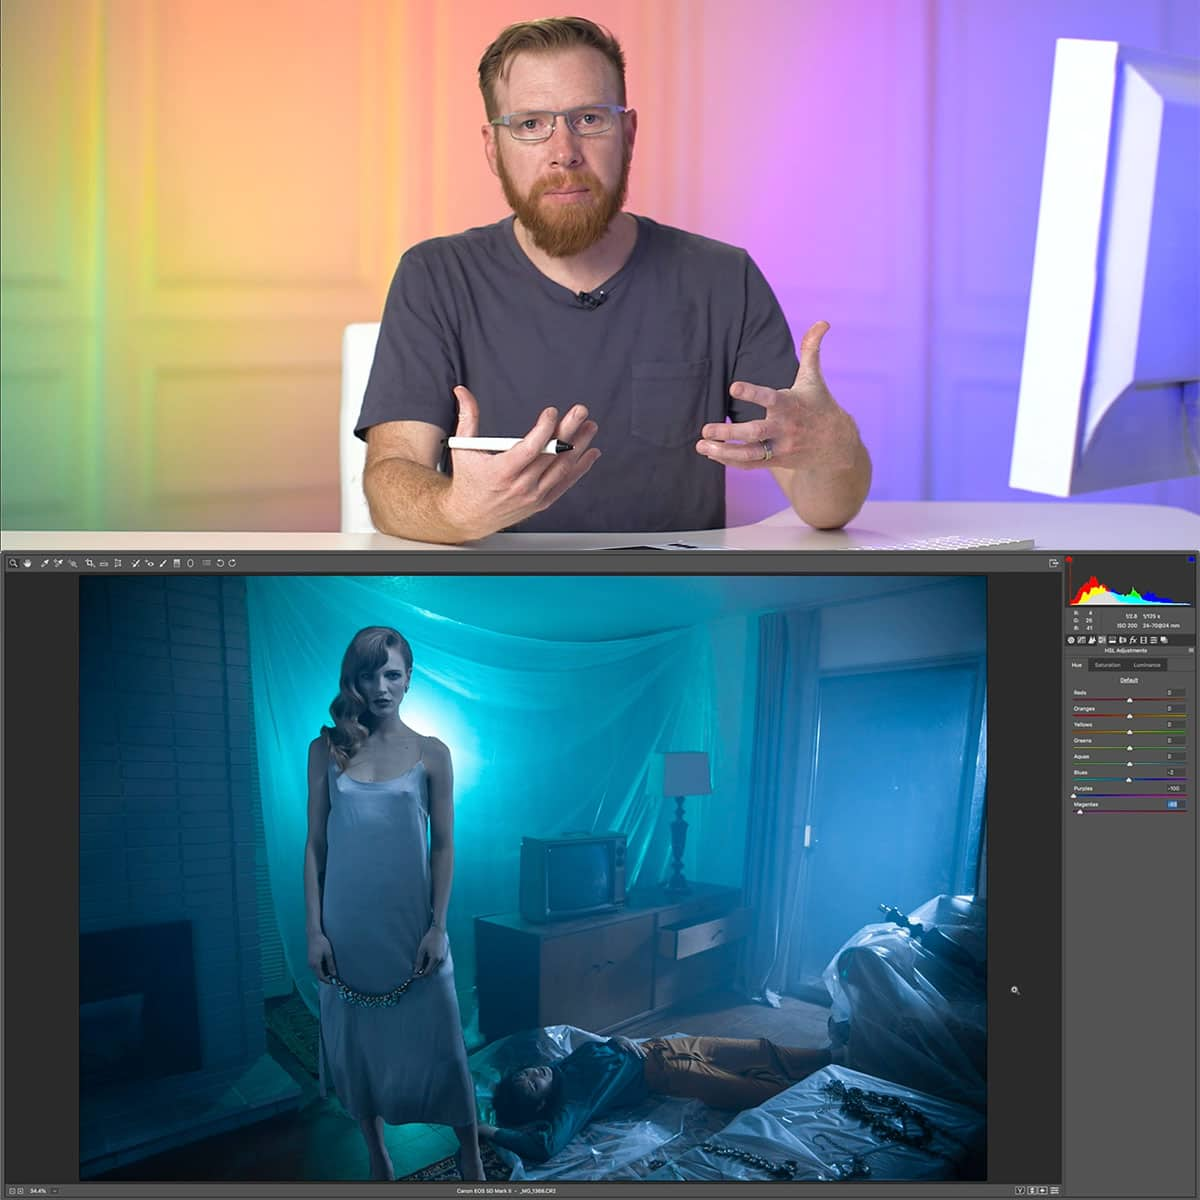
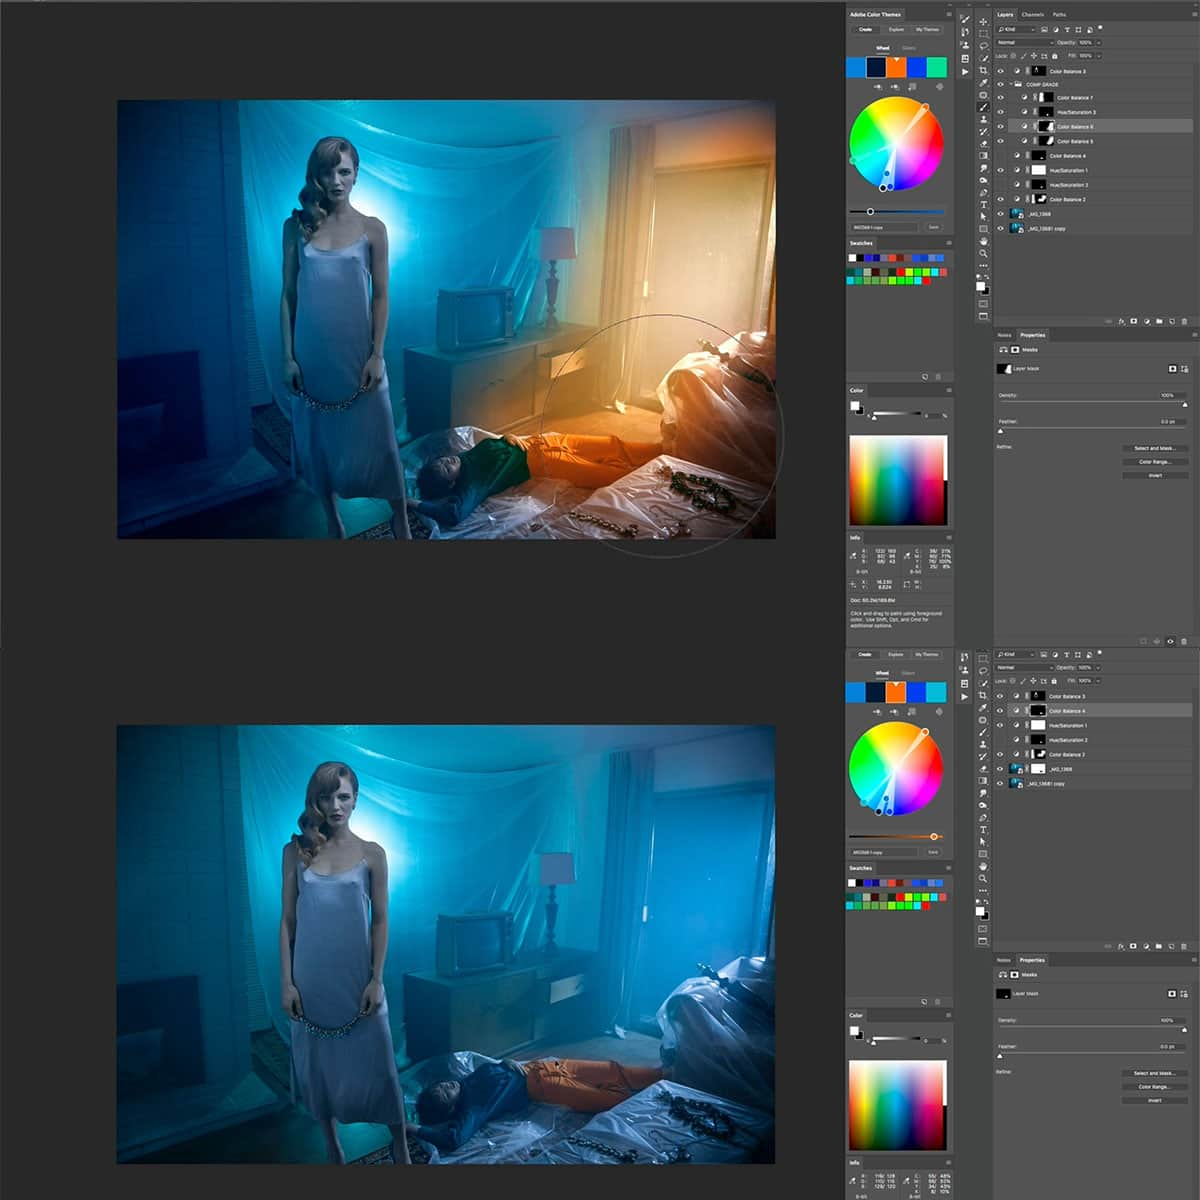
Understanding and Implementing Color Adjustments
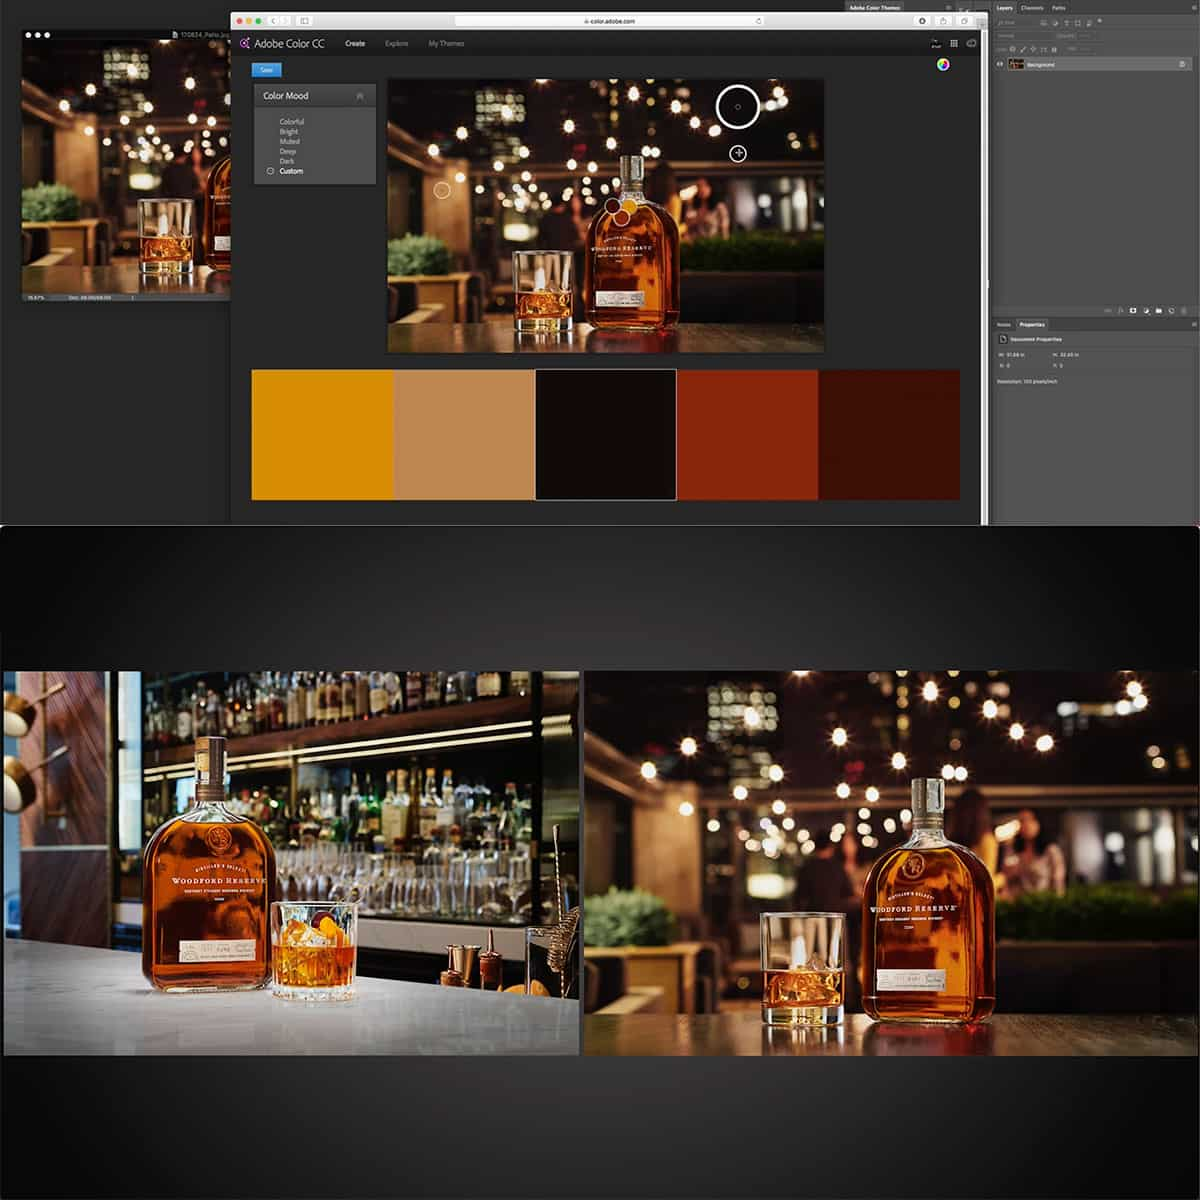
Color adjustments are essential to enhance the overall look of our JPEG images. A key concept in this process is the hue, which allows us to change the base color of elements in the image. We can use adjustment and fill layers to modify colors non-destructively, ensuring we can revert back to the original state when needed. Additionally, color tables can help maintain consistency by providing a range of predefined or custom color options to choose from.
- Hue/Saturation: Adjust the color balance, saturation, and lightness
- Curves: Modify the tonal range by manipulating the RGB curve
- Color Balance: Alter the balance between red, green, and blue in the image
- Selective Color: Target specific colors to adjust intensity and tonality.
Using Smart Filters and Tools
Photoshop offers a variety of smart filters and tools that can enhance the appearance of JPEG images. By converting a layer to a smart object, we can apply non-destructive filters that can be adjusted or removed at any time.
Some popular smart filters include:
- Camera Raw Filter: Provides a wide range of editing options available in Adobe Camera Raw
- Unsharp Mask: Enhances image sharpness by increasing contrast around edges
- Gaussian Blur: Softens the overall look of the image by uniformly blurring pixels
By exploring these techniques, we can effectively improve our JPEG images in Photoshop, ensuring high-quality outcomes for both professional and personal projects.
Optimizing JPEG for Web
When working with JPEG images in Photoshop, it's crucial to optimize them for web use. Optimizing helps reduce file size without losing significant quality, ensuring that our images load quickly on websites. This process is particularly important for web graphics and sliders, as large file sizes can slow down site performance.
One way to optimize JPEG images is to use the 'Save for Web' feature in Adobe Photoshop. This function enables us to balance image quality with site speed, providing a cleaner and faster browsing experience for users. Among the various options in this feature, we can select between progressive and optimized JPEGs.
Progressive JPEGs download in multiple passes, initially displaying a low-resolution version of the image while the full image downloads. This format is appropriate for larger images or background images on a website. Optimized JPEGs, on the other hand, remove unnecessary metadata and compress the image more efficiently, making them ideal for smaller web graphics.
Apart from the compression methods, we can also adjust the image's quality slider to find an appropriate balance between file size and image quality. Lower quality settings will result in a smaller file size but may cause a noticeable loss of details.
In conclusion, optimizing JPEG images for web use is an essential step when working with Photoshop. By choosing the appropriate compression method and adjusting the quality settings, we can effectively reduce file size while maintaining an acceptable level of image quality, providing a smoother browsing experience for website visitors.
Frequently Asked Questions
How to save a file as JPEG in Photoshop?
To save a file as a JPEG in Photoshop, first open your image in the program. Then, click on File > Save As, select "JPEG" as the file format, and choose your preferred compression and quality settings. Finally, click "Save" to complete the process.
What are the differences between Baseline and Progressive JPEG?
Baseline JPEG (standard) displays the image in a single pass and loads the entire image at once. In contrast, Progressive JPEG loads the image in multiple passes, gradually refining the image as it downloads. This provides a faster image display for users with slow internet connections.
How to get the best quality while saving JPEGs in Photoshop?
To get the best quality JPEG in Photoshop, choose File > Save As, and select "JPEG" as the file format. Use the "Quality" slider to set the desired level of compression and image quality. Higher values result in better image quality but larger file sizes. It's important to strike a balance between quality and file size for optimal viewing on various platforms.
How to convert an image format to JPEG using Photoshop?
To convert an image format to JPEG in Photoshop, open the image you wish to convert. Click on File > Save As, and select "JPEG" as the file format. Adjust the quality settings as needed, and click "Save" to export your image as a JPEG.
What is the purpose of using JPEG in Photoshop?
JPEG is a widely used image format known for its support across multiple platforms and its flexibility with file size and image quality. Using JPEG in Photoshop allows you to create and edit images that can be easily shared, displayed on web pages, or used in other design projects while maintaining a smaller file size compared to other formats like PNG or TIFF.
Can I convert a JPEG file to a PDF using Photoshop?
Yes, you can convert a JPEG file to a PDF using Photoshop. Open the JPEG image in Photoshop, then click on File > Save As. Choose "Photoshop PDF" as the file format, adjust your desired PDF settings, and click "Save." This will convert your JPEG image into a PDF file.


