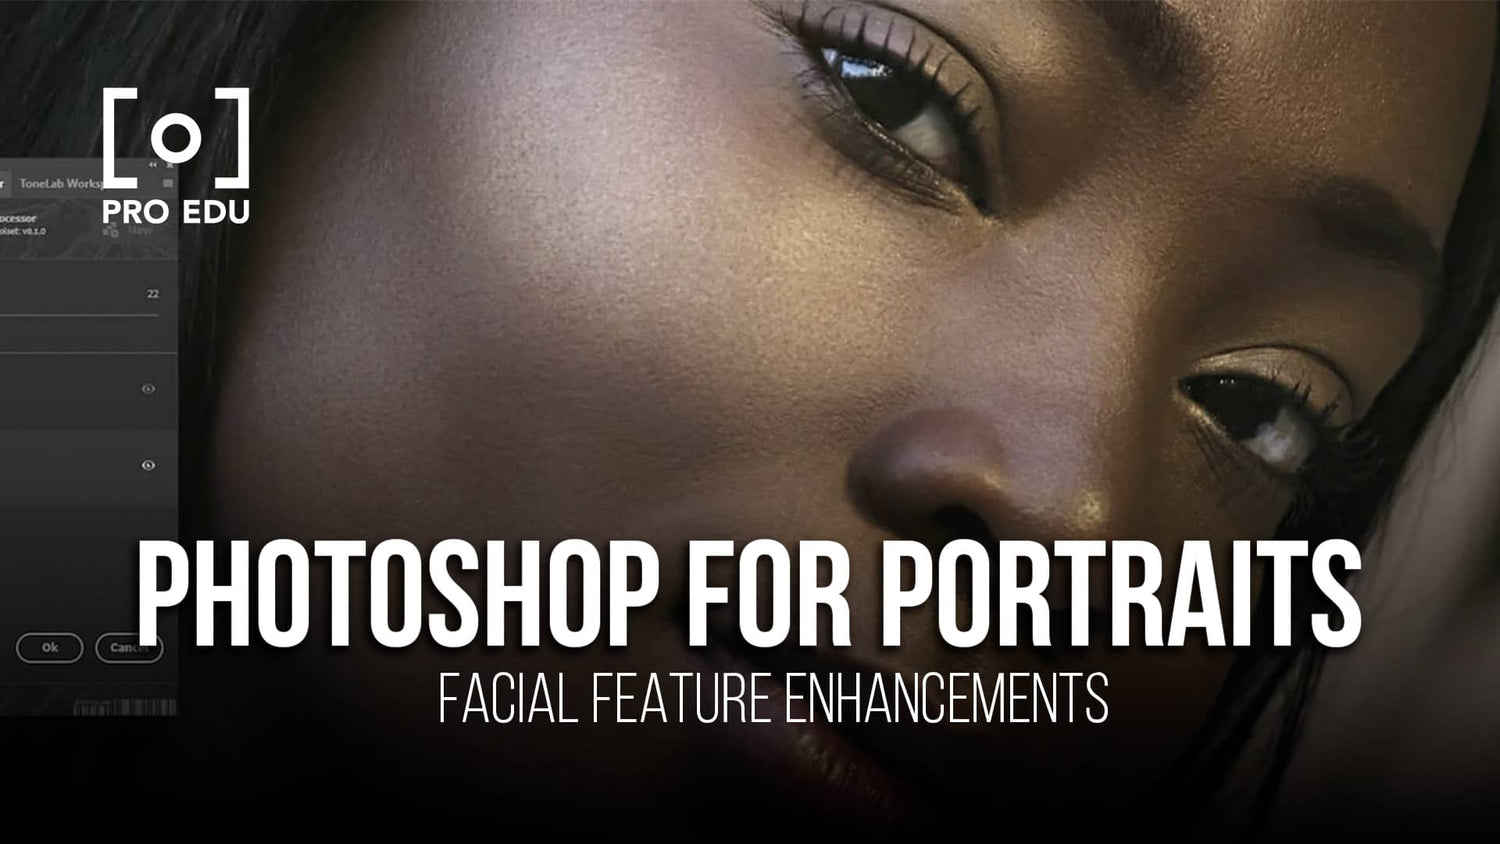
Photoshop for Portraits: A Guide to Masterful Facial Feature Enhancement
In the world of portrait photography, Adobe Photoshop stands as a powerful tool to transform good images into great masterpieces. Our journey through the realm of retouching and enhancement begins with a comprehensive understanding of Photoshop’s robust feature set. From subtly adjusting a subject's smile to reshaping facial contours, we navigate through a range of techniques to perfect the art of portrait editing.
As we explore the vast capabilities of Photoshop, we delve into layer manipulation, skin retouching methods, and the intricate task of hair and background editing. Adjusting color and tone becomes an essential step in our process, ensuring that each portrait conveys the desired mood and aesthetic. Our aim is not only to elevate the subject's natural features but to tell a story through each meticulous adjustment.
Key Takeaways
- Photoshop is integral for enhancing and refining facial features in portrait photography.
- Mastering layers, masks, and skin retouching techniques is crucial for professional results.
- Color and tone adjustments play a significant role in the final presentation of a portrait.
Getting Started with Photoshop
When we open Adobe Photoshop, our journey in enhancing portrait photography begins. The latest version, Photoshop CC, offers a range of tools specifically designed to make subtle yet powerful adjustments to facial features.
First, let's ensure our workspace is set up effectively. Go to Window > Workspace > Photography, which will arrange our tools and panels optimally for portrait editing.
Before making any changes, always duplicate the background layer by pressing Ctrl+J (Cmd+J on Mac). This allows us to edit non-destructively.
Here's a basic workflow to get us started:
- Open the photo in Photoshop.
- Duplicate the background layer.
- Use the Spot Healing Brush and Clone Stamp tools to clean up blemishes.
- Navigate to Filter > Liquify and explore the Face-Aware Liquify tool to make subtle adjustments to facial features.
Remember, the key to professional-looking portraits lies in moderation. Our goal is to enhance, not alter the subject's essence.
| Tool | Use Case |
|---|---|
| Spot Healing Brush | Quickly remove skin imperfections. |
| Clone Stamp | Deal with more complex spot corrections. |
| Liquify | Adjust facial features with precision. |
As we proceed, we’ll look to strike a balance between realism and aesthetic improvement. Being confident with the plethora of tools at our disposal will let us accomplish our creative vision while retaining the natural beauty of our subjects.
Working with Layers and Masks
When we edit portraits in Photoshop, layers are the foundation of our workflow. By creating a new layer, we isolate adjustments without affecting the original image. Here's how we typically use layers to enhance facial features:
-
New Layer: To heal imperfections, we add a new layer and utilize tools like the Spot Healing Brush. This is done non-destructively, as changes are made on the new layer, leaving the original intact. For a practical walkthrough, Easily enhance portraits in Photoshop CC offers accessible insights.
-
Adjustment Layers: We use these for tonal adjustments, like brightening eyes or modifying skin tones, again preserving the original image.
| Common Adjustment Layers | Uses in Portrait Editing |
|---|---|
| Curves | Refine contrast, eye brightness |
| Hue/Saturation | Alter lip color, makeup |
| Black & White | Create a certain mood or effect |
-
Layer Masks: These are powerful tools allowing us to apply changes to specific areas. For instance, if we adjust skin tone, a mask can limit this to just the skin, leaving other details like hair or clothing unchanged. The layer mask tutorial brings clarity to beginners.
-
Smart Objects: To adjust facial features, transforming a layer into a Smart Object lets us apply filters like Liquify non-destructively. This means we can tweak the adjustments at any point without degrading the original layer.
Using layers and masks allows us to maintain the integrity of our work, tweak adjustments on the fly, and achieve professional results. This careful approach ensures our portrait enhancements are both effective and reversible.
Enhancing Facial Features
In portrait photography, refining facial features is key to creating a memorable image. We leverage tools such as the Face-Aware Liquify to adjust and enhance features, ensuring that edits appear natural and believable.
Eyes and Brows
Eyes are the focal point of any portrait. With the Face-Aware Liquify tool, we can enlarge or reduce the size of the eyes, raise or lower the height, and adjust the tilt to convey the desired emotion. Brows also play a critical role in expression. We carefully lift or press down the brow edges to fine-tune the subject's expression, ensuring the changes complement the eyes and don’t overpower the face.
- Enlarge/reduce eye size
- Adjust eye height and tilt
- Lift/press brow edges
Nose and Cheeks
Adjusting the nose involves subtle shaping to align it with the subject’s natural contours. Using the Face-Aware Liquify tool, we modify the width of the nose bridge and nostrils to enhance the nose's appearance without distorting the face's proportionality. For cheeks, we add depth and definition by sculpting the cheekbones and jawline, which can accentuate the subject's bone structure or add a slimming effect to the face.
- Reshape nose bridge and nostrils
- Sculpt cheekbones
- Define jawline
Mouth and Lips
The mouth and lips hold the power to change the portrait's mood. We use the Face-Aware Liquify tool to refine the mouth's width and height, giving a slight lift to the corners to suggest a smile or adjusting them for other expressions. For the lips, we can enhance their fullness or adjust the symmetry, always paying attention to preserve the natural look of the subject’s smile.
- Adjust mouth width and height
- Enhance lip fullness
- Modify lip symmetry
Skin Retouching Techniques
In portrait photography, skin retouching is a critical step to achieving a polished look in our final images. We focus on eliminating distractions while preserving the natural texture of the skin.
Removing Blemishes
To remove blemishes, we commonly utilize the Healing Tool and the Healing Brush Tool. These tools work by blending the imperfection with the surrounding skin tones and textures. We zoom in on the portrait and carefully click on each blemish, allowing the Healing Tool to seamlessly blend the areas. When working with the Healing Brush Tool, we select a sample area of the skin that is clear and use it as a source to paint over the imperfection.
Smoothing Skin Texture
For Smoothing Skin Texture, we use a non-destructive technique that maintains skin detail. We often start with Frequency Separation; this technique separates the skin texture from the color, allowing us to smooth out the skin without affecting the texture. We carefully brush over the areas we wish to smooth, ensuring that we do not compromise the skin's natural appearance.
Adjusting Skin Tone
Adjusting the Skin Tone can be done using various adjustment layers. We focus on achieving a uniform skin tone while preserving the natural shadows and highlights. Using the Curves and Hue/Saturation adjustment layers, we can correct color inconsistencies and enhance the overall skin tone. We make sure to edit these layers with a light touch to avoid an artificial or overly processed look.
Hair and Background Editing
In this section, we'll explore how to enhance portraits by refining hair details and manipulating backgrounds effectively to achieve professional-quality results.
Refining Hair
When it comes to hair editing, our focus is on maintaining texture while making the hair look well-groomed and natural. To do this, we often make use of the Healing Brush and Clone Stamp tools to remove stray hairs and fill in gaps. Additionally, the Dodge and Burn tools are indispensable in adding dimension and depth, bringing out the highlights and shadows that give hair its lustrous appearance.
-
Techniques for Refinement:
- Healing Brush: Remove unwanted stray hairs.
- Clone Stamp: Fill in thinning areas.
- Dodge and Burn: Enhance depth and volume.
For more intricate work, like separating hair from its background or dealing with fine hair textures, we employ techniques like layer masks and refined selections. It’s critical to zoom in and work closely with small brushes to keep the hair’s natural flow intact.
-
Advanced Techniques:
- Layer Masks: Isolate hair for detailed editing.
- Refined Selections: Separate hair from the backdrop precisely.
Working with Backgrounds
We pay close attention to backgrounds, as they frame and complement the subject. The Liquify filter can be strategically applied to adjust elements in the backdrop without compromising the integrity of the portrait. For instance, we might gently push background elements away from the subject to create a sense of depth or correct distracting shapes that take attention away from the portrait's focus.
-
Background Adjustments:
- Liquify Filter: Subtly alter background shapes.
- Selective Blurring: Create depth of field.
When replacing or adjusting the background, it’s essential to match the new backdrop’s blurriness and color temperature with the subject to ensure a cohesive look. We meticulously refine the edge between the subject and background, so the two blend seamlessly.
-
Background Replacement:
- Match blurriness and color temperature.
- Refine edges for a seamless blend.
By carefully refining hair and manipulating backgrounds, we elevate the overall impact of our portraits, ensuring that every element in the composition works harmoniously to enhance the subject’s features.
Color and Tone Adjustments
In portrait photography, mastering color and tone adjustments is crucial for achieving a pleasing aesthetic and true-to-life results. We'll focus on refining the hues and contrasts that impact the mood and authenticity of a portrait.
Color Correction
We often begin by correcting any color imbalances in our image. Our goal is to achieve natural skin tones and harmonious color palettes throughout the portrait.
- Hue/Saturation Adjustment: We adjust the hue to correct color casts and change overall color tones. Increasing saturation can bring out the vibrancy of clothing or backgrounds without affecting skin tones if done with precision.
- Selective Color Adjustment: For more control, we manipulate individual color channels. This helps us to enhance or minimize certain colors in specific areas of the picture, ensuring that every color looks as it should.
Exposure and Contrast
Having corrected the color, enhancing exposure and contrast is our next step, giving depth and dimension to facial features.
-
Curves: We use the curves tool to fine-tune the lightness and darkness across different tonal regions, effectively adjusting the exposure without compromising the image quality.
-
Contrast: By adjusting contrast, we accentuate the differences between lights and shadows, adding depth. However, it's important to preserve natural skin texture by avoiding overly harsh contrast levels.
By applying these adjustments carefully, we ensure that the portrait maintains a balanced and professional appearance.
Advanced Photoshop Techniques
In our arsenal of Photoshop expertise, advanced techniques like Puppet Warp and Frequency Separation stand out for their precision and detail-oriented approach, critical in enhancing facial features in portrait photography.
Puppet Warp for Precision
With the Puppet Warp tool, we gain granular control over facial features. By adding pins to specific areas of the face, we are able to meticulously rotate and adjust elements to perfect a subject's look. Whether we need to tweak the angle of eyebrows or subtly lift the corners of a mouth to enhance a smile, Puppet Warp provides the precision necessary to achieve a natural, yet improved, facial expression.
-
Steps to use Puppet Warp:
- Select the layer with the portrait.
- Choose Edit > Puppet Warp.
- Place pins on the facial feature you wish to adjust.
- Drag the pins to transform features gently and accurately.
Frequency Separation for Details
For details that make a portrait stand out, we rely on frequency separation. This technique separates the texture of the skin from its color and tone, allowing us to edit these elements independently. We can smooth out imperfections on the skin's surface without affecting the fine facial details like wrinkles or hair, preserving the subject's natural character.
-
Benefits of Frequency Separation:
- Retain skin texture while correcting tone and color.
- Precise editing of fine details.
- Non-destructive workflow that keeps original image aspects intact.
Finalizing the Portrait
In the final stages of perfecting a portrait in Photoshop, we emphasize the importance of subtlety and precision. It’s crucial that the final touches both honor the subject’s natural features and align with the client's expectations. Here's how we ensure the finished product stands out.
First, using the Spot Healing Brush, we carefully remove any unwanted blemishes or distractions. This tool is invaluable for maintaining skin texture while clearing up imperfections. Remember, it's best to zoom in and work on a new layer to non-destructively edit the portrait.
Next, we review the retouching tools at our disposal, such as the Clone Stamp or the Patch Tool. These help us in blending and refining areas that require a bit more attention. We take our time here, as meticulous adjustments can make a significant difference.
For a cohesively enhanced look, we sometimes apply a filter to adjust color balance or add a soft glow. However, these effects should be applied with a light hand; we want to preserve the natural essence of the portrait.
In our role as photographers and digital artists, we strive to deliver a portrait that feels both polished and authentic. We communicate with our client throughout the retouching process to ensure the outcome is aligned with their vision.
Lastly, we check the overall image for any inconsistencies in exposure or color. We make slight adjustments if needed, always double-checking that no detail has been overlooked.
With these steps, we confidently deliver a portrait that's ready to impress.
Exporting and Sharing Your Work
When we reach the final stages of portrait retouching in Photoshop, it's essential to ensure our work is showcased at its best. Here are the straightforward steps we follow to export and share our enhanced portraits:
-
Finalize Edits: We double-check all adjustments and layers to confirm that everything is as it should be.
-
Choose File Format: We usually save the file as a PSD to preserve layers for future edits. For sharing, we'll export as JPEG or TIFF, depending on the needed quality.
- JPEG: ideal for web use due to smaller file size.
- TIFF: better for printing, as it maintains higher quality.
-
Export Settings:
- Resolution: 72 dpi for web, 300 dpi for print.
- Color Space: sRGB for web, Adobe RGB for print.
-
Use 'Export As' or 'Save As': We access these options through the File menu. 'Export As' allows us more control over the final size and optimization of the image. It's where we adjust settings to match our sharing platform requirements.
-
Backup: We save a copy to our cloud subscription for safekeeping and easy access across devices.
-
Sharing: We upload our work to our portfolio, email to clients, or post to social media platforms to engage our audience.
For those of us seeking more detailed guidance on these steps, we highly recommend a video tutorial from Phlearn. It's a reliable resource to enhance our understanding of not only editing but also preparing our work for presentation.
By following these protocols, we ensure that our portraits are presented professionally across all mediums, reflecting the high standards of our retouching skills.
Frequently Asked Questions
In our exploration of portrait editing within Photoshop, we've gathered some of the most commonly asked questions about enhancing facial features. We'll cover precise techniques and tools designed for professional and realistic results.
What are the best techniques for reducing the appearance of a double chin in Photoshop?
We often use tools like the Liquify filter’s ‘Push Left’ tool to subtly push up from the edge of the chin and neck. It's a delicate process where moderation is key to maintain a natural appearance.
How can I refine and sharpen facial features like the jawline using Photoshop tools?
The Burn and Dodge tools are our allies for defining the jawline. The Dodge Tool lightens areas to bring them forward, while the Burn Tool can deepen shadows, refining the contour of the jaw.
Are there effective methods to slim down a face in Photoshop without compromising natural look?
Yes, the Face-Aware Liquify feature allows us to make adjustments to facial features with realism. By slightly adjusting the sliders, we can slim down the face while preserving its original proportions.
What is the process for accentuating or reshaping a nose in Photoshop?
We typically use the Liquify tool for reshaping noses. With the 'Forward Warp' tool, one can push and pull specific areas to subtly change the shape. It's important to zoom in and work with a small brush for precise edits.
Which tools should I use in Photoshop to achieve professional-level facial feature enhancement?
Professional edits often involve a combination of tools like the Liquify tool, Healing Brush, Clone Stamp, and frequency separation for skin textures. Each plays a distinct role in enhancing facial features.
What steps can I follow to ensure portrait edits, such as sharpening the face, appear realistic?
We start by using subtle amounts of Unsharp Mask or Smart Sharpen. Then, we selectively apply it using layer masks to ensure only the areas that need sharpening are affected, like the eyes and lips.


