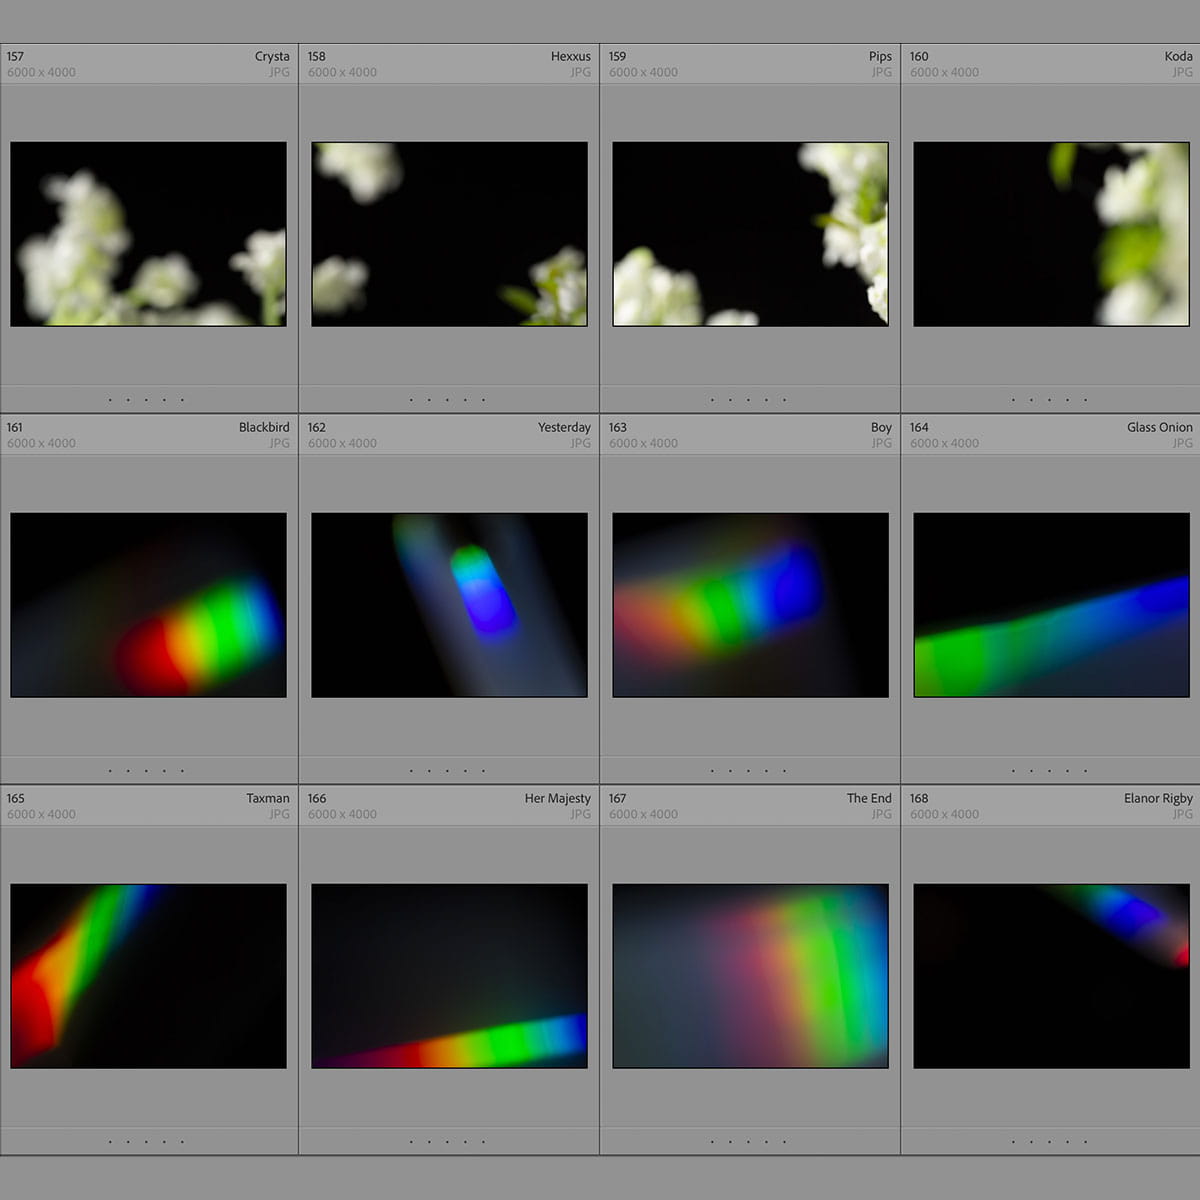
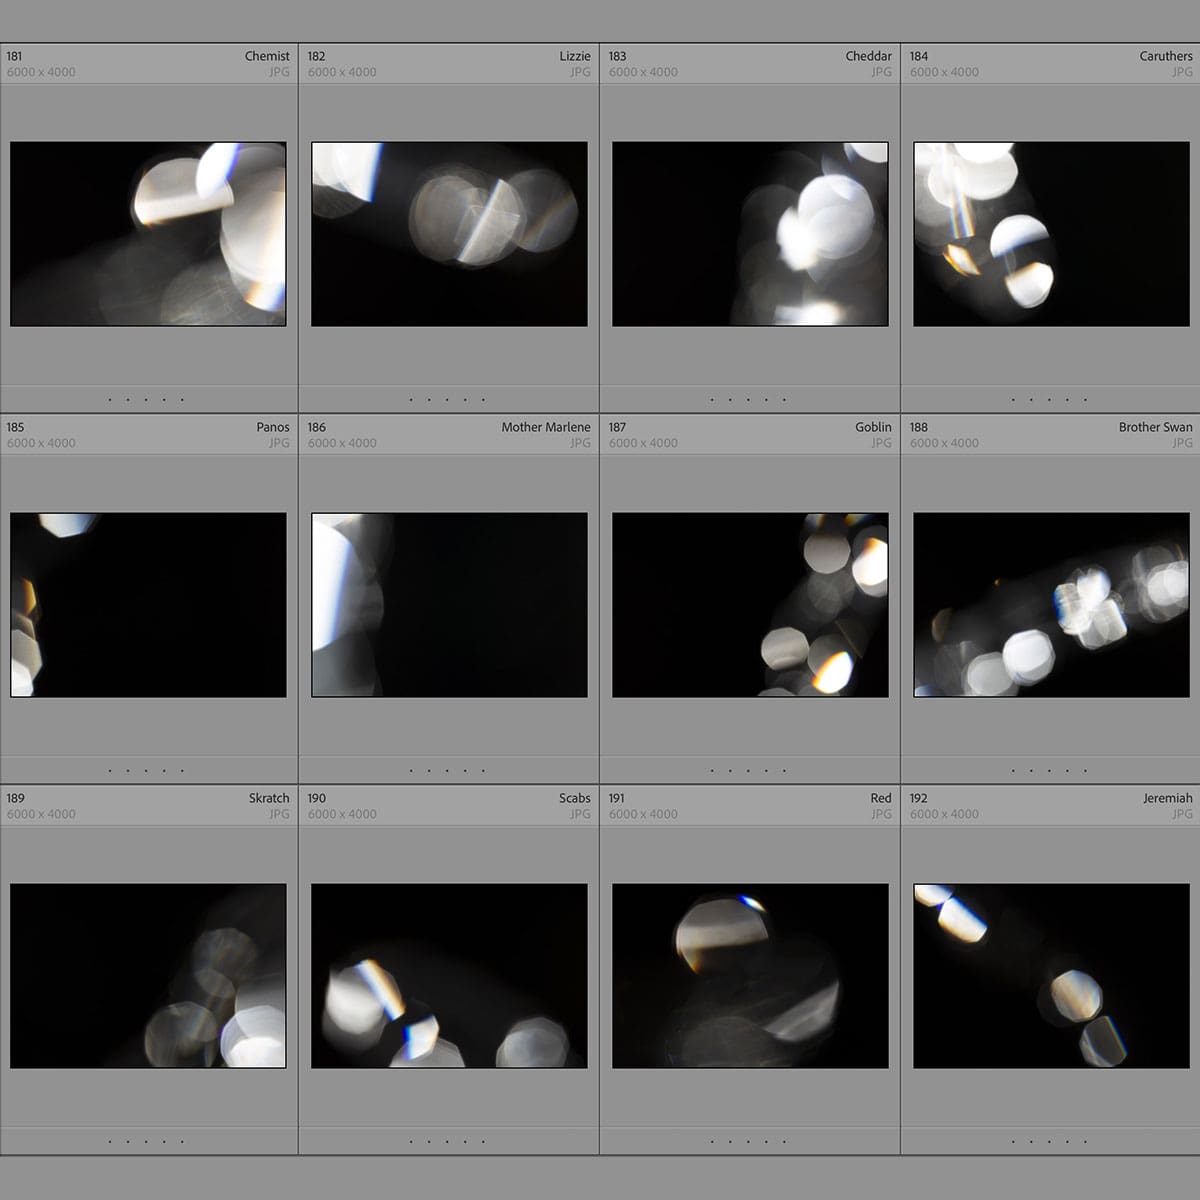
La puissance des modes de fusion pour des modifications créatives : libérer le potentiel visuel
Les modes de fusion de Photoshop sont des outils essentiels qui nous permettent de combiner des calques de diverses manières, chacune produisant un effet unique sur l'image finale. Que nous travaillions avec la photographie, la conception graphique ou l'illustration numérique, ces modes offrent une profondeur de contrôle et de créativité qui peut transformer une image banale en une œuvre d'art. Le simple changement d'un mode de fusion peut modifier radicalement l'ambiance et la composition de notre projet, offrant un spectre de possibilités allant de changements de texture subtils à des contrastes audacieux et accrocheurs.
Il est essentiel pour tout artiste ou designer numérique de comprendre le fonctionnement des modes de fusion. Chaque mode fonctionne en prenant les informations de pixels d'une couche et en les combinant mathématiquement avec les pixels des couches sous-jacentes, ce qui produit divers effets qui peuvent optimiser l'éclairage, la couleur et l'harmonie globale d'une image. Notre maîtrise de ces modes nous permet de relever des défis créatifs et d'affiner nos œuvres avec précision. Grâce à un mélange de modes d'éclaircissement, d'assombrissement et de contraste à notre disposition, nous pouvons résoudre efficacement des problèmes courants tels que la suppression d'arrière-plans noirs ou l'introduction d'éléments visuels complexes qui soutiennent notre vision créative.
Principaux points à retenir
- Les modes de fusion permettent des effets de superposition créatifs dans Photoshop.
- Chaque mode manipule les informations des pixels différemment, affectant la lumière et la couleur de l'image.
- Une utilisation appropriée des modes de fusion peut considérablement améliorer les compositions visuelles.
Comprendre les modes de fusion
Avant de plonger dans les détails, il est essentiel de comprendre que les modes de fusion sont un outil fondamental qui nous permet de combiner des calques et de manipuler la manière dont ils interagissent de manière riche et nuancée.
Les bases des modes de fusion
Les modes de fusion sont le mécanisme qui détermine la manière dont deux calques se mélangent sur une toile. Les modes les plus simples sont Normal et Dissoudre . Le mode Normal ne mélange pas les pixels ; il affiche simplement le calque supérieur. Dissoudre , en revanche, remplace aléatoirement les pixels du calque inférieur par ceux du calque supérieur en fonction de l'opacité du calque.
Lorsque nous appliquons un mode de fusion, tel que Multiplier ou Écran , nous contrôlons la fusion par les valeurs de luminance du calque. Le mode Multiplier assombrit l'image, comme si les calques interagissaient les uns avec les autres par un processus soustractif ; il est parfait pour assombrir les images sans écraser les noirs. À l'inverse, Écran éclaircit les images, comme si elles projetaient plusieurs images sur le même écran, un excellent choix pour éclaircir sans surexposer.
Catégories de modes de fusion
Les modes de fusion dans Photoshop se répartissent en plusieurs catégories en fonction de leurs fonctions. Le groupe Assombrir , qui comprend des modes comme Assombrir , Multiplier et Brûler les couleurs , est utilisé pour assombrir les images en comparant les couleurs de base et de fusion, en conservant la plus sombre des deux. Ce groupe est essentiel pour la composition et l'ajout d'ombres.
Le groupe Éclaircir se comporte de manière opposée, avec des modes comme Éclaircir , Écran et Dodge couleur . Ces modes comparent les pixels et conservent les valeurs les plus claires, utiles pour les hautes lumières et l'éclaircissement sans perte de détails.
Ensuite, nous avons des modes de contraste tels que Overlay et Soft Light , qui éclaircissent ou assombrissent l'image en fonction de la couleur de fusion. Ces modes préservent les hautes lumières et les ombres de la couleur de base tout en mélangeant la couleur de fusion pour affecter le contraste de l'image.
Les modes Teinte , Saturation , Couleur et Luminosité font partie de la catégorie des modes composants. Ils créent des effets basés sur la couleur :
- La teinte change la teinte de la couche de base avec la teinte de la couche supérieure tout en gardant la saturation et la luminosité constantes.
- La saturation mélange la saturation du calque de fusion avec la teinte et la luminosité du calque de base.
- La couleur combine la teinte et la saturation de la couche de fusion avec la luminosité de la couche de base.
- La luminosité réalise l’inverse, créant un mélange basé sur la luminosité de la couleur de mélange tout en conservant la teinte et la saturation de la couche de base.
Le groupe Comparatif se distingue par des modes tels que Différence , Exclusion , Ajouter , Soustraire et Diviser , souvent utilisés à des fins plus créatives ou correctives. Ils comparent la couche de base et la couche de fusion et soustraient ou ajoutent des valeurs :
- La différence montre la différence absolue entre les couleurs de base et les couleurs de mélange.
- Ajoutez des éclaircissements en ajoutant la couleur mélangée à la couleur de base.
- Soustraire et diviser sont utiles pour corriger les couleurs et produire des effets visuels uniques, parfois inattendus.
La compréhension de ces catégories et de leurs modes associés nous donne le pouvoir d’obtenir des effets à la fois subtils et spectaculaires dans notre travail créatif.
Modes de fusion pour l'assombrissement
Les modes de fusion dans Photoshop sont essentiels pour créer de la profondeur et de la dimension dans nos images. Plus précisément, les modes de fusion d'assombrissement nous permettent d'ajouter des ombres et des atmosphères maussades, contribuant ainsi à la profondeur et à la texture globales de notre travail.
Utilisation de la multiplication pour les ombres
Le mode Multiplier est la solution idéale pour créer des ombres naturelles. En réglant simplement un calque sur le mode Multiplier, nous lui permettons de se fondre avec les calques inférieurs en assombrissant les couleurs combinées. Ce mode est particulièrement efficace pour enrichir les zones plus sombres sans surcharger les parties plus claires de notre image.
Découverte de Darken et Color Burn
Le mode de fusion Darken compare chaque pixel de la couche supérieure avec le pixel correspondant de la couche inférieure et choisit le plus sombre des deux à afficher. Il maintient les valeurs de luminance les plus élevées de l'image à distance, ce qui est utile lorsque nous cherchons à mettre en évidence les ombres sans affecter l'image globale de manière trop importante. D'autre part, Color Burn approfondit la couleur de la couche de base en fonction de la couleur de la couche de fusion, produisant un effet plus intense, idéal pour créer des zones d'une photo qui nécessitent une ombre plus spectaculaire ou un degré d'assombrissement plus important.
Utilisation de la gravure linéaire pour la profondeur
Lorsque nous avons besoin d’un effet plus fort que Multiply, Linear Burn est notre allié. Ce mode de fusion assombrit non seulement la couche de base en diminuant sa luminosité, mais ajoute également du contraste en intensifiant les ombres. Linear Burn peut nous donner la profondeur que nous souhaitons dans une image, en particulier dans les zones les plus sombres. Nous utilisons souvent ce mode pour ajouter un niveau de richesse et de drame que Multiply ne peut pas atteindre seul.
Modes de fusion pour l'éclaircissement
Dans notre arsenal d'outils Photoshop, les modes de fusion conçus pour l'éclaircissement jouent un rôle crucial. Nous les utilisons pour améliorer la luminosité et ajouter de l'éclat aux reflets d'une image.
Filtrer et éclaircir pour les reflets
Le mode de fusion d'écran est l'un de nos choix préférés lorsqu'il s'agit d'éclaircir des images. Il éclaircit efficacement les couleurs sous-jacentes, ce qui est inestimable pour améliorer les hautes lumières. Considérez-le comme un moyen de simuler l'effet de la projection de plusieurs images sur le même écran, ce qui donne une image plus claire. Le mode Éclaircir , en revanche, compare les couleurs de base et de fusion, en conservant la plus claire des deux. Il est parfait pour les situations où le maintien des hautes lumières est essentiel, sans affecter les zones plus sombres de l'image.
Plongée dans la superposition et la lumière douce
Le mode Overlay combine les atouts des modes de fusion Multiplier et Écran. Il éclaircit les parties claires et assombrit les parties sombres, affectant ainsi le contraste et la saturation de la couleur de base. Utilisé à bon escient, le mode Overlay peut ajouter de la profondeur et des nuances à nos images. Le mode Soft Light , qui s'apparente à une version subtile du mode Overlay, nous offre une approche plus délicate. Il est exemplaire pour obtenir un effet d'éclairage naturel, adoucissant l'image sans la surcharger de contraste. La capacité du mode Soft Light à préserver les tons en fait un outil efficace pour peaufiner les images afin d'obtenir une amélioration douce.
Utilisations créatives des modes de fusion de contraste
Dans notre exploration des modes de fusion de Photoshop, nous avons constaté que les modes de fusion de contraste offrent une approche dynamique de la composition et de l'amélioration des images. Ces modes, en particulier Overlay, Soft Light, Vivid Light et Linear Light, facilitent la manipulation créative des textures et des interactions de couleurs , ce qui donne lieu à des visuels saisissants.
Exploiter les superpositions et la lumière vive
Lorsque nous utilisons Overlay , nous équilibrons efficacement les valeurs claires et sombres de notre image de base avec une texture ou un calque de réglage . Overlay multiplie les zones sombres et masque les zones claires, ajoutant de la profondeur et de la complexité sans écraser les couleurs d'origine. Ce mode est essentiel lorsque vous souhaitez améliorer les textures ou ajouter un effet composite subtil sans altérer le caractère inhérent de votre image. Parallèlement, Vivid Light intensifie cet effet en brûlant ou en esquivant le contenu selon que le calque de fusion est plus clair ou plus foncé que le gris moyen. Nous avons souvent recours à Vivid Light pour injecter une touche dramatique, en particulier pour faire ressortir les détails ou pour créer un composite plus intense.
Effets de lumière dure et de lumière linéaire
Hard Light combine les effets des modes Multiplier et Écran, en fonction des valeurs de luminance du calque de fusion. C'est notre solution de prédilection pour ajouter un contraste percutant et de la vitalité aux images, particulièrement utile pour accentuer les contours ou améliorer la clarté apparente des textures. Sa nature robuste peut rapidement ajouter du caractère dramatique à une image autrement plate.
En revanche, la lumière linéaire est un pas en avant en termes de puissance, affectant la luminosité de notre image de base de manière plus agressive. Nous l'utilisons pour projeter des ombres ou des reflets prononcés, ce qui en fait un outil précieux pour les compositions axées sur les effets. Elle est excellente pour les effets graphiques audacieux ou lorsqu'une modification significative des zones claires et sombres d'une image est souhaitée.
En exploitant la puissance de ces modes de fusion de contraste, nous insufflons une nouvelle vie à nos compositions, en manipulant élégamment les textures et l'éclairage pour réaliser la vision artistique souhaitée.
Mélange de couleurs pour un impact visuel
Les modes de fusion dans la conception numérique nous permettent de créer des effets visuellement saisissants et d'améliorer l'impact émotionnel des images. En particulier, le mélange basé sur les couleurs peut modifier considérablement l'ambiance et l'esthétique d'une composition.
Modes de teinte et de couleur pour la tonification
Lorsque nous cherchons à affiner les tons de couleur d'une image, nous nous appuyons souvent sur les modes de fusion de teinte et de couleur. Ces modes sont idéaux pour maintenir l'intégrité de la luminosité et de la saturation d'origine tout en décalant les teintes. Plus précisément, le mode de fusion de teinte remplace la teinte de la couche de base par celle de la couche de fusion, laissant les autres aspects inchangés. D'autre part, le mode de fusion de couleur combine à la fois la teinte et la saturation de la couche de fusion avec la luminosité de la couche de base, offrant un mélange équilibré qui préserve les détails de l'image dans chaque canal RVB .
Saturation et luminosité pour la dynamique
Pour les images dynamiques, le réglage de la saturation et de la luminosité peut être transformateur. Le mode de fusion de luminosité est particulièrement puissant, modifiant la luminosité de la couleur de base en fonction de la luminosité de la couleur de fusion sans affecter la teinte ou la saturation . C'est une technique utile pour ajouter de la profondeur ou mettre en valeur des éléments, car elle conserve l'intensité de la couleur intacte. Quant au mode de fusion de saturation , il offre un moyen d'ajuster l'intensité de la couleur d'une image. Il prend la saturation du calque de fusion et l'applique à la teinte et à la luminosité du calque de base, ce qui peut être une méthode efficace pour créer des palettes de couleurs plus vives ou plus atténuées lors de la manipulation des canaux RVB dans une photo.
Techniques de mélange avancées
Lorsque nous travaillons avec des techniques de fusion avancées dans Adobe Photoshop, nous amenons le contrôle des éléments visuels à un niveau de précision supérieur. Notre capacité à manipuler les calques, à ajuster l'opacité et le remplissage et à fusionner les pixels est fondamentale pour obtenir l'effet souhaité, que nous travaillions avec des images fixes ou des composites.
Travailler avec Blend If et les styles de calque
Blend If est une fonctionnalité puissante qui utilise les valeurs de luminosité (luminance) des pixels pour déterminer la manière dont les calques interagissent. Située dans la boîte de dialogue Style de calque, Blend If nous permet de spécifier que certaines parties d'un calque deviennent transparentes en fonction des valeurs de luminosité du calque de base ou du calque de fusion lui-même. Par exemple :
- Pour rendre transparentes les zones les plus sombres d'un calque de fusion, faites glisser le curseur noir « Ce calque » vers la droite.
- Pour protéger les reflets brillants de la couche de base, nous déplaçons le curseur blanc « Couche sous-jacente » vers la gauche.
Le réglage des curseurs avec la touche Alt/Opt crée une transition plus douce, évitant les lignes dures dans nos composites.
Utilisation des modes de fusion dans la composition
Grâce aux modes de fusion , nous pouvons créer des images composites complexes grâce à l'interaction de calques basés sur la couleur et la luminance. Photoshop propose de nombreux modes de fusion, chacun offrant une manière différente pour le calque de fusion d'affecter le calque de base.
- Multiplier réduit la luminosité et est parfait pour ajouter des ombres ou de la richesse aux couleurs.
- Le mode écran est souvent utilisé pour éclaircir les images, rendant tout ce qui est noir pur transparent.
- La superposition combine la multiplication et l'écran pour ajouter de la profondeur et du contraste à une image.
Lors de la création d'un composite, nous pouvons ajuster l' opacité et le remplissage de nos calques de fusion pour affiner la manière dont les formes transparentes se superposent ou dont les pixels opaques révèlent les calques sous-jacents. La connaissance du fonctionnement de chaque mode élargit notre capacité à créer des visuels convaincants, crédibles et percutants.
Modes de fusion dans le flux de travail de conception graphique
Les modes de fusion sont des outils essentiels dans notre flux de travail de conception graphique, nous permettant de manipuler les interactions des calques pour obtenir efficacement divers effets visuels.
Intégration des modes de fusion dans les projets
Lorsque nous intégrons des modes de fusion dans des projets de conception, nous devons d'abord comprendre les modes fondamentaux les plus bénéfiques pour notre travail. Multiply est l'un de ces modes, réputé pour sa capacité à assombrir les images de manière non destructive. En superposant un calque de réglage sur le graphique d'origine, nous pouvons peaufiner l'effet final sans altérer le calque d'origine.
- Superposition graphique : utilisez les modes de fusion pour empiler des photographies, du texte et des graphiques de manière transparente.
- Calques de réglage : appliquez des calques de réglage avec des modes de fusion pour améliorer les couleurs et les tons sans vous engager dans des modifications permanentes.
Conseils d'efficacité pour les concepteurs
Notre flux de travail est considérablement accéléré par l'intégration de modes de fusion tels que Multiplier en tandem avec des filtres , ce qui réduit le besoin de modifications manuelles complexes. Voici comment :
- Favoris prédéfinis : stockez les modes et paramètres de fusion fréquemment utilisés sous forme de préréglages pour un accès rapide aux tâches répétitives.
- Raccourcis clavier : maîtrisez les raccourcis clavier de Photoshop pour parcourir rapidement les modes de fusion, économisant ainsi un temps précieux.
En exploitant la puissance des modes de fusion de Photoshop , nous, en tant que concepteurs et artistes numériques, rationalisons notre processus d'édition de photos, nous permettant de réaliser notre vision créative avec rapidité et précision.
Meilleures pratiques pour la sélection du mode de fusion
Lorsque nous sélectionnons des modes de fusion dans notre flux de travail d'édition, nous cherchons à améliorer la communication visuelle de nos images. Examinons les meilleures pratiques pour exploiter efficacement les modes de fusion :
-
Commencez par l'intention : comprenez le résultat souhaité. Voulons-nous obtenir une superposition de texture subtile ou un changement de tonalité spectaculaire ? Cela guidera notre choix de mode de fusion.
-
Expérimentation et aperçu : le survol des différents modes de fusion nous donne un aperçu en direct. C'est un moyen rapide de voir l'effet potentiel sans s'engager dans le changement.
-
Grouper et calquer : utilisez des calques groupés en fonction de leur fonction, qu'il s'agisse de correction des couleurs, de réglage de l'exposition ou de texturation. Cela permet de garder notre projet organisé et de concentrer les modes de fusion là où c'est nécessaire.
-
Ajuster l'opacité : Parfois, l'effet d'un mode de fusion peut être trop fort. Nous pouvons réduire l'intensité en réduisant l'opacité du calque.
-
Associer avec des masques : les masques de calque nous permettent d'appliquer des modes de fusion à des zones spécifiques de notre image, nous donnant ainsi un contrôle précis sur les modifications.
Voici une référence pratique pour guider notre sélection :
| Effet désiré | Modes de fusion suggérés |
|---|---|
| Assombrir l'image | Multiplier, colorer |
| Éclaircir l'image | Écran, additif, couleur plus claire |
| Augmenter le contraste | Superposition, lumière douce, lumière dure |
| Créer une harmonie de couleurs | Couleur, luminosité |
| Images composites | Pour plus d'informations sur les modes de fusion composites, reportez-vous à ce guide ultime des modes de fusion . |
- Apprendre les raccourcis : Familiarisez-vous avec les raccourcis clavier pour basculer efficacement entre les modes de fusion, ce qui accélère considérablement notre flux de travail.
En gardant ces pratiques à l’esprit, nous optimisons notre utilisation des modes de fusion, garantissant que nos modifications créatives sont à la fois puissantes et utiles.
Applications innovantes dans l'art numérique
Dans l'art numérique, nous cherchons souvent à repousser les limites de l'expression et du détail. L'utilisation de modes de fusion est un outil puissant dans notre arsenal. En tant qu'illustrateurs et graphistes, nous intégrons des modes de fusion pour améliorer l'interaction des couleurs et des textures entre les couches de toile, ce qui nous permet d'obtenir une profondeur et un réalisme qui pourraient autrement être insaisissables.
-
Textures : En maîtrisant les modes de fusion, nous pouvons introduire des textures complexes qui ajoutent une essence tactile à nos créations numériques. Par exemple, une simple superposition peut simuler le grain du papier, tandis qu'une multiplication peut approfondir les ombres.
-
Valeur : La manipulation de la valeur des couleurs devient intuitive avec les modes de fusion. Une utilisation judicieuse du mode écran permet d'éclaircir une image sans altérer la teinte, préservant ainsi l'intégrité des couleurs d'origine.
-
Inversion : Pour des effets dramatiques, l'inversion via les modes de fusion peut créer des images d'espace négatif saisissantes ou des inversions thématiques qui sont essentielles pour créer une ambiance.
Les modes de fusion nous permettent de contrôler avec précision les éléments visuels de notre travail. Voici un bref aperçu de leur utilité :
| Mode | Cas d'utilisation |
|---|---|
| Multiplier | Assombrir l'œuvre sous-jacente |
| Écran | Éclaircir l'œuvre d'art sans la délaver |
| Recouvrir | Ajoutez de la texture ou améliorez le contraste |
| Différence | Créer des effets abstraits ou psychédéliques |
En tant qu'artistes numériques, nous trouvons les modes de fusion indispensables pour créer des images qui racontent des histoires, évoquent des émotions et donnent vie à nos visions créatives avec dynamisme et nuances. Que nous créions des compositions complexes ou des pièces conceptuelles simples, les modes de fusion confèrent à nos œuvres une gamme dynamique qui peut être à la fois subtile et profonde.
Questions fréquemment posées
Les modes de fusion sont des outils fondamentaux pour la conception créative et l'édition numérique, qui modifient l'interaction entre les calques pour obtenir divers effets visuels. Explorons les questions qui se posent souvent lorsque l'on travaille avec ces puissantes fonctionnalités.
Comment appliquer des modes de fusion dans Adobe Illustrator pour des conceptions créatives ?
Dans Adobe Illustrator, nous pouvons appliquer des modes de fusion via le panneau Transparence, ce qui nous permet de modifier la manière dont les objets se mélangent avec l'illustration sous-jacente pour produire des effets sophistiqués. La compréhension des modes de fusion dans Illustrator peut grandement améliorer vos créations.
Quelle est la fonction du mode de fusion d'écran dans l'édition numérique ?
Le mode de fusion Écran est utilisé pour éclaircir les images, ce qui est en fait l'opposé du mode Multiplier. Il est particulièrement utile pour supprimer les zones noires ou sombres d'un calque, permettant aux parties plus claires du calque de fusion d'éclaircir le calque de base.
Pouvez-vous fournir un guide étape par étape pour ajuster les modes de fusion dans Photoshop ?
Certes, voici comment vous pouvez modifier les modes de fusion dans Photoshop :
- Ouvrez votre projet et sélectionnez le calque que vous souhaitez ajuster.
- Accédez au panneau Calques et recherchez le menu déroulant en haut, intitulé « Normal » par défaut.
- Cliquez dessus et choisissez dans la liste des modes de fusion pour voir comment cela affecte votre calque.
Pour des instructions plus détaillées sur les modes de fusion dans Photoshop, il peut être utile d'explorer les didacticiels dédiés aux modes de fusion de Photoshop .
Quelles sont les utilisations pratiques de la propriété blend-mode dans CSS pour le développement Web ?
Dans le développement Web, la propriété blend-mode de CSS est utilisée pour contrôler la manière dont le contenu d'un élément doit se fondre dans son arrière-plan. Cela peut permettre des effets visuels dynamiques, tels que le mélange d'images avec des couleurs d'arrière-plan ou la création de superpositions de textures sans avoir recours à un logiciel de retouche d'images.
Quel mode de fusion est préférable pour éliminer les zones les plus sombres d'un calque ?
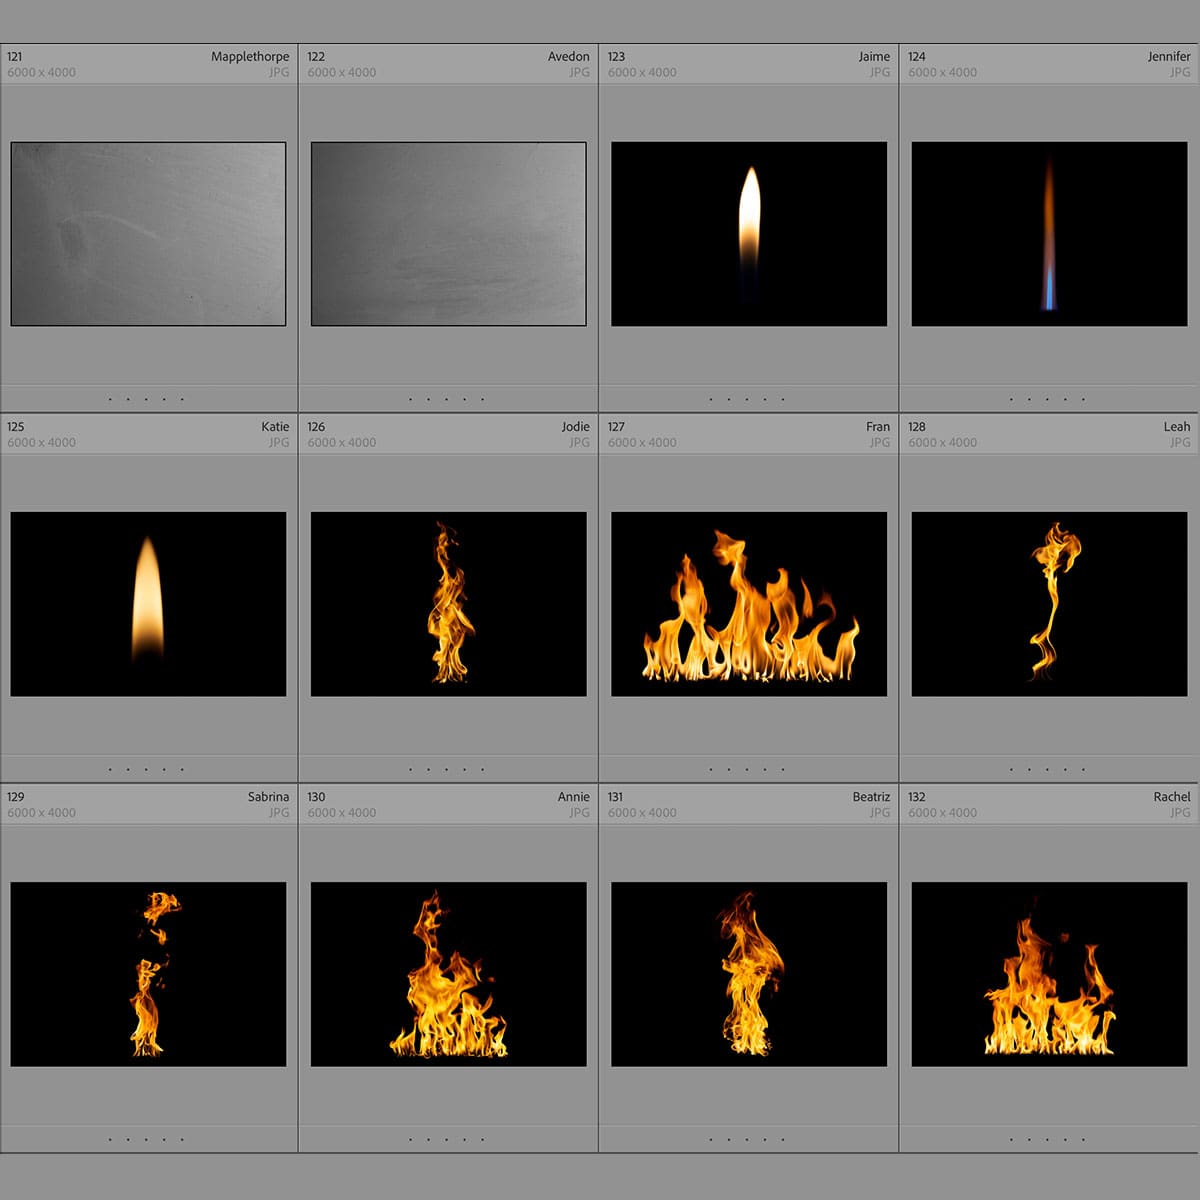
Le mode de fusion préféré pour supprimer les parties les plus sombres d'une image est généralement « Éclaircir », car il remplace uniquement les zones plus sombres que le calque de fusion. Le mode Éclaircir peut aider à isoler les éléments plus clairs et est très efficace pour composer des effets de feu, de rayons lumineux ou similaires.
Quels sont les quatre principaux modes de fusion largement utilisés dans Photoshop pour améliorer les images ?
Les quatre principaux modes de fusion largement utilisés dans Photoshop pour améliorer les images sont :
- Multiplier : assombrit les images, idéal pour les ombres ou l'assombrissement.
- Écran : éclaircit les images, parfait pour les mettre en valeur ou les éclaircir.
- Superposition : combine les modes multiplication et écran pour améliorer le contraste.
- Lumière douce : similaire à la superposition, mais avec un effet plus subtil, ajoutant de la profondeur et de la dimension.
La compréhension de ces modes peut considérablement améliorer les flux de travail d'amélioration d'image. Si vous souhaitez approfondir les détails, l'exploration de ressources telles que ce guide complet sur les modes de fusion peut s'avérer très utile.


