What Is Vibrance In Photoshop: A Comprehensive Guide for Image Enhancement
Vibrance is an essential tool in Adobe Photoshop that helps photographers and designers enhance the colors in their images. It is a "smart saturation" technique that selectively boosts the intensity of more muted colors, focusing on cooler shades of blues and greens while preserving skin tones and warmer colors like yellows, oranges, and reds.
In contrast to saturation, which uniformly increases the intensity of all colors in an image, vibrance targets the less saturated colors, preventing over-saturation and clipping. This makes vibrance particularly useful for portraits and images where natural colors and skin tones must be preserved.
Key Takeaways
- Vibrance selectively enhances muted colors in images without affecting skin tones
- The tool focuses on cooler colors, differing from the saturation effect
- It is an essential Photoshop feature for preserving natural coloring in photos
Understanding Vibrance in Photoshop
Vibrance in Photoshop is a feature that allows you to selectively adjust the saturation of colors in an image. It targets the less saturated colors, increasing their saturation, while leaving already saturated colors relatively untouched. This ensures that colors do not become overly saturated and maintains a more natural look, especially for skin tones.
To use vibrance in Photoshop, you can create a vibrance adjustment layer. This can be found in the Adjustments panel, where you can click on the vibrance icon to add a new layer. Once the vibrance adjustment layer is added, you will see two sliders – Vibrance and Saturation.
The Vibrance slider affects the less saturated colors more, while the Saturation slider affects all colors in the image equally. By using these sliders, you can control the vibrance and overall saturation of your image. Take care when adjusting the saturation slider, as it can result in overly saturated colors and make the image appear unnatural.
In summary, knowing when to use vibrance and saturation adjustments can greatly enhance your images. Vibrance is particularly helpful for maintaining natural-looking skin tones and enhancing less saturated colors without overdoing it. By using a vibrance adjustment layer in Photoshop, you can make non-destructive edits and easily fine-tune the color balance in your images.
Adjusting Vibrance and Saturation
When working with colors in Photoshop, adjusting vibrance and saturation can greatly enhance the appearance of an image. In this section, we will cover how to use the vibrance adjustment layer and its tools to achieve the desired effects.
To start, create a new vibrance adjustment layer in Photoshop. This can be done by either clicking on the adjustment layer icon at the bottom of the layers panel or by going to Layer > New Adjustment Layer > Vibrance. Upon adding this layer, you will see two sliders in the Properties panel: Vibrance and Saturation.
The vibrance slider is useful for enhancing the saturation of less-saturated colors without oversaturating the already vibrant colors. This makes it particularly helpful for ensuring that skin tones do not become unnatural looking. Try to adjust the vibrance slider until you are satisfied with the color enhancements.
On the other hand, the saturation slider adjusts the intensity of all colors in the image equally. As a result, increasing saturation can lead to some colors becoming oversaturated and losing details. For a subtle approach, use the saturation slider sparingly to avoid excessively boosting the color intensity.
Keep in mind that both vibrance and saturation adjustments can also be made in Lightroom, another Adobe product. However, Photoshop provides more precise control over the adjustments, as well as access to other powerful editing tools.
In conclusion, adjusting vibrance and saturation in Photoshop with the vibrance adjustment layer is an effective way to enhance colors in an image without causing oversaturation or compromising skin tones. By using the right balance between vibrance and saturation adjustments, we can achieve striking color enhancements while maintaining a natural appearance. So go ahead and experiment with these sliders to make your photos stand out with better color and vibrancy.
Differences Between Vibrance and Saturation
Vibrance and saturation are both used to adjust color intensity in an image, but they work in slightly different ways. The key difference is that vibrance brings out only dull or muted tones, while saturation increases the intensity of all colors across the whole image.
When working with skin tones, using vibrance instead of saturation can be beneficial. This is because vibrance tends to protect skin tones from becoming too saturated, resulting in a more natural look. In contrast, increasing saturation can make skin tones appear unrealistic and overly colorful.
Another aspect to consider is that vibrance is more effective at adjusting muted colors in an image. This can be particularly useful when you want to enhance the colors that are less pronounced without affecting the ones that are already vibrant. This selective enhancement makes vibrance a valuable tool for photographers and image editors.
In summary, while both vibrance and saturation are tools for adjusting color intensity, their subtle differences make them more suited for specific situations. Vibrance is ideal for fine-tuning skin tones and muted colors, while saturation can be used to intensify all colors in an image. It's essential to understand their differences to apply them effectively and achieve the desired results in your work.
Advanced Techniques and Tools
When enhancing images in Photoshop, we can combine different tools and techniques to achieve professional results. In this section, we will discuss some advanced techniques and tools to take your vibrance adjustments to the next level.
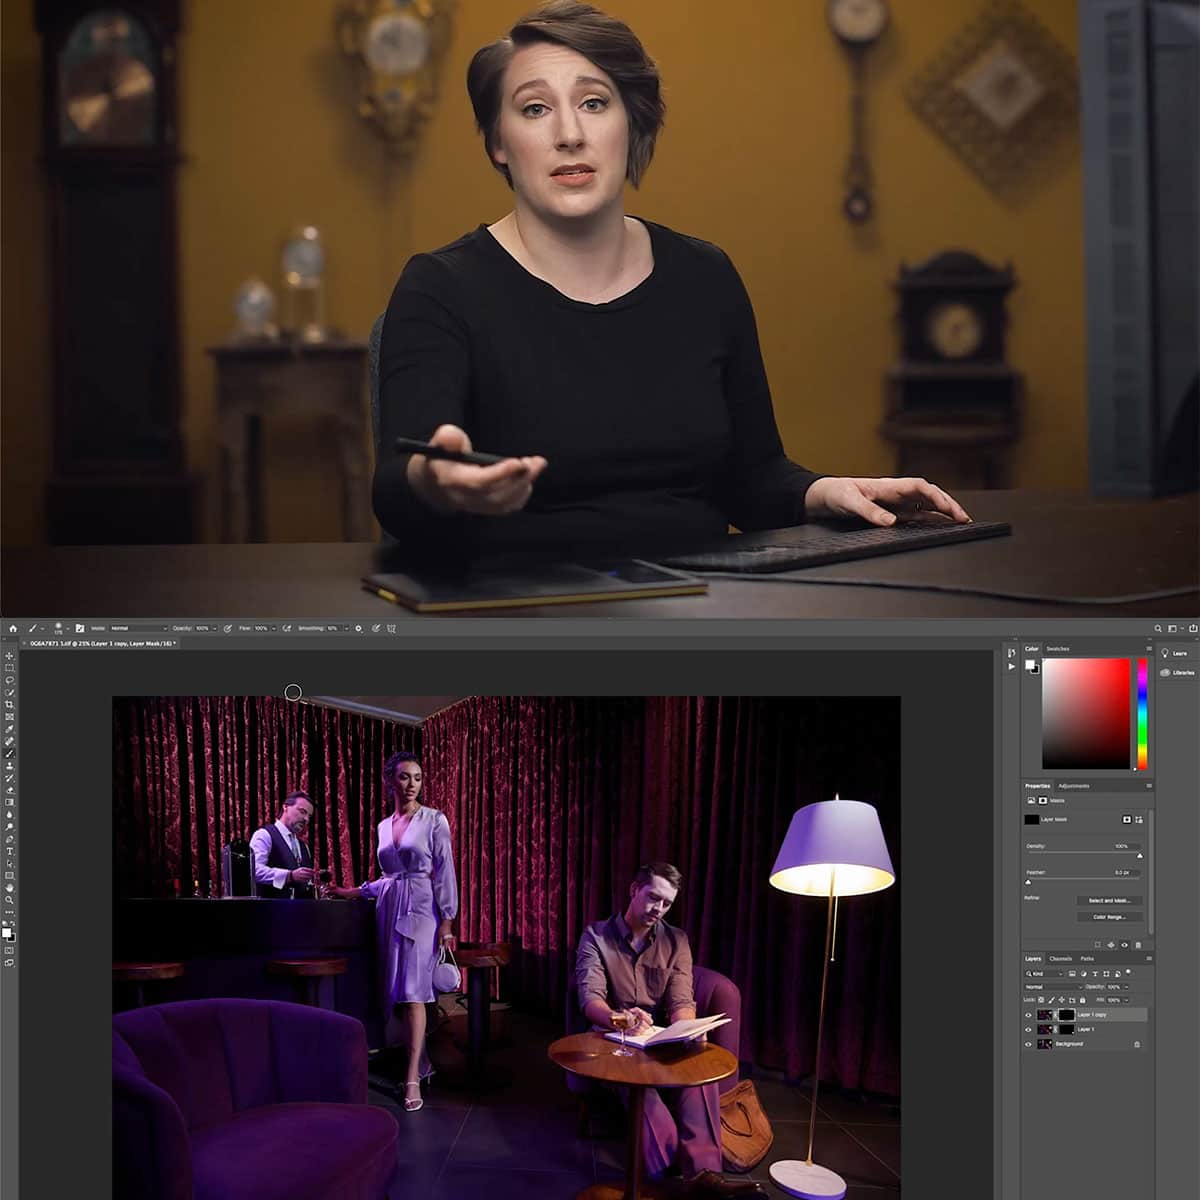
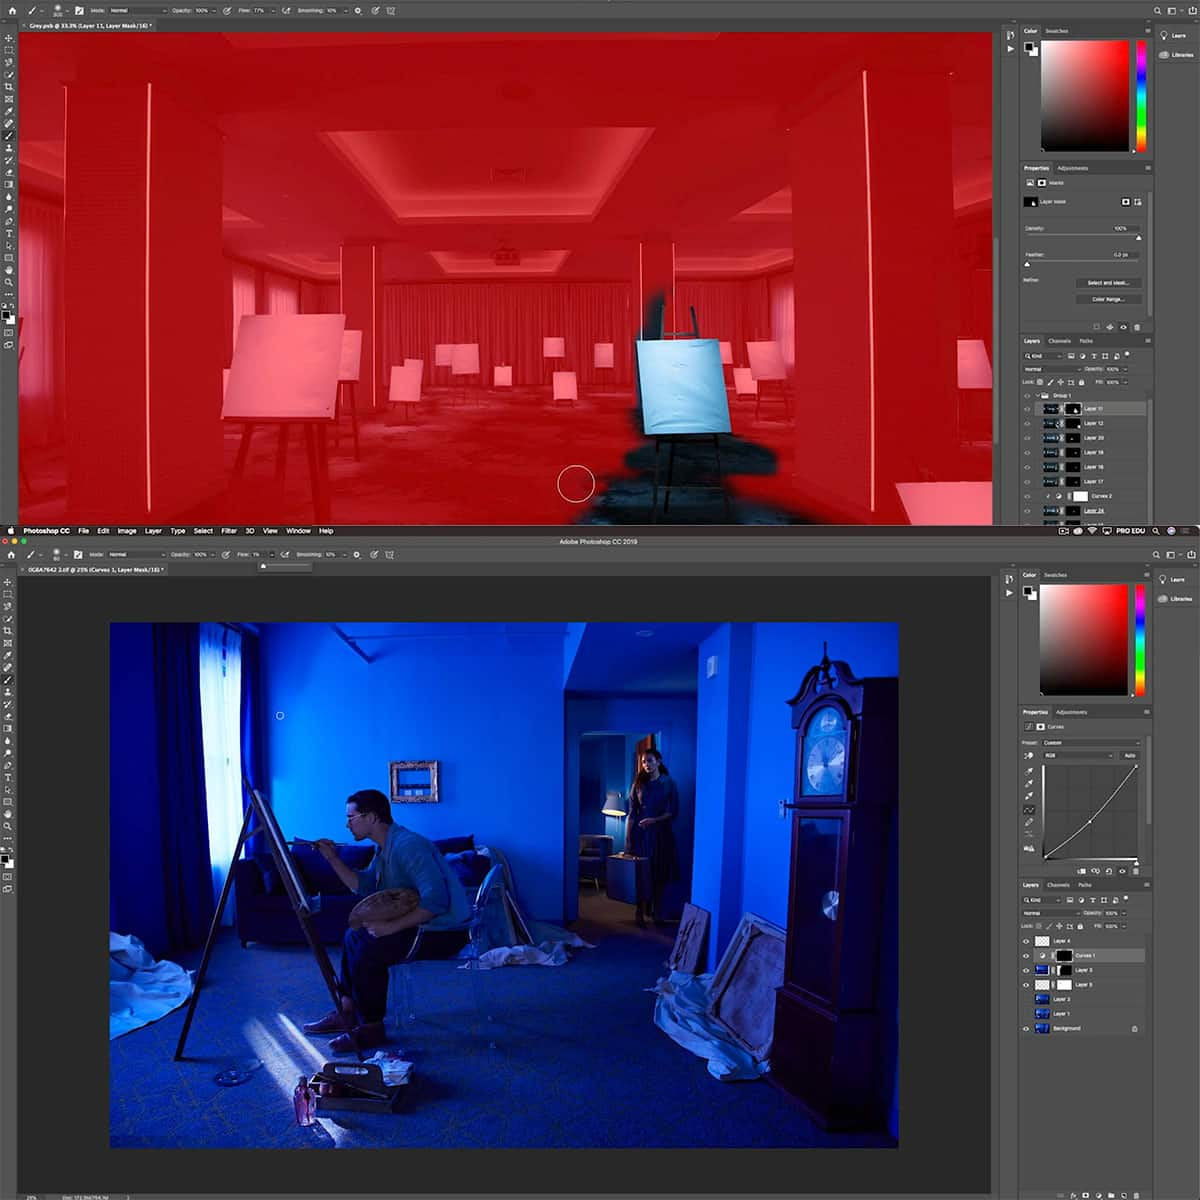
We can use brushes and gradients to give greater control over image enhancement. Working with a vibrance adjustment layer, you can apply a layer mask and then selectively paint on the mask using a brush to adjust the intensity of the effect. Similarly, you can use a gradient in the layer mask to gradually transition the effect across the image.
It is important to know how to reset adjustments when experimenting with multiple changes. To reset the vibrance adjustment settings, simply double-click the vibrance icon in the properties panel, which will restore the default settings.
Utilizing plug-ins can enhance the default capabilities of Photoshop. Third-party plug-ins vary in functionality and provide additional features, such as noise reduction, advanced sharpening, or even more targeted vibrance adjustments.
Layer masks are essential for making non-destructive edits to our images. They enable us to selectively apply adjustments to specific parts of a photo, preserving the natural look and feel. To add a layer mask to your vibrance adjustment layer, click the icon resembling a white square with a circle inside at the bottom of the layers panel.
Filters can also be used in conjunction with vibrance adjustments to refine the look of your image. For example, adding a Sharpen filter can help to enhance the details in your photo after adjusting the vibrance, making your colors pop even more. Remember to experiment and find the balance that works best for your specific image.
By combining these tools and techniques, we can maximize the potential of vibrance adjustments in Photoshop and create dynamic, visually appealing images.
Applying Vibrance to Portraits and Images
When working on portraits and images in Photoshop, applying vibrance can greatly enhance the colors and make the subject stand out. We can begin by adding a vibrance adjustment layer, which can be achieved by clicking on the Vibrance icon in the Adjustments panel.
Vibrance works by intelligently increasing the saturation of colors in the image, and it's especially useful for images containing people. As opposed to saturation, which affects all colors equally, vibrance primarily targets muted colors, leaving skin tones unaffected. This helps portraits look more natural and visually appealing.
To adjust vibrance, simply move the slider in the Vibrance adjustment panel. We recommend starting with a subtle change and gradually increasing the effect to find the right balance. Keep in mind that too much vibrance may result in unnatural-looking colors.
Aside from using the Vibrance adjustment layer, we can also adjust vibrance in Adobe Camera Raw (ACR) by opening an image in ACR and navigating to the Basic panel. The Vibrance slider in ACR functions similarly to the one in Photoshop, allowing us to create striking effects in our images while maintaining a natural appearance.
In conclusion, adding vibrance to portraits and images can bring out the best in your photos, particularly when working with people. By following these simple steps, you can enhance your images with ease and achieve professional results.
Frequently Asked Questions
How does vibrance differ from saturation in Photoshop?
Vibrance is a more subtle adjustment that increases saturation while preserving existing color relationships and skin tones. Saturation, on the other hand, uniformly increases the intensity of all colors in the image. When used effectively, vibrance can make colors pop without causing over-saturation.
Why is the vibrance option greyed out in Photoshop?
Sometimes, the vibrance option may be greyed out due to working in an unsupported color mode, such as Grayscale or Indexed Color. Converting your image to the RGB color mode in Image > Mode > RGB would fix the issue and make the vibrance option available again.
How do you use the vibrance brush in Photoshop?
While Photoshop doesn't have a dedicated vibrance brush, you can achieve a similar effect by creating a Vibrance adjustment layer (Layer > New Adjustment Layer > Vibrance) and then painting on the layer mask with a black or white brush to control where the effect is applied.
Which adjustments are best for making colors pop in a scene?
Utilizing the Vibrance and Saturation adjustments is a popular technique to make colors stand out in an image. As mentioned earlier, Vibrance can be especially useful for enhancing colors while avoiding over-saturation. Additionally, tools like Hue/Saturation and Curves can deliver more precise control over specific color ranges, leading to striking results.
What is the role of Hue/Saturation in Photoshop?
The Hue/Saturation adjustment allows you to modify the hue, saturation, and lightness of individual color channels, as well as the entire image. This feature grants greater control over color correction, color grading, or simply for artistic effect. Access this option by navigating to Image > Adjustments > Hue/Saturation.
How to adjust colors using Curves in Photoshop?
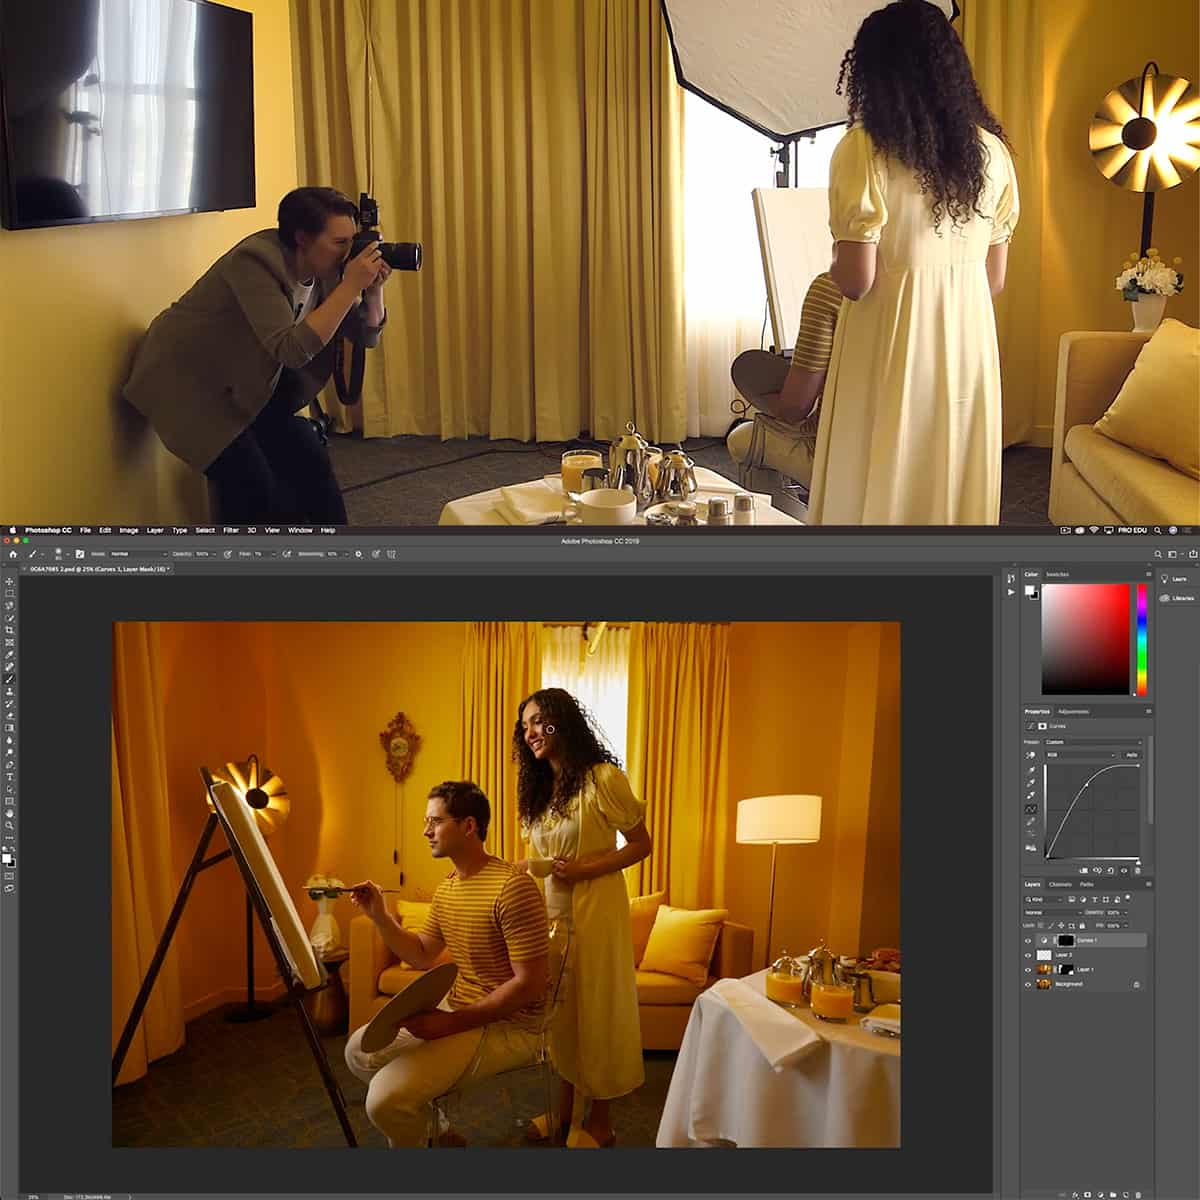
Curves is a powerful tool in Photoshop that can be used for not only adjusting the tonality of an image but also for tweaking colors. Open the Curves adjustment (Layer > New Adjustment Layer > Curves) and change the channel from RGB to individual color channels (Red, Green, or Blue) to manipulate colors in shadows, midtones, and highlights independently. This level of control allows you to make fine adjustments that enhance the overall color balance of your image.


