What is Opacity in Photoshop: A Concise Guide to Image Transparency
Opacity plays a crucial role in Adobe Photoshop, as it allows users to control the visibility of layers and elements within their designs. When working with layers in Photoshop, adjusting the opacity can create a sense of depth and complexity, offering a seamless blend between different elements and textures.
When discussing opacity in Photoshop, it's important to understand that it ranges from 0% to 100%, with 0% being fully transparent and 100% being completely opaque. This range enables a wide variety of effects, from subtle image adjustments to dramatic changes in the way various layers interact with one another.
Key Takeaways
- Opacity in Photoshop allows you to control the visibility of layers and elements in your designs.
- Adjustable opacity levels ranging from 0% to 100% enable various effects and blending techniques.
- Mastering opacity is essential for creating depth, complexity, and professional-looking images in Photoshop.
Understanding Opacity in Photoshop
How Opacity Works
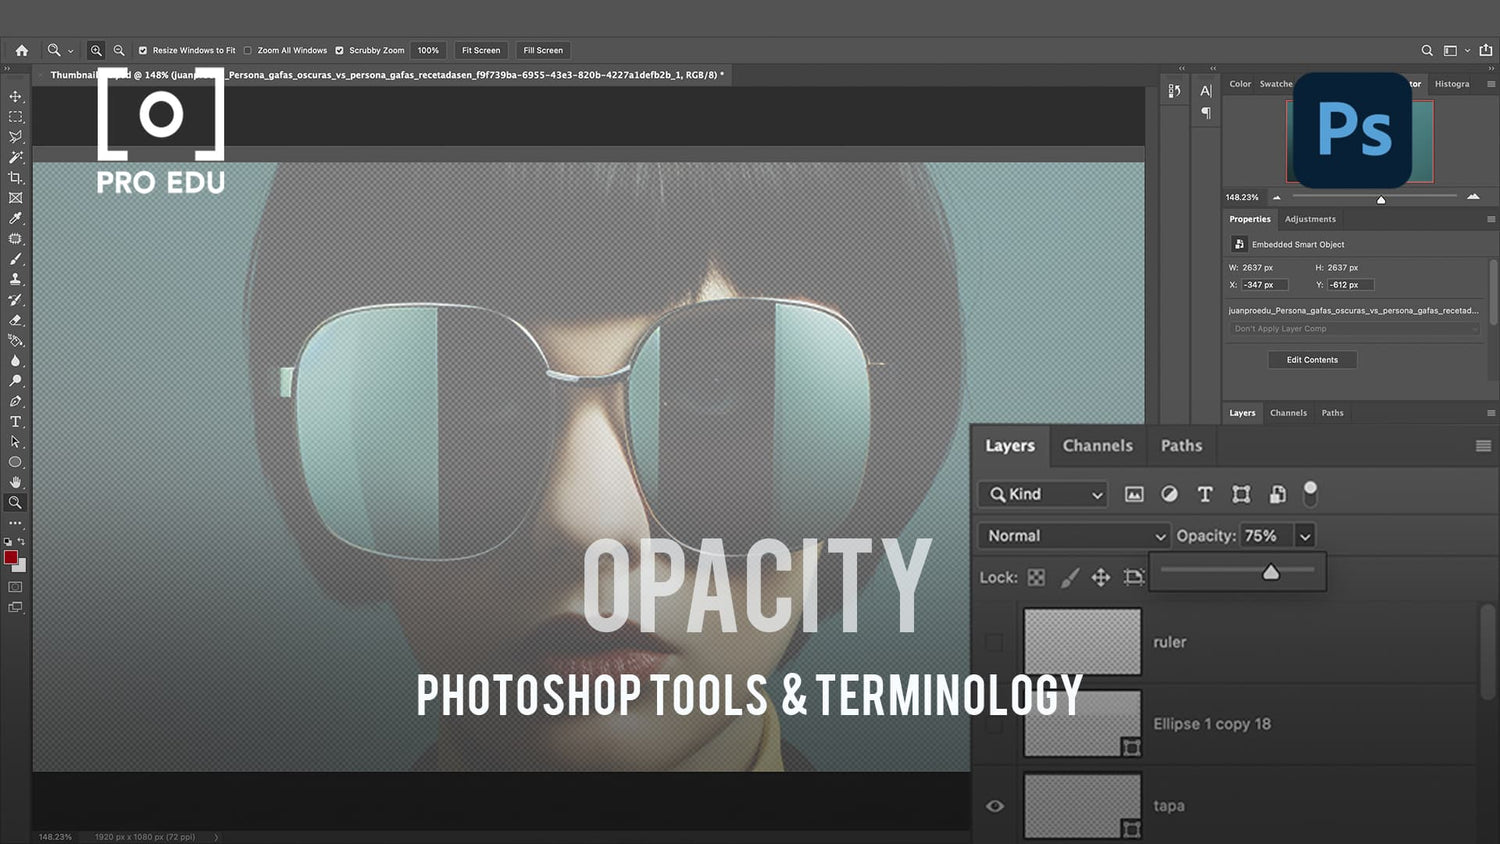
In Photoshop, opacity refers to the level of transparency or opaqueness of an image or layer. It determines how much of the underlying layers or image will be visible when blending multiple layers together. The opacity can be adjusted using a slider in the Layers Panel, which ranges from 0% to 100%. A layer with 0% opacity is completely transparent, while a layer with 100% opacity is entirely opaque.
Difference Between Opacity and Fill
Although opacity and fill might seem similar, they are not the same in Photoshop. Opacity controls the transparency of the entire layer, including its contents, effects, and styles. In contrast, fill opacity affects the layer contents, excluding the layer styles such as drop shadows and stroke. It is important to understand the distinction between them to achieve the desired effect when working with layers.
Implication of Opacity on Various Photoshop Tools
Opacity is not only applicable to layers but also to various tools in Photoshop, such as brushes. For instance, brush opacity controls the degree of transparency of the brush strokes, allowing for more subtle and gradual effects. Working with opacity in combination with other features in Photoshop, like Flow and Density, can provide more control and flexibility in achieving desired results. By understanding how opacity functions in the context of layers and tools, we can make the most of this powerful feature in Photoshop.
Manipulating Layer Opacity
In Photoshop, we can manipulate the layer opacity to create different visual effects. Layer opacity refers to the level of transparency or opaqueness of a layer, affecting its visibility in relation to the layers underneath it.
We begin by accessing the Layers panel, where all layers, including the background layer and adjustment layers, are located. The panel displays each layer's opacity percentage, which can be adjusted as needed. For example, a 50% opacity layer will show half its content and half of the content from the layer underneath.
To manipulate the opacity of a specific layer, simply click on it in the Layers panel, and then adjust the opacity slider at the top of the panel. The opacity values can range from 0% (completely transparent) to 100% (completely opaque).
However, there are instances when we cannot directly change the opacity of a layer. This is often the case with a locked layer – typically the background layer in an image. To make adjustments to locked layers, we must first unlock the layer by clicking on the lock icon next to its thumbnail and choosing a layer type.
An adjustment layer can also be introduced to control the opacity of multiple layers simultaneously. This allows us to non-destructively edit the layers, preserving the original image data. By adjusting the opacity of the adjustment layer, we can effectively control the layers underneath without making any permanent changes.
In summary, manipulating layer opacity in Photoshop is a powerful tool that enables us to create various visual effects and enhance our images. By understanding the functions of the Layers panel and the properties of different layer types, we can skillfully adjust and control layer opacity for our desired outcome.
Opacity Effect on Images and Designs
https://www.youtube.com/watch?v=bW5z39Pxdmw&embed=true
When working with opacity in Photoshop, we deal with the level of transparency that is applied to an image, layer, or effect. Adjusting opacity helps us fine-tune how elements interact with one another in a design. For example, we can control the visibility of an image or text to create impressive arrangements.
Opacity affects different aspects of our designs. By manipulating the transparency of a layer, we can blend it with other layers to achieve unique effects. This process is useful when combining various images and selections together, as it softens the edges and allows a smoother integration.
While working with effects such as stroke, drop shadow, or gradient overlays, the opacity control determines how strong and visible these effects will be. By adjusting the brightness and saturation of certain colors, we can make them more subtle or bolder, depending on our desired outcome.
In conclusion, mastering opacity is essential when striving to create impactful designs. By understanding how to work with image and effect transparency, we enhance our ability to produce visually appealing and highly polished work. With the appropriate level of opacity, our editing capabilities are elevated, allowing for a more dynamic and professional design outcome.
Advanced Opacity Techniques
In this section, we will discuss some advanced opacity techniques in Photoshop. These techniques can help take your design skills to the next level by allowing you to create and manipulate images with ease.
One essential technique is the use of blend modes. Blend modes allow us to control how layers interact with one another, creating various effects by changing the way colors mix. For instance, the most commonly used blend mode, "Normal", applies the active layer's opacity directly without any blending, while the "Screen" blend mode lightens the image by combining the colors of underlying layers. A comprehensive list of blend modes can be found here.
Another crucial technique is the application of layer styles. Layer styles are non-destructive effects applied to layers, which can significantly enhance their appearance. For example, adding a drop shadow or outer glow can make your text or image stand out from the background. To alter the opacity of these effects, you can adjust the Fill slider in the layer styles dialog box, giving you full control over the intensity and depth.
Working with blending options also gives us the ability to fine-tune opacity. Blending options are specific settings within layer styles that allow you to customize how layers blend together. To access blending options, right-click on a layer and select "Blending Options" from the context menu.
In conclusion, mastering advanced opacity techniques like blend modes, layer styles, and blending options can take your Photoshop skills to new heights. Providing you with powerful tools to create stunning visual effects and enhance your designs. Keep experimenting and honing your skills to become a pro in opacity manipulation.
Efficient Use of Opacity
In Photoshop, opacity is an important aspect that allows us to control the visibility of layers and blend them together seamlessly. By understanding the different areas where opacity adjustments can be made, we can create more dynamic and visually appealing designs.
One area where this plays a key role is with brushes. We can adjust the brush opacity to create subtle and gradual effects as we paint. For quick access, use the keyboard shortcut 1-0 (10-100%) while using the brush tool. This also applies to the eraser tool, where a lower opacity helps us to create delicate fades and smoother transitions.
Utilizing clipping masks and layer masks in conjunction with opacity adjustments is another efficient way to enhance our designs. By creating a clipping mask, we can non-destructively limit the effects to a specific layer. On the other hand, layer masks can be used to apply varying degrees of transparency to specific areas of a layer— this is helpful when blending multiple elements together.
Another useful approach is the use of adjustment layers. These non-destructive layers enable us to apply image adjustments, such as color balance and exposure, with an independent opacity attribute. This is helpful when looking to fine-tune the intensity of an effect without modifying the original layer's contents.
As we work on our designs, it's important to keep track of our progress with clear and concise thumbnails in the layers panel. This gives us a visual representation of each layer, helping us to easily distinguish their contents and opacity settings.
Finally, to ensure our work is preserved and easily accessible, it's crucial to save the PSD file regularly. In the preferences menu, we can customize the frequency of automatic file-saving to suit our workflow requirements.
Incorporating these practices into our Photoshop workflow will help us to work more efficiently, enabling the creation of better and more visually striking designs through effective use of opacity and transparency.
Opacity in the Context of Photography
In the world of photography, opacity plays a significant role in how the final image looks. It directly affects the transparency of elements within an image, such as layers, making them either more visible or invisible. This allows photographers and editors to creatively blend multiple layers to produce the desired effect.
As we work within Photoshop or similar applications like Lightroom, it's essential to understand how applying opacity to different elements can alter the output. For instance, when working with type layers, adjusting the opacity will modify the transparency of the text, allowing the background to become more or less visible. Similarly, applying opacity to a stroke can change its prominence against the rest of the image.
Another common use of opacity in photography involves working with solid white layers. By adding a solid white layer and adjusting its opacity, we can create a more subtle, faded look for our image. This technique is particularly popular among portrait photographers to add a soft, dreamy effect.
When it comes to saving files, adjusting the opacity settings may affect file size and composition. However, file formats like PSD (Photoshop document) and TIFF maintain all layers and opacity settings without permanent alteration, ensuring easy editing later on.
So, as we dive deeper into the world of digital photography, mastering the concept of opacity becomes crucial. Whether using it to blend layers, add depth to text or create ethereal portraits, opacity empowers us to achieve our creative vision.
Frequently Asked Questions
How does changing opacity affect layers?
Changing opacity in Photoshop affects the transparency of a layer or selection. When we decrease the opacity, it increases the transparency, revealing more of the layers beneath it. Conversely, increasing the opacity will make the layer more solid and less transparent, covering the underlying layers more. Layer opacity is useful for combining and blending images, text, and effects within a design.
What is the difference between opacity and fill?
While opacity affects the entire layer including any effects or layer styles applied, fill only affects the actual layer content. This means that by adjusting the fill opacity, we can make the main content of a layer more transparent while still retaining the full appearance of any layer styles or effects.
Can you adjust opacity in layer styles?
Yes, we can adjust opacity in layer styles by altering the specific settings of the style. Some layer styles have their own opacity settings, allowing for more granular control over the appearance of the effect. For instance, we can change the opacity of a drop shadow without affecting the rest of the layer.
What are common uses for opacity adjustments?
Opacity adjustments are often used to create various effects in design and image editing. For example, we can use different levels of opacity to enhance our designs by blending layers to achieve a more dynamic visual appearance. Lowering the opacity of a watermark or overlay can make it more subtle and less obtrusive.
How to modify brush opacity while painting?
To modify brush opacity while painting, we can use the "Opacity" slider located in the Options bar at the top of the screen. Adjusting this setting will alter the transparency of the brush strokes as we paint on the canvas. We can also use the number keys (1-0) as shortcuts to quickly modify the brush opacity in increments of 10%.
Are there shortcuts for altering opacity?
Yes, there are shortcuts for altering layer opacity in Photoshop. By pressing the corresponding number key (1-0) while a layer is selected, we can quickly change the opacity of the layer in increments of 10%. For example, pressing "2" sets the opacity to 20%, while pressing "0" sets it to 100%. If we want to set the opacity to a specific percentage, simply type the desired value quickly, such as "55" for 55% opacity.


