
Achieving perfectly smooth skin in Photoshop is a skill that every portrait photographer should master. With just a few simple steps, you can transform your photos by removing blemishes and creating a flawless base. By understanding both basic and advanced skin smoothing techniques, we can enhance the details in our portraits, making them look polished and professional.

Setting up our workspace in Photoshop is crucial for an efficient workflow. Using tools like the Spot Healing Brush for initial retouching, and advanced methods such as the High Pass filter, we can achieve stunning results. Additionally, utilizing brushes for local adjustments allows us to fine-tune specific areas for optimal smoothness and clarity.
For those looking to delve even deeper, we highly recommend the ADVANCED SKIN RETOUCHING WORKFLOW with Nino Batista from PRO EDU. This course offers comprehensive insights and techniques to take our skills to the next level, ensuring that our photos stand out with beautifully smooth skin and impeccable detail.
Take this course here at PRO EDU
Key Takeaways
- Remove blemishes using basic tools for initial retouching.
- Apply advanced techniques like the High Pass filter for better results.
- Refine specific areas with brushes and local adjustments.
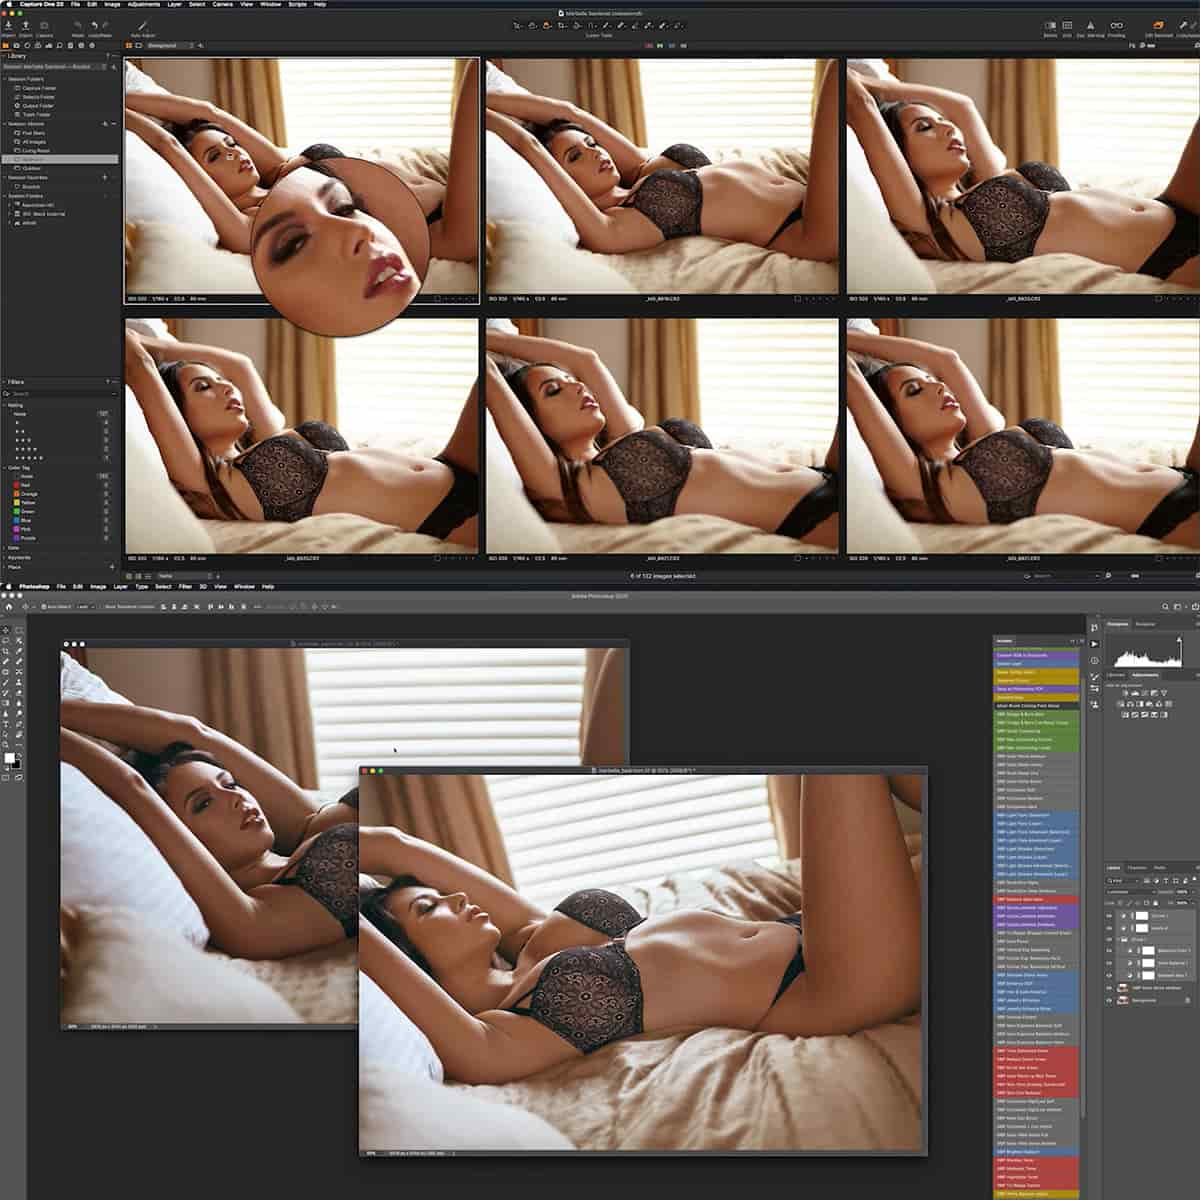
Setting Up Your Workspace
To achieve smooth skin in Photoshop, it is important to start with a well-organized workspace. This involves understanding layers and efficiently navigating the Photoshop interface.
Understanding Layers
Layers are foundational in Photoshop and are essential for non-destructive editing. Each layer functions like a transparent sheet on which we can edit different elements. The Layers Panel displays all the layers in our project.
For skin retouching, we often work with several layer types. The Background Layer is our original image, which we safeguard by making a Duplicate Layer (Ctrl+J / Command+J). This allows us to make changes without affecting the original image.
Adding a New Layer is another common step. Here, we might use tools such as the Spot Healing Brush or Clone Stamp Tool. By isolating each tool's effects to specific layers, our workflow becomes more flexible, allowing for easy adjustments or reversals.
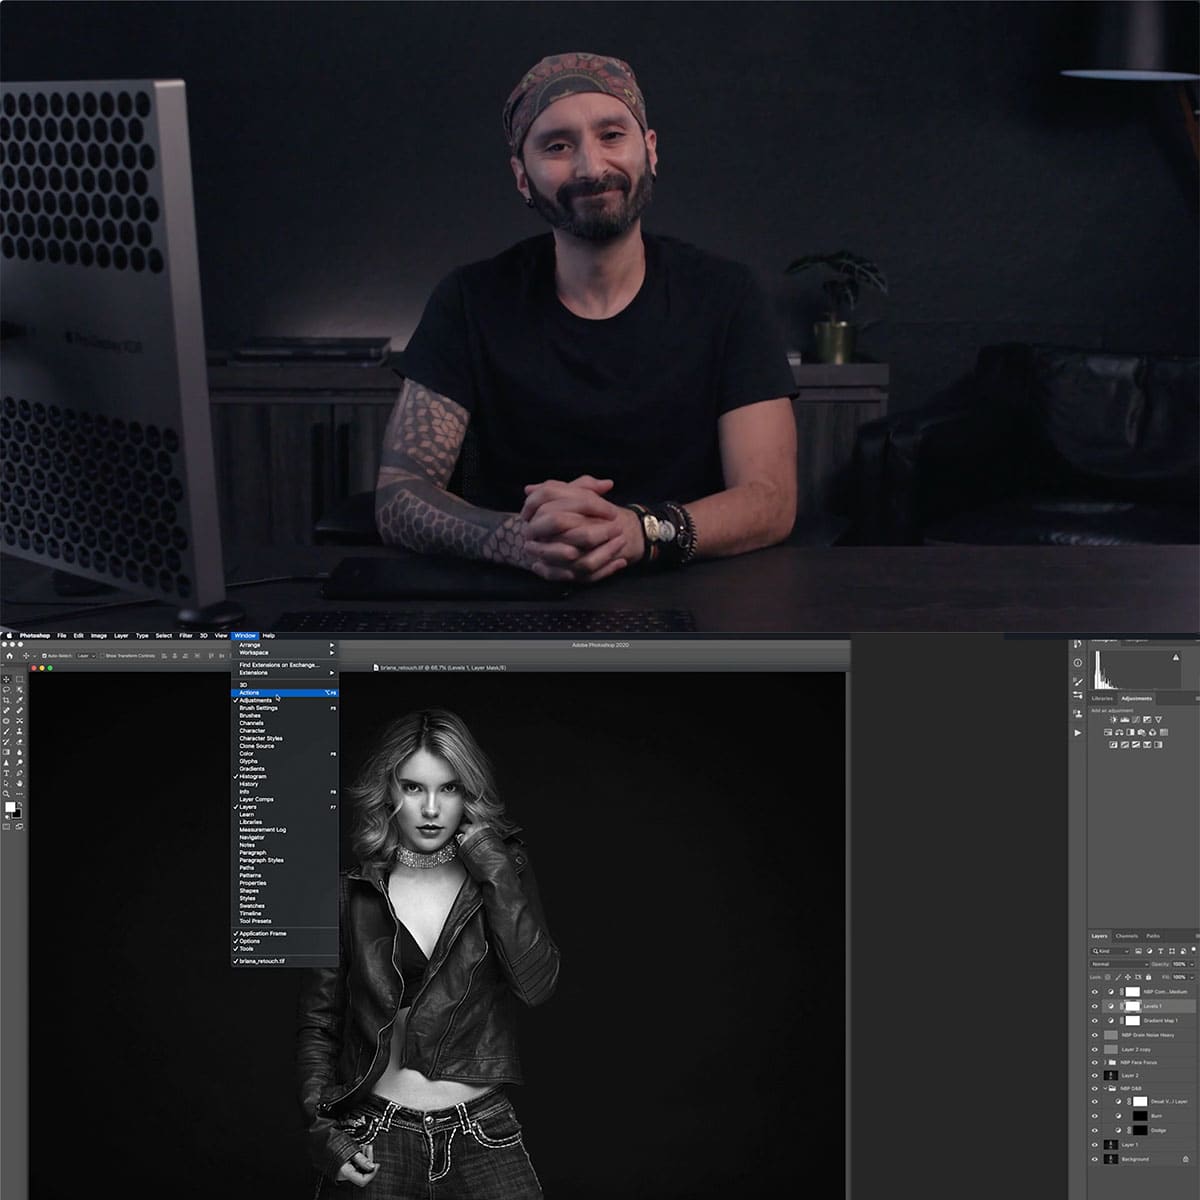
Navigating the Photoshop Interface
Efficient navigation of the Photoshop interface can significantly improve our workflow. The Menu Bar at the top provides access to all features, such as filters, adjustments, and preferences.
The Layers Palette is on the right, displaying our image’s layer structure. It’s crucial to keep this panel visible, as it allows quick access and organization of layers.
Using Keyboard Shortcuts can speed up our workflow. For instance, Ctrl+J (Command+J on Mac) to duplicate a layer and B to select the Brush Tool. Shortcuts save time and streamline repetitive tasks.
Positioning panels like Layers, Properties, and Adjustments in an accessible manner ensures we can quickly manipulate our workspace to suit our current task.
Basic Photo Retouching Techniques
In photo retouching, precise tools help us remove blemishes, acne, freckles, and other imperfections efficiently while maintaining the skin's natural texture.
Using the Spot Healing Brush
The Spot Healing Brush is a quick and effective way to remove small blemishes, acne, and freckles. This tool leverages Content-Aware technology to blend the surrounding pixels seamlessly.
To use it, we simply select the tool from the toolbar and click on the unwanted spot. The Spot Healing Brush automatically adjusts and analyzes the nearby areas, ensuring that the correction looks natural. Its Content-Aware capability is particularly useful for maintaining texture consistency.
For larger areas or spots closer to edges, we should paint over the blemish or imperfection. By doing this, we allow the tool to sample a broader range of nearby pixels, thereby producing a more precise and natural-looking result.
Healing Brush Tool Fundamentals
The Healing Brush Tool offers a more controlled approach to photo retouching compared to the Spot Healing Brush. This tool requires us to manually select a source area that matches the texture and tone of the area we want to fix.
Once we select the Healing Brush Tool, we alt-click (on Windows) or option-click (on Mac) to choose from the source area. After selecting the source, we paint over the blemish, mole, or scar. By copying and blending the pixels from the source area to the target area, the tool ensures a smooth and consistent finish.
This tool is invaluable for retouching larger imperfections or areas where texture continuity is crucial. By meticulously matching the texture and tone, we can effectively eliminate flaws without compromising the photo's natural look.
Advanced Skin Smoothing Techniques
Achieving high-end smoothness in portrait retouching requires precise techniques and tools. We will discuss advanced methods such as utilizing Neural Filters and Frequency Separation.
Utilizing Neural Filters
Neural Filters offer a powerful way to smooth skin while retaining natural texture. Within Adobe Photoshop, the Skin Smoothing Neural Filter applies intelligent algorithms to distinguish between skin and other elements in the image.
To access this tool, duplicate the original portrait layer using Ctrl J (Windows) or Command J (macOS). Navigate to the Filter menu and select Neural Filters. Enable the Skin Smoothing option to activate the effect. Adjust the Blur Filter and Smooth Skin sliders until the desired smoothness is achieved. This method allows for quick yet sophisticated skin retouching, ideal for professional results.
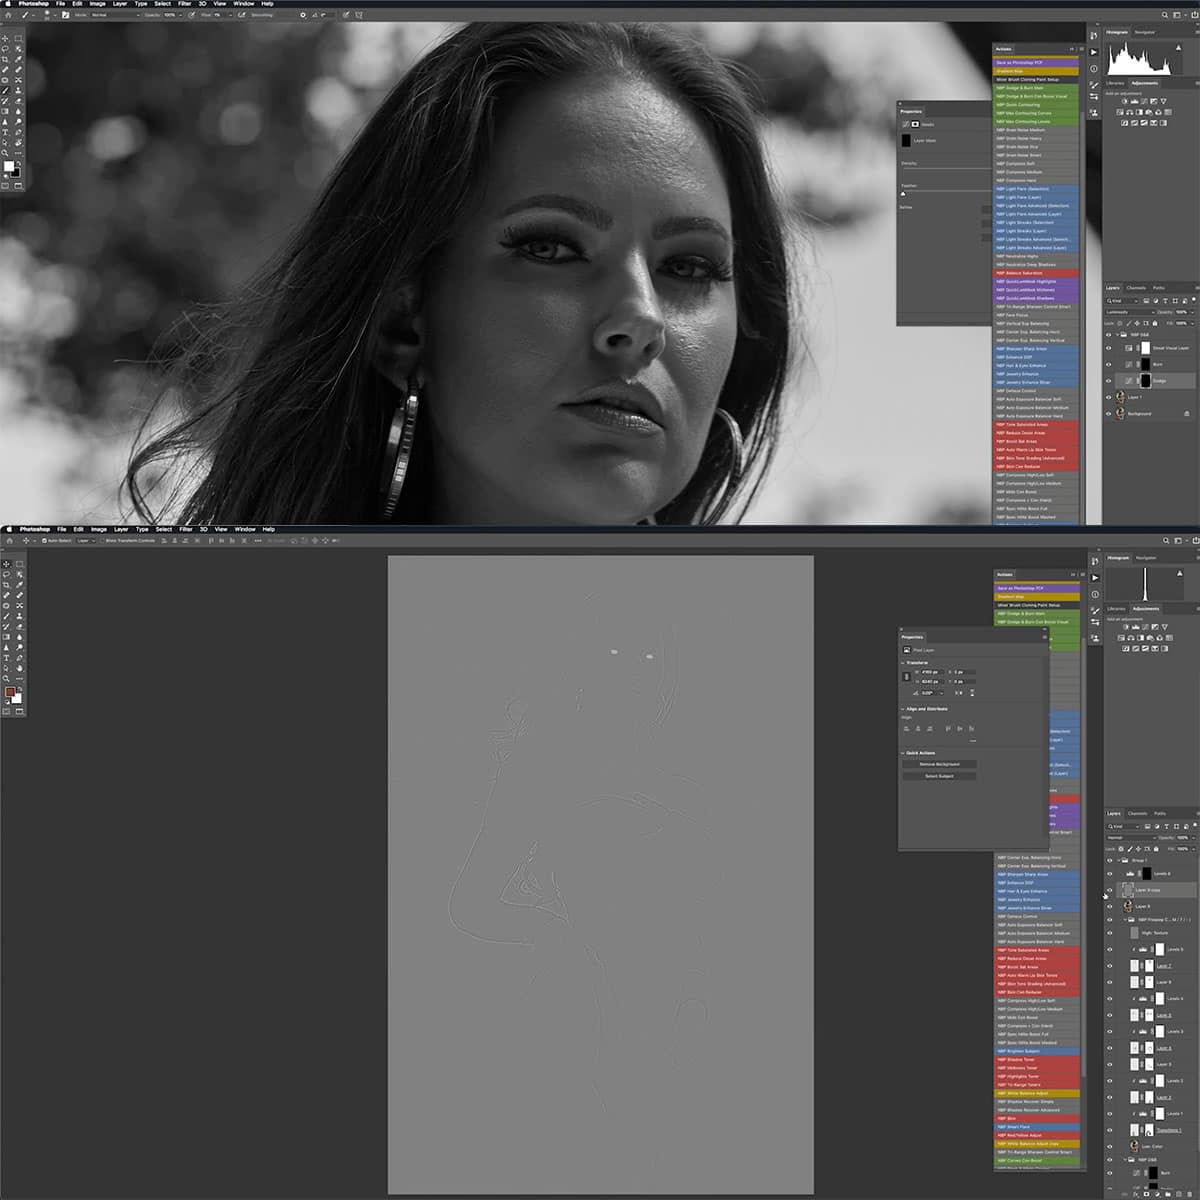
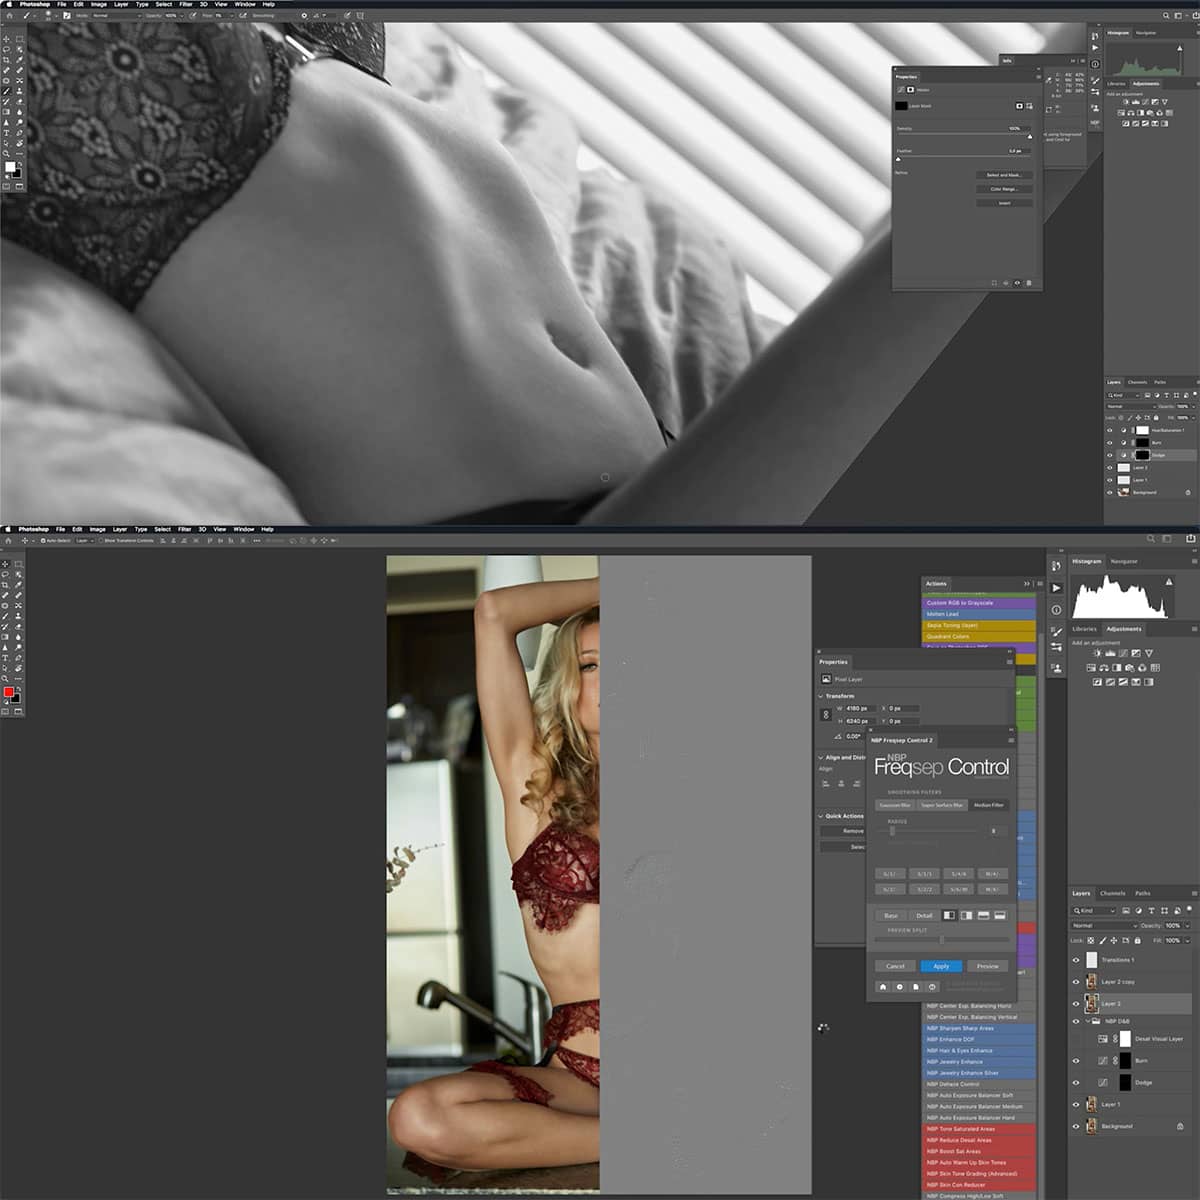
Frequency Separation
Frequency Separation is a technique used to separate skin texture from color and tone. This method enables us to smooth skin without sacrificing the texture, which is crucial for realistic retouching.
Begin by duplicating the original layer twice. Apply a Gaussian Blur to the second layer to blur out fine details. On the top layer, use the High Pass Filter to isolate the texture. Set the blend mode of the top layer to Linear Light. This separation allows for independent adjustments to the color and texture layers. Frequency Separation is especially useful for detailed skin retouching and is often employed in professional workflows, such as those taught in Advanced Skin Retouching Workflow.
These advanced methods help us achieve the desired smoothness in portraits while maintaining the integrity of skin texture.
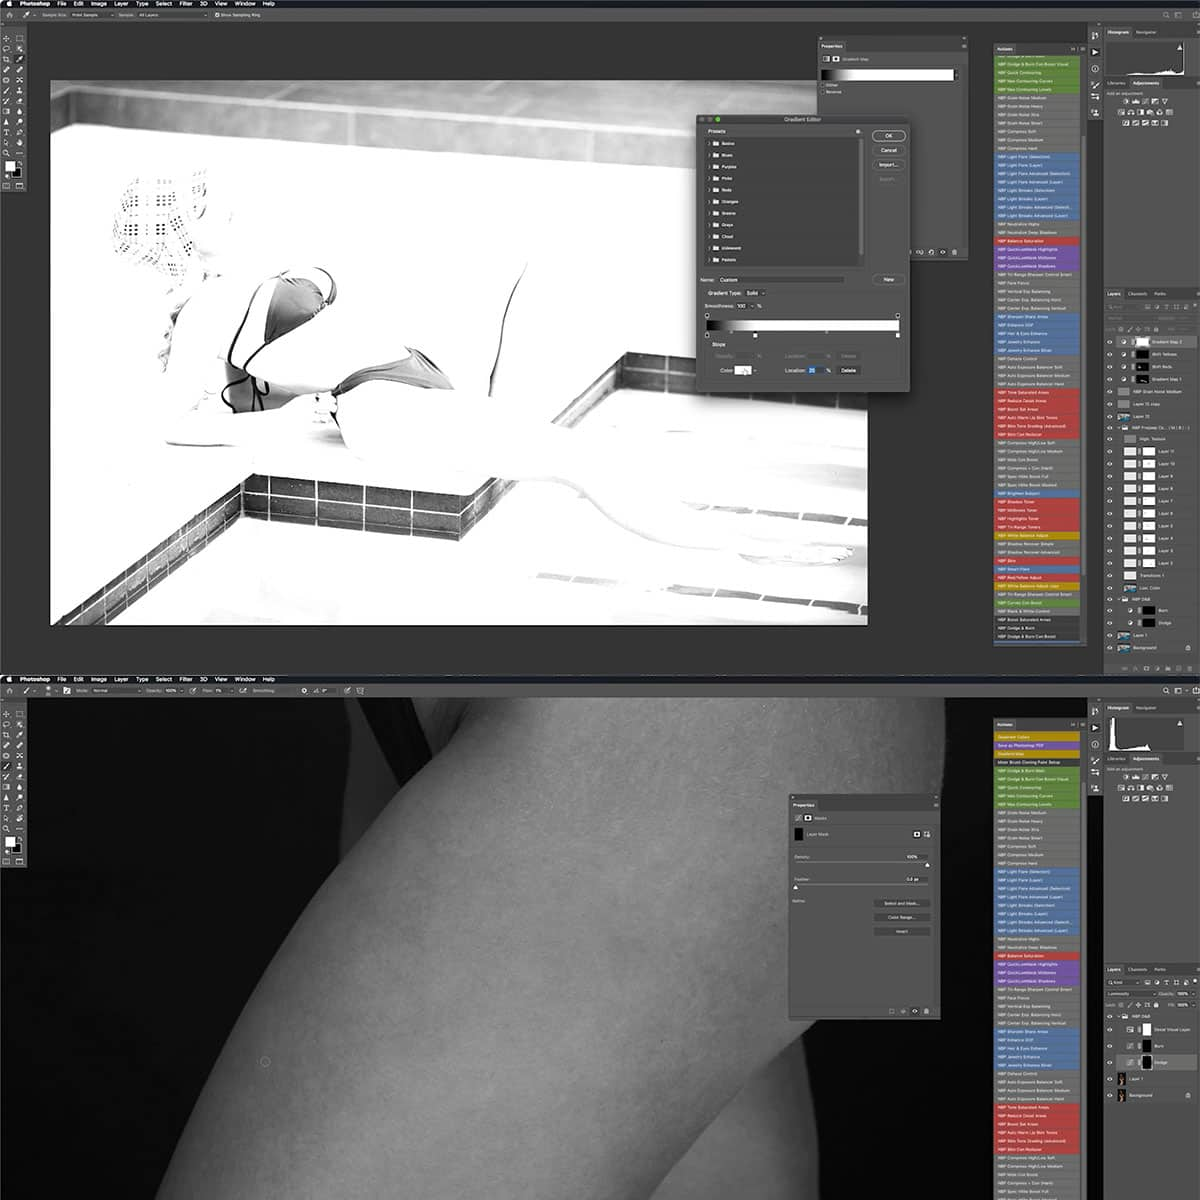
Creating a Flawless Base
To achieve a smooth and flawless base in Photoshop, we use several techniques like Gaussian Blur and Layer Masks. These methods help in retaining skin details while effectively smoothing out imperfections.
Gaussian Blur Technique
The Gaussian Blur technique involves duplicating the layer, applying the Gaussian Blur filter to the duplicate, and then adjusting the Radius value to get the desired smoothness.
- Start by duplicating the background layer. This creates a safe copy to work on and leaves the original layer unaltered.
-
Apply the Gaussian Blur filter. Go to
Filter > Blur > Gaussian Blur. - Adjust the Radius value. The Radius determines the intensity of the blur. A value between 20-30 pixels generally works well, but you might need to adjust it based on the image's resolution.
- Fine-tune the smoothing. Adjust the Radius until the skin looks smooth but not overly blurred.
Using this technique helps in creating a smooth base without losing important skin details.
Layer Masks and Blending
Layer Masks allow us to apply the smooth skin effect selectively, which ensures that we only smooth out the necessary areas while keeping other details sharp.
- Create a Layer Mask. Add a mask to the blurred layer by clicking the Layer Mask button at the bottom of the Layers panel.
-
Paint on the Layer Mask. Use a soft-brush tool with the color black to hide the blur effect from areas such as eyes, lips, and hair.
- Set the brush Opacity to around 50-60% for more control.
- Adjust the flow for even softer transitions.
-
Blend Mode Adjustment. Set the Blend Mode of the blurred layer to
Normaland adjust theOpacityof the layer to achieve a natural look.
Blending ensures that the smoothness is consistent and doesn't make the skin appear unrealistic. This approach maintains a balance between smooth skin and detail retention.
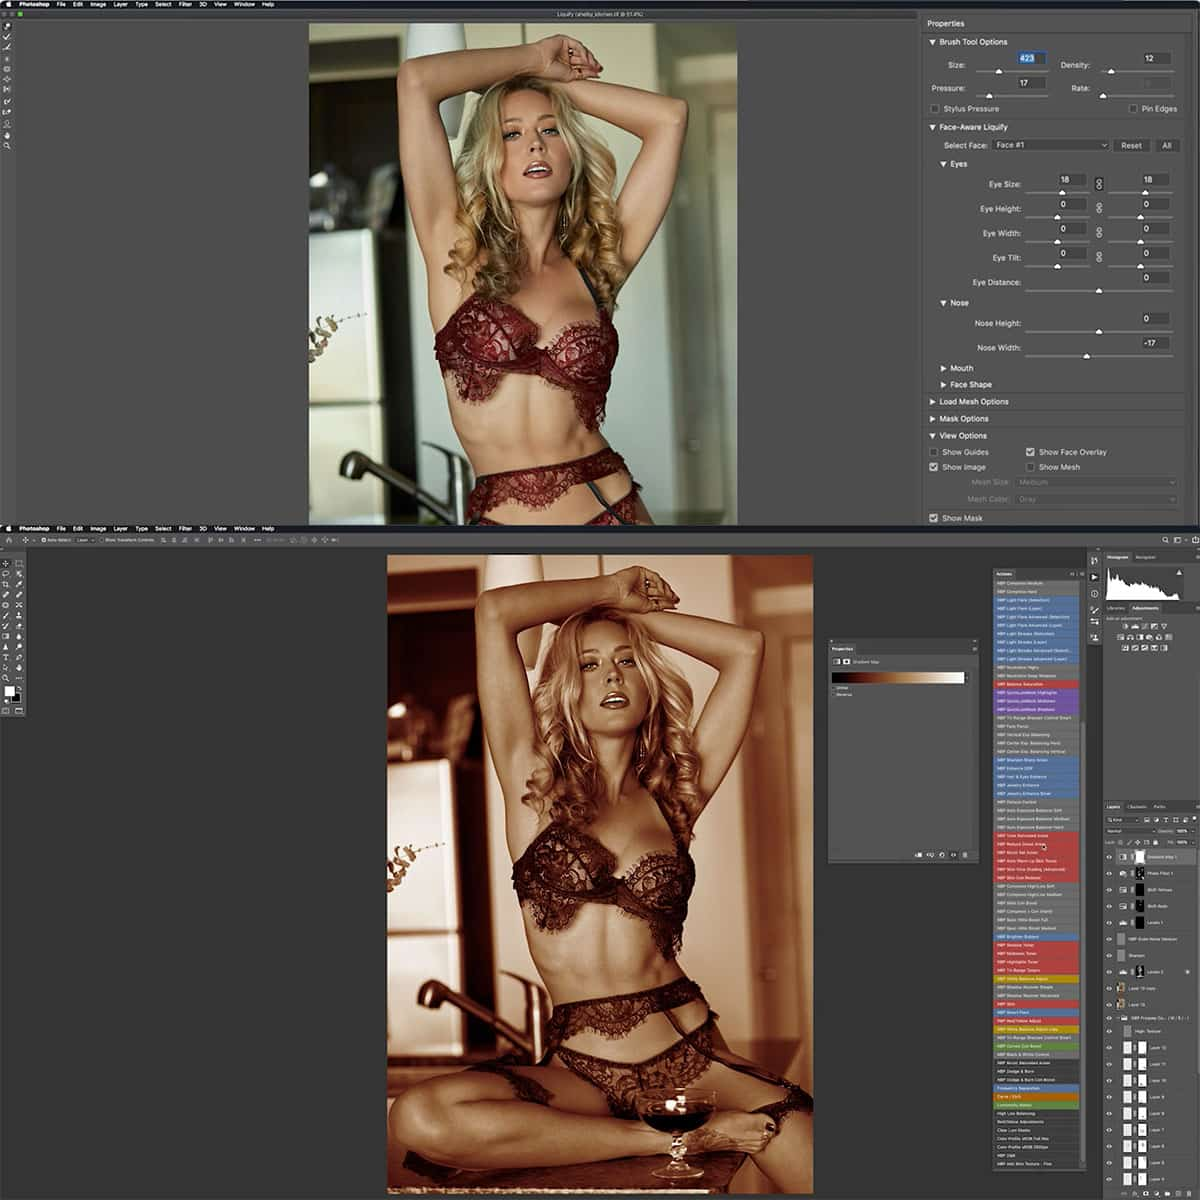
Enhancing Details in Portraits
When enhancing portrait details in Photoshop, focusing on the eyes, mouth, and hair can transform an image. These elements often hold the viewer's attention and contribute significantly to the overall impact of the portrait.
Eye Enhancement Strategies
To bring out the best in eyes, we start by sharpening and increasing contrast. Using the Sharpen Tool at a low strength (10-20%), we carefully apply it to the irises to make them stand out without appearing unnatural.
Next, we enhance the whites of the eyes to reduce redness or dullness. This step involves using the Brush Tool set to a low opacity with a white color, painting lightly over the eyeball and avoiding the pupils or the irises.
Applying a subtle dodge and burn technique around the eyelids lets us add depth and emphasizes the natural shape of the eyes. We use a small, soft brush with the Dodge Tool set to highlights and the Burn Tool set to midtones. This adds a three-dimensional effect that makes the eyes pop.
Refining Lips and Hair Details
For the lips, we use the Brush Tool to subtly enhance their natural color. We choose a soft round brush with a low opacity and pick a slightly pinker or redder shade than the natural lip color. Applying it lightly ensures the lips look vibrant yet natural.
Sharpening the lips slightly with the Sharpen Tool at a low strength can bring out details in the texture, making them appear more defined. We also consider adding a slight sheen using the Dodge Tool set to a very low exposure (5-10%) to create a natural glossy look.
When refining hair details, we focus on sharpening and adding contrast. Using the Sharpen Tool at a moderate strength (20-30%), we run it along strands of hair to define individual hairs and add texture. Adjusting the curves layer helps us manage the overall contrast, making the hair appear more vibrant and full of life.
Combining these techniques helps us craft a portrait that highlights important details while maintaining a natural and captivating look.
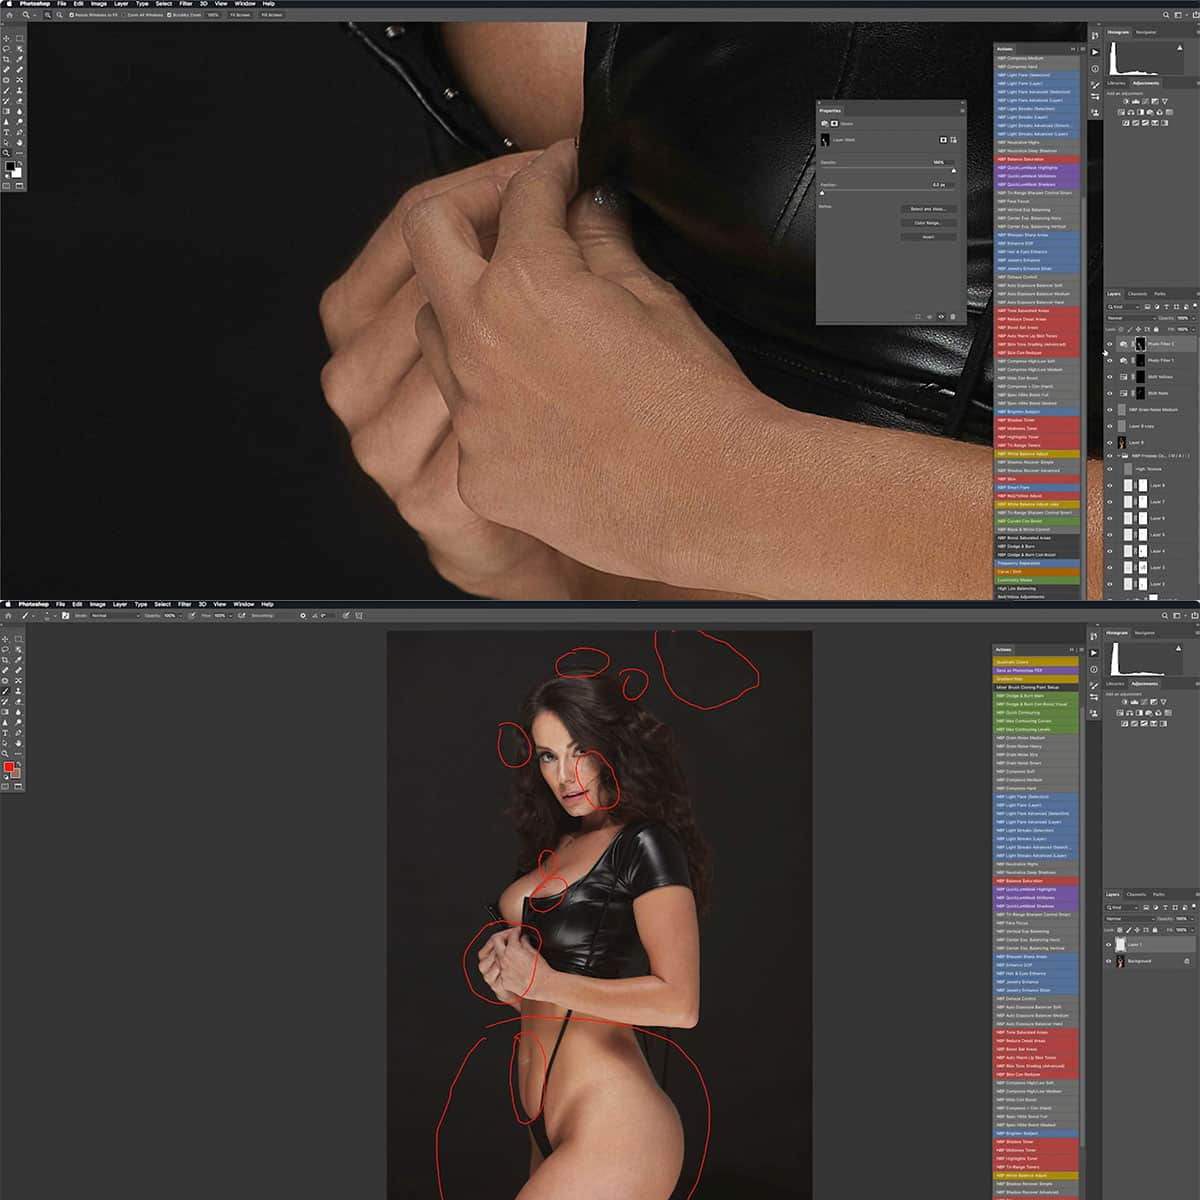
Utilizing Brushes for Local Adjustments
Employing brushes for local adjustments in Photoshop allows us to control specific areas of an image with precision. This can enhance the texture and smoothness of skin, offering a professional finish.
Customizing the Brush Tool
To begin, we select the Brush Tool. It’s crucial to tailor the brush size and hardness based on the area we are adjusting. For detailed skin texture work, a softer brush with varied opacity often provides a natural blend.
We alter the Opacity and Flow settings in the options bar. Lower opacity and flow settings yield gradual changes, useful for subtle adjustments. Combining these tweaks helps us avoid over-processing and maintains realism.
The Blend Options also play a pivotal role. For local adjustments, using blending modes like "Soft Light" can enhance texture without overpowering the original details. Adjusting these parameters meticulously ensures that we achieve desired results seamlessly.
Local Texture and Smoothness Control
When focusing on local skin texture adjustments, our primary tools are the Adjustment Brush Tool and the Spot Healing Brush. These brushes allow us to either refine or smooth out textures.
With the Adjustment Brush Tool, we access the Blend Options to adjust how our edits integrate with the original image. Applying slight adjustments helps retain natural skin texture while smoothing imperfections.
Meanwhile, the Spot Healing Brush addresses specific blemishes and uneven patches. Carefully editing these areas avoids creating an artificial look. Adjust the brush size to match the area being edited, ensuring precision.
Additionally, using a layer mask can limit smoothing effects to targeted regions. This technique helps us to fine-tune texture and smoothness without affecting the entire image, making our editing process both efficient and effective.
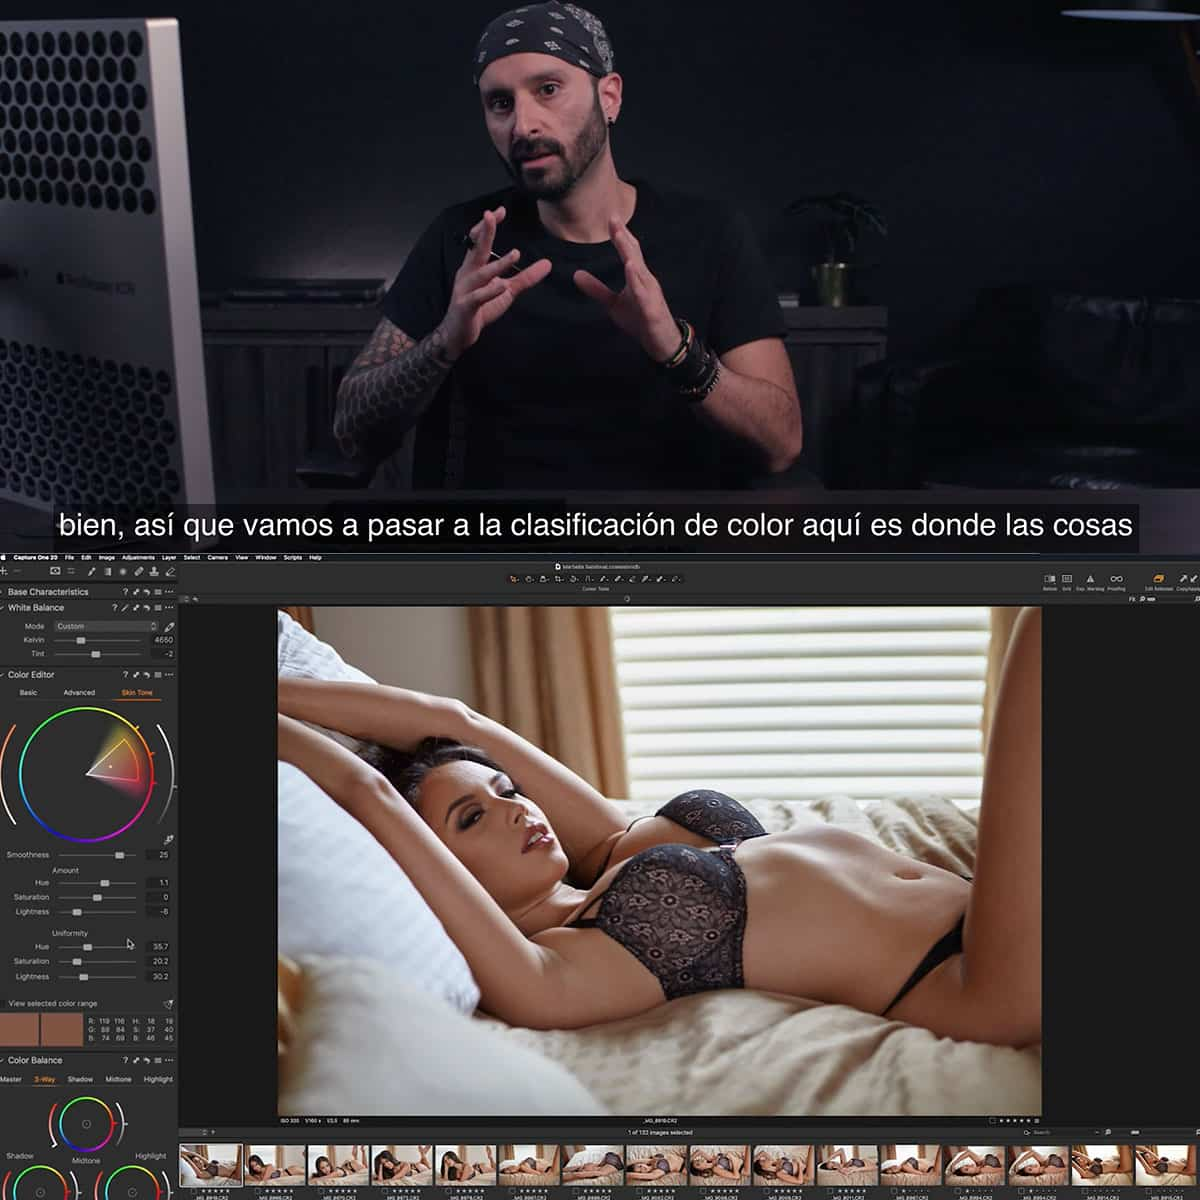
Color Correction and Adjustment
In Photoshop, color correction and adjustment are crucial tasks when working with portrait images. These processes involve using adjustment layers to finely tune colors and ensure the skin tones appear natural and appealing.
Working with Adjustment Layers
Adjustment layers are powerful tools in Photoshop that allow us to modify colors and tones non-destructively. By creating a new adjustment layer, we can change the properties of the colors without affecting the original image.
To start, we open the Layers Panel and navigate to Layer > New Adjustment Layer. Options like Selective Color, Color Balance, and Hue/Saturation are essential for precise adjustments. Each of these adjustment layers serves different purposes.
Selective Color lets us target specific color ranges, making it easy to tweak skin tones. Color Balance is effective for overall color temperature adjustments. Hue/Saturation allows for control over the intensity and vibrancy of colors. By leveraging these tools, we can achieve professional color correction results.
Adjusting Skin Tones
Adjusting skin tones is a delicate task requiring precision. Using the Selective Color adjustment layer, we focus on modifying colors like red, yellow, and magenta to balance the skin tone.
We start by selecting Layer > New Adjustment Layer > Selective Color. Access the Selective Color panel by double-clicking the layer thumbnail in the Layers Panel. Here, we can fine-tune the red and yellow channels to smooth out imperfections in skin tones.
Sometimes, using Blending Modes such as Vivid Light can also enhance skin tones. We select the layer, apply the blending mode, and adjust the opacity to blend it seamlessly. Finally, fine adjustments can be made using the Hue/Saturation tool, where we alter the hues and saturation levels to achieve the desired look.
By carefully manipulating these settings, we can enhance skin tones to look natural and vibrant, ensuring a polished and professional finish.
Finishing Touches and Exporting
In this part of the workflow, we will focus on applying smart filters for sharpening details and properly finalizing and saving our work for various outputs.
Smart Filters and Sharpening
Using smart filters allows us to non-destructively sharpen our images, providing flexibility and maintaining the quality of our work. To apply a smart filter, we first need to convert our layer to a smart object by right-clicking the layer and selecting Convert to Smart Object.
With our layer now a smart object, we can go to Filter > Sharpen > Smart Sharpen. In the dialog box, we can adjust the amount, radius, and reduce noise settings. This helps us customize the sharpening to enhance details without adding artifacts.
After applying the smart filter, we can fine-tune it by double-clicking on the smart filter layer in the Layers panel. This opens the settings again, letting us make real-time adjustments. It's essential to keep checking the image at 100% zoom to ensure the sharpening is enhancing, not degrading, the quality of our image.
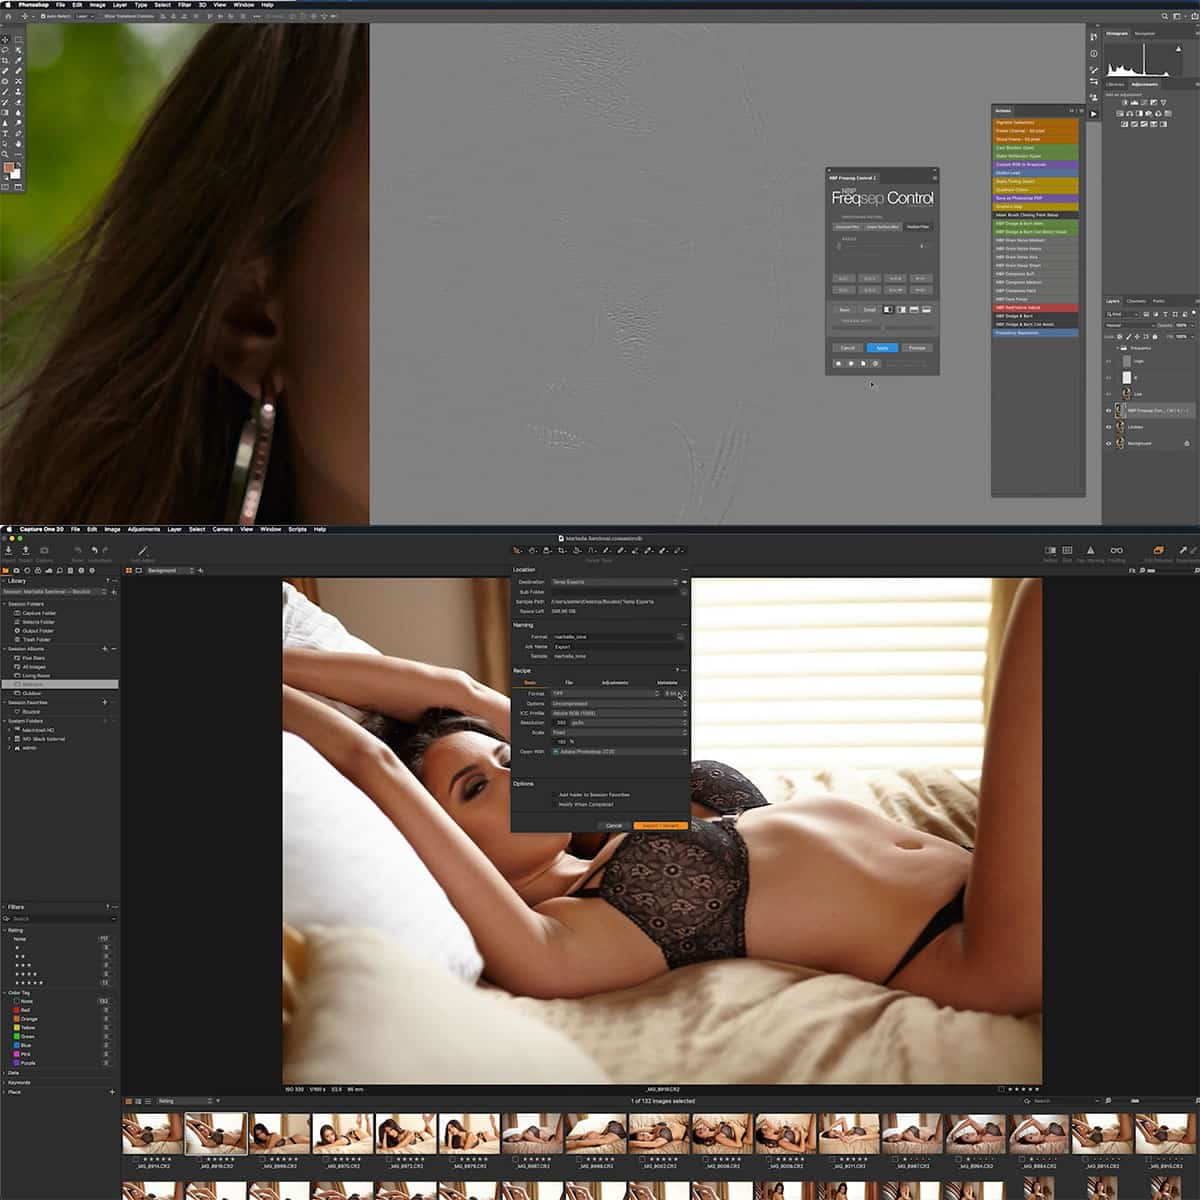
Finalizing and Saving Your Work
Once the image is sharpened to our satisfaction, the next step is to finalize and save. It's crucial to decide on the right file formats and settings for our intended output, whether it be web use, print, or other mediums.
To save for web, we'll go to File > Export > Save for Web. Here, we can choose formats like JPEG or PNG, adjust the quality settings, and resize if needed. This will optimize the file size for quicker download times without losing significant quality.
For high-quality prints, we should save our work as a TIFF or high-resolution JPEG. This can be done via File > Save As and selecting the desired format. We should also ensure that our color profiles are correctly set under Edit > Color Settings to maintain color accuracy across different devices.
Finally, for cloud storage or sharing, using File > Save to Cloud allows us to keep a backup and easily access our files from anywhere. This is particularly useful for collaborative projects where other team members might need access to the work.
Frequently Asked Questions
In this section, we'll address common questions about achieving smooth skin using Photoshop. We'll cover step-by-step instructions, reliable filters, and techniques for a natural look.
What are the steps to achieve smooth skin using Photoshop's built-in tools?
To smooth skin using Photoshop’s built-in tools, we recommend starting with the Spot Healing Brush to remove blemishes. Then use the Blur tool or the Gaussian Blur filter to soften the overall skin texture. Adjust the opacity and blend modes to ensure the result looks natural.
Where can I find a reliable smooth skin filter for Photoshop?
A reliable smooth skin filter can be found within the Camera Raw filter in Photoshop CC. This includes the Texture Slider, which offers high-end skin softening techniques. If you're using Photoshop CS6, similar results can be achieved by manually applying filters like Gaussian Blur and adjusting their settings.
Is there a way to smooth skin in Photoshop without downloading additional plugins?
Yes, Photoshop provides all necessary tools to smooth skin without additional plugins. Using the built-in Spot Healing Brush, Gaussian Blur, and Camera Raw filters can yield excellent results. Layer masking techniques can further refine the smoothing effect, making plugins unnecessary.
How do I adjust the settings of the smooth skin tool for a natural look in Photoshop?
To adjust the settings for a natural look, lower the opacity of the smoothing layer and use a soft brush for blending. It's crucial to keep a balance between smoothness and texture to avoid an unnatural, plastic-like appearance. Fine-tuning the blend modes and opacity levels will help achieve this balance.
Can you explain the high pass technique for smoothing skin in Photoshop?
The high pass technique involves duplicating the image layer, applying a High Pass filter, and setting the layer’s blend mode to Soft Light or Overlay. This method enhances texture while smoothing out blemishes. Using a layer mask, we can selectively apply the effect to the skin areas, giving us control over the final look.
What methods are available for blending skin tones effectively in Photoshop?
Blending skin tones effectively can be achieved using the Mixer Brush tool, which blends colors smoothly. Alternatively, Frequency Separation allows us to work on the texture and color separately, creating a more seamless blend. Using adjustment layers like Curves and Hue/Saturation can also help to fine-tune skin tones.


