Photoshop for Photographers: Enhancing Your Images with Expert Techniques
As photographers, we know that capturing the perfect image in-camera is only the beginning. When it comes to enhancing and perfecting our images, Adobe Photoshop is an indispensable tool. With its diverse range of functions and tools, Photoshop provides photographers with endless possibilities for transforming ordinary images into extraordinary works of art.
For beginners, understanding the Photoshop interface and the basics of image editing can feel daunting. But with time and practice, you'll soon be on your way to mastering advanced editing techniques, detailed retouching, and enhancement. The key is to persistently work through tutorials and resources, such as those provided by PRO EDU, which offer professional photography and Photoshop tips.
Key Takeaways
- Adobe Photoshop offers a diverse range of functions for image enhancement and transformation
- Beginner photographers should invest time in understanding the interface and image editing basics.
- Advanced editing techniques, retouching, and enhancement can be learned through tutorials and professional resources.
Understanding the Photoshop Interface
Adapting Workspace for Photography
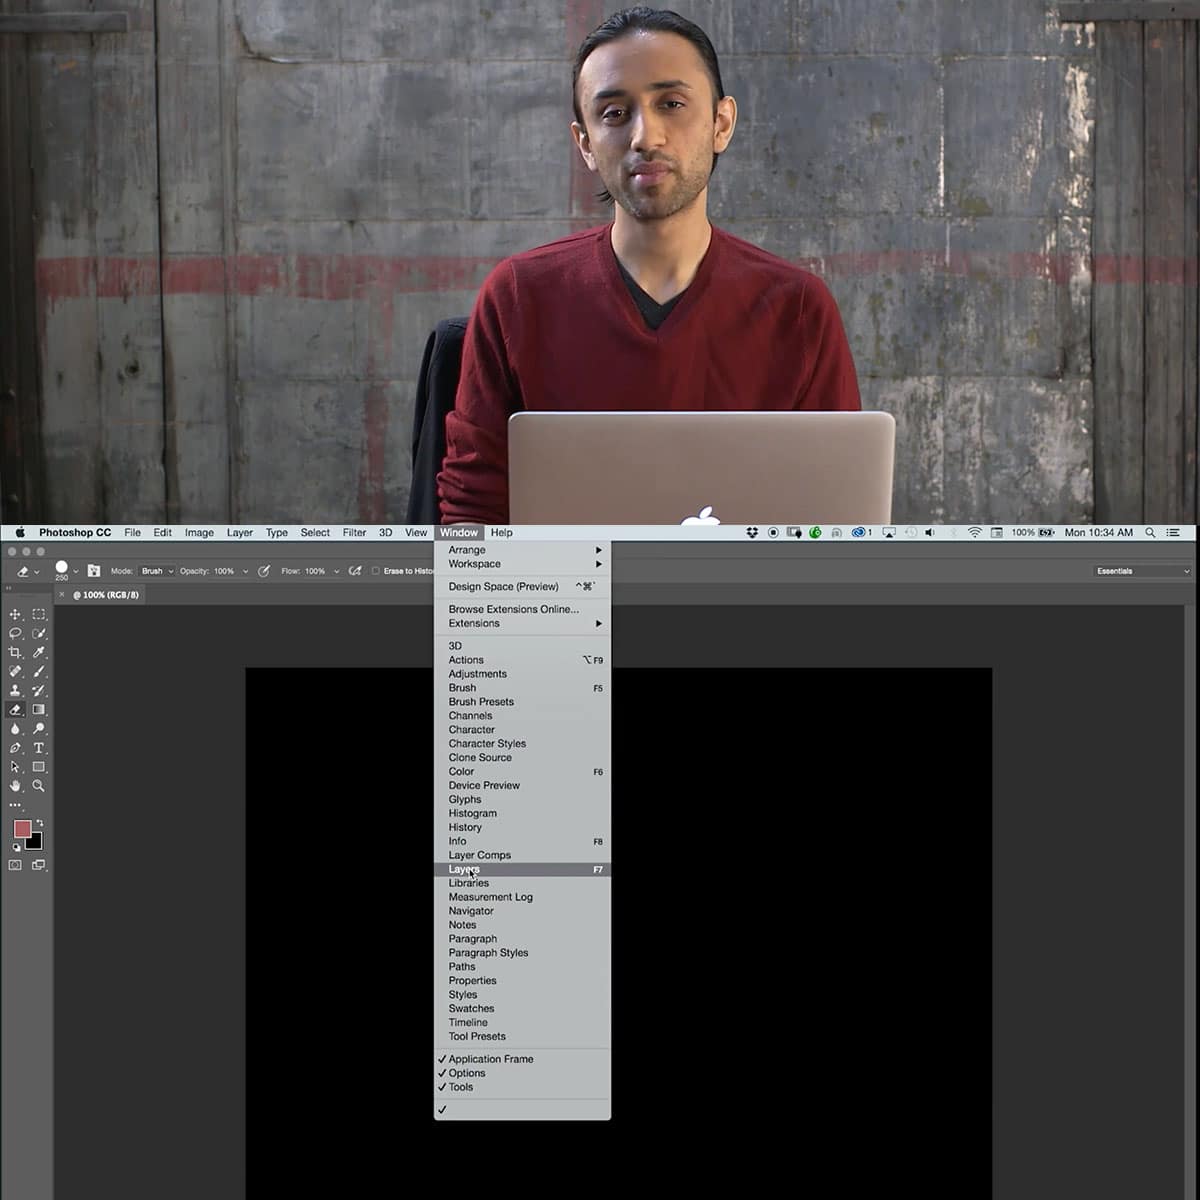
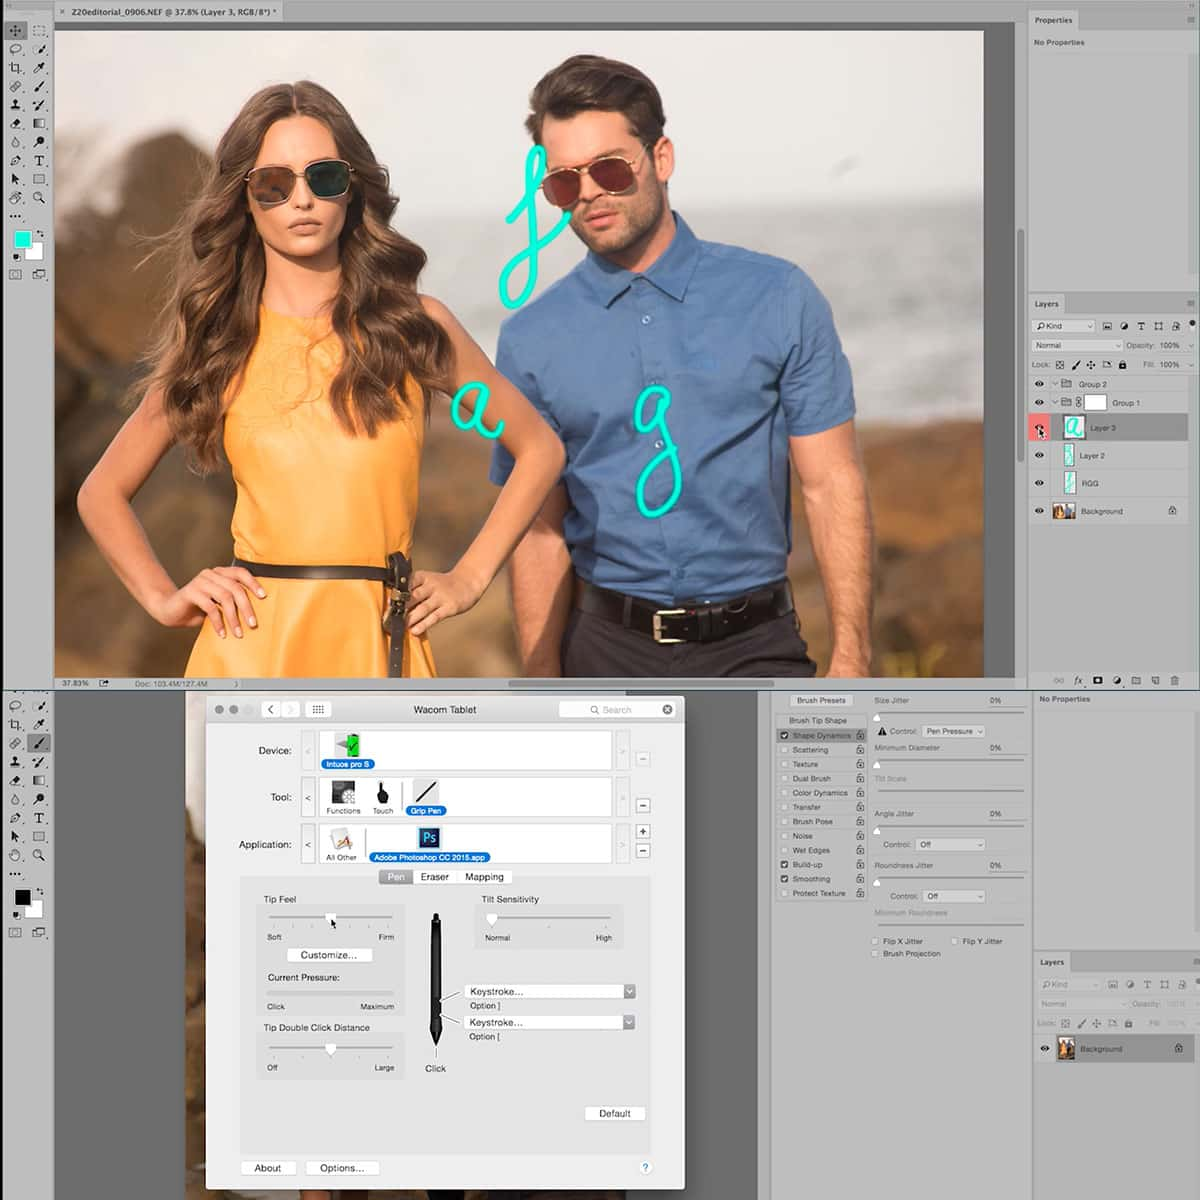
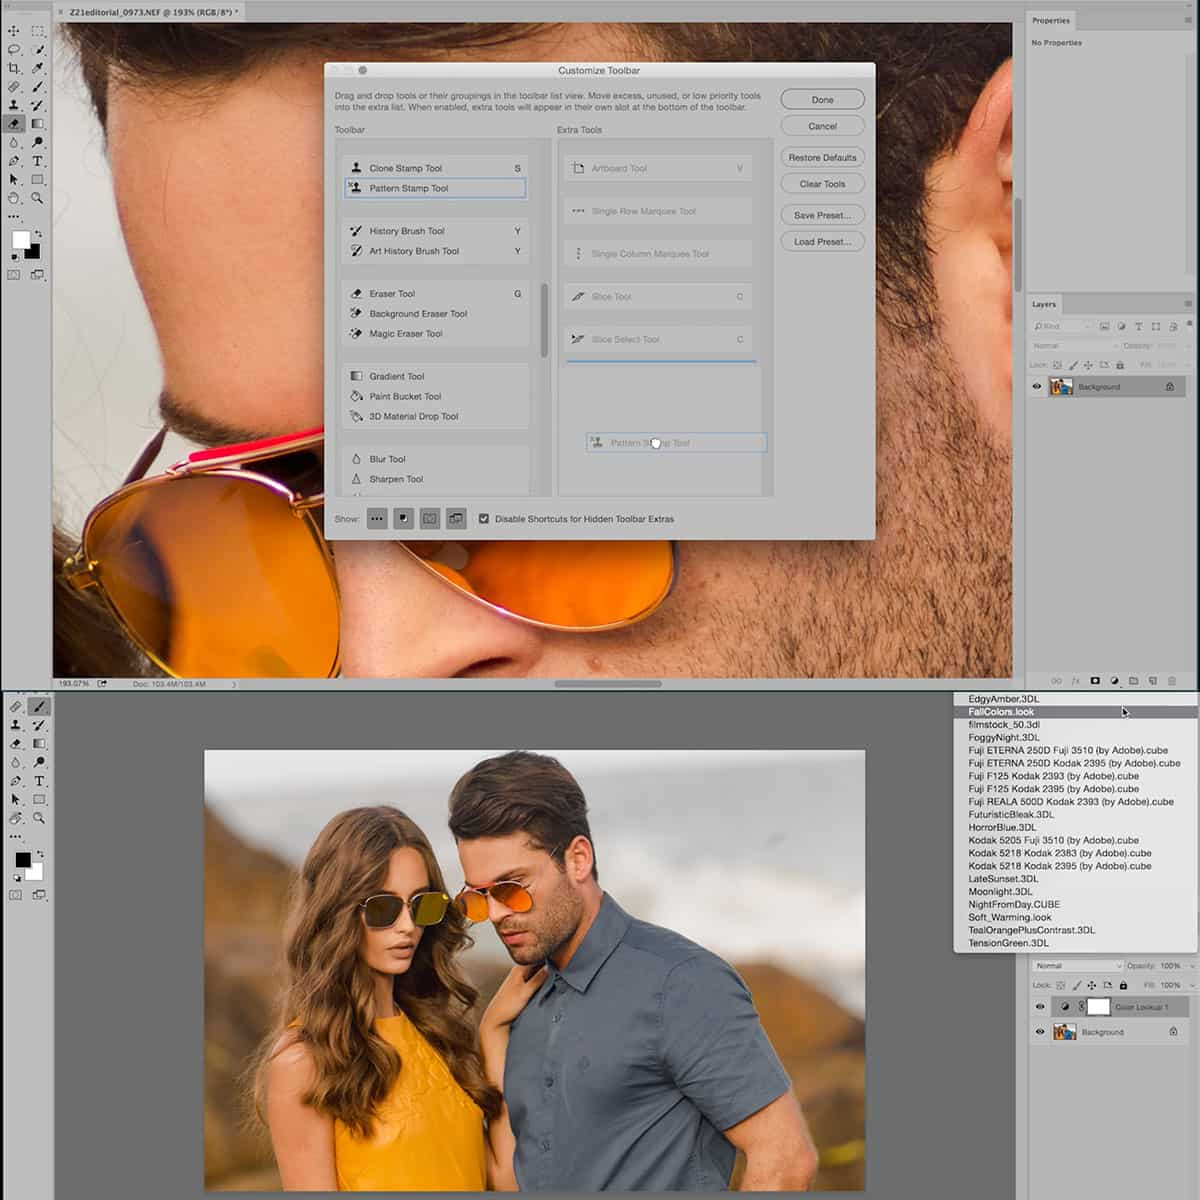
When working with Adobe Photoshop, it is essential to adapt the workspace for photography. We can customize the interface by arranging panels and toolbars to suit our needs. This will enable us to access the essential photo editing tools and features more efficiently. For more in-depth learning, consider checking out Advanced Photography, Photoshop, AI, CGI courses.
Essential Tools for Photographers
In Adobe Photoshop, there are several essential tools for photographers to enhance their images effectively. Let's discuss some of them below:
- Crop Tool: This tool allows us to crop images to improve composition or remove unwanted areas.
- Spot Healing Brush: By using this, we can quickly fix minor imperfections in photos like blemishes, dust spots, and scratches.
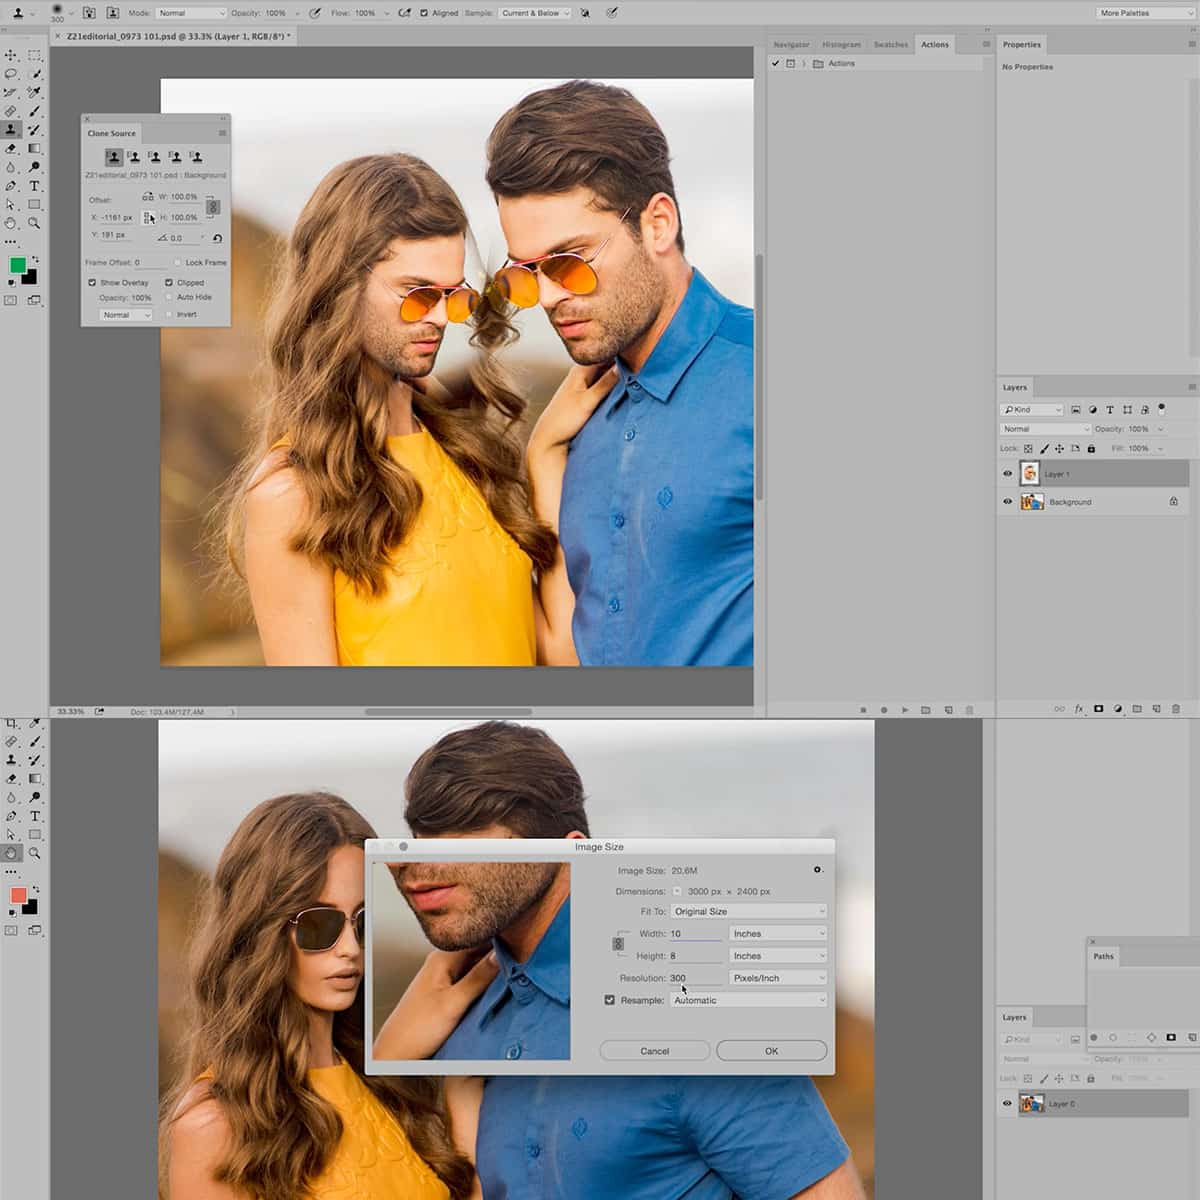
- Clone Stamp: It helps us to duplicate specific areas of an image to cover up unwanted elements or add more context.
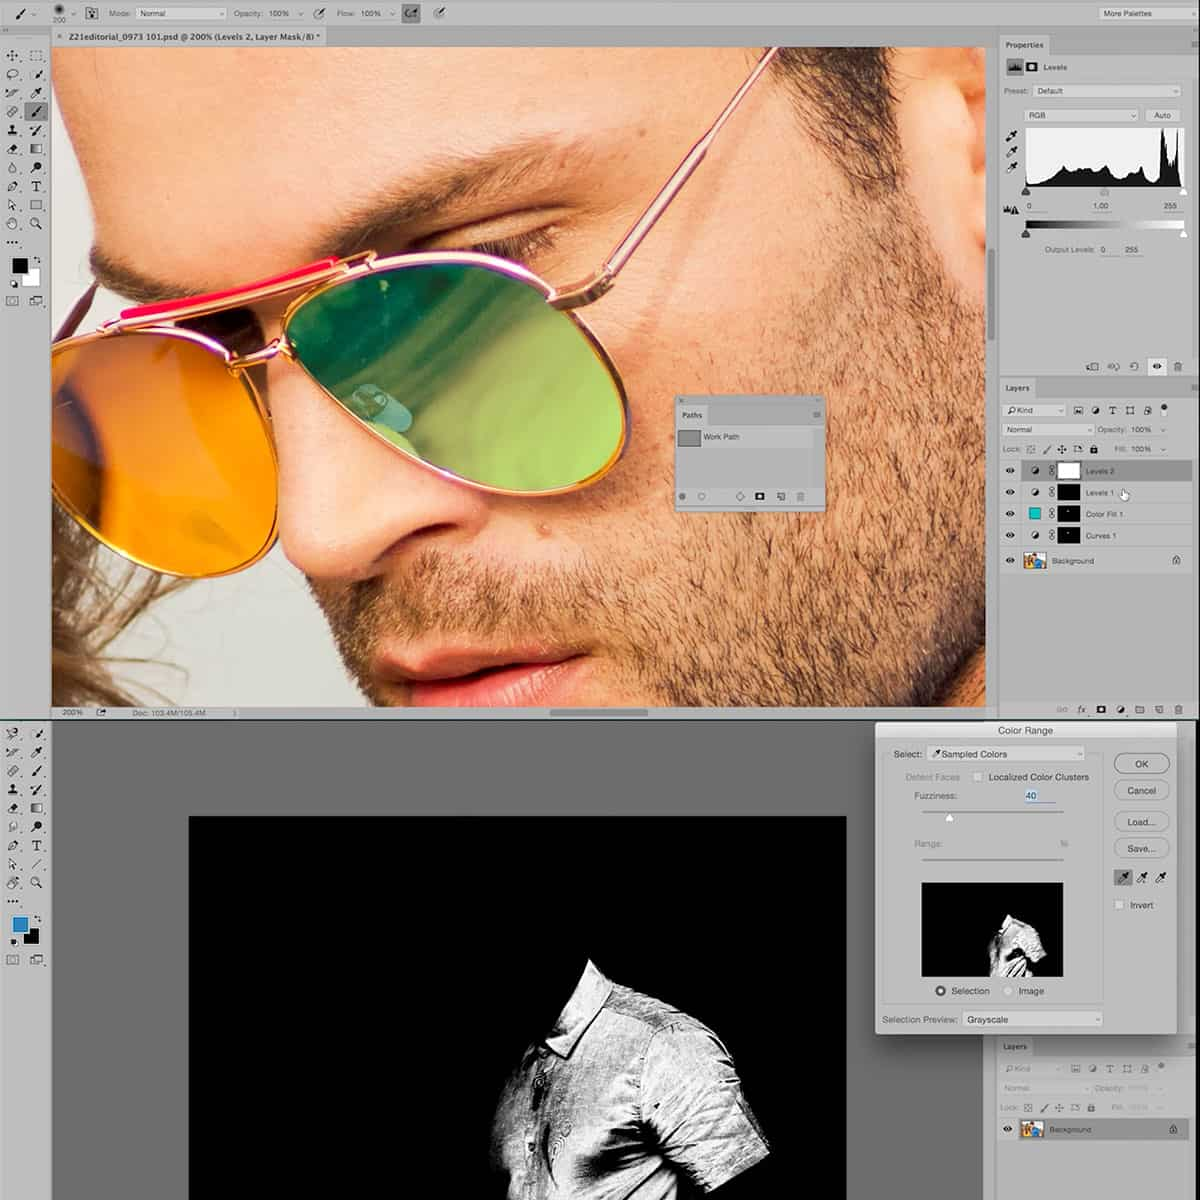
- Levels and Curves: These adjustment layers make it easy to control brightness, contrast, and color balance in our images.
By understanding the Photoshop interface and adapting it to our photography workflow, we'll be able to enhance our images much more effectively and efficiently.
Basics of Image Editing in Photoshop
When it comes to enhancing your images, Photoshop offers a variety of tools to improve image quality and resolution. In this section, we will cover some basic techniques to help you get started with image editing in Photoshop.
First, open your image in Photoshop. To do this, go to "File" > "Open" and select your image file. Once the image is open, you can access adjustment layers to make non-destructive edits. To access adjustment layers, go to the "Layer" menu, and then select "New Adjustment Layer." Adjustment layers allow you to apply various effects and adjustments to the image without permanently altering the original source.
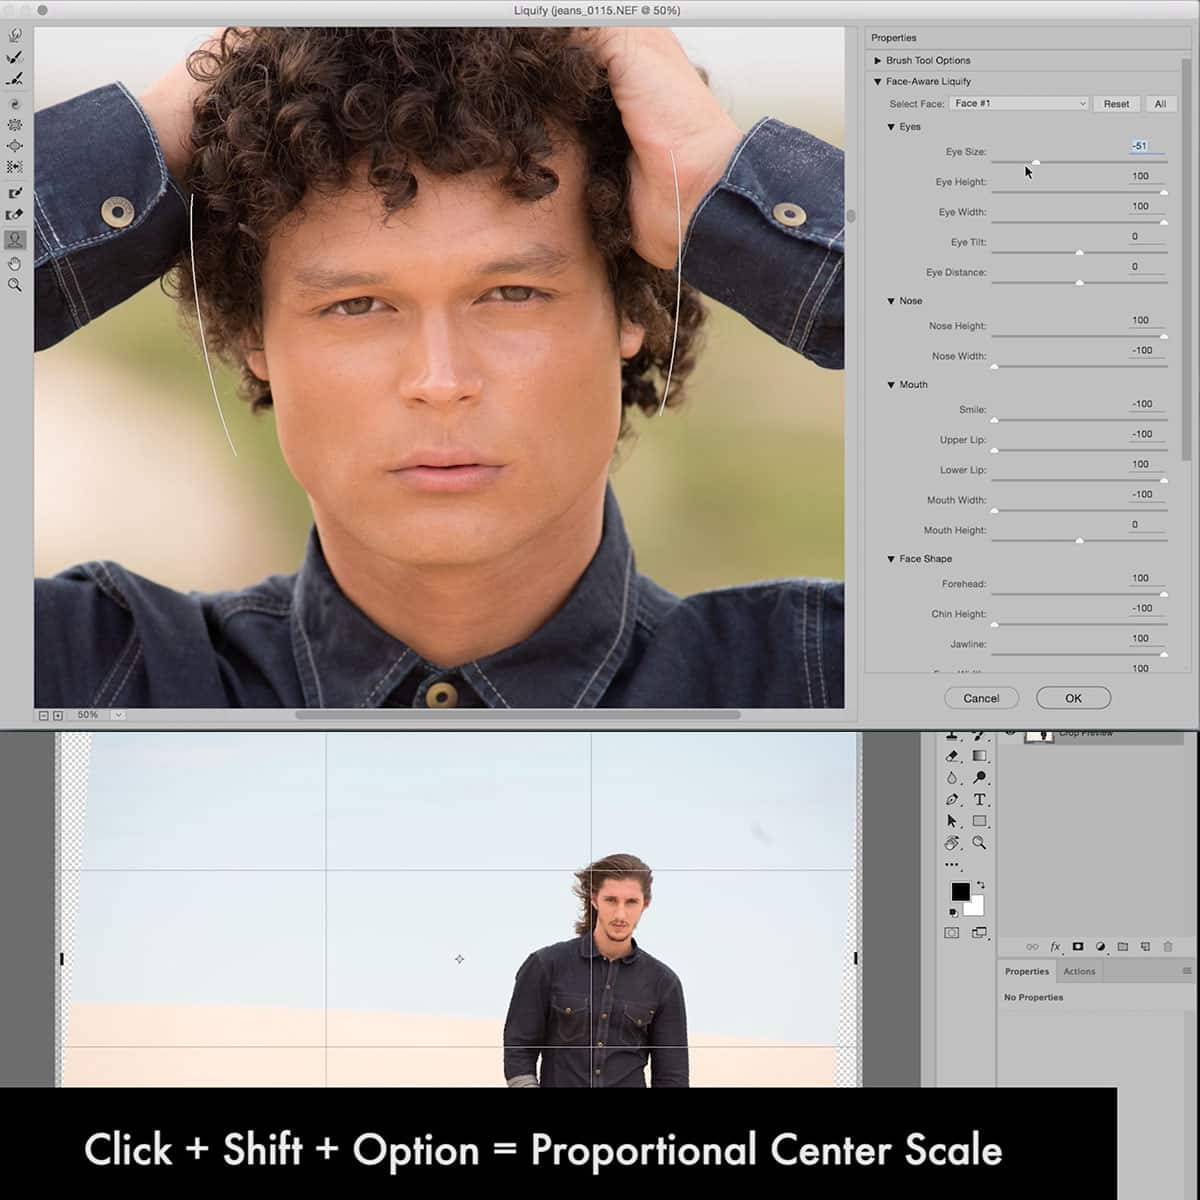
One of the most basic yet effective editing techniques is cropping. Cropping helps remove unnecessary elements, put more focus on the subject, and create more drama for maximum impact. It's also crucial in improving your photo's composition source.
Adjusting color and clarity is another essential step to enhance your images in Photoshop. To make your photos look more professional and appealing, ensure they are color-balanced and have the right contrast. You can adjust these settings using the Brightness/Contrast and Color Balance adjustments.
Resizing your images is also an important aspect of image editing, as it ensures your photos fit the intended format or medium without losing quality. To resize your image, go to "Image" > "Image Size" and adjust the dimensions as needed. Keep in mind the relationship between image size and resolution; increasing the size could result in a loss of image quality source.
Finally, improving the image resolution can be done through a technique called Super Resolution. This method allows you to increase the resolution of your image while maintaining sharpness and detail. It can be particularly useful when working with low-resolution images that require enlargement.
By following these basic steps, you will be able to significantly enhance your images in Photoshop, resulting in higher-quality and more professional-looking photographs.
Advanced Editing Techniques
Color Correction Techniques
When it comes to photo editing, one of the most critical aspects is color correction. It involves adjusting the contrast, saturation, brightness, and hue to create a more visually appealing image. The process starts with using adjustment layers to fine-tune the color properties non-destructively. For example, you can use Curves to add contrast by creating an S-shaped line, which will darken shadows and brighten highlights.
Another essential technique is working with the Hue/Saturation adjustment layer to modify the overall color balance in the image. It enables you to separately manipulate individual color channels (like red, blue, or green) instead of affecting the whole image. Furthermore, using the Vibrance adjustment layer can help you balance the saturation levels, making the colors more uniform and natural-looking.
Understanding and Using Filters
Photoshop filters offer various effects to enhance your images creatively, and knowing when and how to use them is crucial. One of the most useful filters for photographers is the High Pass filter, which can be applied to create a sharper picture. To use the High Pass filter, create a duplicate layer, go to Filter > Other > High Pass, and adjust the radius for better sharpness.
Another popular filter is the Unsharp Mask, which can help enhance the details in an image. It works by increasing the contrast around edges, making the overall picture sharper. To apply it, go to Filter > Sharpen > Unsharp Mask, and adjust the amount, radius, and threshold. Additionally, we recommend exploring the Filter Gallery to find a vast array of filters that can add unique styles and effects to your images, such as textures, light leaks, and painterly effects. Remember to always use filters selectively and create a separate layer to apply them non-destructively.
Detailed Retouching and Enhancement
Sharpening Technique
One of the essential techniques in enhancing images is sharpening. It helps bring out the details and makes the subject more prominent. We can use the Unsharp Mask filter in Photoshop to achieve this effect. Adjust the values for the Amount, Radius, and Threshold to find the perfect balance for your image.
Besides the Unsharp Mask, we can utilize the High Pass filter to enhance sharpness. First, duplicate your image layer and set the blending mode to Overlay. Then, apply the High Pass filter by going to Filter > Other > High Pass. Adjust the radius to control the level of sharpening.
Noise Reduction Technique
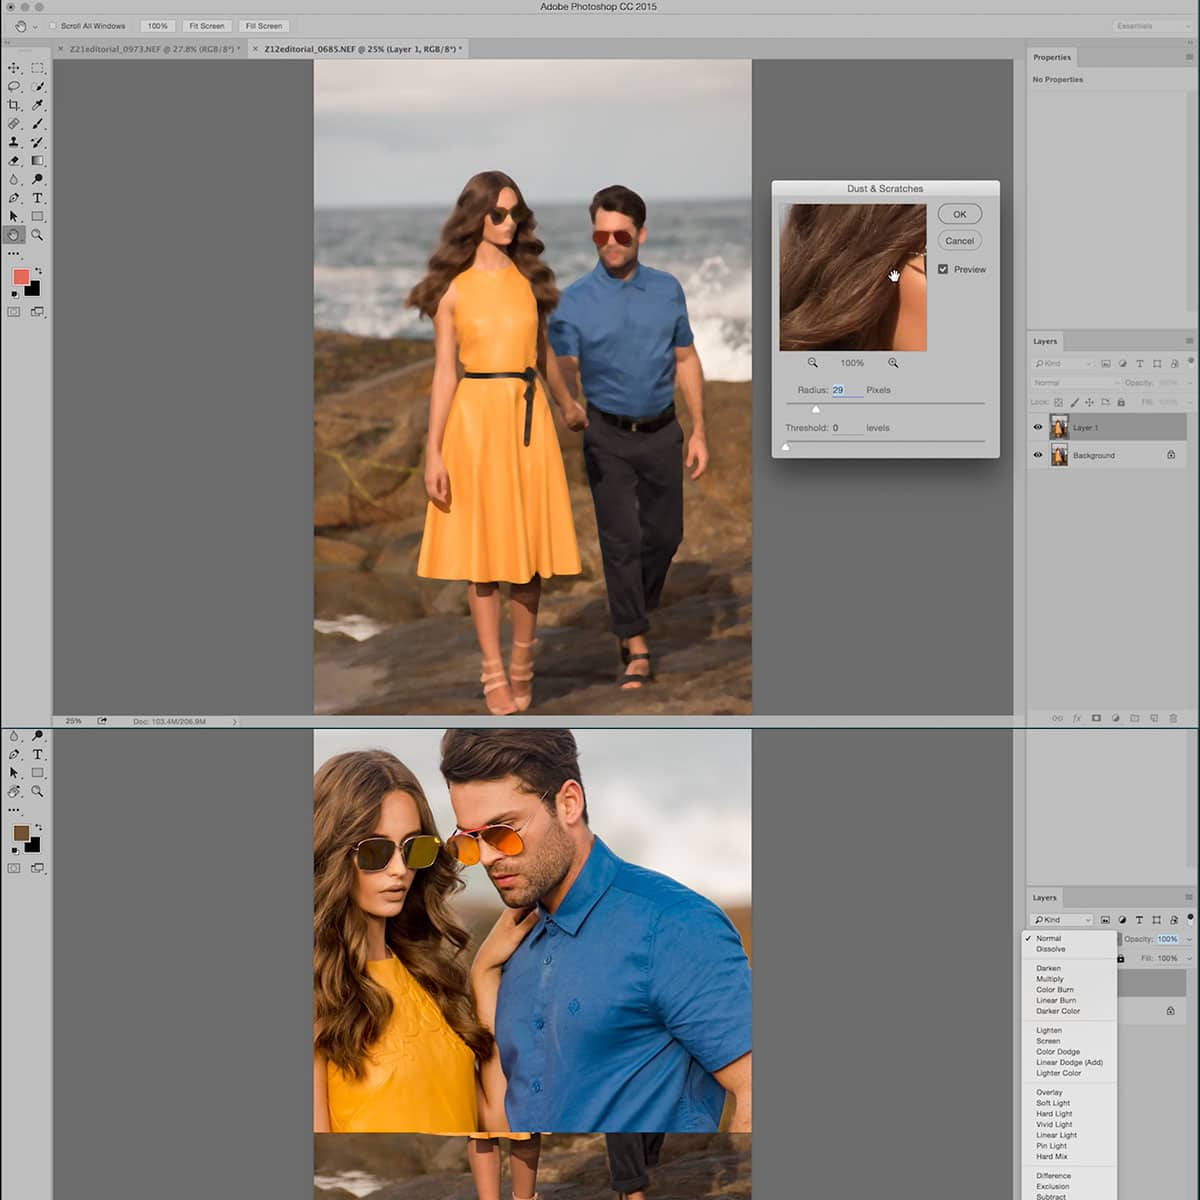
Noisy images can distract from the overall quality of your photos. Reducing noise in Photoshop can enhance details while preserving the original look of your image. The Reduce Noise filter is a great tool for this, which can be accessed by going to Filter > Noise > Reduce Noise.
When using the Reduce Noise filter, adjust the Strength, Preserve Details, and Reduce Color Noise sliders to find the ideal balance between noise reduction and image clarity. Additionally, we can use the Surface Blur filter to specifically target and smooth out larger areas of noise, while the Spot Healing Brush and Healing Brush tools are useful for retouching blemishes and other imperfections. Remember to work on a separate layer to maintain non-destructive editing and have greater control over the final result.
Post-Processing Techniques for Professional Photography
Creating Unique Styles and Themes
As professional photographers, we know that enhancing images in Photoshop can transform photos into true works of art. One important aspect of post-processing is creating unique styles and themes. A well-balanced combination of editing tools such as brightness, contrast, and color adjustment can help achieve this goal.
Through Photoshop tutorials and practice, we can develop a personal style that sets our work apart. By using selective adjustments like dodging, burning, or applying gradient maps, we create depth and mood in our images. Experimenting with different blend modes, textures, and filters expands our creative possibilities.
Batch Processing of Photographs
Efficiency is key, especially when working with a large number of photographs. In this context, batch processing becomes essential, as it allows us to apply the same adjustments to multiple images simultaneously. Batch processing can save us time and ensure consistency throughout our work.
Using Photoshop's synchronized settings feature in the Develop module, we can easily apply similar corrections to a series of images. Furthermore, creating and using custom presets simplifies our workflow and helps maintain a consistent style across our photographs.
By mastering these post-processing techniques and embracing the powerful editing tools available in Photoshop, our images will stand out and resonate with our audience. Our enhanced photographs will be a testament to our skills and creativity in the world of professional photography. Remember to keep exploring tutorials, refining our techniques, and pushing our artistic boundaries to create stunning works of art.
Frequently Asked Questions
How can I upscale an image in Photoshop using AI?
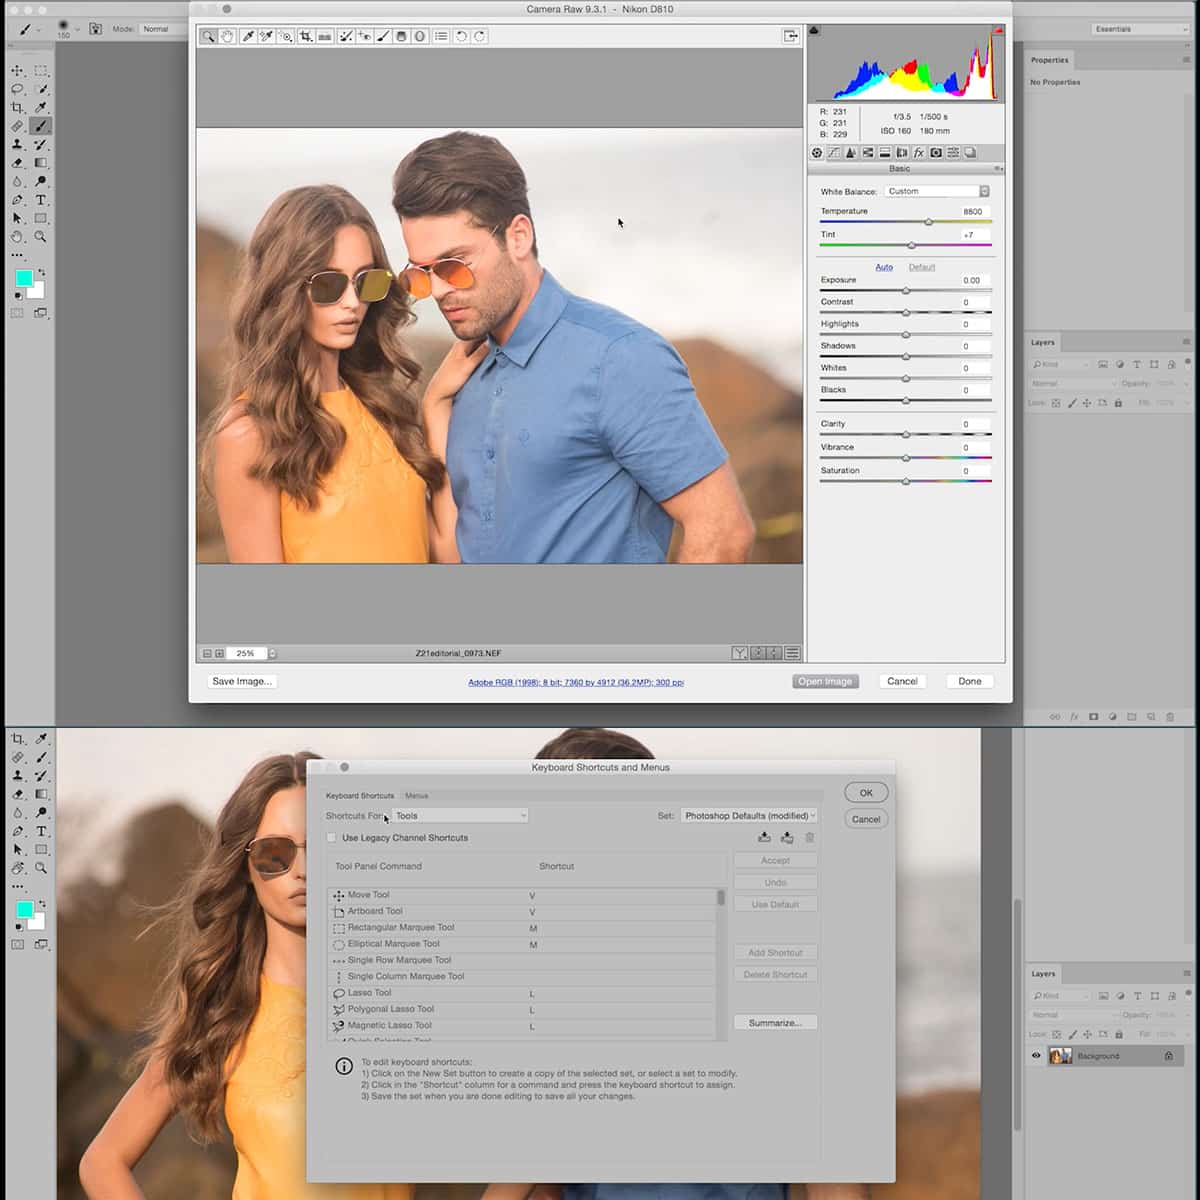
In Photoshop, you can upscale images using AI-powered Adobe Super Resolution. To do this, open the image in Camera Raw, right-click the image, and choose Enhance Details. Check the box for Super Resolution, and the AI will upscale your image while maintaining detail.
What are the best techniques for enhancing photo quality in Photoshop?
Some of the best techniques for enhancing photo quality in Photoshop include adjusting exposure, color levels, and curves, as well as using the Hue/Saturation tool for vibrant colors. Removing blemishes and imperfections in your photos can also contribute to better image quality.
How do I increase the resolution of an image in Photoshop?
To increase the resolution of an image in Photoshop, open the Image Size dialog box (Image > Image Size). Adjust the resolution value, and select the appropriate resampling method for your image. Preserve Details 2.0 is a useful option for maintaining image quality while increasing resolution.
Which tools and features should photographers focus on in Photoshop?
Photographers should focus on tools like the Clone Stamp, Healing Brush, and Patch tools for retouching, along with features like adjustment layers, layer masks, and Smart Objects for non-destructive editing. Familiarizing yourself with Photoshop's color adjustments and sharpening tools can also greatly benefit your work.
How can I make my photos look better using Photoshop?
To make your photos look better using Photoshop, utilize various techniques like cropping, adjusting orientation, and improving lighting. Employ filters, dodge and burn tools, and noise reduction to further enhance your images.
What are some tips for improving image sharpness in Photoshop?
To improve image sharpness, use the Unsharp Mask or Smart Sharpen filters in Photoshop. These tools allow you to adjust the amount, radius, and threshold of the sharpening effect, giving you control over the final result. Remember to use sharpening sparingly, as over-sharpening can lead to a less natural-looking image.


