What Is Gaussian Blur In Photoshop: A Comprehensive Explanation
Gaussian blur is a widely used filter in Photoshop that helps photographers and graphic designers achieve a variety of visual effects. It is particularly useful in reducing noise, simulating depth-of-field, and softening imperfections in an image. By utilizing the Gaussian function, this filter creates a smooth, natural-looking blur that appears as if the photo was taken through a translucent screen.
Photoshop offers numerous blur filters to alter the appearance of an image, and among them, Gaussian blur stands out for its versatility and ease of use. With a user-friendly interface and customizable settings, both beginners and experts can take advantage of this powerful tool to enhance their work.
Key Takeaways
- Gaussian blur is a versatile Photoshop filter that creates a smooth, natural-looking blur effect.
- It is used to reduce noise, simulate depth-of-field, and soften imperfections in images.
- The filter's user-friendly interface and customizable settings make it accessible to beginners and experts alike.
Understanding Photoshop Blur Filters
Photoshop offers a variety of blur filters to help you achieve different visual effects in your images. In this section, we will briefly discuss the most common types and their purposes.
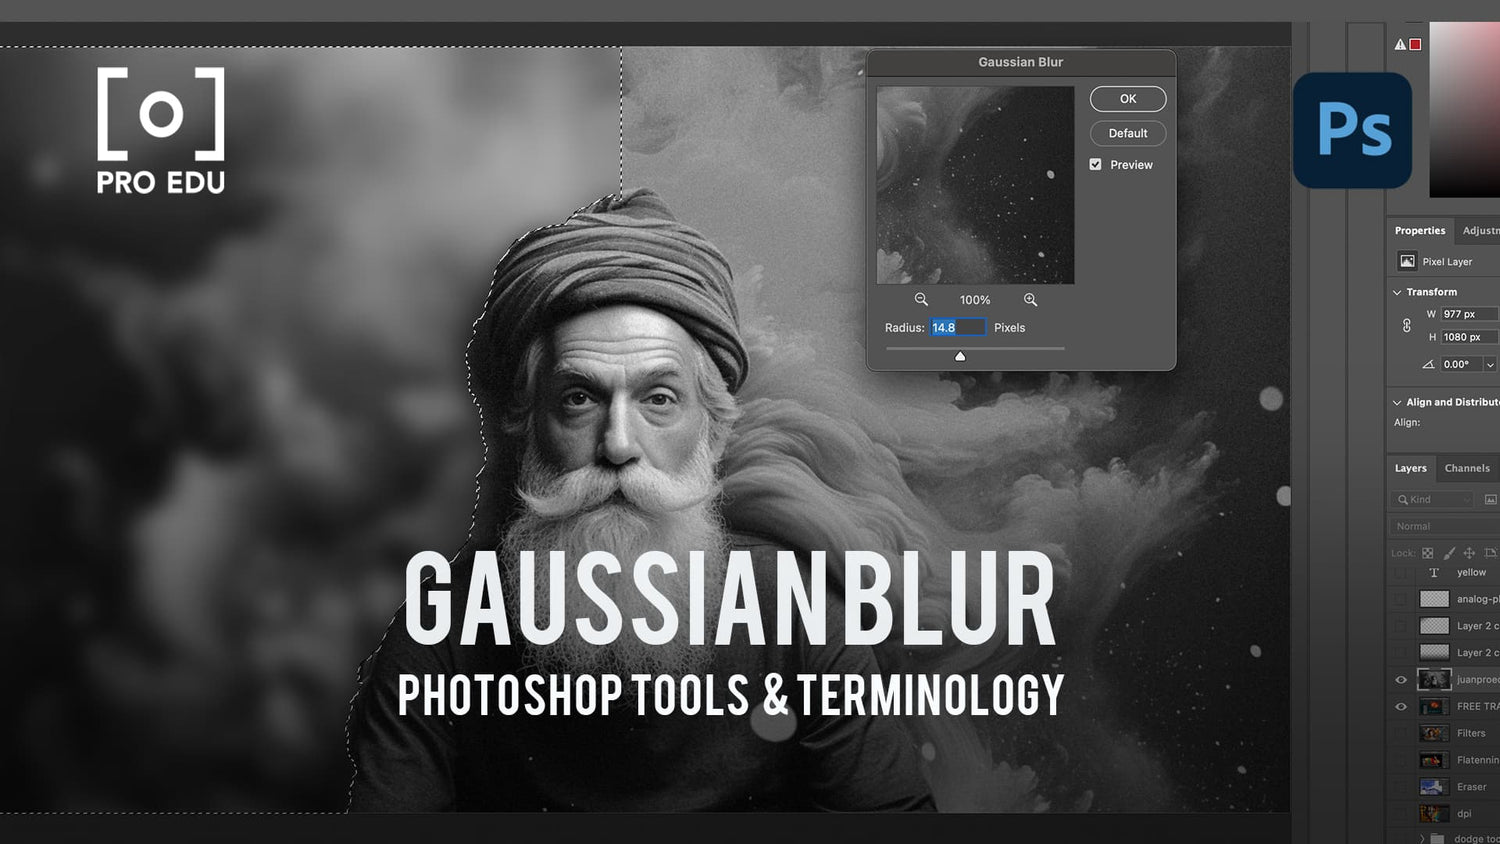
Gaussian Blur Filter: One of the most popular and versatile blur filters in Photoshop is the Gaussian Blur. It creates a smooth and natural-looking blur effect by spreading pixel values according to a Gaussian function. It's commonly used to reduce noise, simulate depth-of-field, and soften imperfections in your images.
Motion Blur: The Motion Blur filter helps to simulate the appearance of movement in an image. It applies a directional blur, imitating the effect of an object moving at high speed or the camera moving when capturing the scene.
Radial Blur: This filter creates a circular or spiral blur effect around a specified point in your image. The Radial Blur is excellent for adding a sense of movement or focusing on a specific area, drawing the viewer's attention to that point.
Lens Blur: The Lens Blur filter emulates the blur caused by a shallow depth-of-field or out-of-focus areas in photographs. It allows you to selectively apply the effect, providing more control over the parts of your image that remain sharp.
Iris Blur: Part of the Blur Gallery, Iris Blur is specifically designed to create a more natural, gradual blur effect, closely resembling the depth-of-field in a photograph. It provides an elliptical shape that can be adjusted to fit your desired focus area.
Shape Blur and Background Blur: These filters let you apply blur effects according to specific shapes or simulating realistic background blur. Shape Blur uses a custom shape for the blur effect, while Background Blur allows you to apply bokeh-like effects by blurring areas of the image selectively.
Tilt-Shift Blur: Another option from the Blur Gallery, Tilt-Shift Blur simulates the popular "miniature" effect often seen in architectural photography. By applying a selective blur with custom gradient, focus area, and intensity, you can create the impression of miniaturized scenes.
In conclusion, understanding and utilizing these various blur filters in Photoshop can greatly enhance your photography and design projects. Each filter offers unique effects, and experimenting with them will allow you to achieve the desired artistic outcome in your work.
Gaussian Blur and Image Processing
Gaussian blur is a technique used in image processing, often in Photoshop, to smooth out the noise and grainy appearance in an image. By reducing the difference in pixel values, it helps create a soft, natural-looking blur. Gaussian blur is particularly useful in low-light photos or when you want to soften the contrast in an image. Using Gaussian blur allows users to focus on specific areas by applying the blur selectively.
To apply this technique in Photoshop, we typically create a duplicate layer of the original image. Then, we apply the Gaussian blur with a specific blur radius, which determines the intensity of the blur. The larger the radius, the more pronounced the blur will be. After applying the blur, we can refine the selection using tools like Refine Edge, to ensure a smooth transition between the blurred and sharp areas of the image. Follow this step-by-step guide for more details on the process.
In the realm of image processing, Gaussian blur is a widely used tool due to its effectiveness and simplicity. It can be easily applied to color images as well as black and white images. Gaussian blur's underlying math is based on a Gaussian function, which results in an even distribution of the blur effect. The smooth output of the result makes it an essential tool for photographers and graphic designers alike. In addition, Gaussian blur is often used to reduce the noise in an image, which can be especially helpful in photos taken in low light conditions. Learn more about Gaussian blur here.
When working with Gaussian blur, it is essential to keep in mind the final subject and desired effect of the image. By carefully adjusting the technique's parameters, such as the selection and radius, we can create a visually pleasing result that enhances the overall aesthetics. Using Gaussian blur effectively in Photoshop is an invaluable skill for photographers and designers, resulting in beautifully processed images.
Practical Application of Gaussian Blur
Softening Backgrounds
One common use for Gaussian blur in Photoshop is to soften the background of an image, creating depth and drawing attention to the subject. To do this, we first use the Pen Tool or Lasso selection tool to trace around the subject. Then, by duplicating this path from the Layers panel, we can apply Gaussian blur to the background without affecting the subject.
Reducing Noise and Imperfections
Gaussian blur can also be used to reduce noise and imperfections in an image. To do this, we create a new Smart Object layer that contains a copy of the original image. Using the Radius Slider, we can adjust the intensity of the blur effect to achieve the desired level of smoothness.
Enhancing Colors and Lighting
Another application of Gaussian blur is to enhance lighting and colors inside an image. By duplicating a layer, blurring it, and then changing the blending mode to an appropriate option (such as Screen or Multiply), we're able to create a specific effect that can drastically alter the mood or atmosphere of an image. This can be particularly helpful when trying to replicate specific lighting conditions or create drama in a scene.
Advanced Features and Tools for Gaussian Blur
In Adobe Photoshop, the Gaussian blur filter is a powerful tool based on a mathematical function. It's specifically designed to smoothen images and reduce noise by applying a weighted average to the surrounding pixels using a Gaussian distribution. This contributes to a gradual feathering effect, which creates an even and natural-looking blur.
Gaussian blur allows us to refine different parts of an image, such as softening the edges of a selection made with tools like lasso or eraser. By adjusting the opacity and blend mode of Gaussian blur, we can create various artistic and soft-focus effects while keeping the primary subject in focus.
Photoshop offers additional features such as presets, allowing users to save their preferred Gaussian blur settings for later use. When working with portraits or grayscale images, we can also apply Gaussian blur selectively to reduce chromatic aberration or enhance the appearance of skin.
Moreover, we can tackle issues like haze in photographs by applying Gaussian blur strategically. This method helps restore the original clarity and detail by gently blending unwanted artifacts into the surrounding image data.
In dealing with more complex subjects, the refine edge function works in tandem with Gaussian blur to separate the subject from the background, especially when dealing with intricate elements like hair or foliage. Using this function, Photoshop maintains a normal distribution of the blur's intensity, ensuring a smooth and visually pleasing transition.
Overall, the Gaussian blur filter in Adobe Photoshop provides us with a versatile arsenal of advanced tools and features to enhance and refine our images as needed. By utilizing this mathematical function, we can create impressive visual effects and address a range of photographic challenges with precision and ease.
Application Examples of Gaussian Blur
Gaussian Blur, named after the mathematician Carl Friedrich Gauss, is a versatile tool in Photoshop used for various applications. There are several reasons to use it in your projects, which we will discuss in this article.
One common application of Gaussian Blur is to create a motion blur or radial blur effect. This can help add an impression of movement in your images by blurring either specific object motion or the entire scene in a radial pattern. You can access the Motion Blur or Radial Blur options in the Blur Gallery.
Another popular use of Gaussian Blur is to create depth in an image. By blurring the background, it can emphasize the focal subject. For example, you might want to showcase a well-lit bottle of wine and glasses with a softly blurred backdrop. This effect helps mimic a shallow depth of field, something that would typically be achieved using a camera lens with a large aperture.
When working with images that have been captured in low light conditions, Gaussian Blur can help smooth and reduce noise, creating a cleaner overall appearance. It's particularly useful in situations when you want to minimize distracting elements such as colored fringes or bright spots.
Gaussian Blur is also great for smoothing and blending when working with graphics. For example, you can use Gaussian Blur in the Paths Panel to soften the transition between a brand logo and its background. Similarly, when combining images, Gaussian Blur helps to blend edges seamlessly using the Refine Edges Tool or the Select and Mask Workspace.
In some cases, Gaussian Blur can be used to intentionally distort or obscure specific parts of an image. Let's say you have a photo of a license plate or a cluttered background you'd like to blur out to focus on the main subject. Simply select the area you wish to blur, apply the Filter Blur function, and adjust the settings to achieve the desired level of distortion.
In conclusion, we covered various application examples of Gaussian Blur in Photoshop. It's important to use the tool thoughtfully and in conjunction with other tools to achieve the best results. Happy photo editing!
Frequently Asked Questions
How does Gaussian blur differ from other blur types in Photoshop?
Gaussian blur is a specific type of blur effect that uses a mathematical function to create a smooth and natural-looking blur. It differs from other blur types, such as motion blur, which simulates the effect of movement on an image, and radial blur, which creates a circular or "zoom" effect. The smoothness and versatility of Gaussian blur make it a popular choice for various applications in Photoshop.
Can Gaussian blur be removed once applied?
Gaussian blur, like any other filter in Photoshop, can be removed or adjusted if applied non-destructively. We recommend using adjustment layers, layer masks, and smart objects to apply the Gaussian blur effect so it can be easily edited or removed later. However, if applied directly to a layer without these non-destructive methods, undoing the effect can be challenging.
What are common uses for Gaussian blur?
Some common uses for Gaussian blur include simulating depth-of-field, softening imperfections, or reducing noise in an image. It can also be used to create a smooth, blurred background that helps make text or other elements more visible and prominent.
Is there a difference between out of focus blur and Gaussian blur?
Yes, there is a difference between out of focus blur and Gaussian blur. Out of focus blur is a more realistic representation of what happens in a photograph when objects are not in focus. On the other hand, Gaussian blur applies a mathematical formula that gives a uniformly smooth blur across the entire image or a selected area, regardless of depth or position in the scene.
How is Gaussian blurring implemented in other software like Procreate?
Gaussian blurring is a widely used technique, and it can be found in various image editing tools. The implementation may differ, but the core concept remains the same: applying a smooth and natural-looking blur effect using a Gaussian function.
What is the role of Gaussian blur in image processing applications like OpenCV and Python?
Gaussian blur is an essential tool in image processing applications like OpenCV and Python. It is often used for noise reduction, image smoothing, and edge detection. By blurring the image using a Gaussian function, we can minimize high-frequency noise and prepare the image for further processing, such as feature extraction or object recognition.


