Photoshop Workflow Optimization for Professionals: Streamline Your Editing Process
As professional creatives, we understand that efficiency in Adobe Photoshop is not just about knowing the tools but mastering the workflow. An optimized workflow enables us to deliver higher quality work at a faster pace, reinforcing our reputation in the competitive industry. From the essentials of establishing a professional routine to the nuances of advanced editing techniques, every step we take towards workflow optimization can drastically cut down on project turnaround times while enhancing the precision and quality of our output.
Harnessing the power of Photoshop plugins offers significant leverage by automating routine tasks and expanding our creative capabilities without additional overhead. Meanwhile, customization options allow us to tailor the software to our unique needs, giving us a more personalized and effective workspace. By embracing automation, scripting, and effective layer management, we transform our Photoshop experience into a more productive and less stressful endeavor. As we refine our approach, we become more adept at fielding common questions and troubleshooting issues that may arise during our creative process.
Key Takeaways
- Optimized workflows increase quality and efficiency.
- Plugins and customization tailor Photoshop to our needs.
- Mastering shortcuts and automation saves valuable time.
Essentials of a Professional Photoshop Workflow
In crafting a professional Photoshop workflow, we emphasize efficiency and consistency. Our approach begins with setting up a logical file structure that allows us to locate and manage assets easily. By using Adobe Bridge or similar software, we categorize our images, apply ratings, and add keywords before importing into Photoshop.
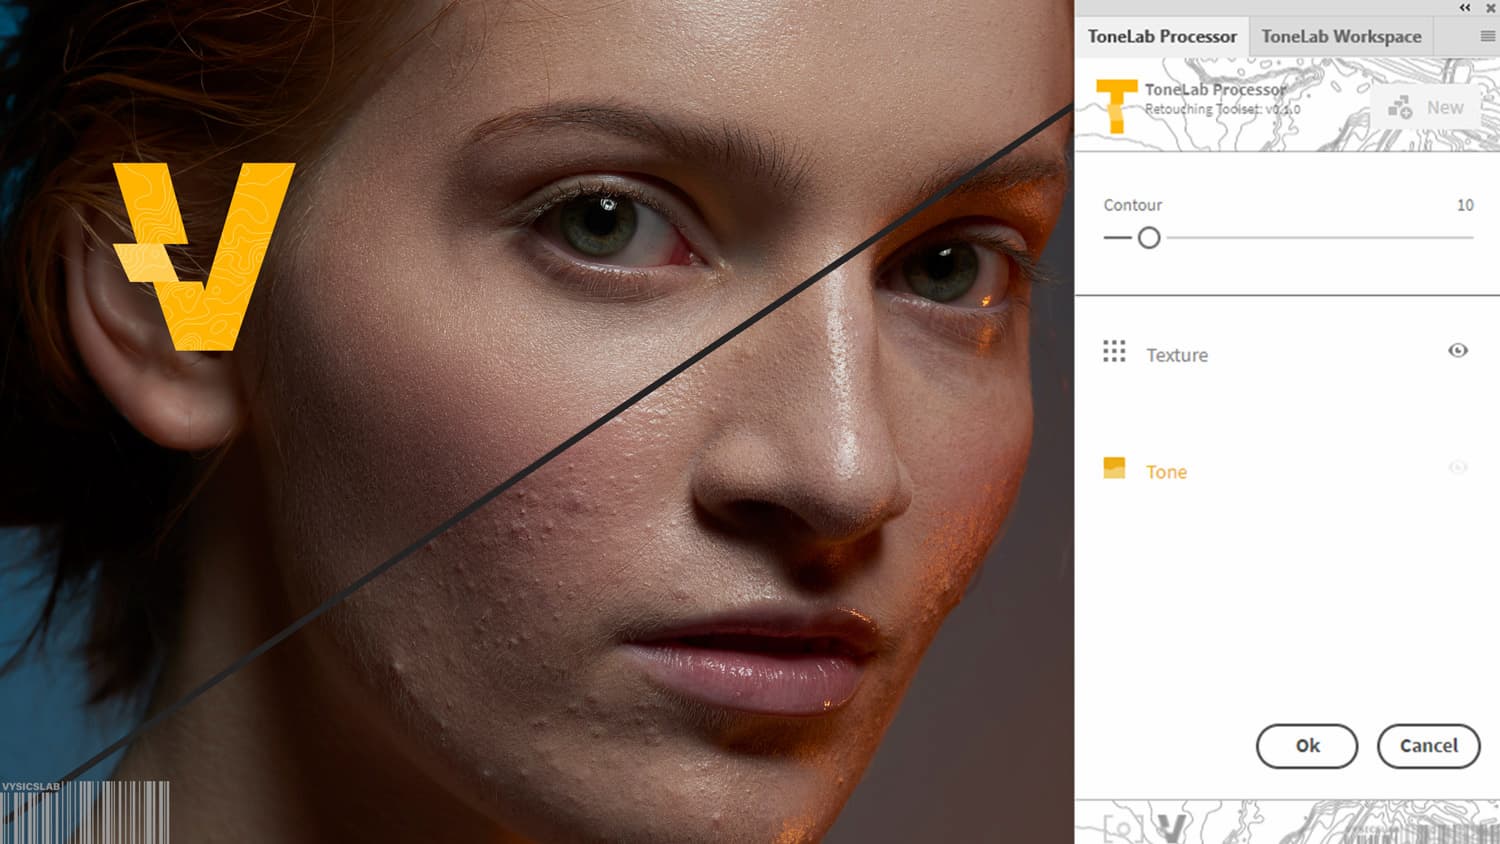
Once in Photoshop, we create a non-destructive editing environment. This means utilizing layers, layer masks, and adjustment layers, ensuring that we can always revert changes or adjust edits without permanent alteration to the original image.
It's beneficial to customize the workspace to align with our specific tasks. We can also deploy actions to automate repetitive tasks, as highlighted in a comprehensive guide on using actions. Here’s a swift breakdown:
| Task | Automation | Benefit |
|---|---|---|
| Color Correction | Custom Actions | Reduces manual repetition |
| Resizing | Batch Processing | Achieves uniformity quickly |
| Watermarking | Scripting | Ensures branding consistency |
We make extensive use of keyboard shortcuts to speed up our design process. For more intricate designs, incorporating layers with FX and masking as part of our complex post-processing can be learned through targeted tutorials.
With recent advances in AI, many of us find tools like Content-Aware Fill and Sky Replacement indispensible as they use intelligent algorithms to assist with tasks that used to be time-intensive.
For effective team collaboration and file sharing, we use Adobe's cloud services, which enable us to access and work on projects from anywhere. This is integral to maintaining a continuous workflow across different devices and team members.
In conclusion, a professional Photoshop workflow involves a well-organized approach to file management, leveraging automation for repetitive tasks, optimizing the workspace for personal efficiency, mastering shortcuts, embracing AI's capabilities for speed and accuracy, and adopting cloud services for seamless collaboration.
Maximizing Efficiency with Keyboard Shortcuts
Keyboard shortcuts in Photoshop allow us to work at a brisk pace, cutting down on the time it takes to locate commands in menus. By pressing a few keys, we can execute commands that might otherwise take multiple clicks.
Customizing Keyboard Shortcuts
We can tailor Photoshop to our individual workflows by customizing keyboard shortcuts. To do this, we access the Keyboard Shortcuts dialog through Edit > Keyboard Shortcuts. Here, we can assign new keystrokes to menu commands, panel menus, and tools, or modify existing ones. This customization makes our workflow more personal and efficient, as we can map shortcuts to suit the way we work.
Commonly Used Shortcuts for Speed
We leverage a core set of commonly used shortcuts to work faster. For example:
- V activates the Move Tool, allowing us to quickly reposition layers.
- B selects the Brush Tool, enabling us to paint or edit without delay.
- Cmd/Ctrl + Z steps back in history, undoing the last action with a simple command.
Here is a compact list of frequently used shortcuts that every professional should memorize for a fast and flexible workflow:
| Action | Shortcut |
|---|---|
| New Layer | Ctrl/Cmd + Shift + N |
| Free Transform | Ctrl/Cmd + T |
| Zoom In | Ctrl/Cmd + + |
| Zoom Out | Ctrl/Cmd + - |
| Deselect | Ctrl/Cmd + D |
This list is a starting point. As we become more proficient, we can incorporate more shortcuts, turning repetitive actions into simple keystrokes and keeping our hands on the keyboard, which is much faster than alternating between the keyboard and the mouse or touchpad.
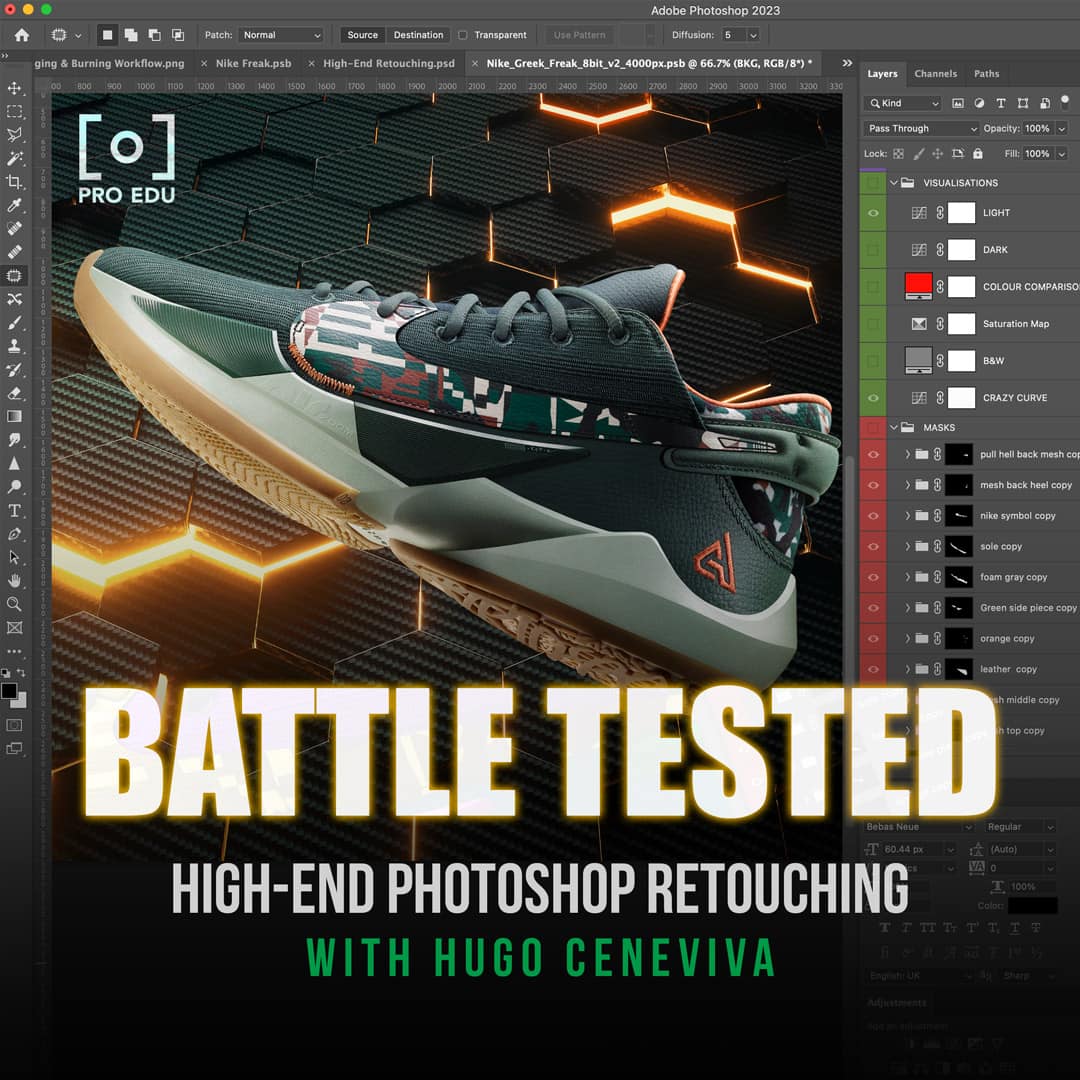
Effective Layer Management
In our professional workflow, effective layer management is critical for maintaining an organized workspace and ensuring non-destructive editing processes. Let's explore how to use the Layers Panel effectively, organize layers with groups, and leverage layer styles and opacity for enhanced creativity and control.
Using the Layers Panel
The Layers Panel is the command center for managing various elements within our project. To maximize its potential, we need to familiarize ourselves with key functionalities such as locking layers to prevent accidental edits, adjustment layers for non-destructive adjustments, and utilizing blend modes for creative effects. Remember, the ability to toggle layer visibility on and off by clicking the eye icon helps us focus on specific areas without distraction.
Organizing Layers with Groups
Managing numerous layers can quickly become unwieldy; therefore, organizing layers into groups is essential. To do this efficiently, select related layers and press Ctrl+G (Cmd+G on Mac) to group them. We can then collapse or expand these groups to maintain a tidy workspace. Naming each group clearly, for instance "Background Elements" or "Text Overlays," enables us to locate elements with ease.
Leveraging Layer Styles and Opacity
Layer styles add versatile effects like drop shadows or glows that can be edited at any time. Applying styles from the bottom of the Layers Panel enhances the visual appeal of elements without the need for complex edits. Moreover, adjusting layer opacity is an effective way to control how layers interact with one another. By setting the right opacity level, we can achieve the desired transparency and blend layers for a cohesive composition.
By incorporating these practices into our daily workflow, we ensure a smooth and efficient editing process in Photoshop.
Automation and Scripting to Enhance Productivity
In our pursuit of efficiency, we harness the power of automation and scripting within Photoshop to condense hours of manual work into mere moments. These tools significantly elevate our productivity, allowing us to focus on creative aspects rather than repetitive tasks.
Implementing Actions for Repetitive Tasks
Actions in Photoshop are the cornerstone of workflow automation. We can record a sequence of tasks, such as resizing or watermarking, and save it as an action. Here's how we optimize the process:
- Identify repetitive tasks: Actions are most beneficial for tasks we perform frequently.
- Record an action: We perform the task once while Photoshop records each step.
- Apply the action: Whenever needed, with a single click, Photoshop replicates those steps across multiple files.
By Automating Image Workflows with Power Automate and the Adobe Photoshop API, we can integrate actions within broader digital workflows, extending the reach of Photoshop actions beyond the app itself.
Writing Scripts for Complex Operations
For more complex operations that require conditional logic or interactions between different elements, we write scripts. Photoshop supports scripting in JavaScript, AppleScript, and VBScript, enabling us to automate nearly any Photoshop process, from simple to intricate.
- JavaScript: Cross-platform compatibility makes it a popular choice for Photoshop scripting.
- AppleScript: Ideal for Mac users, allowing integration with other Mac applications.
- VBScript: Used mainly on Windows, giving us additional control over Photoshop on this OS.
Educational resources like the walkthrough on How to Automate Tasks in Photoshop with Scripting provide practical insights into scripting custom functions that can perform multiple, variable-dependent steps.
Streamlining Tasks with Image Processor
When it comes to processing a batch of images, the Image Processor is our go-to feature. This powerful tool simplifies the workflow by automating the conversion of images to different file formats, resizing, and applying actions in bulk.
To utilize the Image Processor, we:
- Choose the images or folders.
- Specify the desired output settings.
- Select any actions to apply during the process.
This way, we efficiently manage bulk tasks without compromising quality, making the Easily Automate Your Photoshop Workflow with Action Scripts technique indispensable for professional photographers and graphic designers alike.
By incorporating these methods into our routine, we professionals save time and improve accuracy, ensuring that our focus remains on crafting compelling visuals rather than getting bogged down by monotony.
Advanced Editing Techniques
In our pursuit of excellence, it's paramount that we master advanced editing techniques to elevate the quality of our work. Let's dive into specific methods that will refine our editing and retouching processes.
Precision Masking
Precision masking is a technique that ensures the meticulous selection and separation of elements within an image. Tools like the Pen Tool allow us to create extremely accurate paths that can be converted into masks. We achieve clean edges around complex subjects, such as hair or fur, by using advanced techniques like channel masking and edge detection. This results in a seamless integration of the subject with new backgrounds or other compositional elements, crucial for high-quality composites.
Sophisticated Retouching Workflows
The process of retouching requires a delicate balance of maintaining realism while enhancing visual appeal. Our sophisticated retouching workflow includes non-destructive methods, allowing endless tweaks without degrading the original image quality. Utilizing tools like the Healing Brush and Clone Stamp, we can retouch blemishes or unwanted elements with precision. Advanced techniques such as frequency separation enable us to work on texture and tone independently, which is vital for skin retouching and detailed product work, ensuring our deliverables are of the highest standard.
Harnessing the Power of Photoshop Plugins
In the realm of digital creativity, plugins serve as essential tools that amplify our abilities within Adobe Photoshop. By choosing the right plugins, we can transform our workflow, introducing efficiency and advanced functionality that the core software might not provide on its own.
Extending Functionality with Third-Party Plugins
Third-Party Plugins:
- Purpose: To augment Photoshop with additional features.
- Benefits: Increased efficiency, creative possibilities, and automated solutions.
We harness third-party plugins to bridge gaps in Photoshop’s capabilities, allowing us to tackle complex tasks with relative ease. Plugins such as those that help eliminate tedious tasks can provide powerful, specialized solutions that would otherwise require a great deal of manual effort. For example, plugins that auto-tune colors, manage layers, or offer sophisticated retouching tools can be particularly powerful.
Integrating Plugins into Current Workflows
Integrating Plugins:
- Selection: Choose plugins that align with our specific needs.
- Learning Curve: Dedicate time to learn how the plugins function.
- Customization: Configure plugins to fit into our existing routines.
Integration is synonymous with customization: we tailor our plugins to fit into the intricacies of our established workflows. The process of optimizing performance in Photoshop isn’t complete without a thorough understanding of how to seamlessly integrate plugins. By effectively incorporating plugins, they become less of standalone tools and more of integral components that enhance our overall productivity.
By focusing on extending functionality with the help of plugins and tactfully integrating them into our workflows, we spearhead a creative process that is not only efficient but also powerful and full of potential.
Optimizing for 3D and Advanced Graphics
To enhance performance in our 3D workflows within Photoshop, we adopt strategies that leverage the software's potent capabilities for rendering 3D layers and crafting intricate designs with shapes and patterns.
Working with 3D Layers and Effects
When we work with 3D layers in Photoshop, the key to smooth performance is to adjust our preferences to optimally use the graphics processor. We ensure "Use Graphics Processor" is enabled and select "Advanced" from the "Drawing Mode" menu under "Advanced Graphics Processor Settings." This allows Photoshop to make the most of our hardware for tasks such as rendering textures and complex lighting effects. For improved efficiency in operations like the Blur Gallery, we also enable "Use OpenCL" if our graphics processor supports it, which can speed up some features.
To manage the layers effectively, we streamline our 3D layers by merging them where possible and by ensuring we're using simplified models to reduce the toll on our system's memory. This not only makes our workflow more efficient but also preserves the responsiveness of the software.
Creating Seamless Patterns and Shapes
The creation of seamless patterns and shapes requires us to use tools and techniques that enhance precision without hampering performance. We often utilize smart objects to allow non-destructive edits, this ensures our designs remain flexible for future adjustments. For patterns, Adobe's preset manager is an invaluable tool for us, as it helps in organizing our custom patterns, which can be applied with a single click to any layer or model in our workspace.
To design these elements, we take advantage of Photoshop's powerful pen and shape tools, ensuring we create vector shapes that can be easily scaled and transformed without loss of quality. Creating and managing complex patterns and designs requires a thoughtful approach to layer management, so we keep our layers and groups well-organized, labeled, and we use layer comps to efficiently handle multiple design variations.
Customizing Photoshop for Unique Needs
In our professional workflows, customizing Photoshop is essential to meet unique project demands. We tailor tools and interfaces to suit specific tasks, ensuring efficiency and precision in our creative endeavors.
Modifying Brushes for Specific Tasks
When we engage in digital painting or photo retouching, the brushes we use can make a significant difference. By adjusting the brush size, shape, and hardness, we cater to the intricate details of our photography edits or graphic designs. Consider a scenario in a Photography lab: we often need brushes that mimic real-world tools—like a soft-edged brush to subtly blend colors or a hard-edged brush for sharp, defined lines.
To modify a brush in Photoshop, follow these steps:
- Select the Brush Tool from the toolbar.
- Open the Brush Panel (
Window > Brush). - Adjust the settings, such as:
- Size: for large or small strokes.
- Hardness: for soft or sharp edges.
- Save the custom brush by clicking the "New Brush Preset" button.
Always remember to name the preset something meaningful to easily identify it for later use.
Setting Up a Personalized Workspace
Our workspace in Photoshop is our creative environment, and personalization can lead to significant efficiencies. We can rearrange panels and toolbars to complement our workflow, especially useful for tasks that we perform repeatedly.
Here's how to create a personalized workspace:
- Arrange your panels and toolbars as desired.
- Go to
Window > Workspace > New Workspace. - Name the workspace and click OK.
If you require a different setup for various aspects of our work—editing Laboratory imagery, for instance—create multiple workspaces and switch between them as needed.
By tailoring our brushes and workspace in Photoshop, we streamline our process, allowing us to focus more on creativity and less on the monotony of searching for the right tool. It's these little adjustments that make a big impact on our productivity and the quality of our work.
Frequently Asked Questions
In our experience, optimizing Photoshop's performance involves addressing key elements of your system configuration and software settings. Let's address the most common queries we encounter.
How can I improve Photoshop's performance on my professional workstation?
To enhance Photoshop's performance, ensure you have sufficient RAM and a fast CPU. Adjusting Photoshop's memory usage in Preferences and closing unnecessary applications can also free up resources. For further enhancement, consider a system with an advanced graphics processor, allowing Photoshop to run more efficiently.
What are effective methods for managing scratch disk usage in Photoshop?
Effective management of scratch disk usage in Photoshop involves setting up a dedicated high-speed drive as your primary scratch disk. Also, routinely clear temporary files and optimize disk space to prevent issues.
What steps can I take to troubleshoot and fix slow saving issues in Photoshop?
If Photoshop is saving slowly, try decreasing file complexity by merging layers or reducing image resolution. For larger projects, saving in a PSD format instead of TIFF can improve saving times. Also, ensure your scratch disk is not full or fragmented.
What is the optimal Photoshop version for a professional's workflow?
Professionals should use the latest version of Photoshop as it typically includes performance enhancements and new features. However, some projects may require a specific version due to compatibility or familiarity. Adobe regularly updates Photoshop, integrating improvements important for a professional's workflow.
How can I prevent GPU flickering issues in Photoshop?
GPU flickering can often be resolved by updating your graphics card drivers to the latest version. Additionally, within Photoshop's Preferences, you can adjust GPU settings for better compatibility with your hardware specifications.
Why is my Photoshop running slowly and how can I optimize it for faster processing?
Slow Photoshop performance could be due to insufficient system resources, heavy use of layers and effects, or outdated software. Optimize your workflow by reducing file size, flattening images when appropriate, and keeping your Photoshop and operating system updated. For specific workflow improvements, automation can save time, such as creating actions for repetitive tasks.


