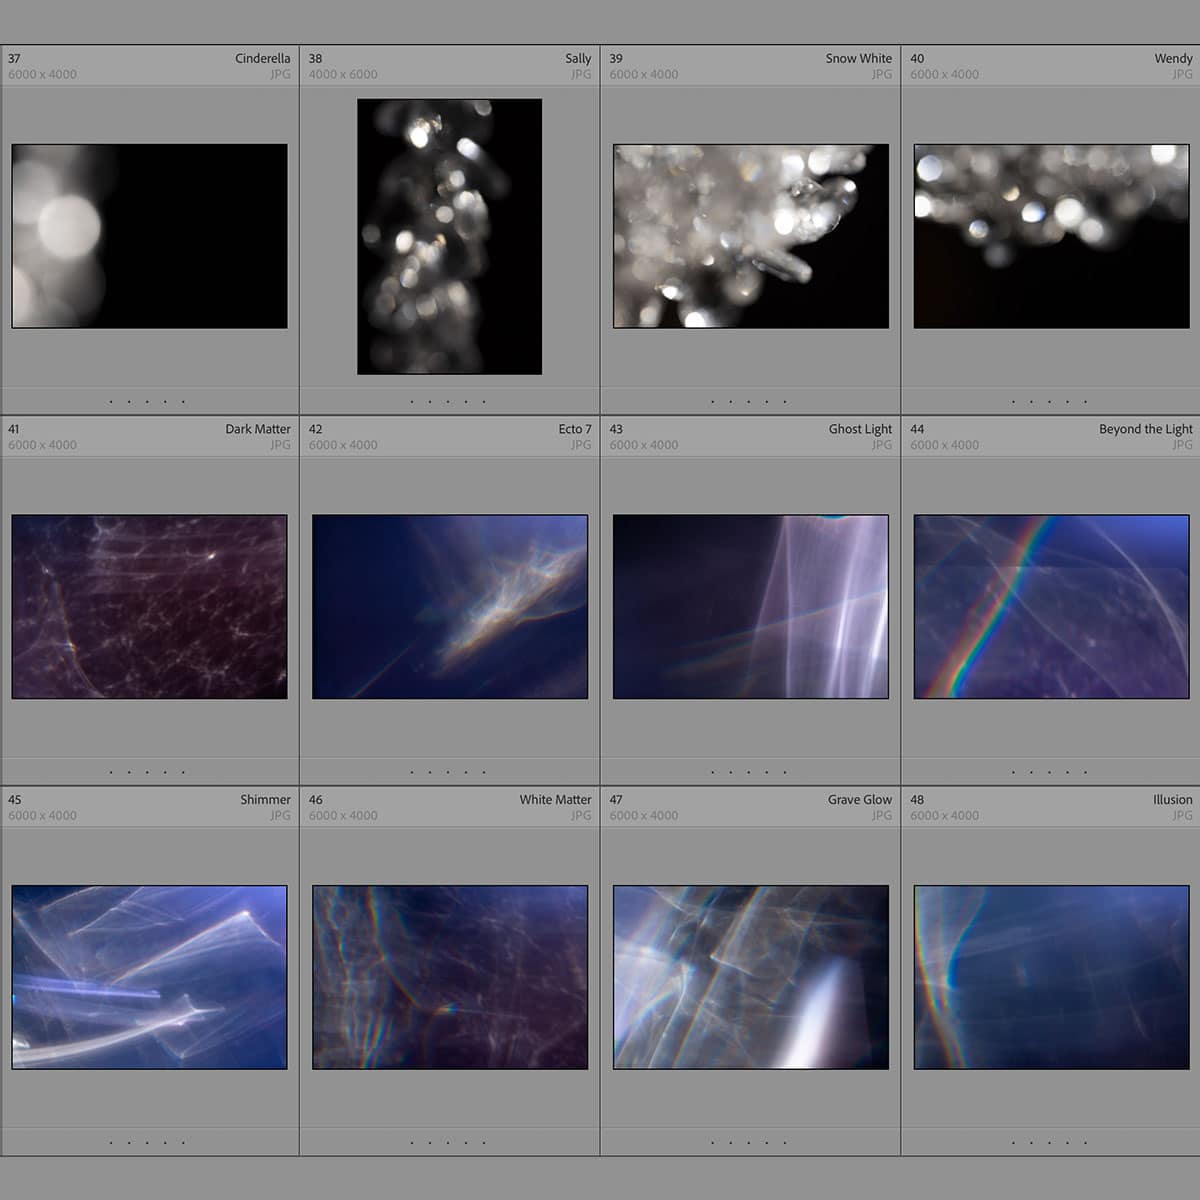
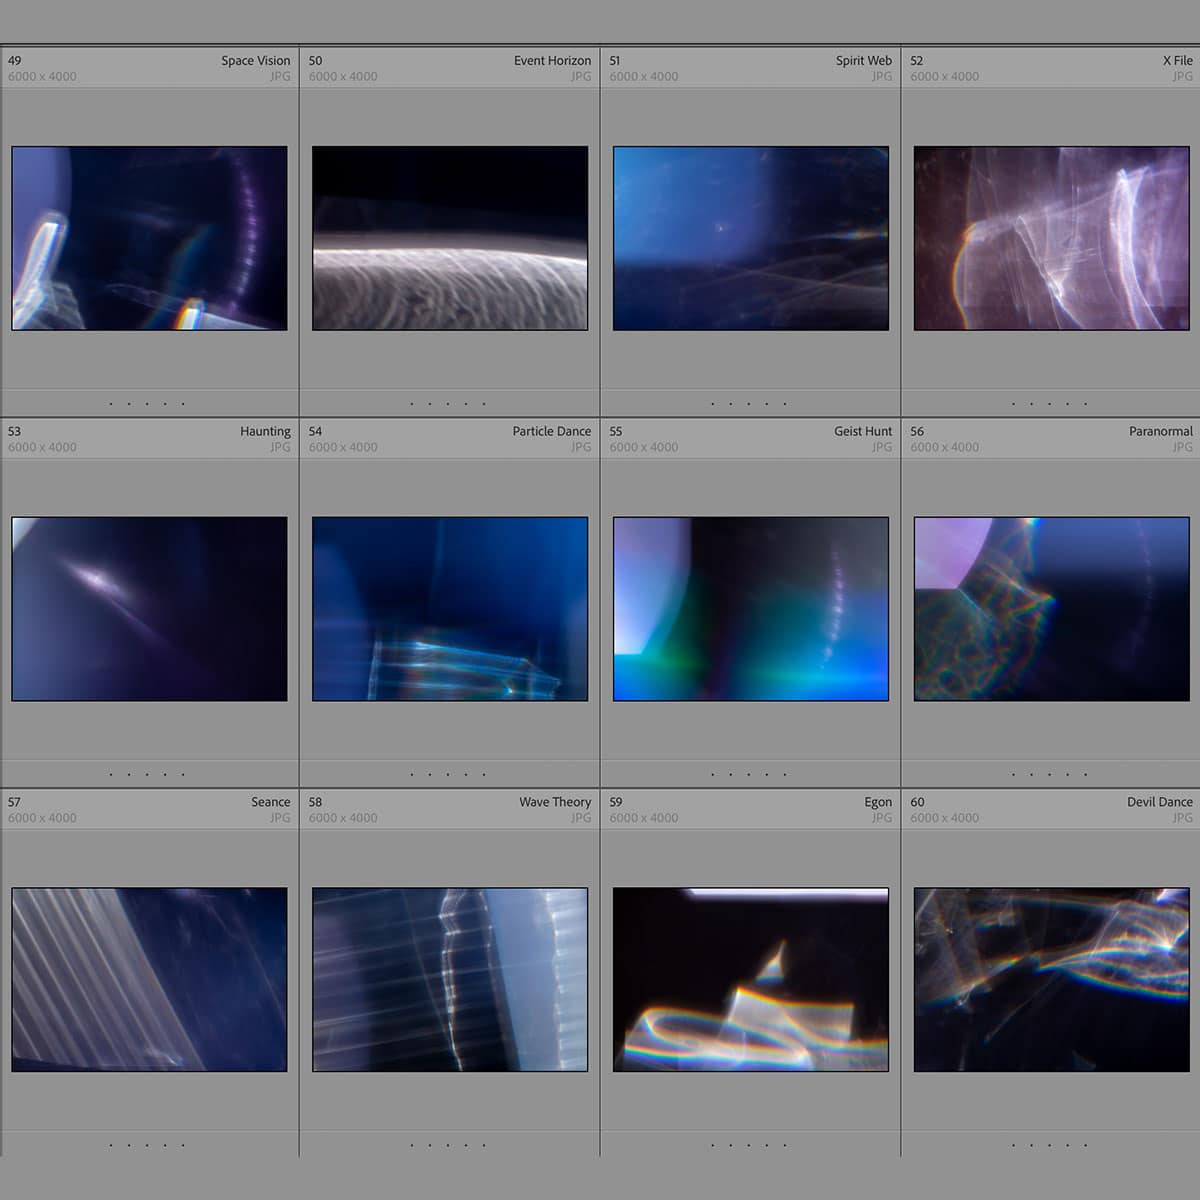
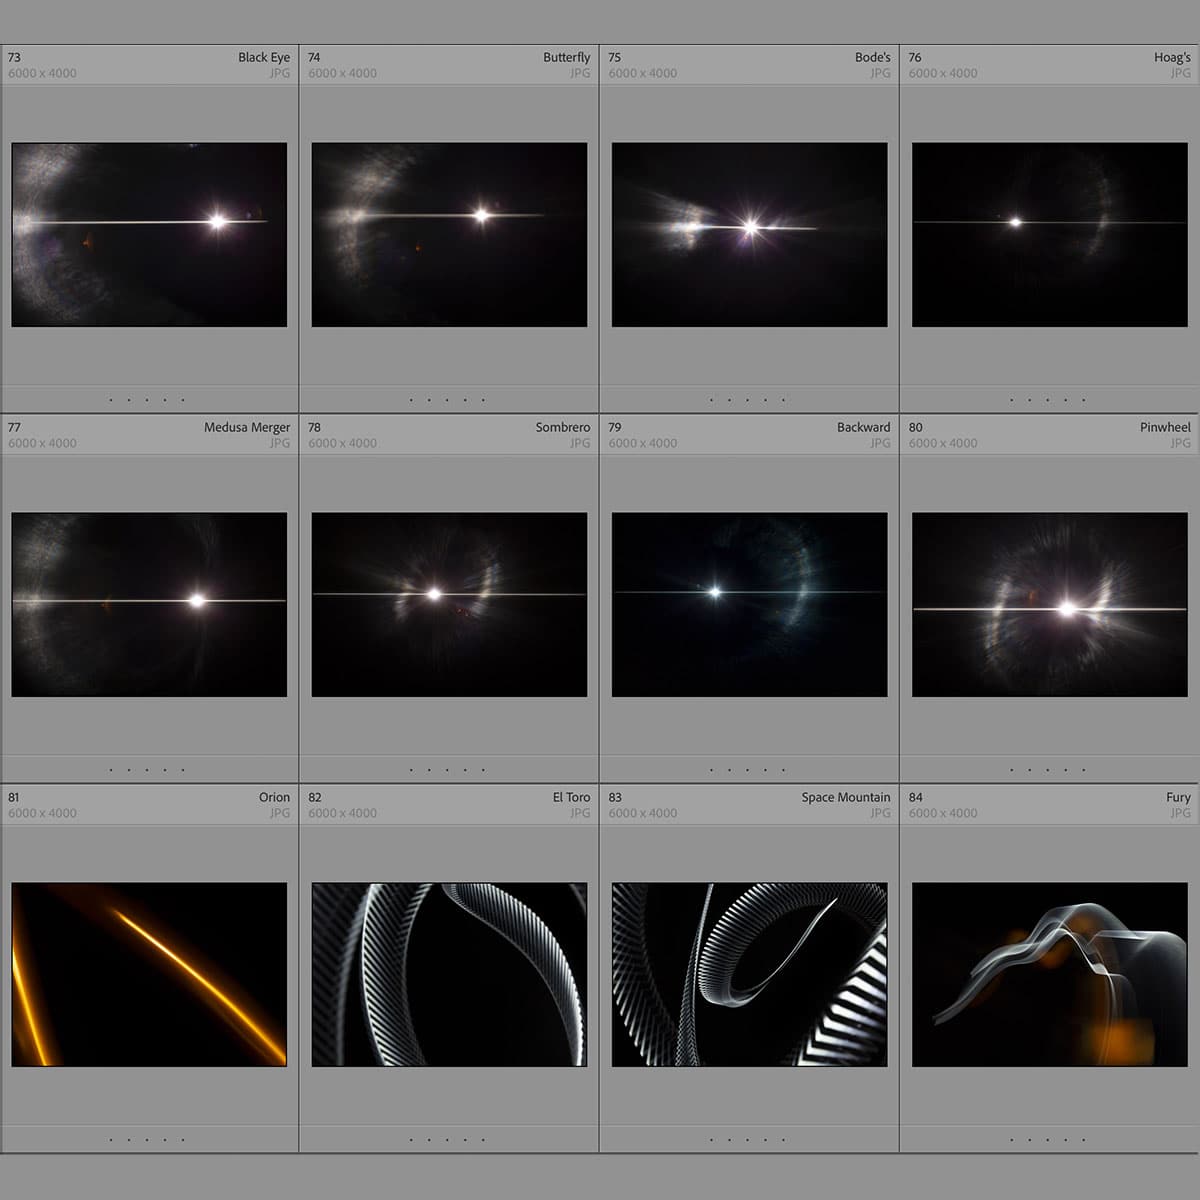
The Power of Blending Modes for Creative Edits: Unleashing Visual Potential
Blending modes in Photoshop are essential tools that allow us to combine layers in diverse ways, each producing a unique effect on the final image. Whether we're working with photography, graphic design, or digital illustration, these modes provide a depth of control and creativity that can transform a mundane image into a work of art. The simple switch of a blending mode can dramatically alter the mood and composition of our project, offering a spectrum of possibilities from subtle textural changes to bold, eye-catching contrasts.
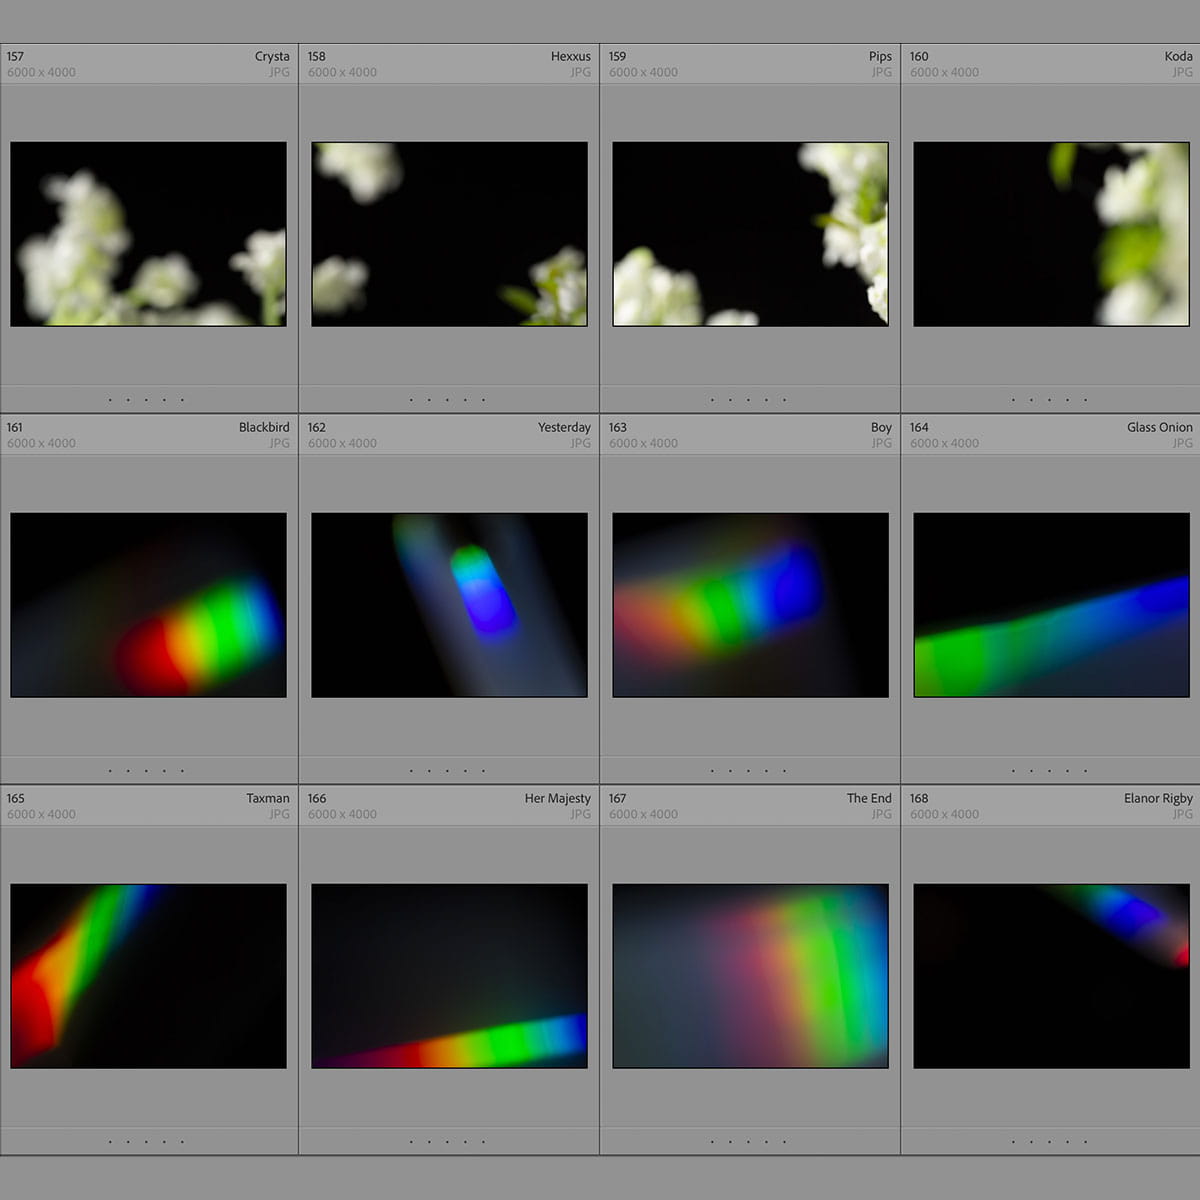
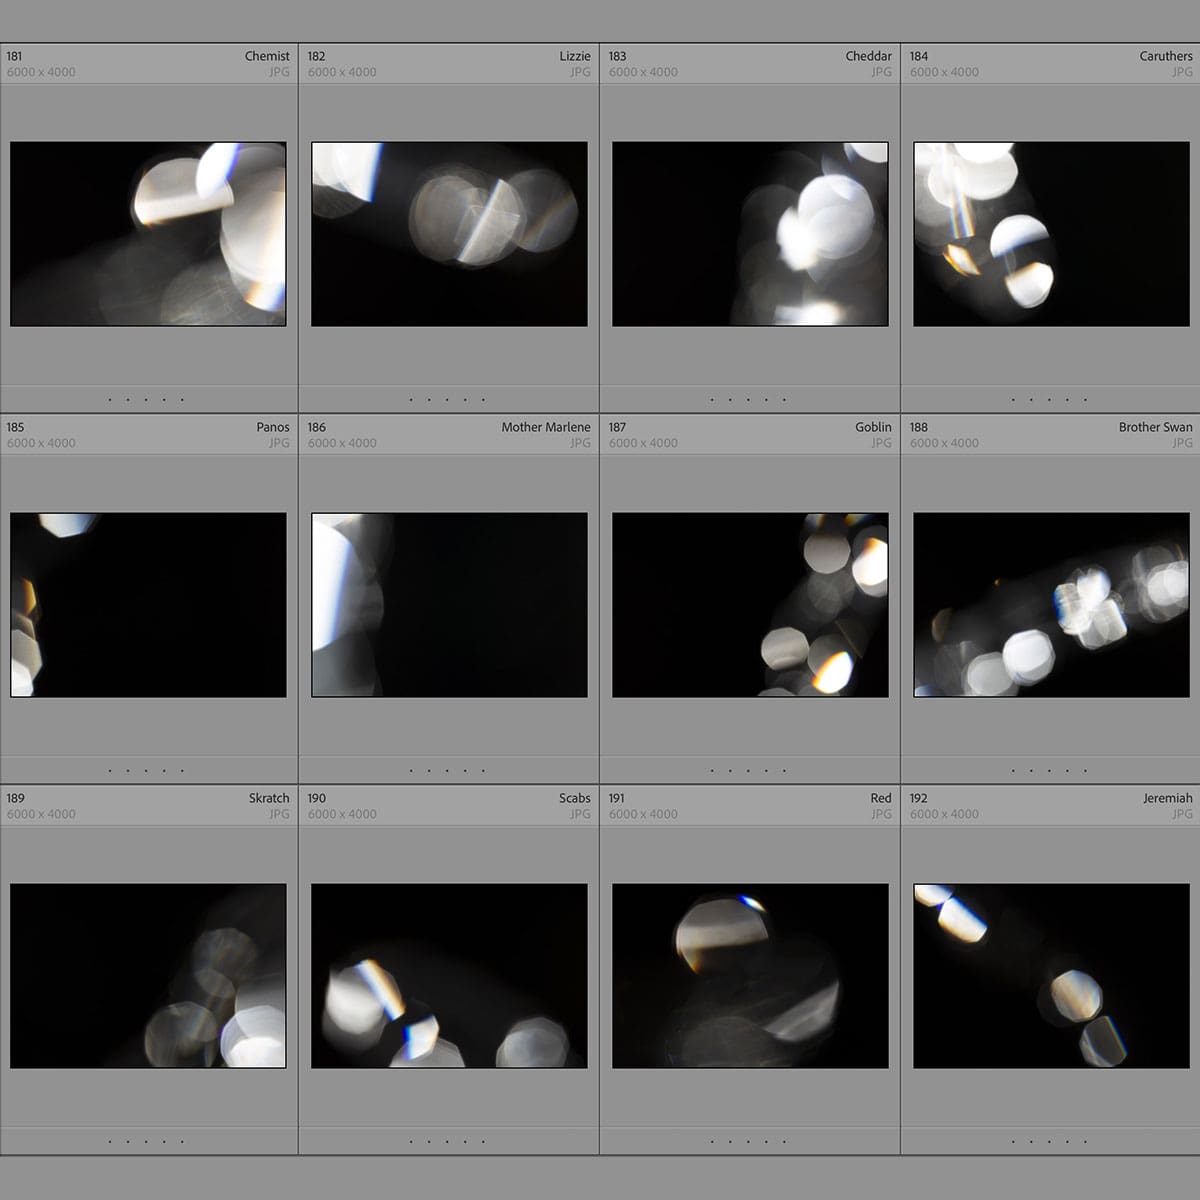
Understanding how blending modes function is crucial for any digital artist or designer looking to enhance their workflow. Each mode works by taking the pixel information from one layer and mathematically combining it with the pixels of underlying layers, resulting in various effects that can optimize the lighting, color, and overall harmony of an image. Our mastery of these modes equips us with the ability to address creative challenges and refine our artwork with precision. With a mix of lightening, darkening, and contrast modes at our disposal, we can efficiently solve common problems like removing black backgrounds or introducing intricate visual elements that support our creative vision.
Key Takeaways
- Blending modes allow for creative layering effects in Photoshop.
- Each mode manipulates pixel information differently, affecting image light and color.
- Proper use of blending modes can significantly enhance visual compositions.
Understanding Blending Modes
Before diving into the specifics, it's essential to grasp that blend modes are a foundational tool that allows us to combine layers and manipulate how they interact in a rich and nuanced way.
The Basics of Blend Modes
Blend modes are the mechanism behind the scenes that determine how two layers blend together on a canvas. The simplest modes are Normal and Dissolve. Normal mode doesn't blend pixels; it simply displays the top layer. Dissolve, on the other hand, randomly replaces the pixels of the bottom layer with those of the top layer based on the layer's opacity.
When we apply a blend mode, such as Multiply or Screen, we control the blending by the layer's luminance values. Multiply makes the image darker, as if the layers are interacting with one another through a subtractive process; it's perfect for darkening images without crushing the blacks. Conversely, Screen lightens images, akin to projecting multiple images onto the same screen, an excellent choice for brightening without overexposure.
Categories of Blending Modes
Blending modes in Photoshop fall into several categories based on their functions. The Darken group, which includes modes like Darken, Multiply, and Color Burn, is used to darken images by comparing the base and blend colors, keeping the darkest of the two. This group is instrumental in compositing and adding shadows.
The Lighten group behaves oppositely, with modes like Lighten, Screen, and Color Dodge. These modes compare pixels and retain the lightest values, useful for highlights and lightening without loss of detail.
Next, we have contrast modes such as Overlay and Soft Light, which either lighten or darken the image depending on the blend color. These modes preserve the highlights and shadows of the base color while blending in the blend color to affect the contrast of the image.
Hue, Saturation, Color, and Luminosity fall under the category of component modes. They create color-based effects:
- Hue changes the hue of the base layer with the hue of the top layer while keeping the saturation and luminosity constant.
- Saturation blends the saturation of the blend layer with the hue and luminosity of the base layer.
- Color combines the hue and saturation of the blend layer with the luminosity of the base layer.
- Luminosity achieves the reverse, creating a blend based on the luminosity of the blend color while retaining the hue and saturation of the base layer.
The Comparative group sticks out with modes like Difference, Exclusion, Add, Subtract, and Divide, often used for more creative or corrective purposes. They compare the base and the blend layer and either subtract or add values:
- Difference shows the absolute difference between the base and the blend colors.
- Add lightens by adding the blend color to the base color.
- Subtract and Divide are useful for correcting color and producing unique, sometimes unexpected visual effects.
Understanding these categories and their associated modes equips us with the power to achieve both subtle and dramatic effects in our creative work.
Blending Modes for Darkening
Blending modes in Photoshop are vital for creating depth and dimension in our images. Specifically, the darkening blend modes allow us to add shadows and moody atmospheres, contributing to the overall depth and texture of our work.
Using Multiply for Shadows
Multiply is the go-to when we want to create natural-looking shadows. By simply adjusting a layer to Multiply mode, we allow it to blend with the layers below by darkening the combined colors. This mode is particularly effective for enriching darker areas without overwhelming the lighter parts of our image.
Exploring Darken and Color Burn
The Darken blending mode compares each pixel of the top layer with the corresponding pixel of the bottom layer and chooses the darker of the two to display. It keeps the image's highest luminance values at bay, which is useful when we aim to highlight shadows without affecting the overall image too dramatically. On the other hand, Color Burn deepens the color of the base layer depending on the blend layer's color, producing a more intense effect, ideal for creating areas of a photo that require a more dramatic shadow or a greater degree of darkening.
Utilizing Linear Burn for Depth
When we need a stronger effect than Multiply, Linear Burn is our ally. This blend mode not only darkens the base layer by decreasing its brightness but also adds contrast by intensifying the shadows. Linear Burn can give us the depth we want in an image, especially in the darkest regions. We often use this mode to add a level of richness and drama that Multiply cannot achieve on its own.
Blending Modes for Lightening
In our arsenal of Photoshop tools, blending modes designed for lightening play a crucial role. We use them to enhance the brightness and add vibrancy to the highlights within an image.
Screen and Lighten for Highlights
Screen blend mode is one of our preferred choices when it comes to brightening images. It effectively lightens the underlying colors, which is invaluable for improving highlights. Think of it as a means to simulate the effect of projecting multiple images onto the same screen, resulting in a lighter picture. Lighten, on the other hand, compares the base and the blend colors, keeping the lightest of the two. It's perfect for situations where maintaining the highlights is key, without affecting darker areas of the image.
Diving into Overlay and Soft Light
Overlay combines the strengths of multiply and screen blending modes; it lightens the light parts and darkens the darks, thus affecting the contrast and saturation of the base color. Employed wisely, Overlay can add depth and nuance to our images. Soft Light, akin to a subtle version of Overlay, gives us a more delicate approach. It's exemplary for attaining a natural lighting effect, softening the image without overwhelming it with contrast. The Soft Light mode's ability to preserve the tones makes it a proficient tool for fine-tuning imagery to achieve a gentle enhancement.
Creative Uses of Contrast Blending Modes
In our exploration of Photoshop's blend modes, we recognize that contrast blend modes offer a dynamic approach to compositing and enhancing images. These modes, particularly Overlay, Soft Light, Vivid Light, and Linear Light, facilitate creative manipulation of texture and color interplay, leading to striking visuals.
Leveraging Overlay and Vivid Light
When we utilize Overlay, we effectively balance the light and dark values of our base image with a texture or adjustment layer. Overlay multiplies the darks and screens the lights, adding depth and complexity without overwhelming the original colors. This mode is key when aiming to enhance textures or to add a subtle composite effect without altering the inherent character of our image. Meanwhile, Vivid Light intensifies this effect by either burning or dodging the content based on whether the blend layer is lighter or darker than mid-grey. We often reach for Vivid Light to inject a dramatic flair, particularly in bringing out details or in fashioning a more intense composite.
Hard Light and Linear Light Effects
Hard Light combines the effects of both Multiply and Screen modes, depending on the luminance values of the blend layer. It's our go-to for adding a punchy contrast and vitality to images, particularly useful in sharpening edges or enhancing the apparent clarity of textures. Its robust nature can quickly add drama to an otherwise flat image.
In contrast, Linear Light is a step forward in terms of strength, affecting the brightness of our base image in a more aggressive fashion. We use it to cast strong shadows or highlights, making it an invaluable tool for effect-driven composites. It's excellent for bold, graphic effects or when a significant alteration to the light and dark areas of an image is desired.
By harnessing the power of these contrast blend modes, we breathe new life into our compositions, elegantly manipulating textures and lighting to achieve our desired artistic vision.
Color-Based Blending for Visual Impact
Blending modes in digital design allow us to create visually striking effects and enhance the emotional impact of images. Particularly, color-based blending can dramatically alter the mood and aesthetics of a composition.
Hue and Color Modes for Toning
When we aim to fine-tune the color tones of an image, we often rely on hue and color blend modes. These modes are ideal for maintaining the integrity of the original luminosity and saturation while shifting the hues. Specifically, the hue blend mode replaces the hue of the base layer with that of the blending layer, leaving other aspects unchanged. On the other hand, the color blend mode combines both the hue and saturation of the blending layer with the luminosity of the base layer, offering a balanced mix that preserves the image's details within each RGB channel.
Saturation and Luminosity for Dynamics
For dynamic imagery, tweaking saturation and luminosity blending can be transformative. The luminosity blend mode is particularly powerful, altering the brightness of the base color according to the luminosity of the blend color without affecting the hue or saturation. It’s a useful technique for adding depth or highlighting elements, as it keeps the color intensity intact. As for the saturation blend mode, it offers a way to adjust the color intensity of an image. It takes the saturation from the blending layer and applies it to the base layer’s hue and brightness, which can be an effective method for creating more vivid or subdued color palettes when manipulating the RGB channels in a photo.
Advanced Blending Techniques
When we work with advanced blending techniques in Adobe Photoshop, we take the control of visual elements to a higher degree of precision. Our capacity to manipulate layers, adjust opacity and fill, and blend pixels stands as fundamental to achieving the desired effect, whether we're working with still images or composites.
Working with Blend If and Layer Styles
Blend If is a powerful feature that uses the brightness values (luminance) of pixels to determine how layers interact. Found within the Layer Style dialog box, Blend If allows us to specify that certain parts of a layer become transparent depending on the brightness values of the base layer or the blend layer itself. For instance:
- To make the darker areas of a blend layer transparent, slide the "This Layer" black slider to the right.
- To protect the bright highlights of the base layer, we slide the "Underlying Layer" white slider to the left.
Adjusting the sliders with Alt/Opt key creates a smoother transition, preventing harsh lines in our composites.
Utilizing Blending Modes in Compositing
With blending modes, we can create intricate composite images through the interaction of layers based on color and luminance. There are numerous blend modes within Photoshop, each offering a different way for the blend layer to affect the base layer.
- Multiply reduces the brightness and is perfect for adding shadows or richness to colors.
- Screen mode is often used to lighten images, making anything that's pure black transparent.
- Overlay combines Multiply and Screen to add depth and contrast to an image.
When crafting a composite, we may adjust the opacity and fill of our blend layers to fine-tune how transparent shapes layer or opaque pixels reveal the underlying layers. Knowledge of how each mode operates expands our ability to create compelling visuals that are believable and impactful.
Blending Modes in Graphic Design Workflow
Blending modes are essential tools in our graphic design workflow, allowing us to manipulate layer interactions to achieve various visual effects efficiently.
Integrating Blending Modes in Projects
When integrating blending modes into design projects, we must first understand the foundational modes most beneficial to our work. Multiply is one such mode renowned for its ability to darken images non-destructively. By stacking an adjustment layer over the original graphic, we can tweak the final effect without altering the original layer.
- Graphic Layering: Use blending modes to stack photographs, text, and graphics seamlessly.
- Adjustment Layers: Apply adjustment layers with blending modes to enhance colors and tones without committing to permanent changes.
Efficiency Tips for Designers
Our workflow is significantly expedited by incorporating blending modes like Multiply in tandem with filters, which alleviate the need for complex manual edits. Here's how:
- Pre-set Favorites: Store commonly used blending modes and settings as pre-sets for quick access in repetitive tasks.
- Keyboard Shortcuts: Master Photoshop's keyboard shortcuts to swiftly cycle through blending modes, saving precious time.
By leveraging the power of Photoshop blending modes, we, as designers and digital artists, streamline our photo editing process, enabling us to realize our creative vision with both speed and precision.
Best Practices for Blending Mode Selection
When we select blending modes in our editing workflow, we aim to enhance the visual communication of our images. Let's walk through the best practices to harness blending modes effectively:
-
Start with Intent: Understand the desired outcome. Are we aiming for a subtle texture overlay or a dramatic tonal shift? This will guide our blending mode choice.
-
Experiment and Preview: Hovering over different blending modes gives us a live preview. This is a quick way to see the potential effect without committing to the change.
-
Group and Layer: Use layers grouped by their purpose—be it color correction, exposure adjustment, or texturing. This keeps our project organized and blending modes focused where needed.
-
Adjust Opacity: Sometimes, the effect of a blending mode may be too strong. We can dial back the intensity by reducing the layer's opacity.
-
Pair with Masks: Layer masks allow us to apply blending modes to specific areas of our image, giving us precise control over the edits.
Here's a handy reference to guide our selection:
| Desired Effect | Suggested Blending Modes |
|---|---|
| Darken Image | Multiply, Color Burn |
| Lighten Image | Screen, Additive, Lighter Color |
| Increase Contrast | Overlay, Soft Light, Hard Light |
| Create Color Harmony | Color, Luminosity |
| Composite Images | For more information on composite blend modes, refer to this ultimate guide to blending modes. |
- Learn Shortcuts: Familiarize ourselves with keyboard shortcuts to toggle through blending modes efficiently, which speeds up our workflow significantly.
By keeping these practices in mind, we optimize our use of blending modes, ensuring our creative edits are both powerful and purposeful.
Innovative Applications in Digital Art
In digital art, we often seek to push the boundaries of expression and detail. The use of blending modes is a powerful tool in our arsenal. As illustrators and graphic designers, we integrate blending modes to enhance the interaction of colors and textures across canvas layers, allowing us to achieve a depth and realism that might otherwise be elusive.
-
Textures: By mastering blending modes, we can introduce intricate textures that add a tactile essence to our digital creations. For instance, a simple overlay can simulate paper grain, while a multiply can deepen shadows.
-
Value: Manipulating the value of colors becomes intuitive with blending modes. A judicious use of the screen mode can lighten an image without altering the hue, preserving the original color integrity.
-
Inversion: For dramatic effects, inversion through blending modes can craft striking negative space imagery or thematic inversions that are vital for mood setting.
Blending modes afford us precise control over the visual elements of our work. Here is a quick rundown of their utility:
| Mode | Use Case |
|---|---|
| Multiply | Darken underlying artwork |
| Screen | Lighten artwork without washing out |
| Overlay | Add texture or enhance contrast |
| Difference | Create abstract or psychedelic effects |
We, as digital artists, find blending modes indispensable for crafting images that tell stories, evoke emotion, and bring our creative visions to life with vibrancy and nuance. Whether we're building complex compositions or crafting simple conceptual pieces, blending modes give our artwork a dynamic range that can be both subtle and profound.
Frequently Asked Questions
Blending modes are foundational tools for creative design and digital editing that alter the interaction between layers to achieve various visual effects. Let's explore the questions that often come up when working with these powerful features.
How can one apply blend modes in Adobe Illustrator for creative designs?
In Adobe Illustrator, we can apply blend modes via the Transparency panel, which allows us alter how the objects blend with underlying artwork to produce sophisticated effects. Understanding the blend modes in Illustrator can greatly enhance your creative designs.
What is the function of the Screen blending mode in digital editing?
The Screen blending mode is used to lighten images, effectively the opposite of the Multiply mode. It is especially useful for removing black or dark areas in a layer, allowing the lighter parts of the blend layer to brighten up the base layer.
Can you provide a step-by-step guide for adjusting blend modes in Photoshop?
Certainly, here's how you can change blending modes in Photoshop:
- Open your project and select the layer you wish to adjust.
- Go to the Layers panel and locate the drop-down menu at the top, labeled 'Normal' by default.
- Click on it and choose from the list of blending modes to see how it affects your layer.
For more in-depth instructions on blending modes in Photoshop, exploring dedicated Photoshop blending modes tutorials could be beneficial.
What are some practical uses of the blend-mode property in CSS for web development?
In web development, the blend-mode property in CSS is utilized to control how an element's content should blend with its background. This can allow for dynamic visual effects, such as blending images with background colors or creating texture overlays without the need for image editing software.
Which blending mode is preferred for eliminating the darkest regions in a layer?
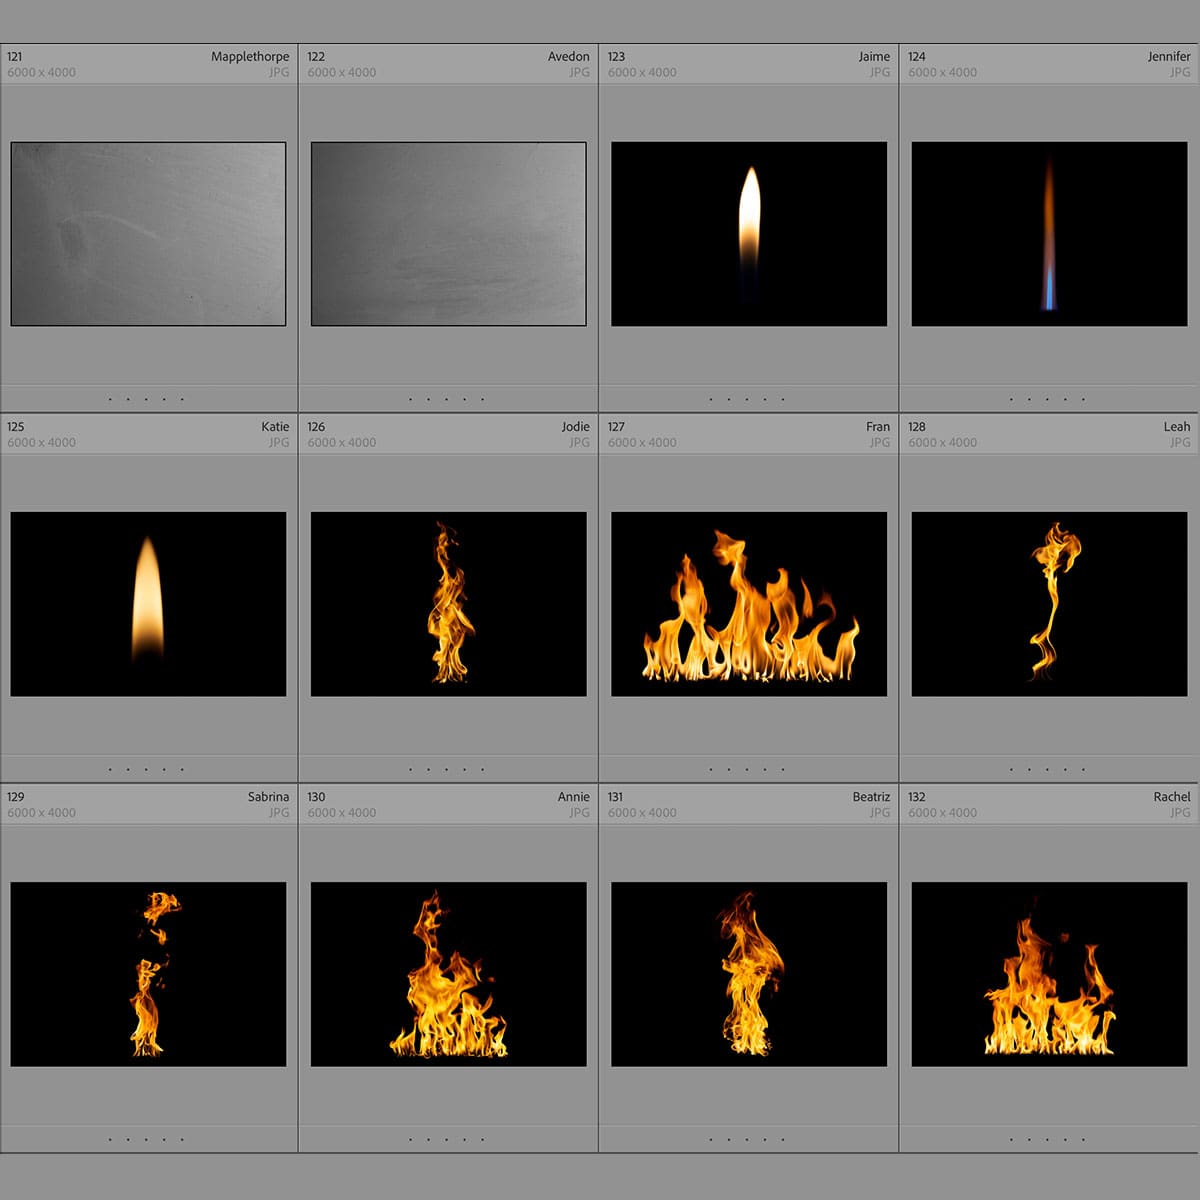
The preferred blending mode for removing the darkest parts of an image is typically 'Lighten' because it replaces only the areas that are darker than the blend layer. The Lighten mode can help isolate brighter elements and is very effective for compositing fire, light rays, or similar effects.
Which are the top four blending modes widely used in Photoshop for enhancing images?
The top four blending modes widely used in Photoshop to enhance images are:
- Multiply: Darkens images, great for shadows or darkening.
- Screen: Lightens images, perfect for highlights or brightening.
- Overlay: Combines multiply and screen modes for contrast enhancement.
- Soft Light: Similar to overlay, but with a subtler effect, adding depth and dimension.
Understanding these modes can significantly improve image enhancement workflows. If you're looking to dive deeper into the specifics, exploring resources like this comprehensive guide to blending modes can be invaluable.


