
Cinema 4D (C4D) is an essential tool for anyone looking to create stunning 3D animations and designs. For beginners and advanced users alike, finding the right class can make a huge difference in mastering the software. Whether you're starting from scratch or looking to refine your skills, there are several courses designed to guide you through the process.
A great way to learn Cinema 4D is through structured courses available online. For example, the Cinema 4D Basecamp from School of Motion offers a 12-week program with flexible learning hours. This course covers everything from basic modeling to advanced texturing and rendering techniques.
You can also dive into PRO EDU's courses on CGI, C4D, Arch Viz, Redshift Render, and also get 3D Models to use with the PRO PLAN in their CGI Course Collection.
If you prefer a different pace and style, Cineversity provides comprehensive beginner guides to get you started. For a more immersive experience, consider the Cinema 4D Masterclass on Skillshare or the in-depth courses available on Domestika.
Key Takeaways
- CGI For Photographers in Cinema 4D Basecamp is a great place to start for photographers getting into CGI.
- Cineversity offers beginner guides perfect for starting out with Cinema 4D.
- Advanced and comprehensive courses are available on Skillshare and Domestika for various skill levels.
Getting Started with Cinema 4D
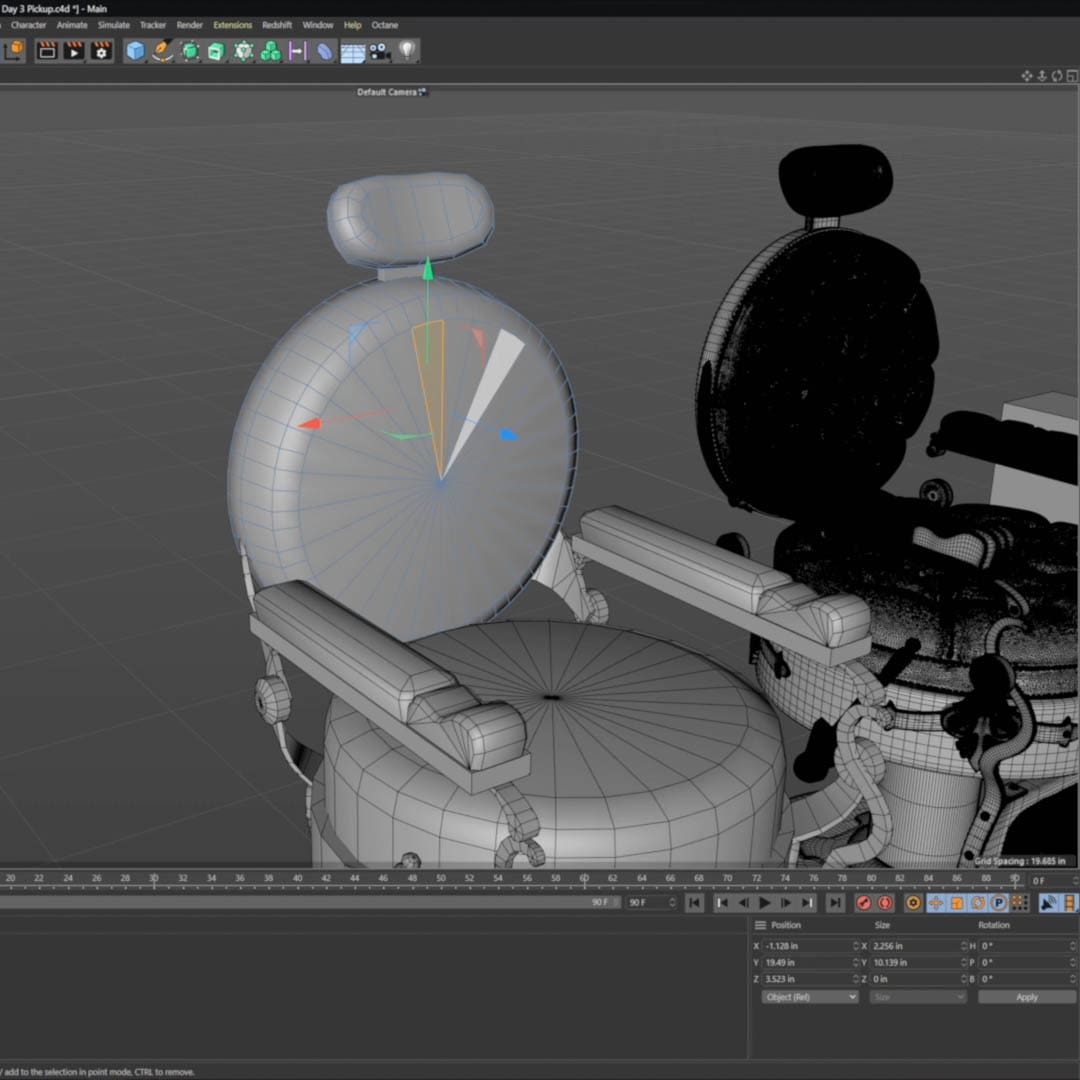
Cinema 4D is a powerful tool for 3D modeling, animation, and rendering. For new users, it's essential to become familiar with the interface, setting up projects, and mastering the basic tools and commands.Understanding the Interface
Cinema 4D has a user-friendly interface that helps beginners dive into 3D design. The main areas include the Object Manager, Attribute Manager, and Viewport.
The Object Manager lists all objects in your scene, allowing you to easily select and organize them. The Attribute Manager displays the properties of the selected object, which can be adjusted to change its appearance. The Viewport is where you see and interact with your 3D models.
Navigating the interface smoothly is crucial for productivity. Keyboard shortcuts can speed up your workflow, and customizing your layout ensures that you have the tools you need close at hand. By learning how to navigate these areas, you set a foundation for efficient work with Cinema 4D.
Setting Up Your First Project
When starting your first project in Cinema 4D, it's important to configure a few essential settings. Begin by setting your project preferences like frame rate and output resolution under the Edit menu.
Next, create a new scene and use the File menu to save your project frequently. Establish an organized file structure from the start to keep all assets and files in order. This prevents confusion and lost files later on.
For beginners, working with simple primitives like cubes and spheres helps you understand basic modeling. As you get comfortable, you can explore more advanced modeling techniques. Remember to utilize resources such as the Intro to CGI: Cinema 4D + Octane course to further develop your skills.
Basic Tools and Commands
Mastering basic tools and commands is vital for a smooth workflow. The Move, Scale, and Rotate tools are the primary tools you'll use to manipulate objects in your scene.
Commands like Undo and Redo ensure you can quickly correct mistakes. Learning how to create and modify splines and generators allows for more complex shapes and models.
Understanding how to apply textures and materials to your models adds realism and detail. Familiarize yourself with deformers to bend and squish your objects creatively. Resources such as Getting Started are great for beginners to build confidence.
By focusing on these tools and commands, you'll be able to bring your 3D designs to life effectively and efficiently.
Modeling & Texturing Techniques
We will cover essential tools and techniques for creating 3D models and applying textures. We will also explore different 3D modeling tools and options for designing and texturing your 3D creations.
Creating Your First 3D Model
When starting with 3D modeling, it's important to learn the basics. Begin by setting up your workspace in Cinema 4D. Familiarize yourself with the layout and tools, ensuring a smoother workflow. Starting with simple shapes like cubes and spheres helps in practicing transformations such as scaling, rotating, and moving.
From there, you can progress to creating more complex objects. It's beneficial to follow tutorials, such as this intro to 3D modeling in C4D, which guides you through setup, modeling, and unwrapping a complete product.
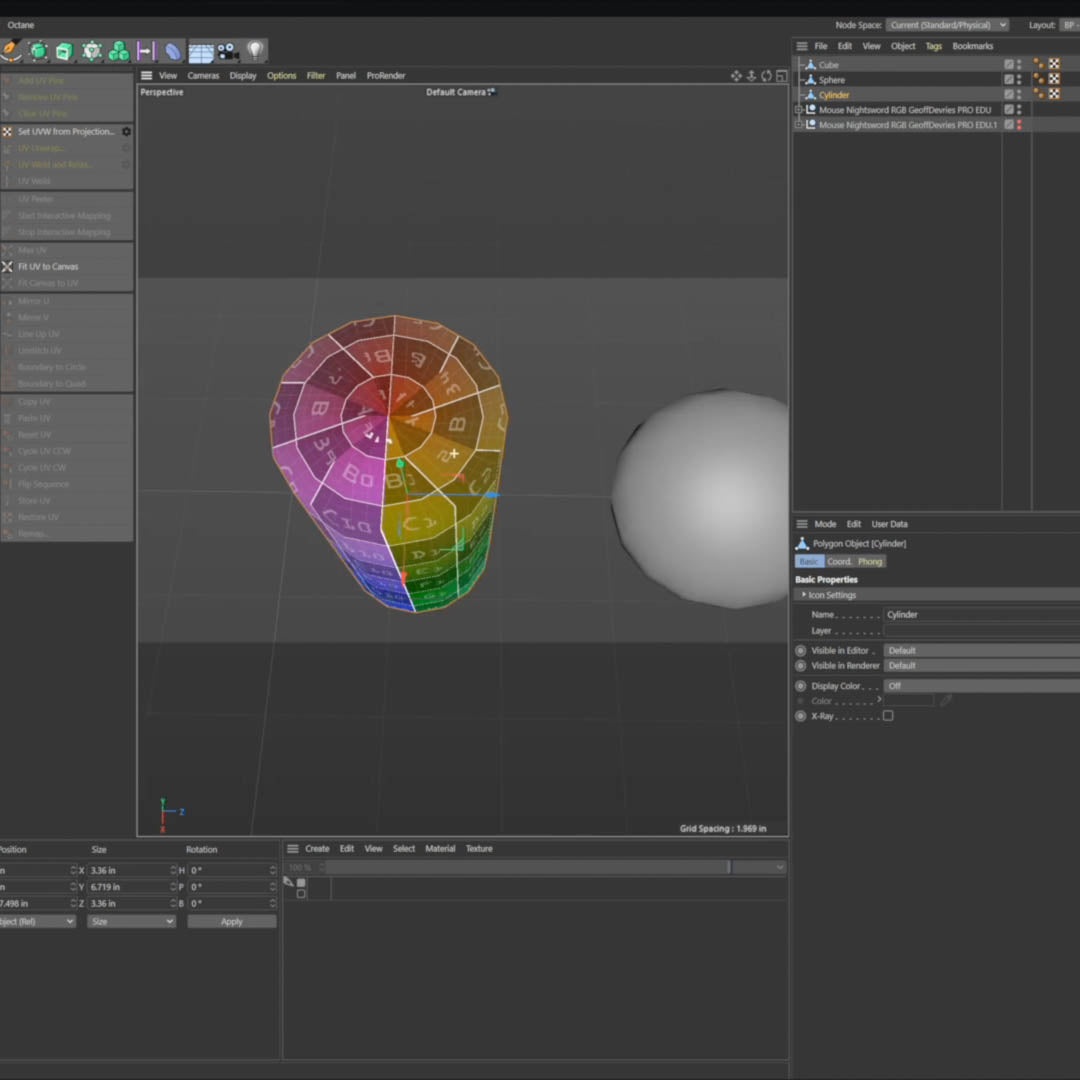
Exploring Texturing Options
Texturing is a critical step in bringing your 3D models to life. Begin by understanding the basics of UV mapping, which ensures that textures apply correctly on your models. Texturing involves adding materials to your models, giving them colors, patterns, and surface details like roughness or glossiness.
Learning how to use different texturing techniques in Cinema 4D can significantly improve your models. For example, creating a commercial-grade CGI beverage involves not only modeling but also applying realistic textures that enhance the final product’s appearance.
Utilizing 3D Modeling Tools
Cinema 4D offers a wide range of tools for 3D modeling, each suited for different tasks. The extrude, bevel, and bridge tools, for instance, are fundamental for shaping objects. Point and edge modes allow for precise adjustments.
Advanced modeling tools, such as MoGraph and deformers, help create more complex structures. You can also integrate other software like Photoshop for additional detail work, as seen in creating shoe renderings which combine modeling and retouching for realistic finishes.
Using these tools effectively can make your 3D modeling process efficient and flexible, allowing you to create intricate and detailed models.
Animation and Motion Graphics
We are diving into the essential aspects of Animation and Motion Graphics, covering everything from basic principles to advanced techniques. This section will help you understand how to animate and integrate motion graphics effectively.
Animation Fundamentals
In this subsection, we explore the core principles of animation. To animate effectively, we need to understand key concepts like timing, spacing, and squash and stretch. Timing involves controlling the speed of movements to create a sense of realism or exaggeration. Spacing refers to the distance between frames, affecting the smoothness of motion.
Another important principle is squash and stretch. This technique gives characters and objects a dynamic feel, showing flexibility and weight. Understanding these basics will set a strong foundation for creating engaging animations.
Integrating Motion Graphics
Motion graphics, often referred to as "mograph," play a crucial role in enhancing visual storytelling. When we integrate motion graphics with our animations, we add a layer of information and aesthetics. We use tools like Adobe After Effects to create stunning visuals that complement our animations.
Text animation, shape layers, and transitions aid in presenting information smoothly and attractively. For example, animating text in a way that it flows naturally with the overall project can draw attention and maintain viewer interest. Effective use of motion graphics ensures the animation is not only visually appealing but also informative.
Advanced Animation Techniques
For those looking to push the boundaries, advanced animation techniques are essential. These techniques involve more complex concepts like character rigging, dynamics simulations, and particle effects. Character rigging allows us to create a skeletal structure for characters, making them easier to animate.
Dynamics simulations add realism, helping us to create lifelike interactions between objects, like collisions or cloth movement. Particle effects add elements such as fire, smoke, or magic effects, enhancing the overall impact. Mastering these advanced techniques opens up endless possibilities in the field of animation and motion graphics.
For more in-depth learning, the Cinema 4D Basecamp course offers comprehensive training on these topics.
Lighting, Cameras, and Rendering
In this section, we will cover the essentials of mastering lighting, camera techniques, and optimizing render settings. These elements are crucial for creating stunning 3D scenes in Cinema 4D and Redshift.
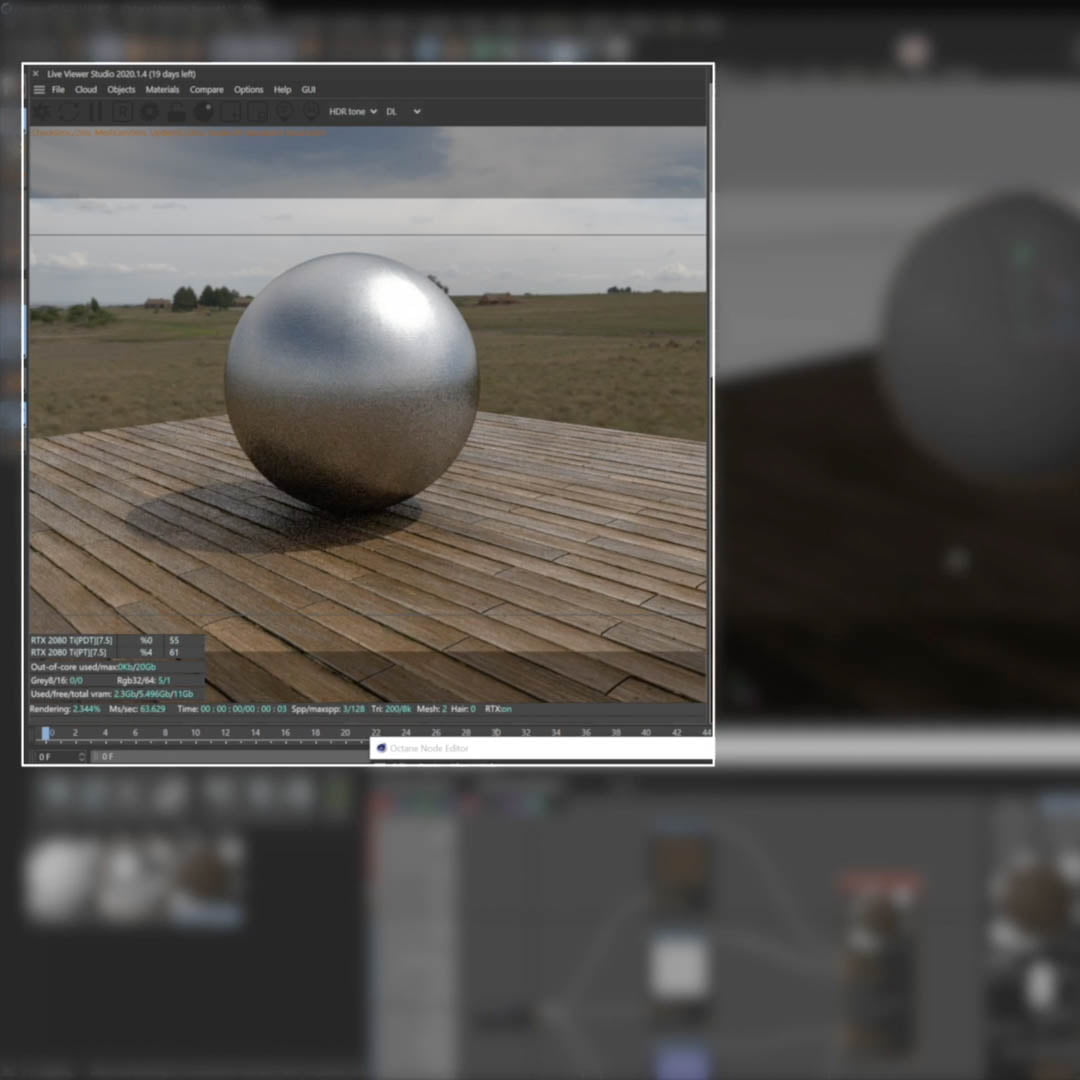
Mastering Lighting in Scenes
Lighting is a key element in any 3D scene. Proper lighting can make a scene look realistic and vibrant. We should consider both natural and artificial light sources. Using various types of lights, such as area lights, spotlights, and HDRI maps, can bring different qualities to our renders.
Tip: When creating interior scenes, use soft shadows and subtle light decay to add realism.
Using Redshift for Cinema 4D, we can also create physically accurate lighting models. This helps simulate real-world lighting behaviors. It’s important to experiment with different lighting setups to find the right balance for each scene.
Camera Techniques for Dynamic Shots
Cameras in Cinema 4D offer flexibility to create dynamic shots that enhance the overall impact of our scenes. We need to master the use of camera settings such as focal length, depth of field, and motion blur.
To achieve cinematic effects, using the RS Bokeh feature helps create depth of field and beautiful out-of-focus highlights. This adds a professional touch to our renders.
Framing our shots effectively can also improve the composition, directing the viewer’s attention to the most important parts of the scene. By combining these techniques, we can produce engaging and visually appealing renders.
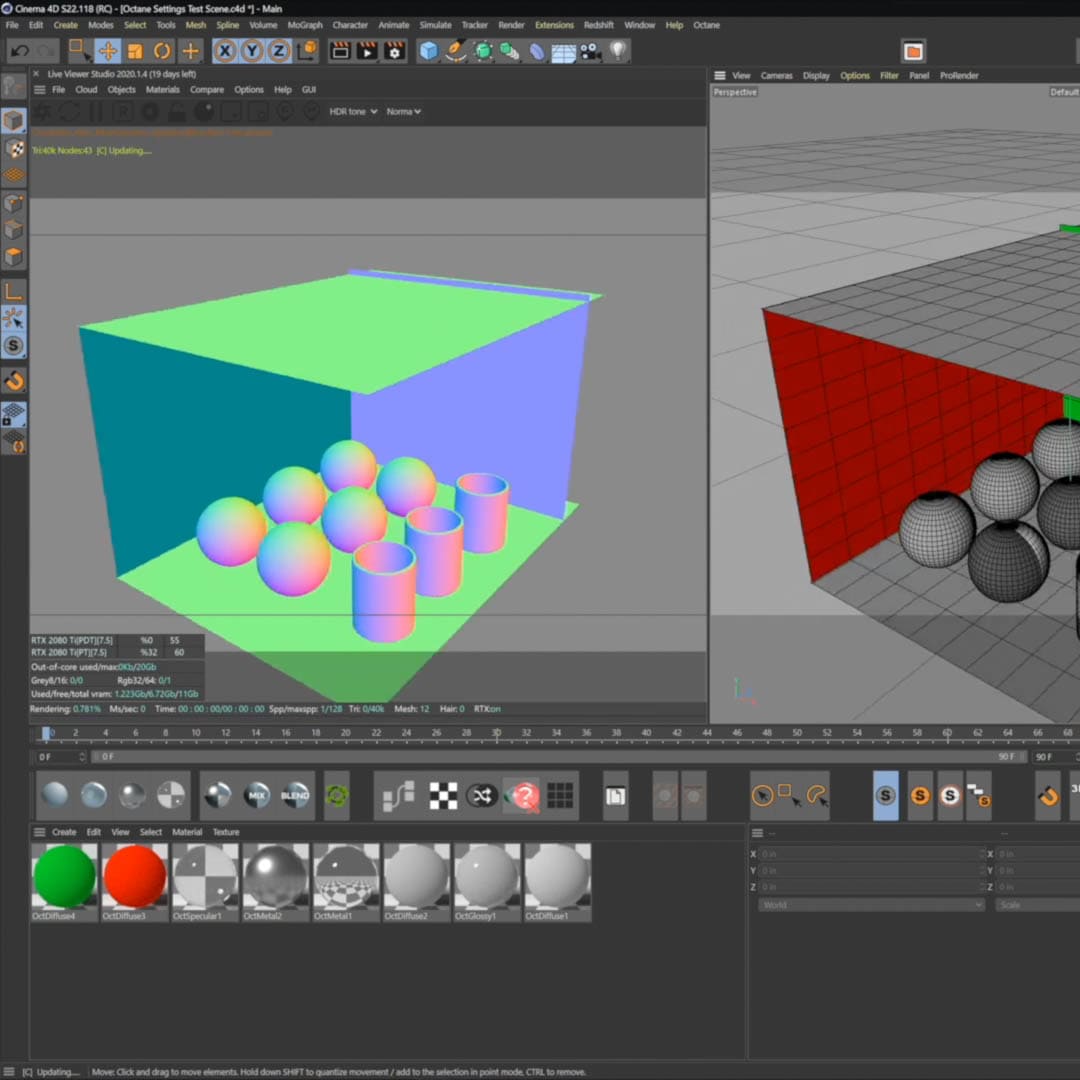
Optimizing Render Settings
Render settings are crucial for achieving the best balance between quality and performance. In Cinema 4D and Redshift, we should optimize settings like sample rate, noise threshold, and global illumination to improve render times without compromising quality.
One useful practice is to use render regions to test specific parts of a scene. This allows us to fine-tune our settings and see the results quickly. Additionally, adjusting the Redshift Object Tag can help control how individual objects contribute to the final render.
Optimizing settings for our hardware ensures efficient rendering. This includes leveraging GPU acceleration for faster performance and better handling of complex scenes.
By mastering these aspects, we can significantly improve the quality and efficiency of our rendered projects.
Career Development and Continuing Education
Building a strong professional portfolio and advancing our careers requires ongoing learning and certification. Cinema 4D courses offer essential skills that can help us grow and excel in our professional journey.
Building a Professional Portfolio
A professional portfolio showcases our skills, achievements, and experiences. For those working with Cinema 4D, including finished projects such as animations, 3D models, and visual effects is crucial.
Taking an online Cinema 4D course helps us learn techniques that can be directly applied to our projects. Including before-and-after comparisons within our portfolio can highlight our ability to improve and refine digital creations. The goal is to demonstrate versatility and expertise in various aspects of 3D design and animation.
Cinema 4D in the Industry
Cinema 4D is widely used in industries such as film, advertising, and gaming. Understanding the applications of this software can help us target the right job opportunities.
These industries value professionals who can produce high-quality 3D visuals. Enrolling in tailored courses provides us with relevant skills. We can explore programs offered by Framingham State University and similar institutions to stay updated on industry standards and advancements in 3D technology.
Getting Certified and Advancing Your Career
Certification can set us apart in a competitive job market. Completing specific career development programs validates our skills and knowledge to potential employers.
Many organizations offer certifications in Cinema 4D, such as comprehensive training sessions or workshops. By achieving these certifications, we demonstrate commitment to our craft and readiness for advanced professional challenges. Regularly updating our skills through continuing education ensures we stay ahead in the rapidly evolving field of 3D design and animation.
Frequently Asked Questions
We have gathered some common questions to help you better understand how to learn and master Cinema 4D.
What are the best online platforms to learn Cinema 4D?
Some of the top platforms for learning Cinema 4D include Cineversity and Skillshare. These platforms offer a wide range of tutorials and courses designed for both beginners and advanced users.
How can beginners get started with learning Cinema 4D?
Beginners can start with introductory courses like the one offered by Cineversity, which covers the basics of Cinema 4D. These courses provide a solid foundation, covering essential terms and initial projects that help you get hands-on experience quickly.
What is the duration of a typical Cinema 4D course?
The duration of Cinema 4D courses varies. Some beginner courses can be completed in a few hours, while more comprehensive ones, like the Cinema 4D Masterclass on Skillshare, may take up to 8 hours or more.
Are there any high-quality Cinema 4D courses available for free?
Yes, some platforms offer free high-quality courses. For example, Cineversity provides a variety of free tutorials that cover fundamental aspects of Cinema 4D, making it accessible for those who are new to the software.
Can I find in-person Cinema 4D training classes?
In-person training for Cinema 4D is less common but can be found through specific workshops or events. Often, these are held by established professionals or during industry conferences, providing an opportunity for hands-on learning with guidance.
What are the challenges of learning Cinema 4D for newcomers?
For newcomers, the challenges of learning Cinema 4D include understanding complex features and tools, as well as integrating the software into their workflow. It can be overwhelming at first, but starting with beginner-friendly courses and consistent practice will help ease the learning curve.


