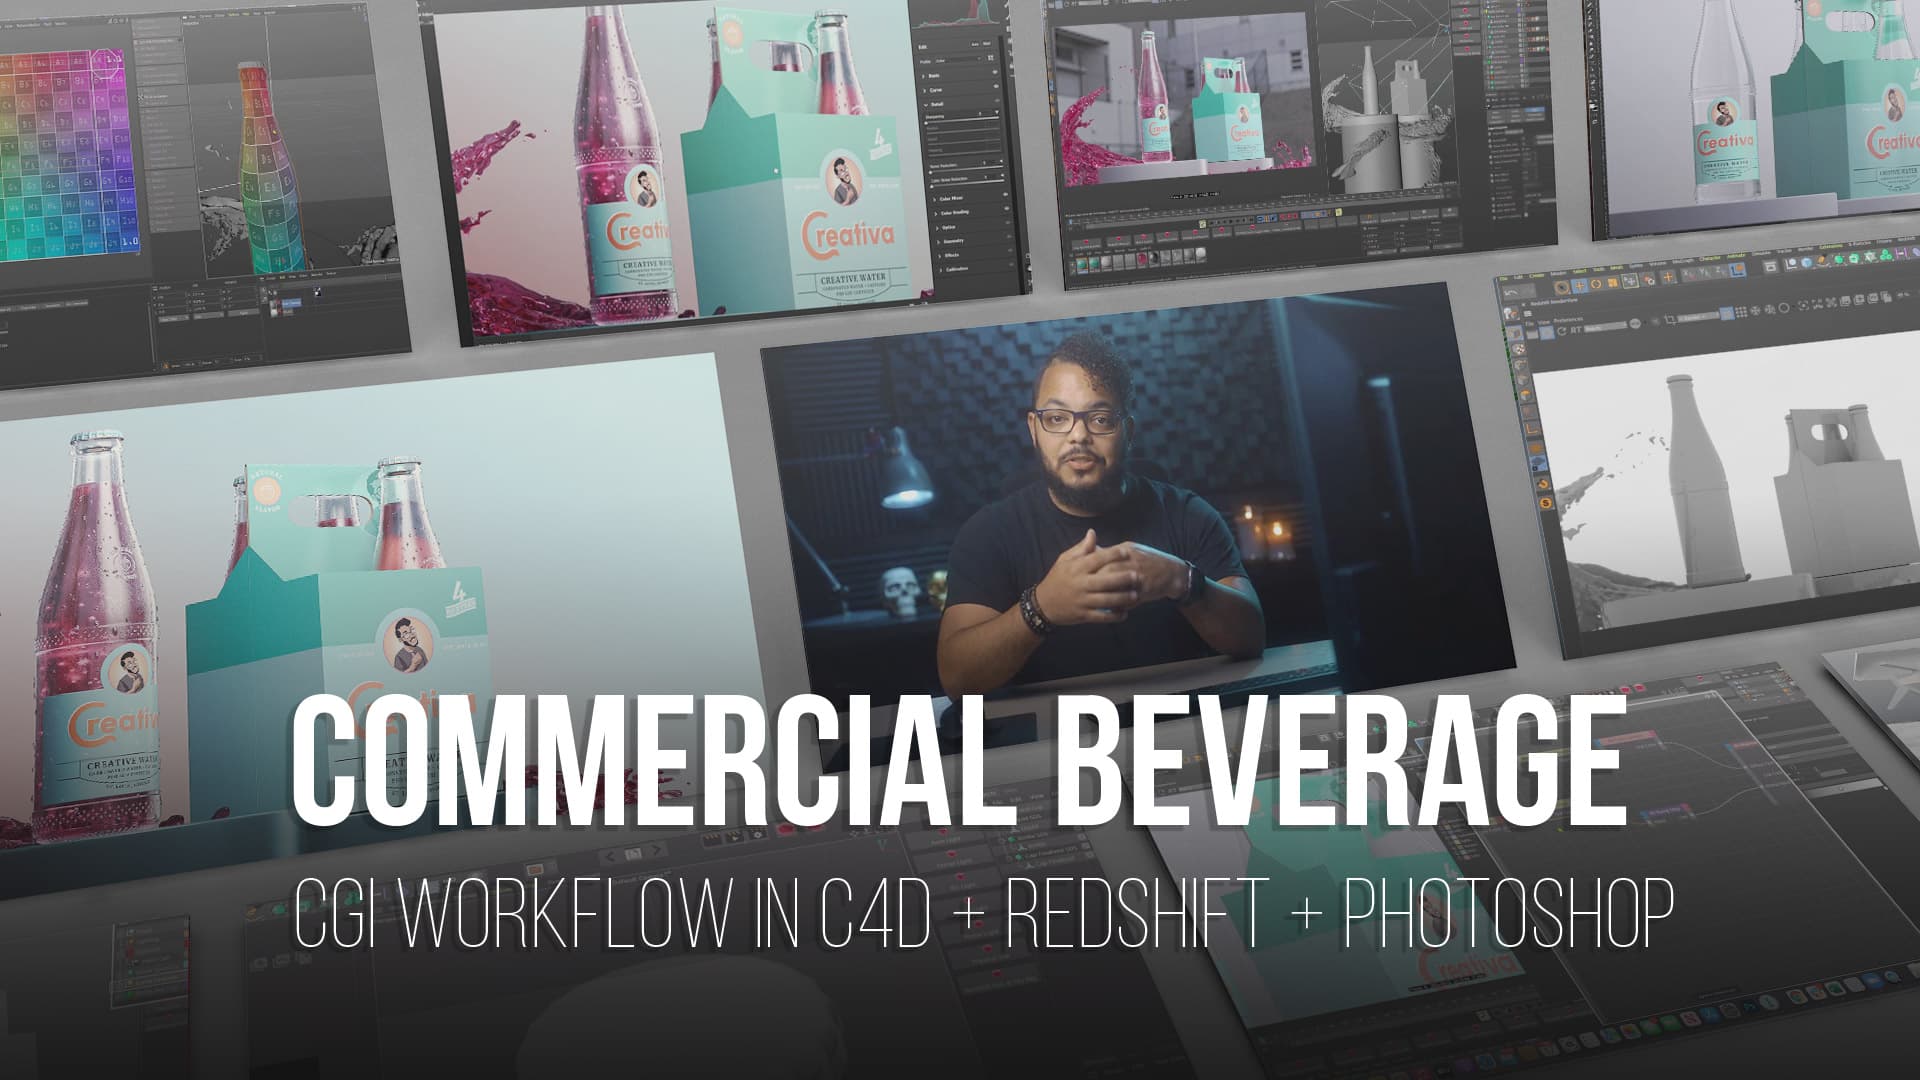
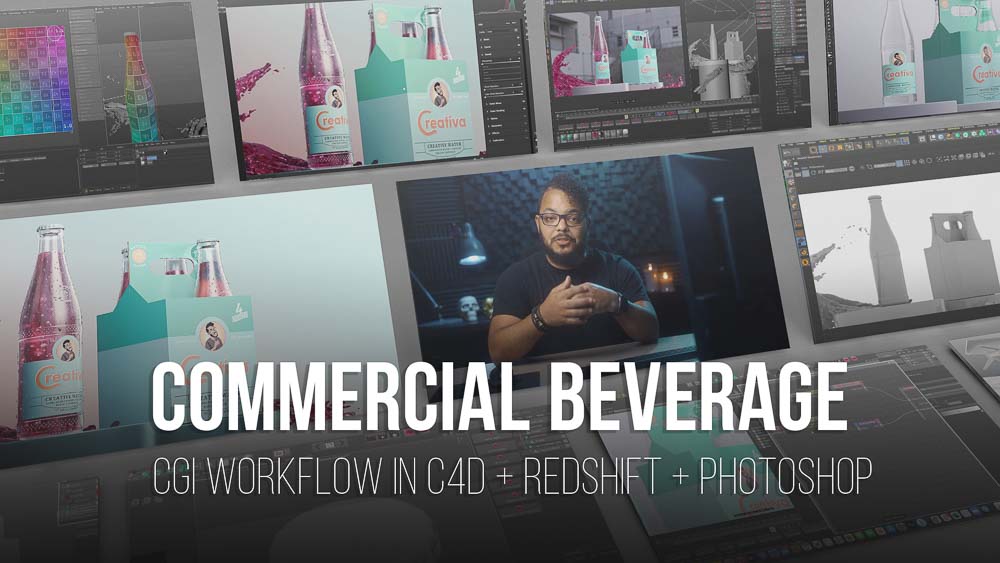
Beverage CGI Workflow in C4D & Photoshop
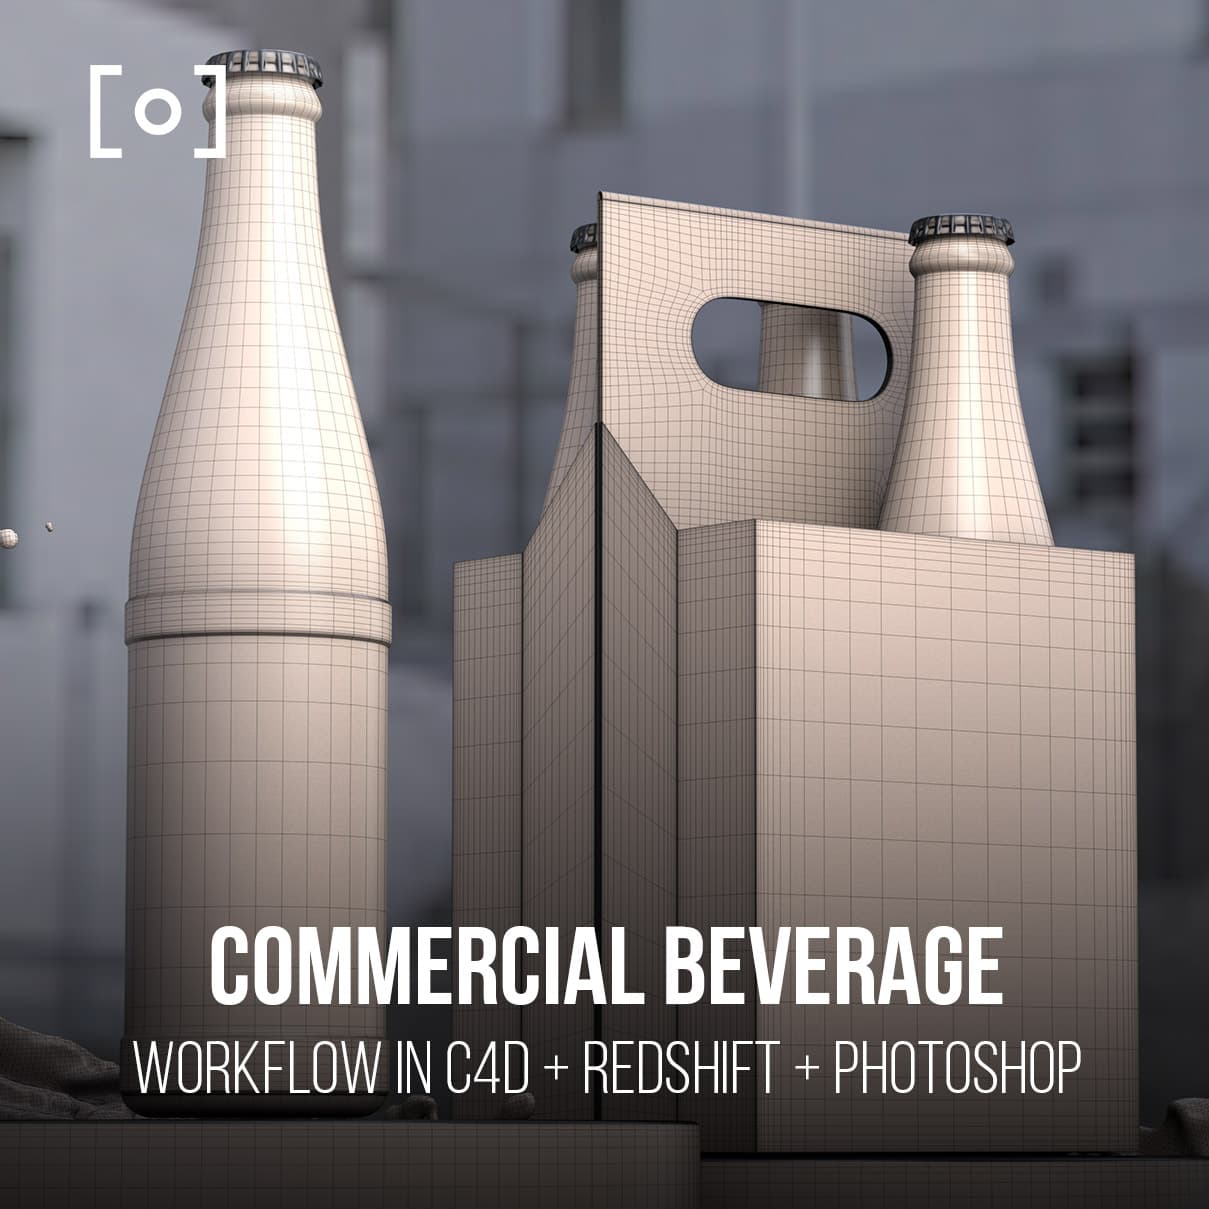
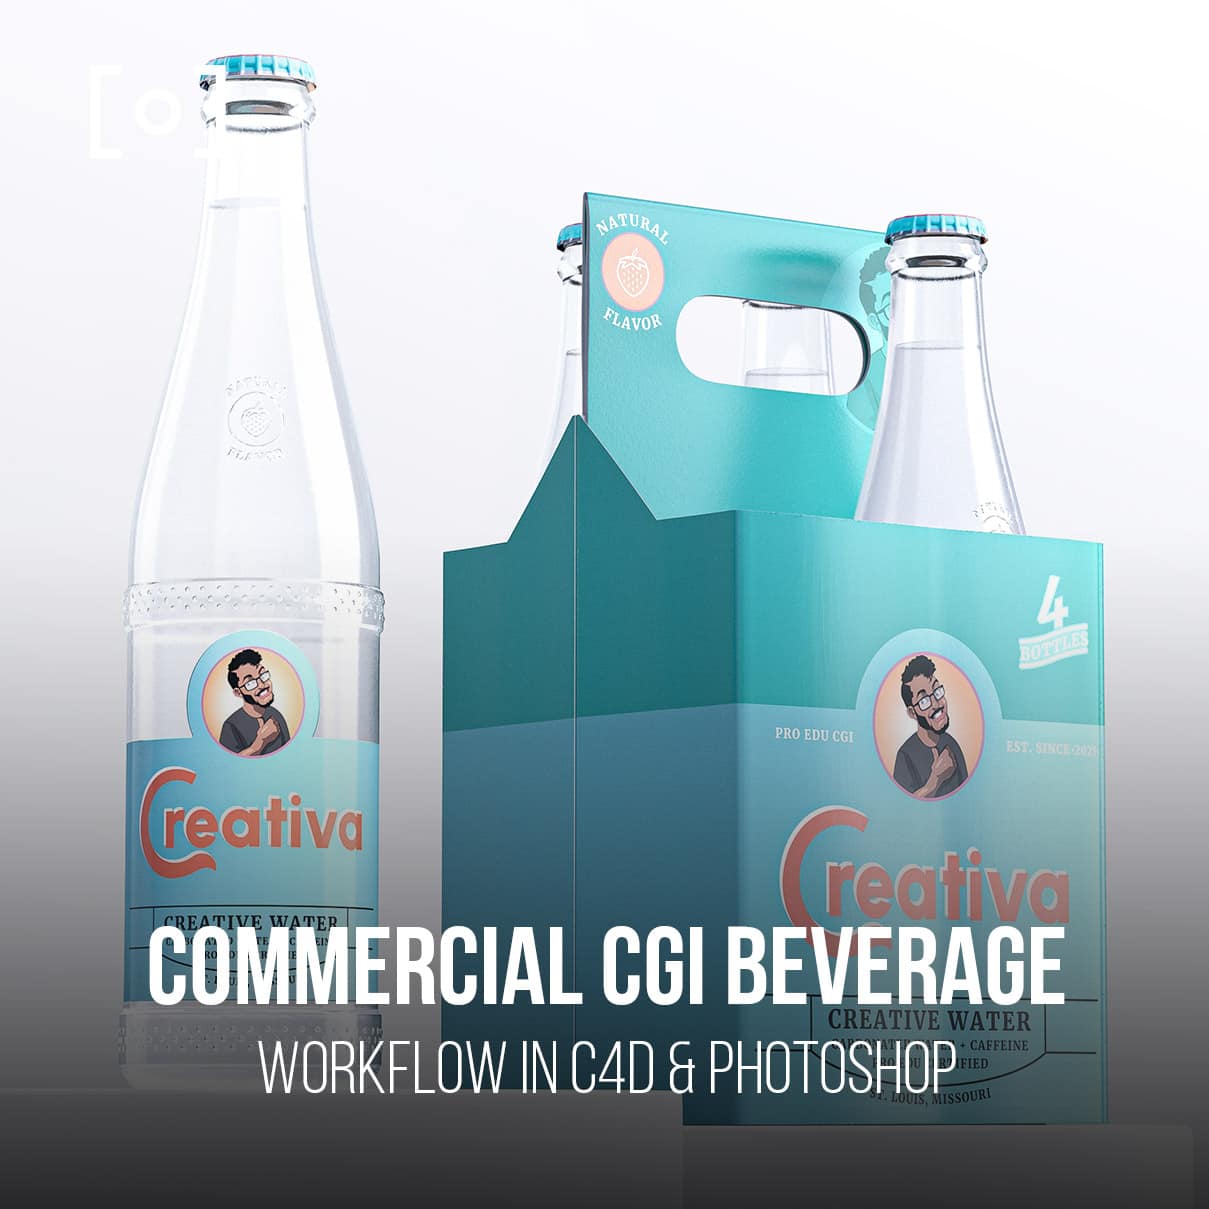
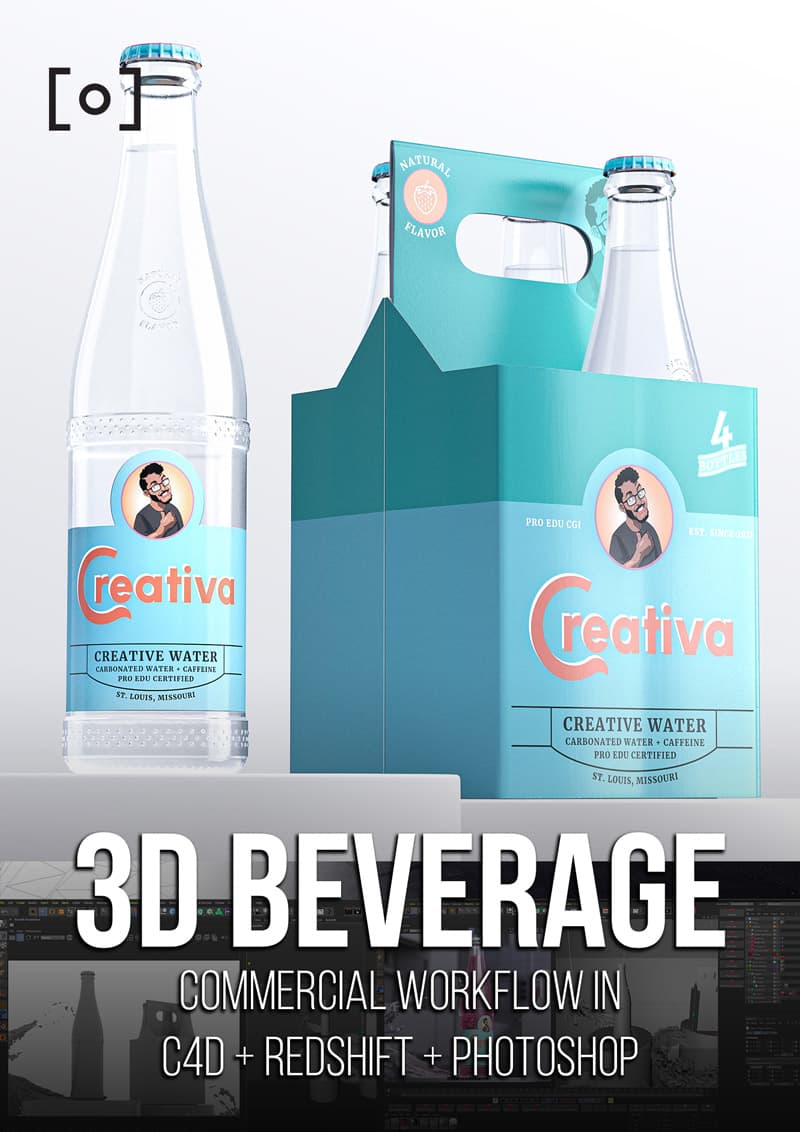
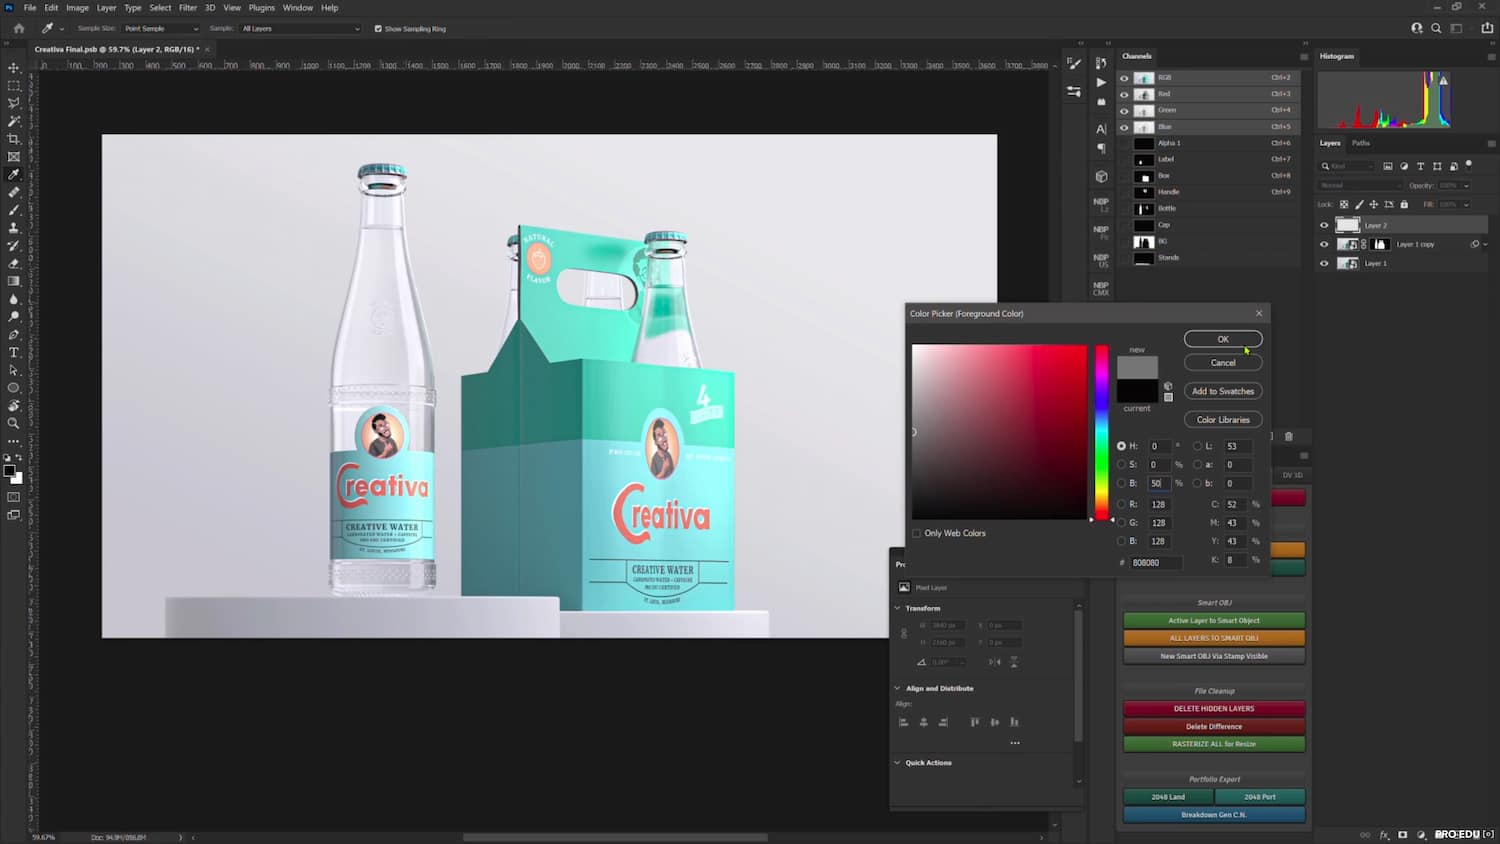
In this tutorial, Dustin Valkema walks us through how to create a realistic-looking glass beverage and carrier in Cinema 4D and Redshift. This tutorial is the perfect companion to the Intro To Modeling tutorial with Geoff DeVries as we're bringing both projects together to create one awesome product. Covering everything from subtle imperfections, logo placement, stacking materials, product lighting, rendering, and post-production, Dustin shows us the entire process in this project-based tutorial.
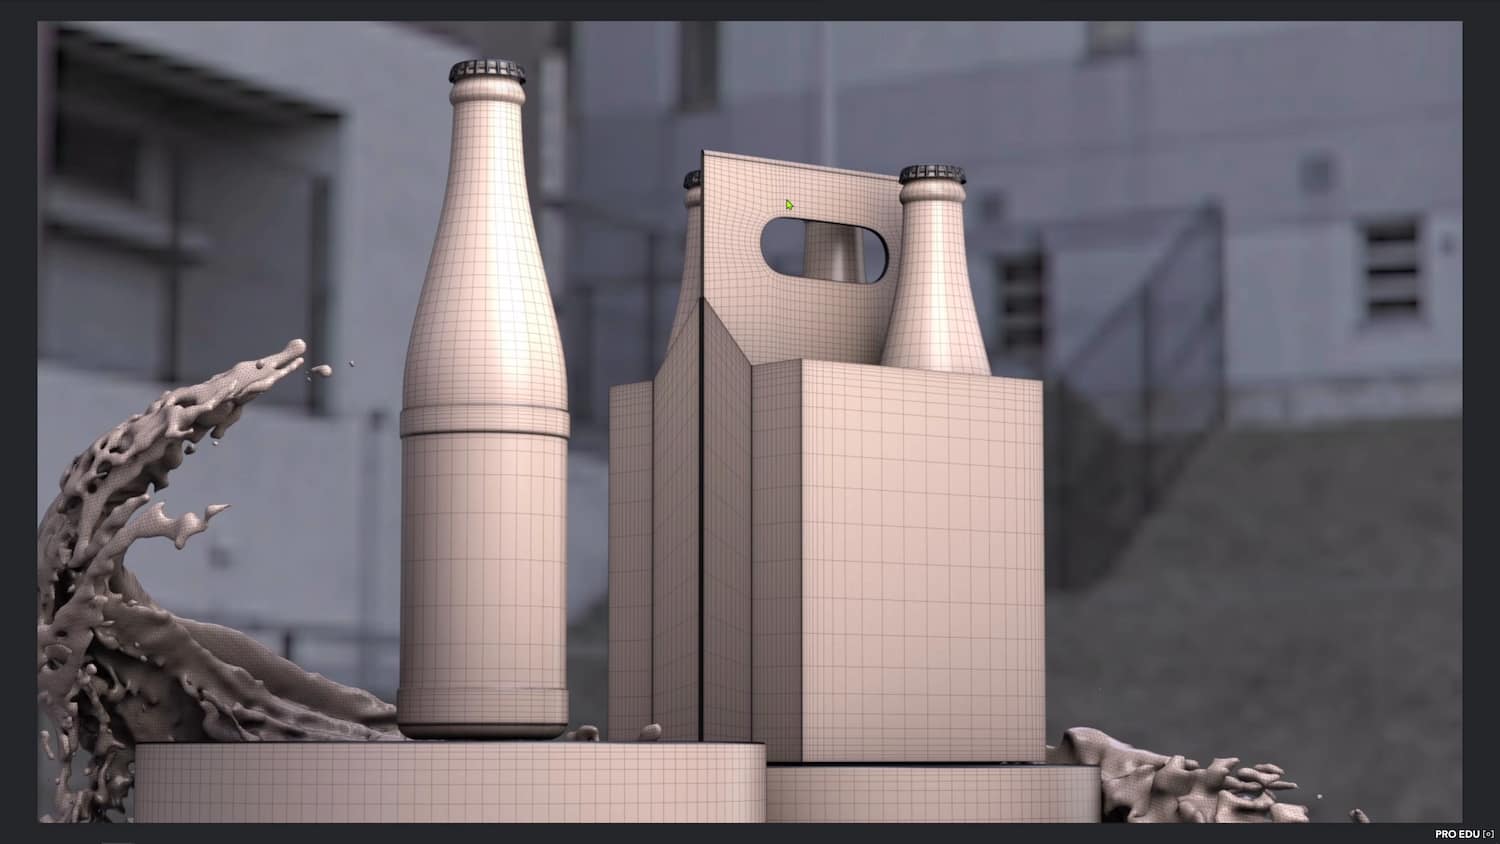
We're using Redshift inside Cinema 4D for its speed and flexibility during the material creation process and rendering. We'll dive into mixing various materials and texture maps together while previewing our changes easily. While we're using Redshift, the fundamentals of our project will carry over quite well in Octane Render.
By the end of this tutorial, you'll have a great grasp of what it takes to create awesome beverage work and gain the confidence needed to start with your own projects. You'll be introduced to various ways of thinking and problem solving as Dustin navigates this project from start to finish.
Beverage CGI Workflow in C4D & Photoshop is included with hundreds of products and courses in our Unlimited PRO PLAN membership, learn more here.
What's Included In
Beverage CGI Workflow in C4D & Photoshop
Once you purchase this course, you can sign in and download all videos and assets.
STREAM + DOWNLOAD HERE42
12.0
Yes
Yes
Yes
Desktop, iOS App, Android, AppleTV, ROKU, Amazon Fire Stick
Yes
Yes, Sign up here.
FUTUREPROOF YOUR BUSINESS
3D models are the future of every company that makes a product. Think about it. Why would a company continue to hire a photographer to conduct photoshoots of simple products on white when a CGI artist can render thousands of product images with variations in color and angle and produce quality and lighting better than a photographer.
AN ASSET FOR PHOTOGRAPHERS
If you understand lighting and how to light a product, you are already 1/2 way there to becoming a CGI artist that can create incredible images for your clients. This tutorial teaches the Cinema 4D section and also gives you the entire Photoshop workflow to take your renders and use familiar composite retouching methods in post.
GIVE YOUR CLIENTS UNLIMITED OPTIONS IN POST
As a commercial artist, you need to be able to create high-quality product renders for your clients that look as real as possible. Often times this means needing to conduct expensive photoshoots, which can take weeks or even months to plan and execute. Our Commercial Beverage CGI Workflow In C4D Redshift & Photoshop will teach you how to create realistic product renders without the need for any expensive photoshoots. Using Cinema 4D and the Redshift render engine, you will be able to create images that look so real your clients won't be able to tell they're not photographs. Plus, our Photoshop retouching workflow will teach you how to make your renders look hyper-realistic, giving your clients a faster turnaround time. All product downloads are included so you can practice.
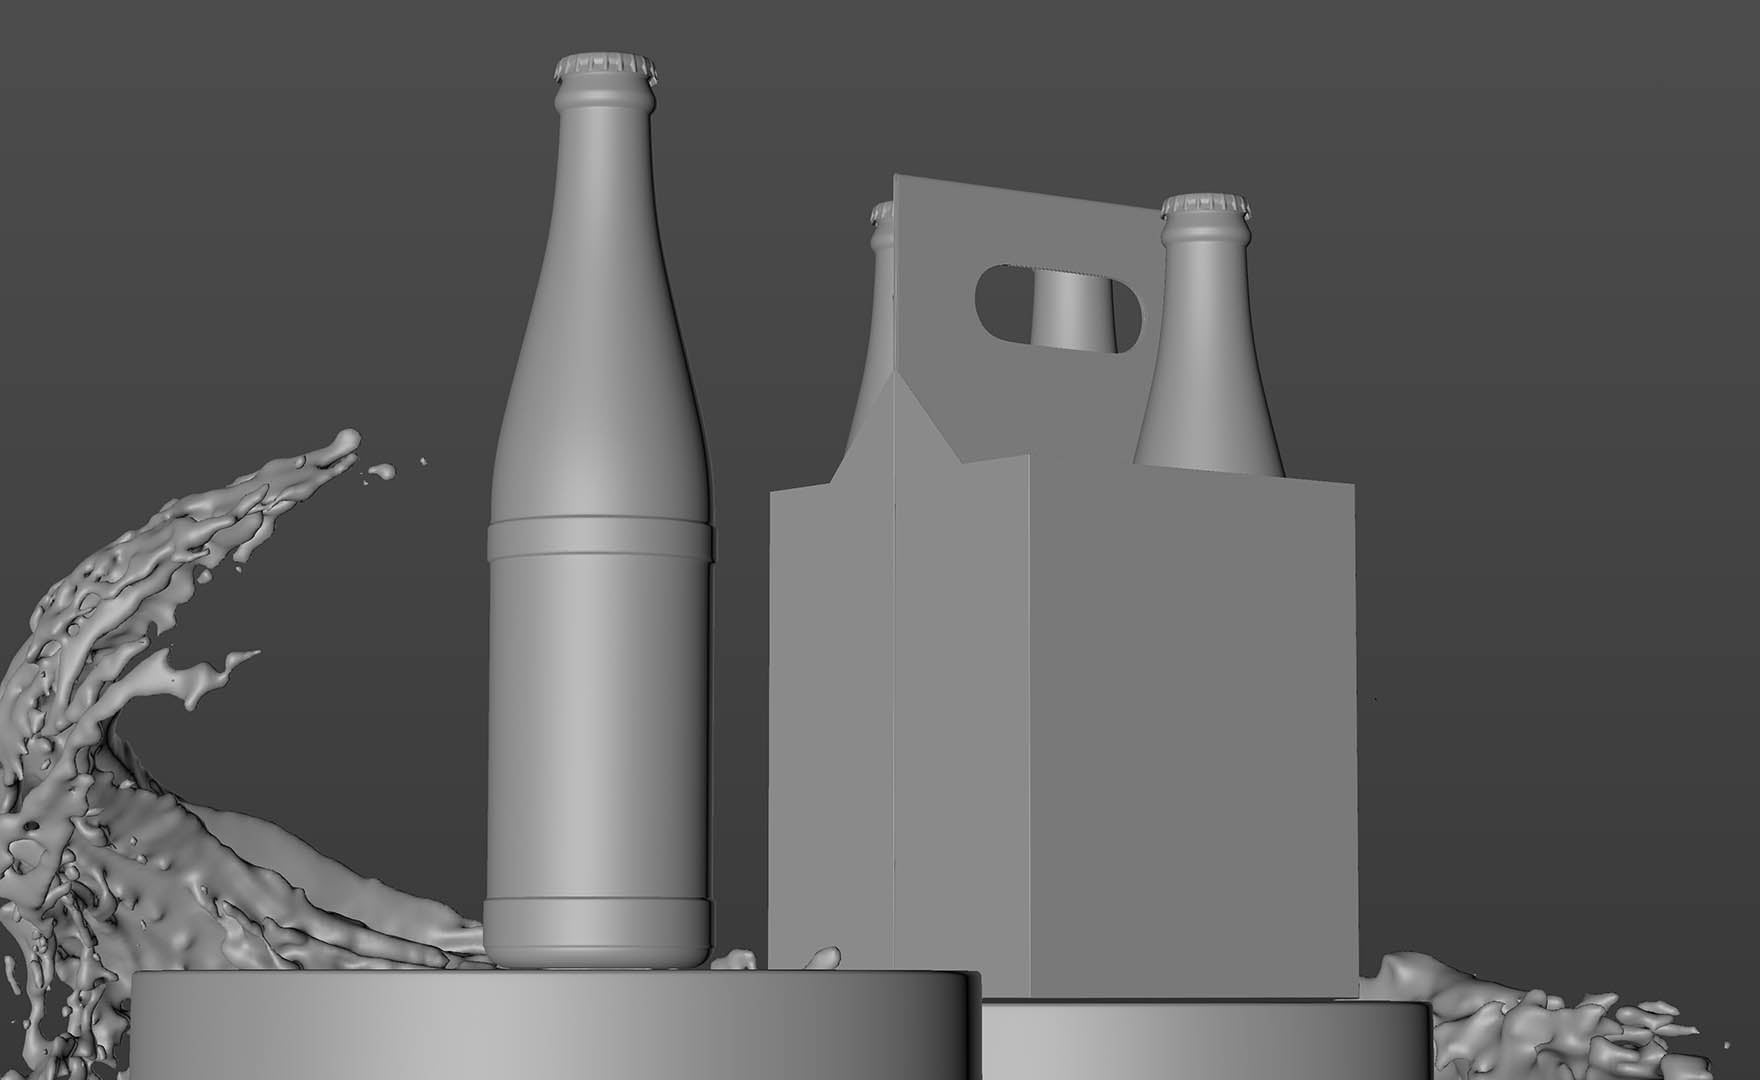
Before
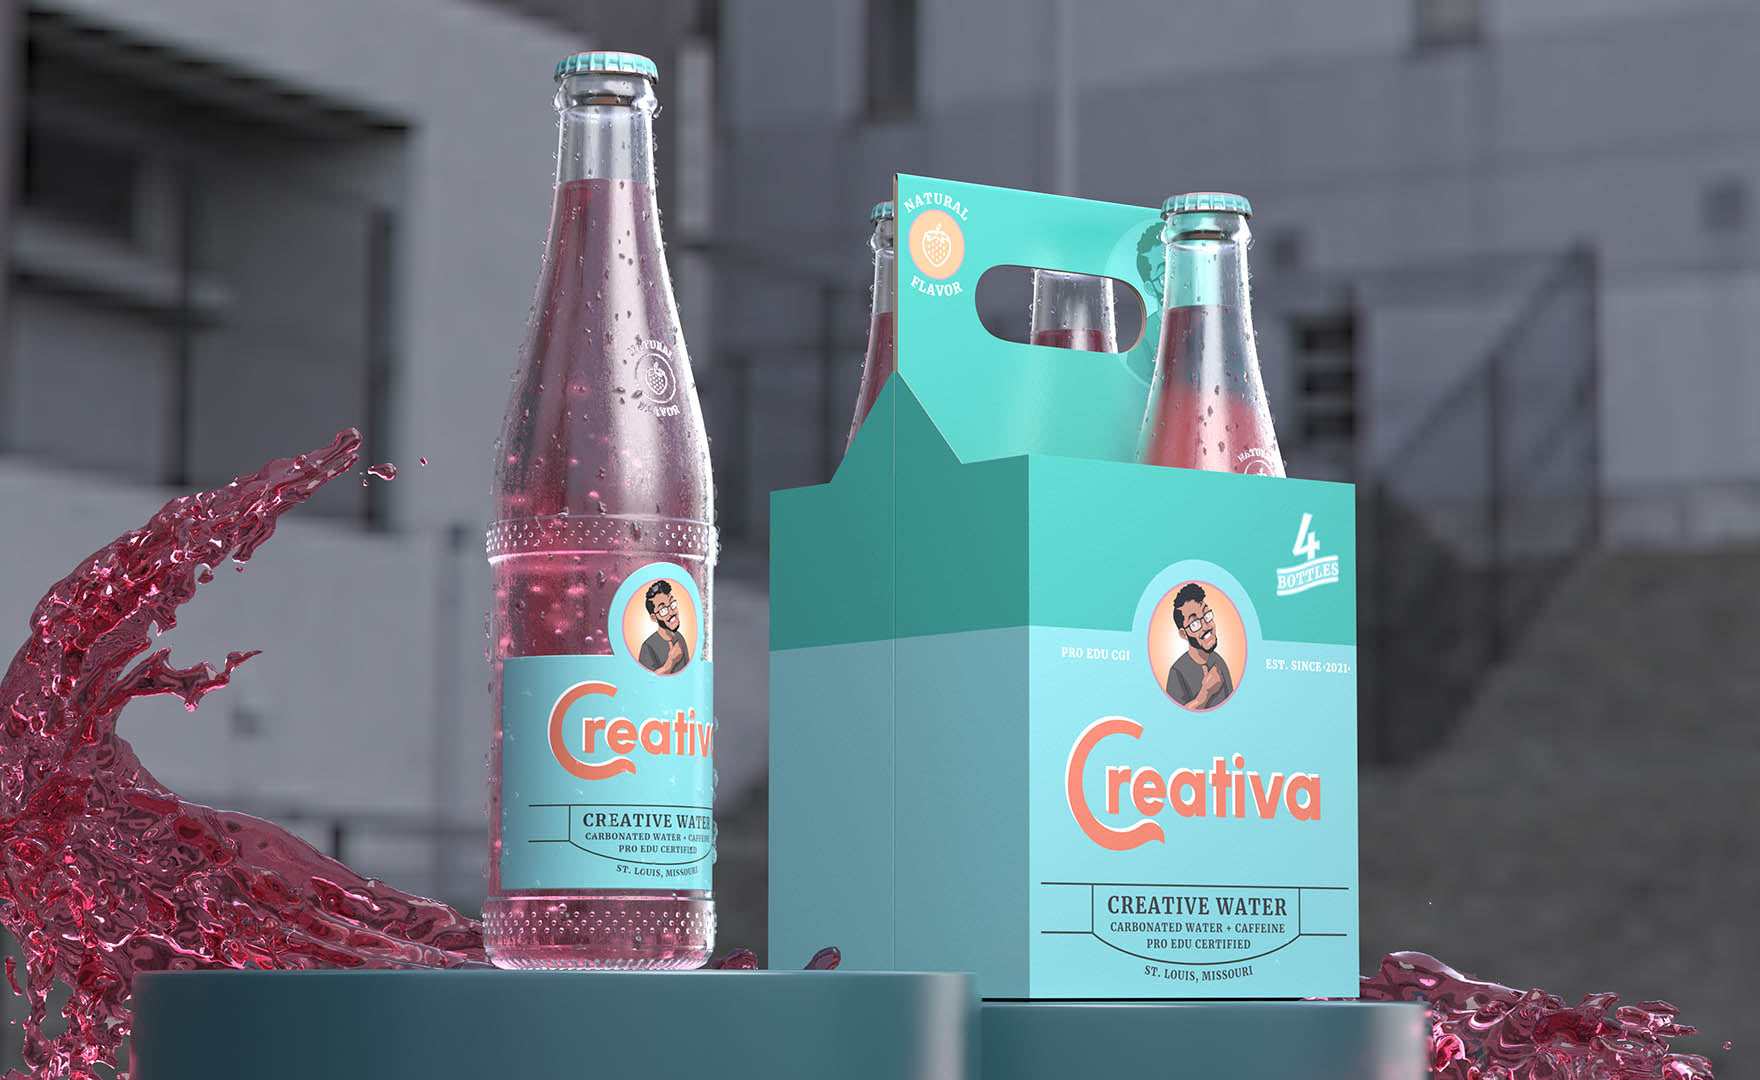
After
PRO EDU does it again! This is groundbreaking. I've been learning CGI since they launched their courses and am now taking on small clients with a tone of work needed. It's a great addition to my photography business.
The amount of detail is incredible! Thanks guys, you've really helped my business through this pandemic.
Get to know your new instructor
ABOUT Dustin Valkema
In this tutorial, Dustin Valkema walks us through how to create a realistic-looking glass beverage and carrier in Cinema 4D and Redshift. Covering everything from subtle imperfections, logo placement, stacking materials, product lighting, and more, this tutorial will help you create an amazing looking glass beverage and carrier that looks like it came straight from the store.

Beverage CGI Workflow in C4D & Photoshop
When you sign up for the Unlimited PRO PLAN you will get Beverage CGI Workflow in C4D & Photoshop and 80+ other courses for the entire year.
-Unlimited Access
-All Courses
-All Tools
-All Plugins
-All 3D Luts
Everything we release for 12 months after you the day you sign up is FREE for PRO PLAN members.
Get this course and every product with any PRO PLAN membership and access everything for 6, 12, or 24 months. Members save 98% versus buying courses individually. Sign up here.


Beverage CGI Workflow in C4D & Photoshop FAQ
Questions about Beverage CGI Workflow in C4D & Photoshop
How do I Access This Course?
Beverage CGI Workflow in C4D & Photoshop is available with the Unlimited PRO PLAN membership and can be streamed and downloaded offline on our Mobile Apps on the Learn Platform.
Where Do I Log In To View?
After you become a member of the PRO PLAN, this will become available to stream, download offline, and view in your PRO EDU Learn Account HERE.
Where can I download Apps to view this?
You can download free apps for your mobile devices and TV's on Apple tvOS, iOS, iPad OS, ROKU, Amazon Fire TV, and Google Play for Android.
Are English Closed Captions Included?
Yes.
Are Spanish Subtitles Included?
Yes
- AHAdam H.Verified BuyerReviewingArchitecture Photography & RetouchingI recommend this productRated 5 out of 5 stars4 minutes agoGood Course
Helpful intro to Architecture Photography. Have been doing real estate for a while so thing helped me take what I know and adjust to fit a different need.
- SKSundeep K.Verified BuyerReviewingPortrait & Headshot RetouchingI recommend this productRated 5 out of 5 stars3 months agoVery well paced and detailed course
I am a beginner and I wanted to learn more about portrait retouching. There seem to be lots of courses on youtube and other platforms but I am really liking the structure, the pace and the content of this course. It seems to cover all the topics and techniques needed for really understanding different problems faced during portrait retouching process.
- MGMichael G.Verified BuyerReviewingReal Estate Photography & RetouchingI recommend this productRated 5 out of 5 stars5 months agoGreat course!
I loved the class I got a lot of insight even after being a photographer for 13 years I learned a lot of new things. One thing I will say in my humble opinion feel this might not be for new new photographers like day one people just slightly above beginner and up because of the flash work. That's my nit picky critique lol but yes if you're interested in real estate definitely get this course.
- TAToshiharu A.Verified BuyerReviewingUNLIMITED PRO PLAN - YEARLYI recommend this productRated 5 out of 5 stars8 months agoVery good.. worth ever penny
PRO EDU contains so much valuable lessons. There is just so many stuff you can learn from this platform. Highly recommend.
- DHDeanna H.Verified BuyerReviewingPortrait & Headshot RetouchingI recommend this productRated 5 out of 5 stars8 months agoPortrait retouching
This has to be the best course out there. Pratik Naik make it very easy to understand and enjoyable to watch. Highly recommend this series. Work that I thought would be hard is actually easy when explained in the right way.