
Discover a new approach to photo editing: Retouch4me
As a photographer, you know how challenging it can be to manage a large volume of images after a photoshoot. Whether you are a beginner, an advanced enthusiast, or an experienced professional, sort...

Discover a new approach to photo editing: Retouch4me
As a photographer, you know how challenging it can be to manage a large volume of images after a photoshoot. Whether you are a beginner, an advanced enthusiast, or an experienced professional, sort...

Discover a new approach to photo editing: Retouch4me
As a photographer, you know how challenging it can be to manage a large volume of images after a photoshoot. Whether you are a beginner, an advanced enthusiast, or an experienced professional, sort...

Discover a new approach to photo editing: Retouch4me
As a photographer, you know how challenging it can be to manage a large volume of images after a photoshoot. Whether you are a beginner, an advanced enthusiast, or an experienced professional, so...

Discover a new approach to photo editing: Retouch4me
As a photographer, you know how challenging it can be to manage a large volume of images after a photoshoot. Whether you are a beginner, an advanced enthusiast, or an experienced professional, so...

Discover a new approach to photo editing: Retouch4me
As a photographer, you know how challenging it can be to manage a large volume of images after a photoshoot. Whether you are a beginner, an advanced enthusiast, or an experienced professional, so...

Learn Photography Online: Master Your Camera Skills from Home
Discover the world of photography from the comfort of your home with online courses. Learn everything from camera basics to advanced techniques at your own pace.

Meaning of Portraiture: Exploring Identity Through Art
Discover the fascinating world of portraiture, where art captures more than just a likeness. Explore how artists convey personality and emotion through visual representations.

Creative Cloud Photoshop Tutorials: Essential Skills for Digital Artists
Discover Adobe Creative Cloud's extensive Photoshop tutorials, perfect for enhancing your skills from basic photo editing to advanced graphic design techniques.

Photography Portraiture: Essential Techniques for Capturing Personality
Explore essential portrait photography techniques to effectively capture a person's personality through images. Learn about lighting, composition, and posing.

What is a Portraiture: Exploring the Art of Capturing Human Essence
Explore the captivating world of portraiture, an art form dedicated to capturing the essence of individuals through evolving techniques and diverse mediums. Discover its historical evolution and cu...

Saying No Will Make You a Better Photographer: The Power of Selective Focus
If there is one thing that can tank a photographer's career, it’s lack of focus. There are so many things to make, so many people to work with, projects to start, events to attend, and an endless p...

Guest Blog: How I Turned An Ordinary Portrait Into Conceptual Art
There are various approaches one can take to create conceptual portraiture. Sound logic will tell you to pre-plan your concept before the shoot and to do so in as much detail as possible.
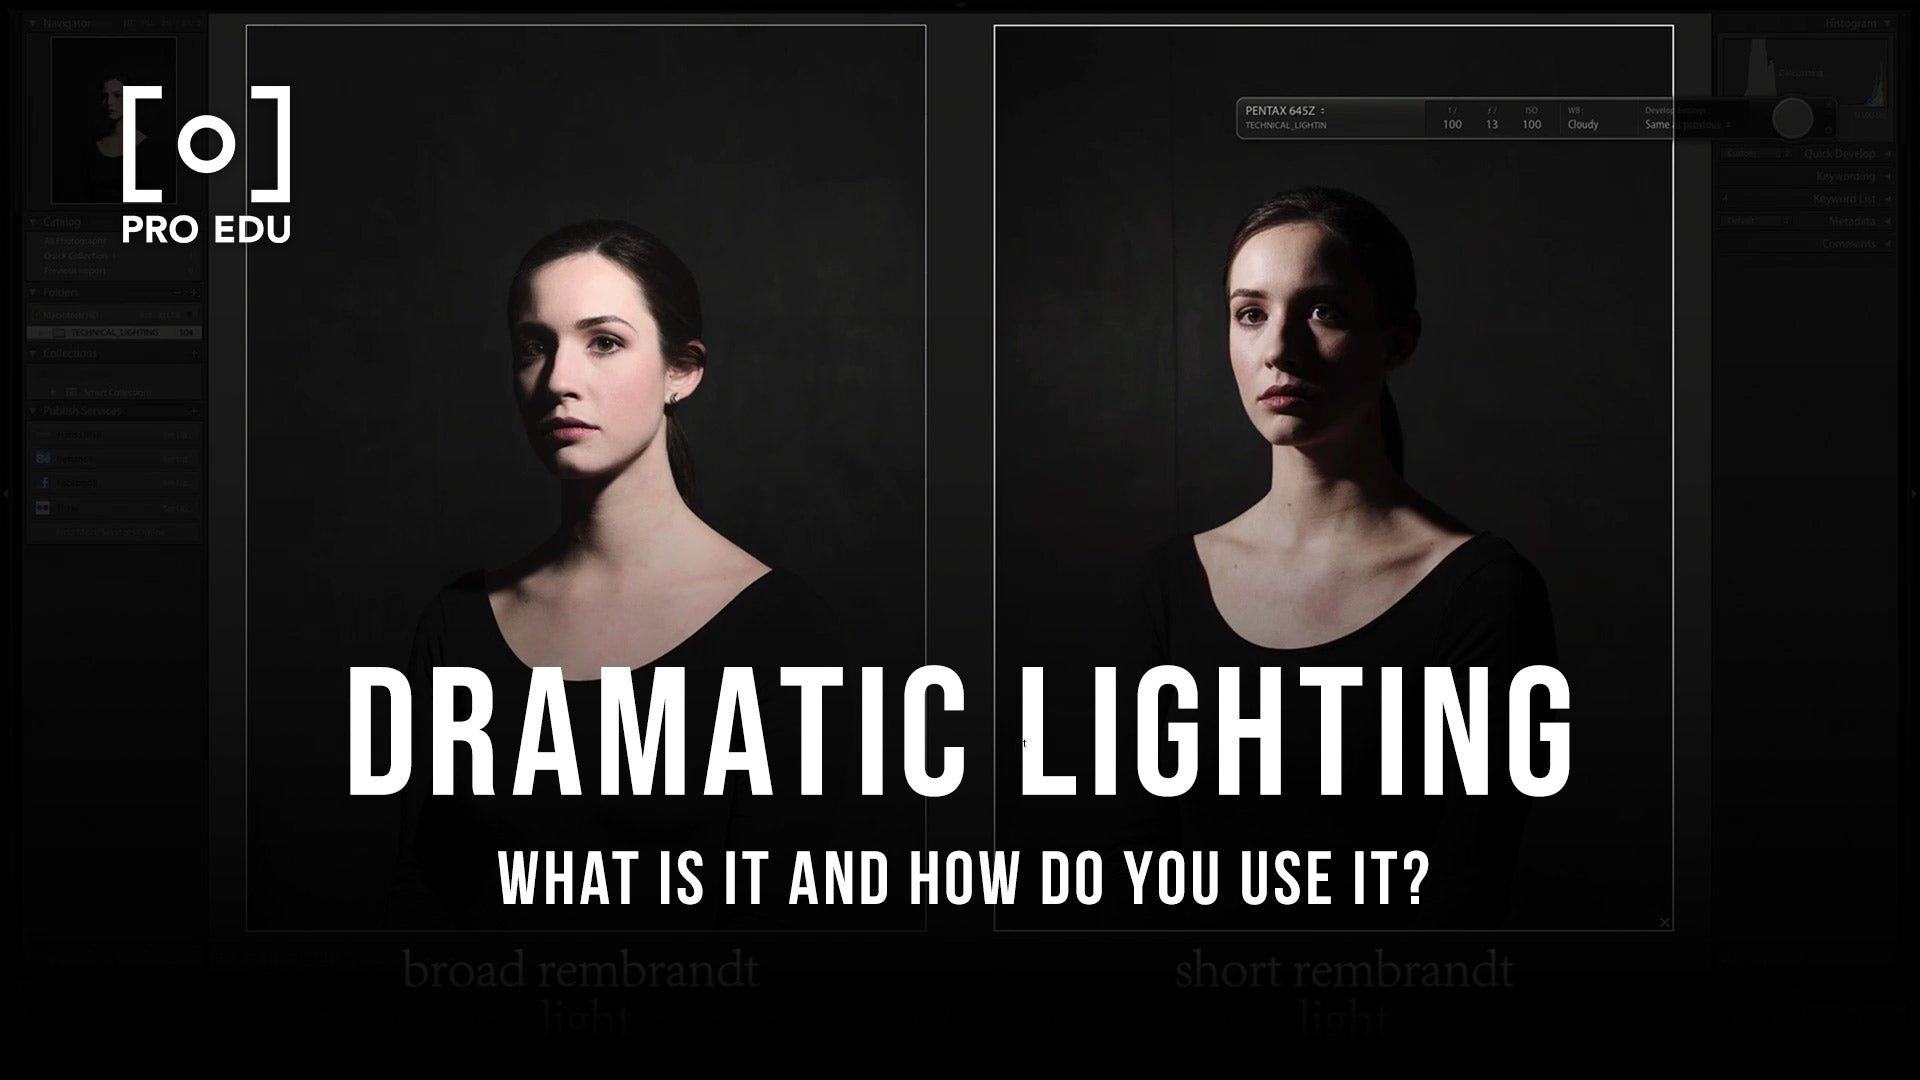
Dramatic Lighting: Transforming Spaces with Impactful Design
Creating dramatic lighting in photography can elevate the mood and emotion of your images. Learn how to use light and shadow to create stunning portraits that captivate viewers.

C4d Classes: Master 3D Modeling and Animation
Cinema 4D (C4D) is an essential tool for anyone looking to create stunning 3D animations and designs. For beginners and advanced users alike, finding the right class can make a huge difference in m...

How To Be A Car Photographer: Mastering Automotive Imagery Techniques
Becoming a car photographer can merge your passion for cars and photography into a fulfilling career. Master essential techniques, build a robust portfolio, and network within the car enthusiast co...
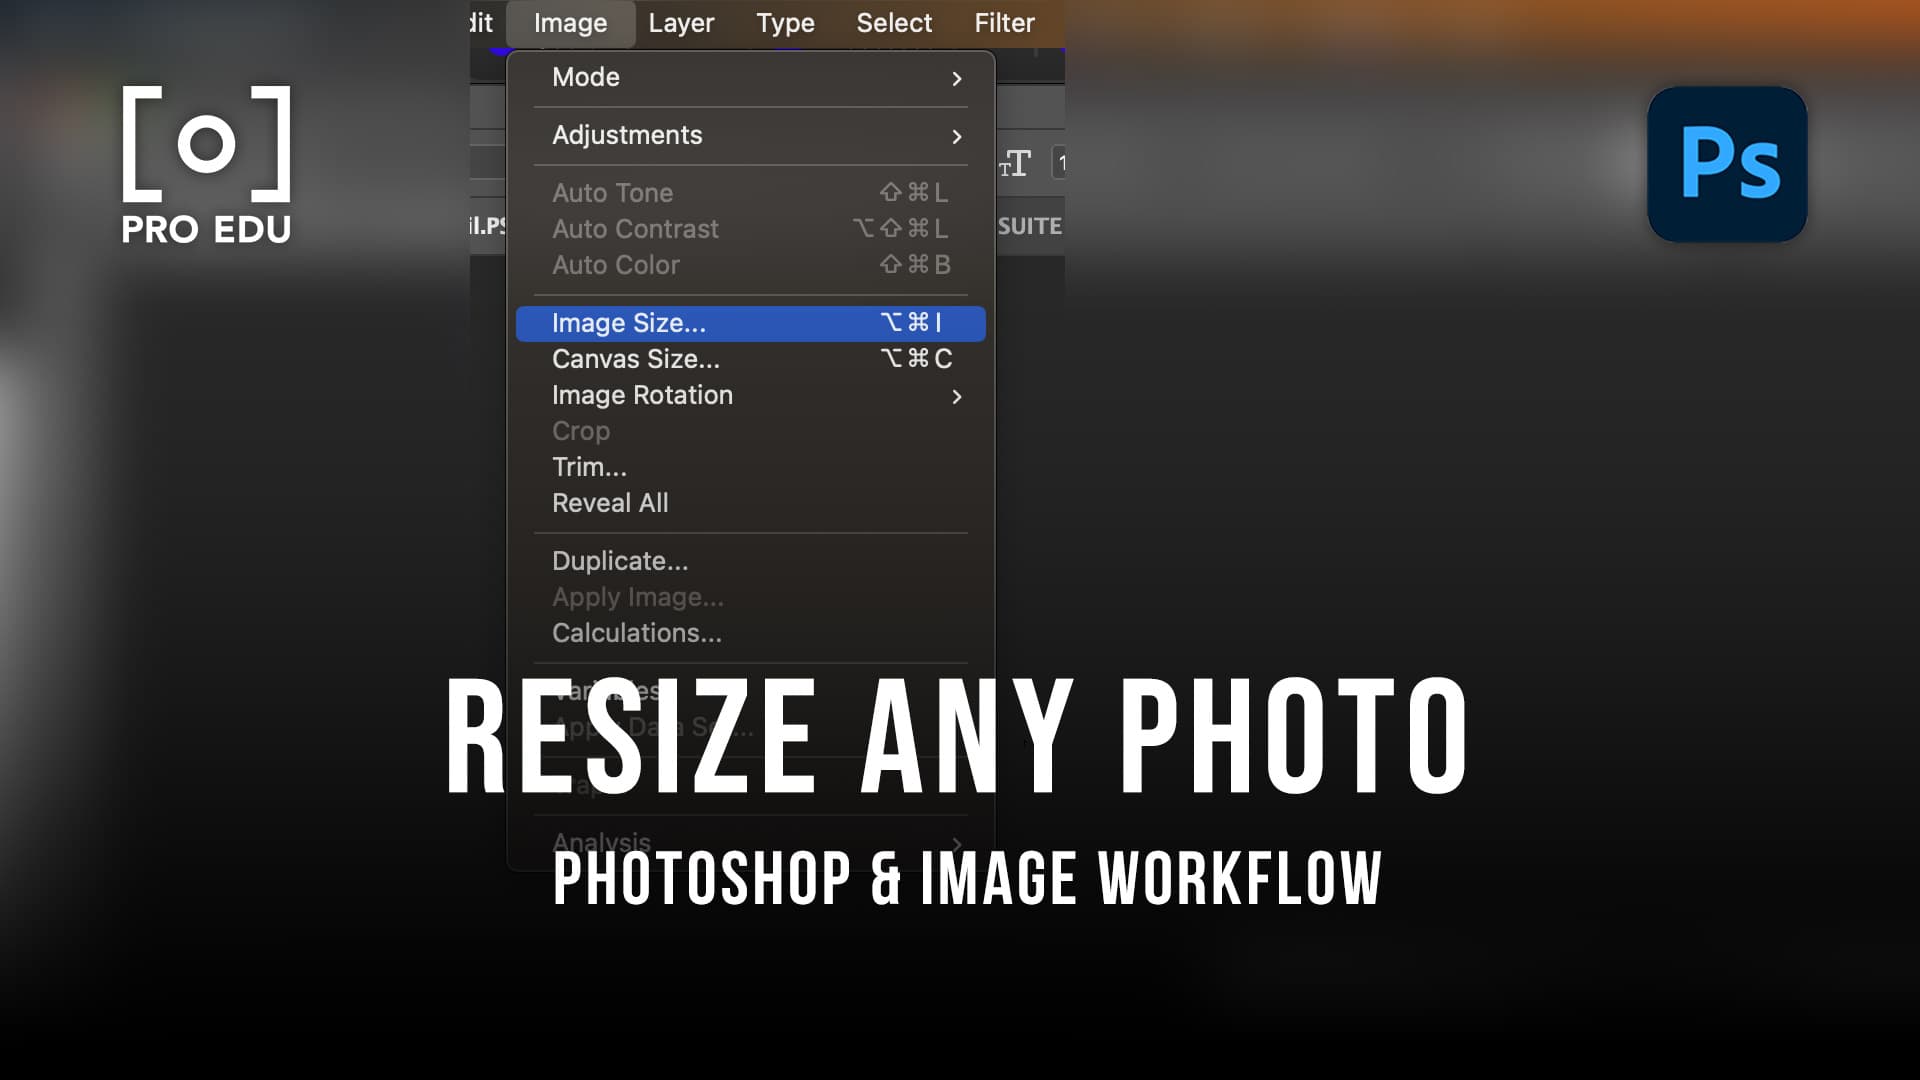
Free Image Resizer: Resize Photos Online for Perfect Fit
In today's digital world, resizing images while maintaining quality is crucial for various uses, including social media and professional presentations. Free online image resizers offer a quick and ...
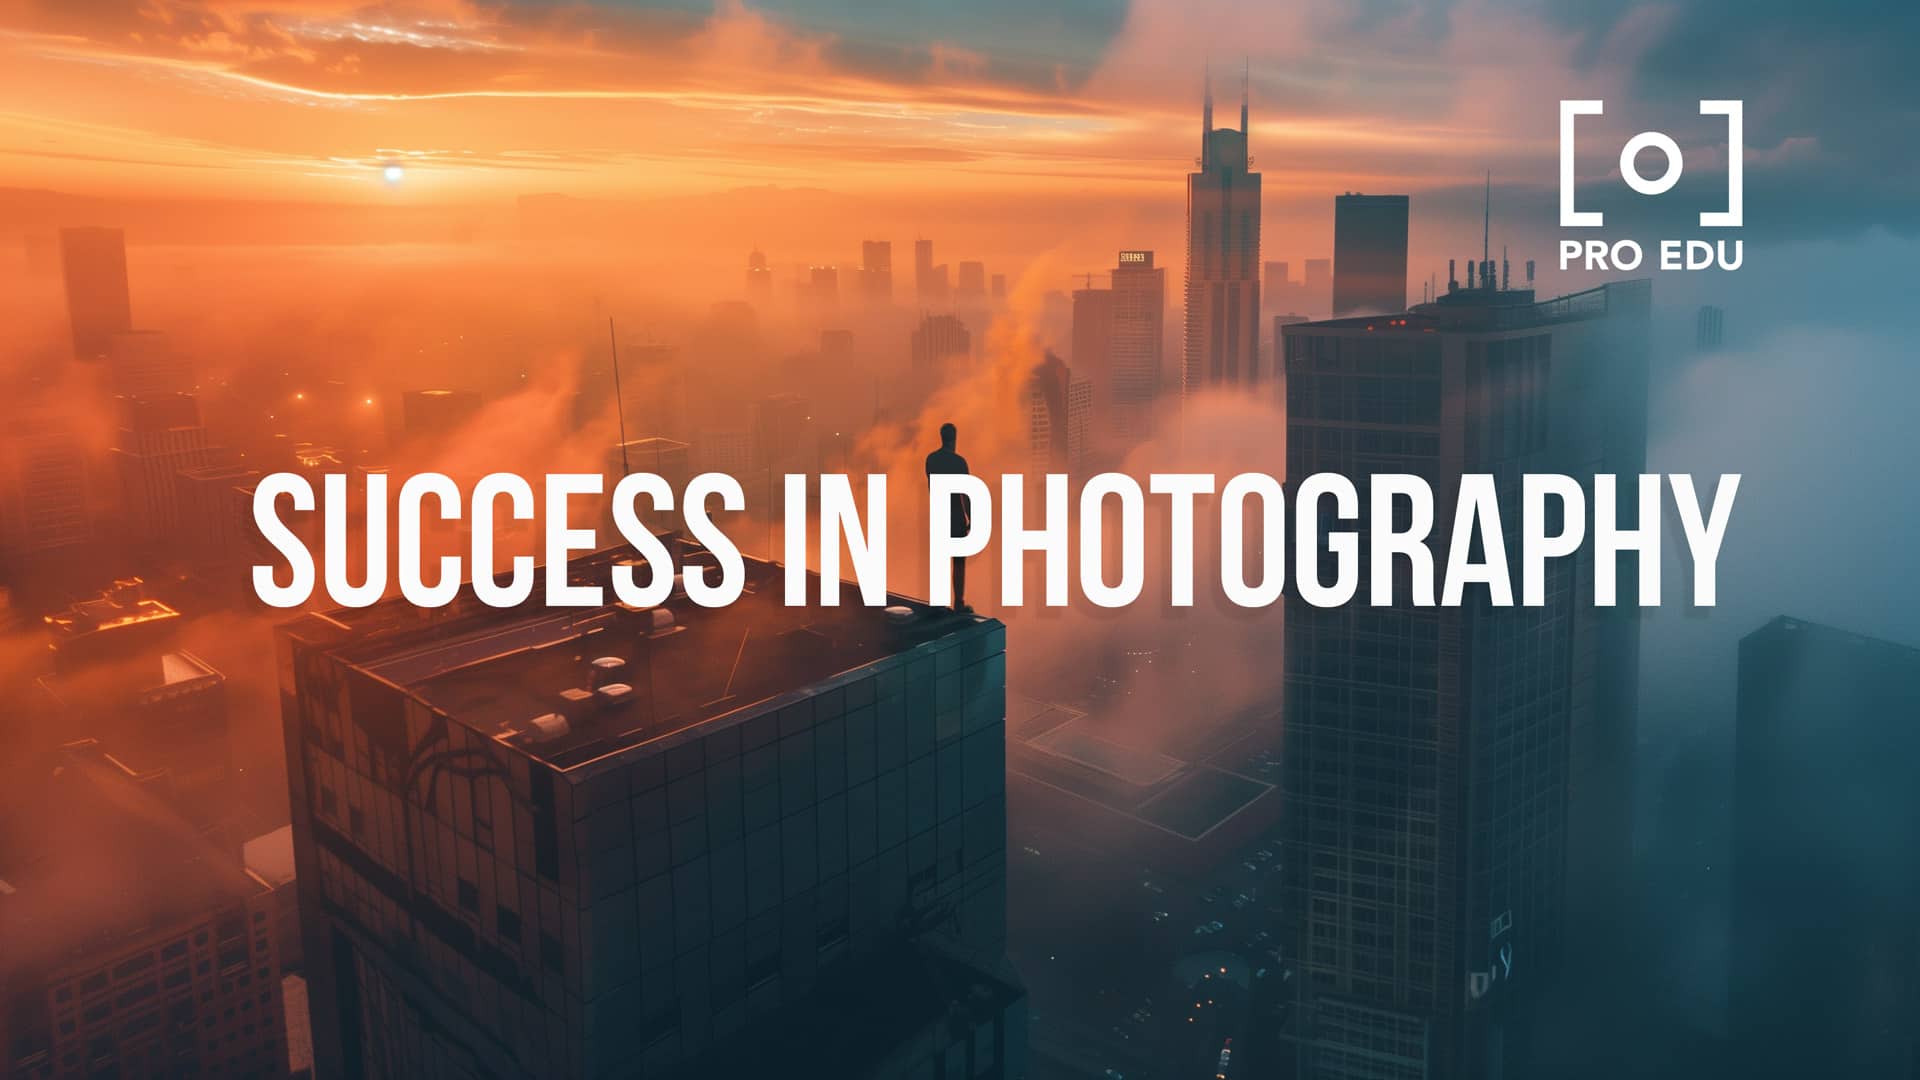
Behind the Lens: Real-Life Success Stories from Commercial Photographers – Insights and Inspirations
In our exploration of real-life success stories in commercial photography, we uncover the fusion of creativity, technical skill, and relentless pursuit of vision that defines the careers of those w...
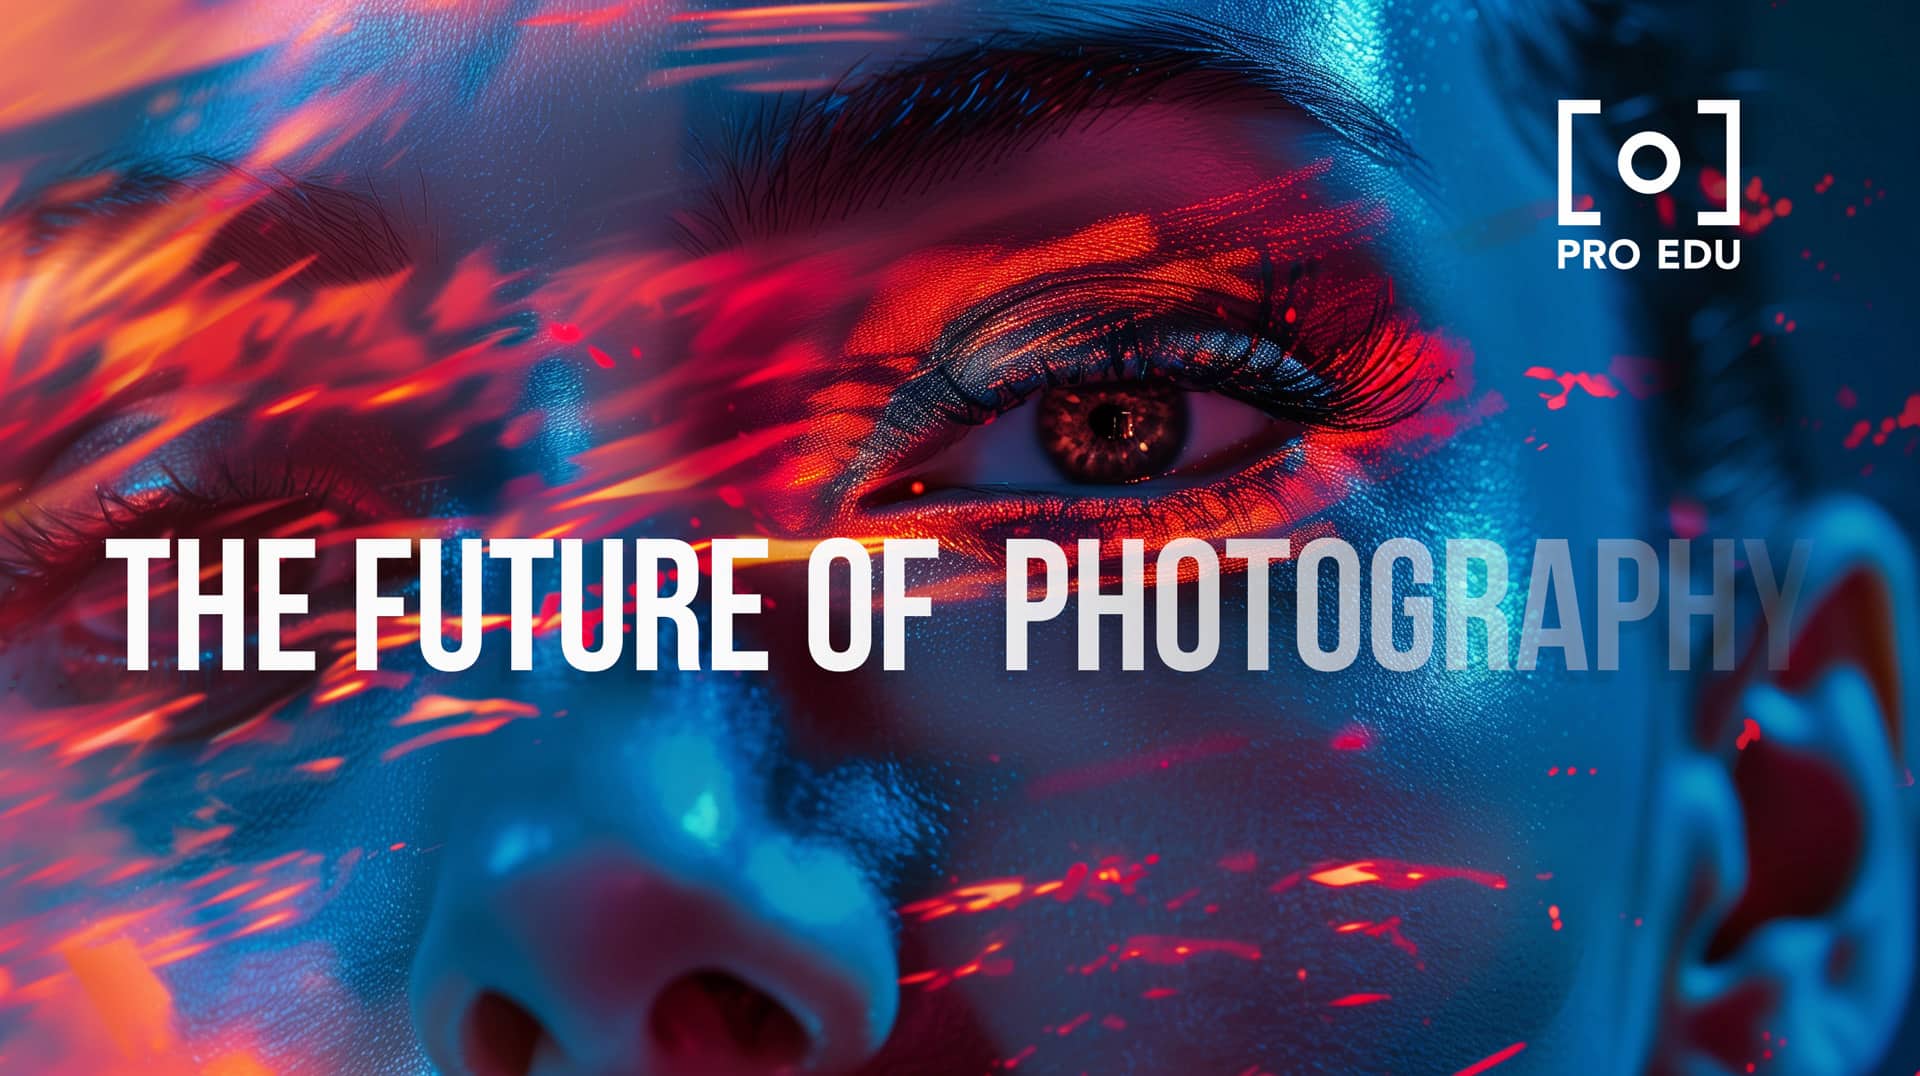
The Future of Commercial Photography: Navigating Emerging Trends and Decade Projections
Advances in camera technologies and the integration of artificial intelligence are pivotal in shaping the future of commercial photography, demanding adaptability and strategic planning from photog...
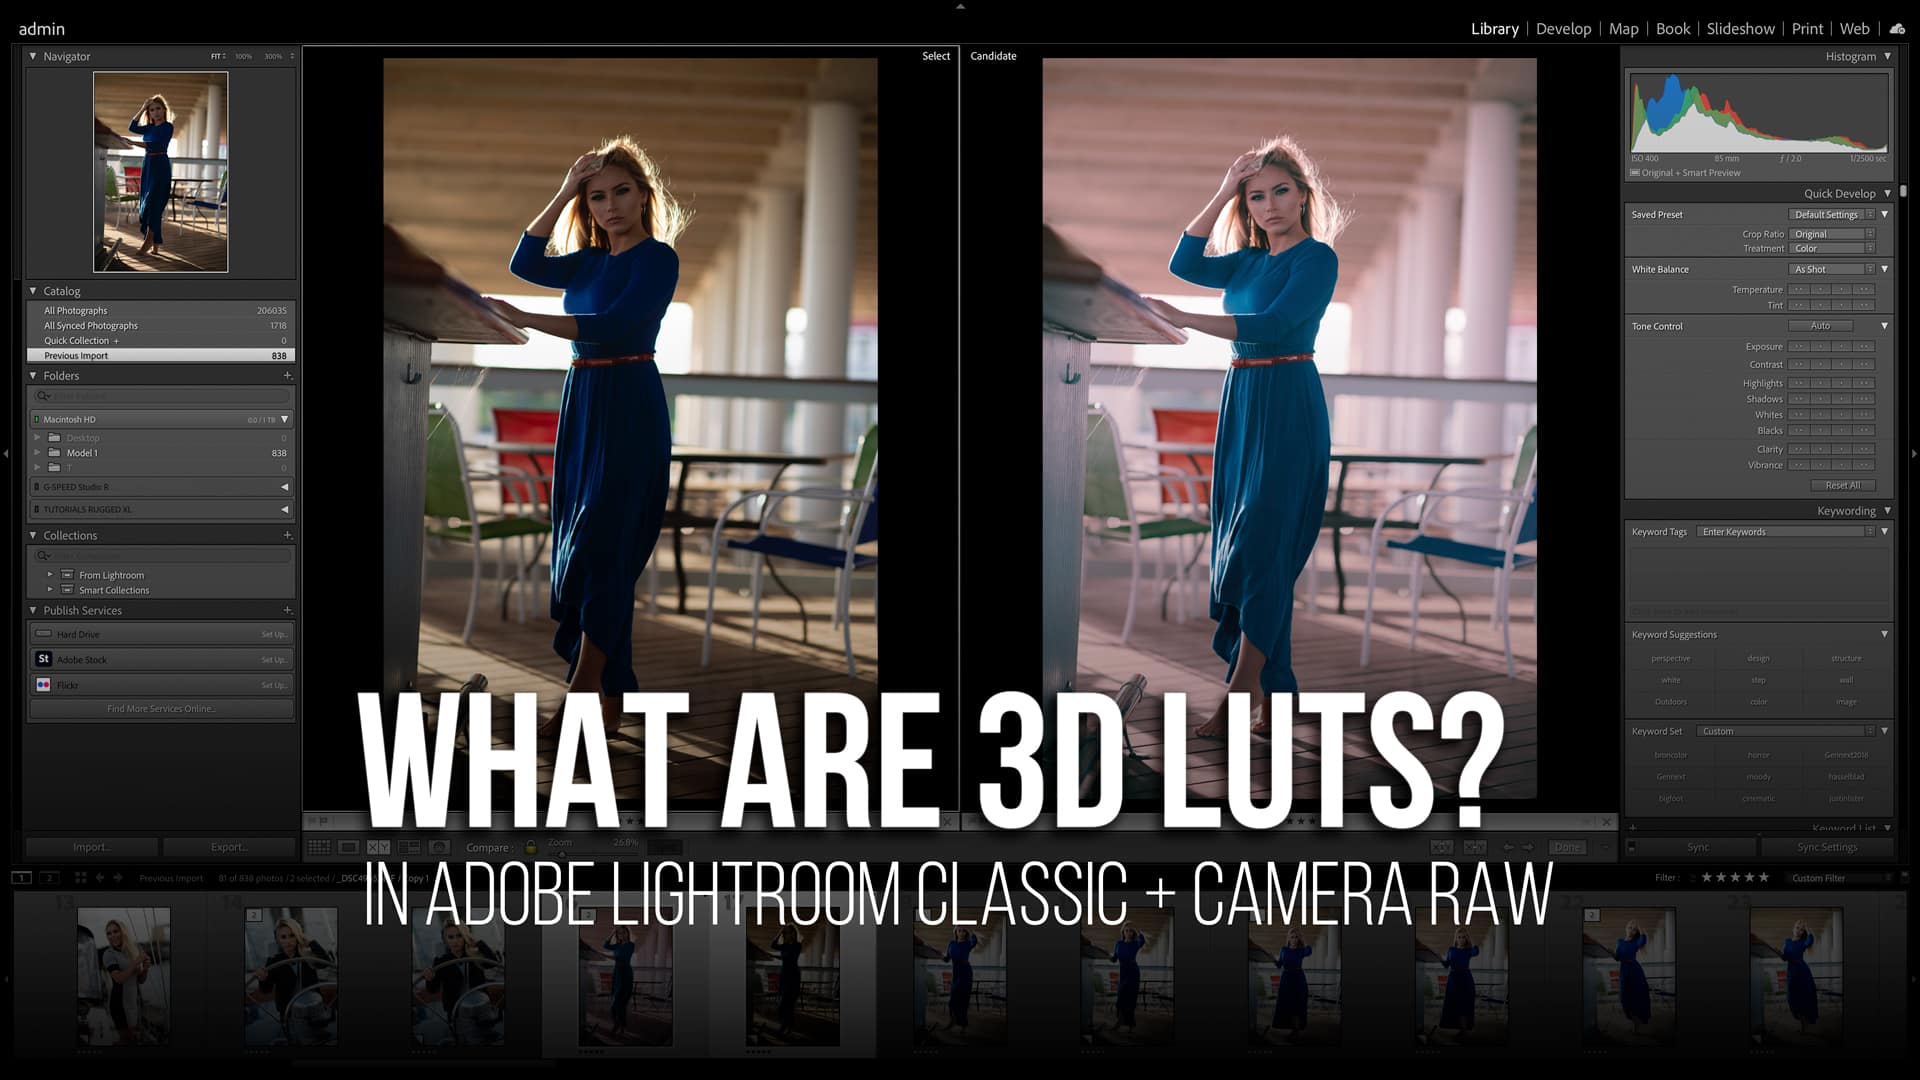
Why Photographers Need to Use 3D LUT Color Grading Profiles: Enhancing Visual Impact
Discover the transformative power of 3D LUTs in photography, a tool that enables precise color transformation and mood setting across your projects. Mastering these can significantly elevate the pr...

Navigating the Business of Commercial Photography: A Guide to Pricing, Contracts, and Licensing
Dive into the business side of commercial photography with our comprehensive guide on pricing, contracts, and licensing. Learn how to establish a profitable pricing model, negotiate contracts that ...

The Ultimate Gear Checklist for Commercial Photographers: Essential Equipment Breakdown
Equip yourself for success in commercial photography with our ultimate gear checklist, covering everything from cameras to post-production tools, ensuring every shoot delivers professional-level re...

Mastering Lighting Techniques for Commercial Photography: Expert Insights for Pro-Level Results
Discover the transformative power of mastering lighting techniques in commercial photography. Elevate your imagery from ordinary to extraordinary with expert insights into professional-level results.

Elevating Commercial Photography with CGI and Retouching Techniques
Take commercial photography one step further with CGI, where mastering retouching methods enable photographers to offer an enhanced range of services, resulting in more dynamic and polished imagery...


