
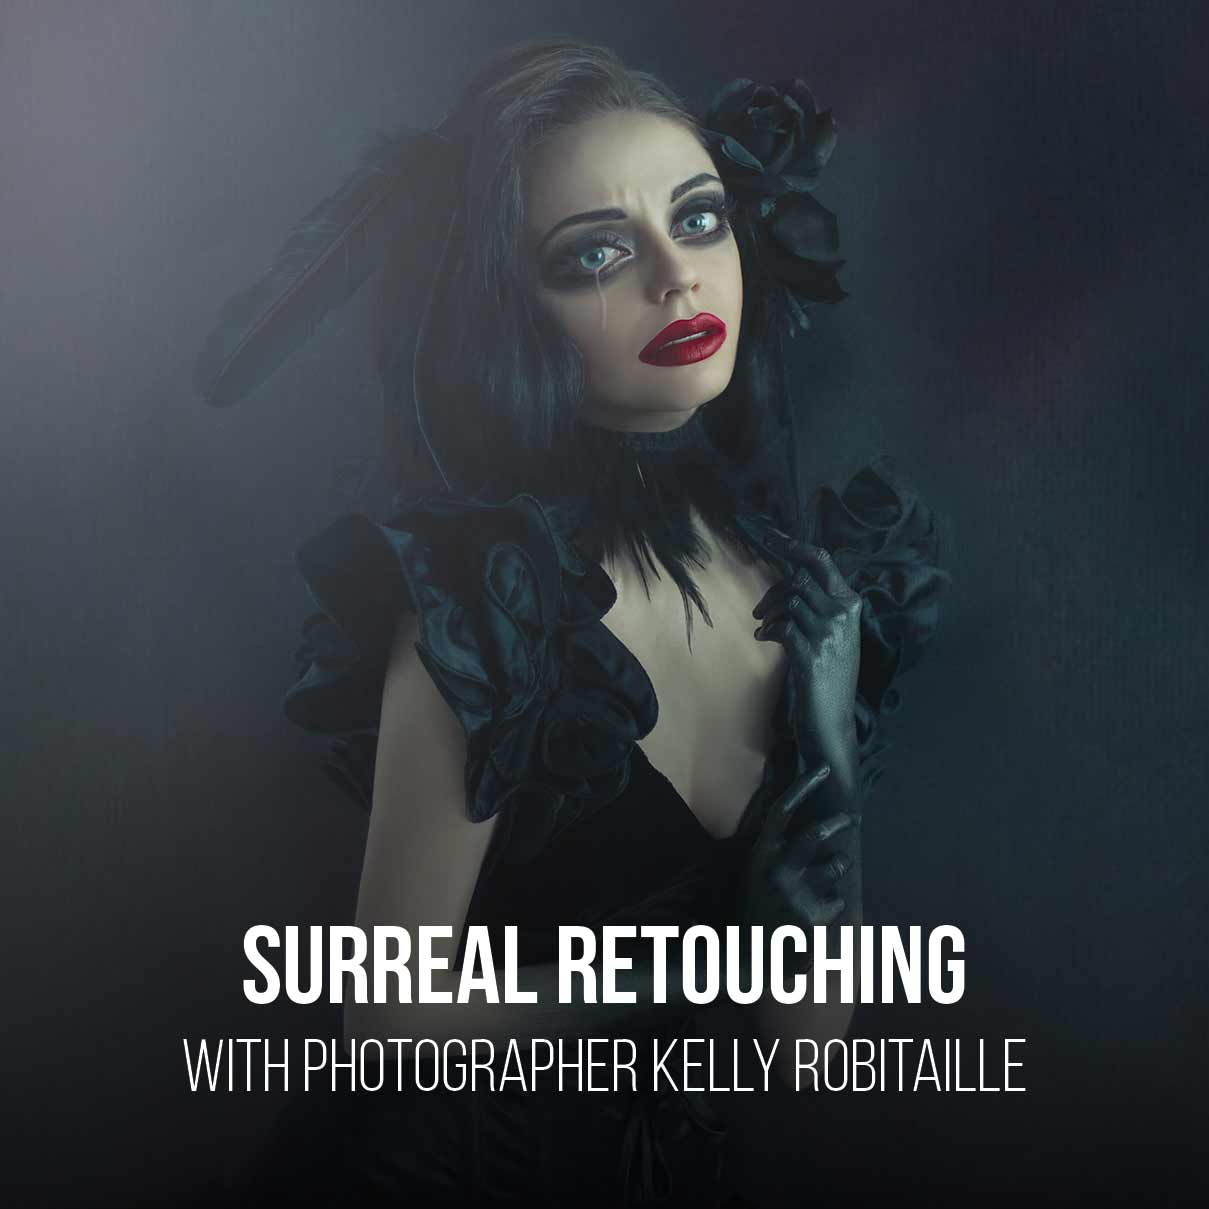


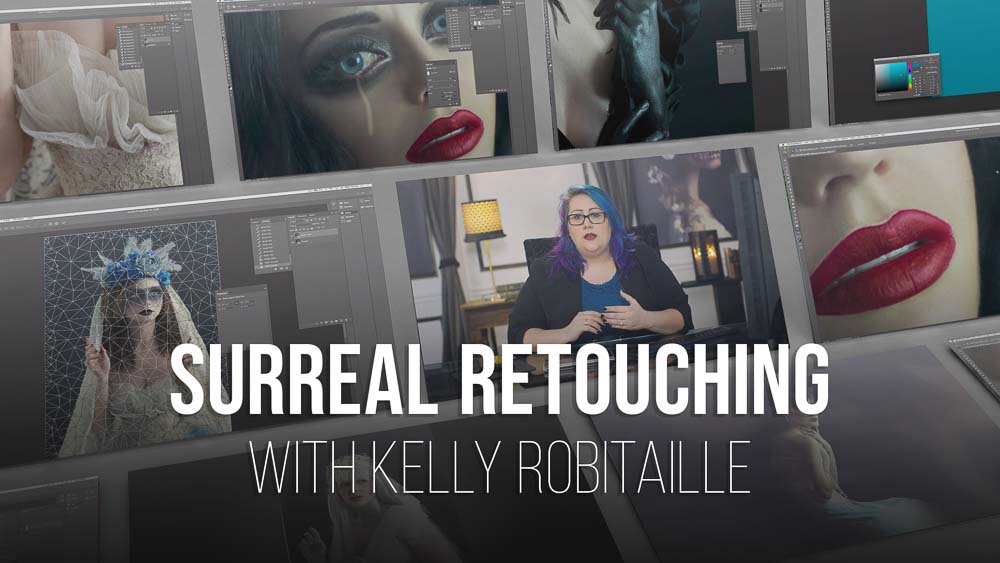
Surreal Portraiture: Styling & Retouching
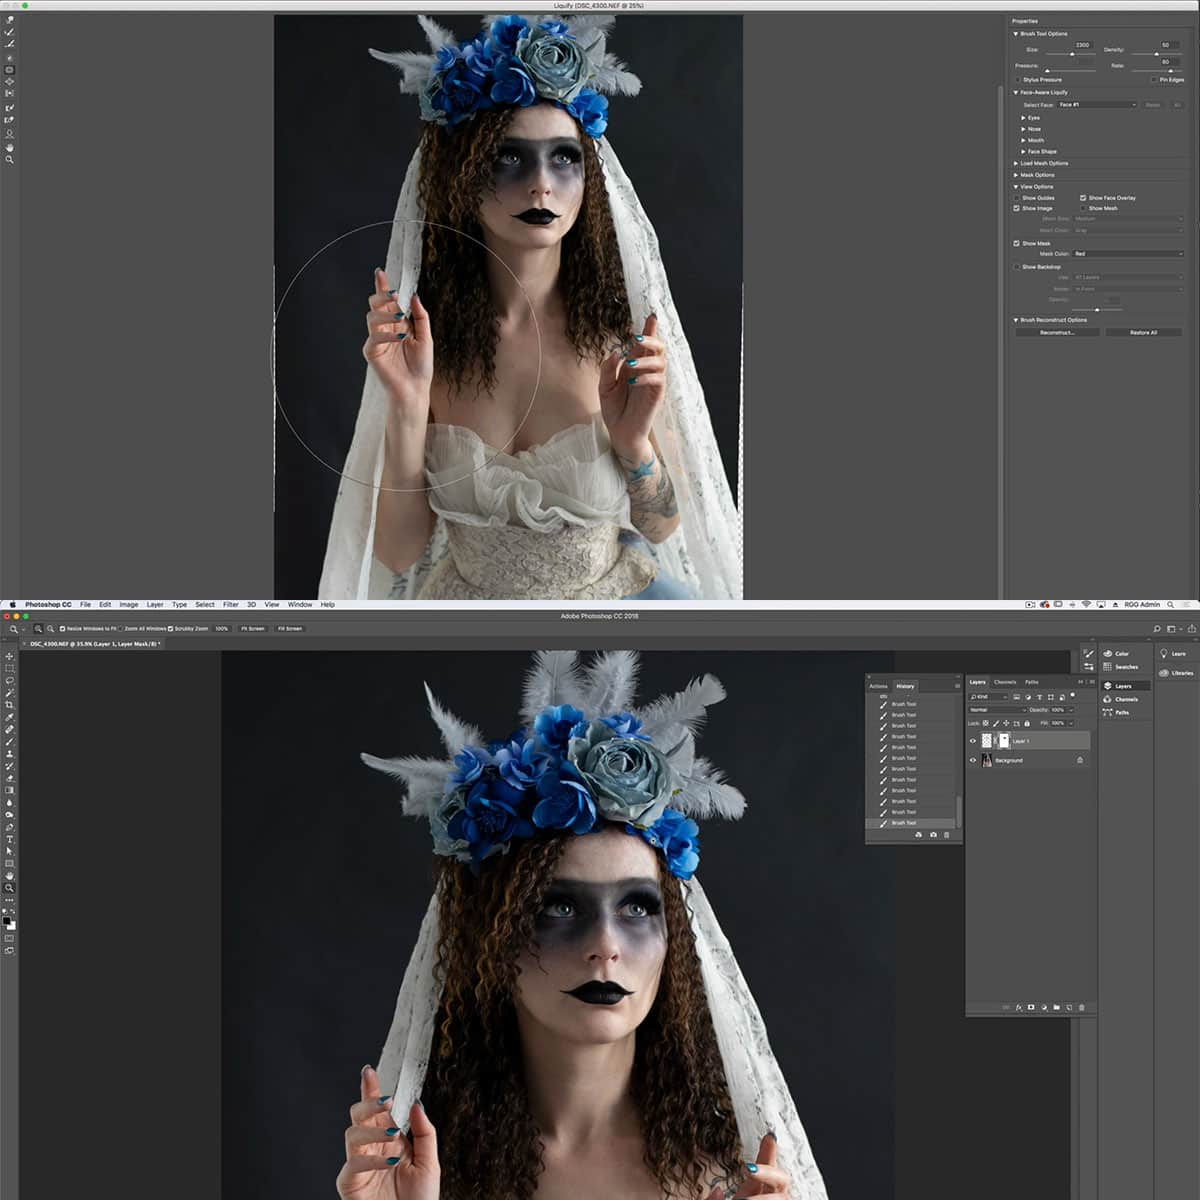
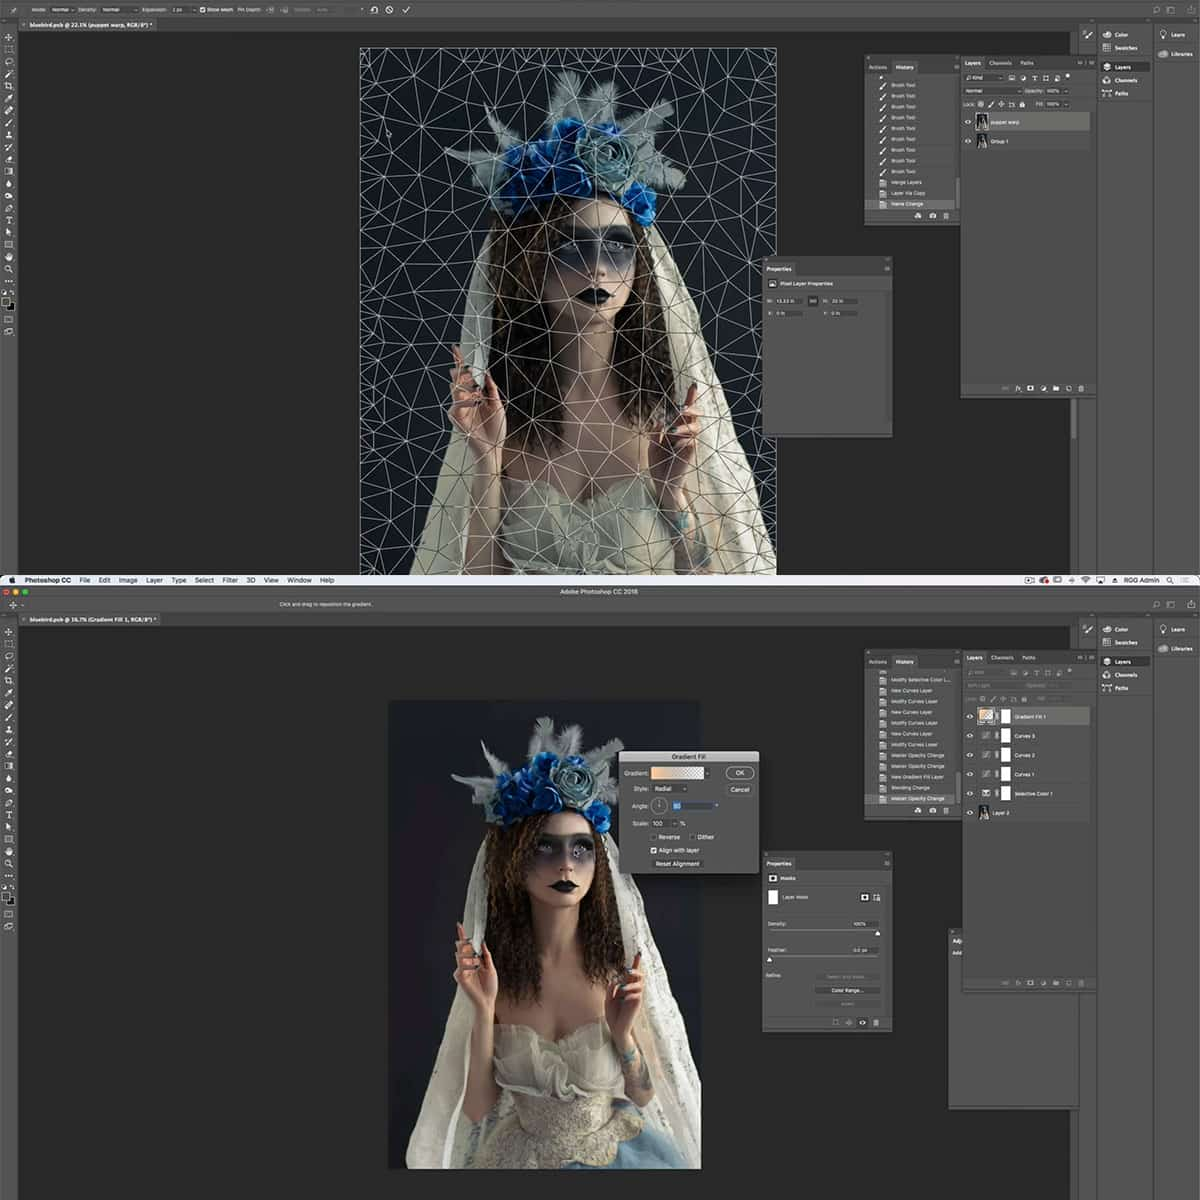
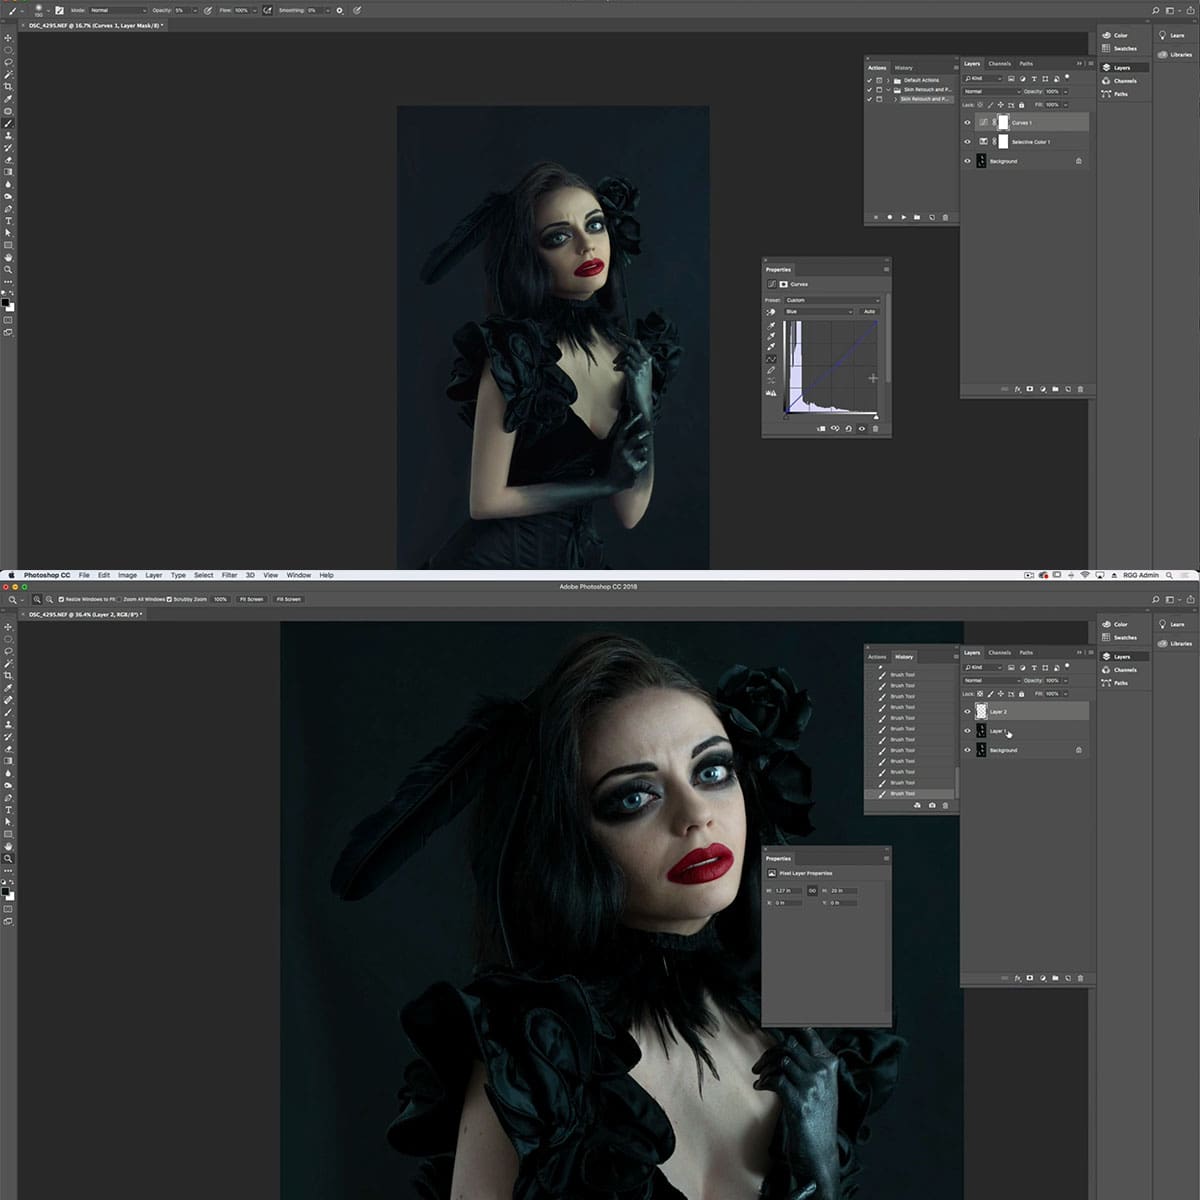
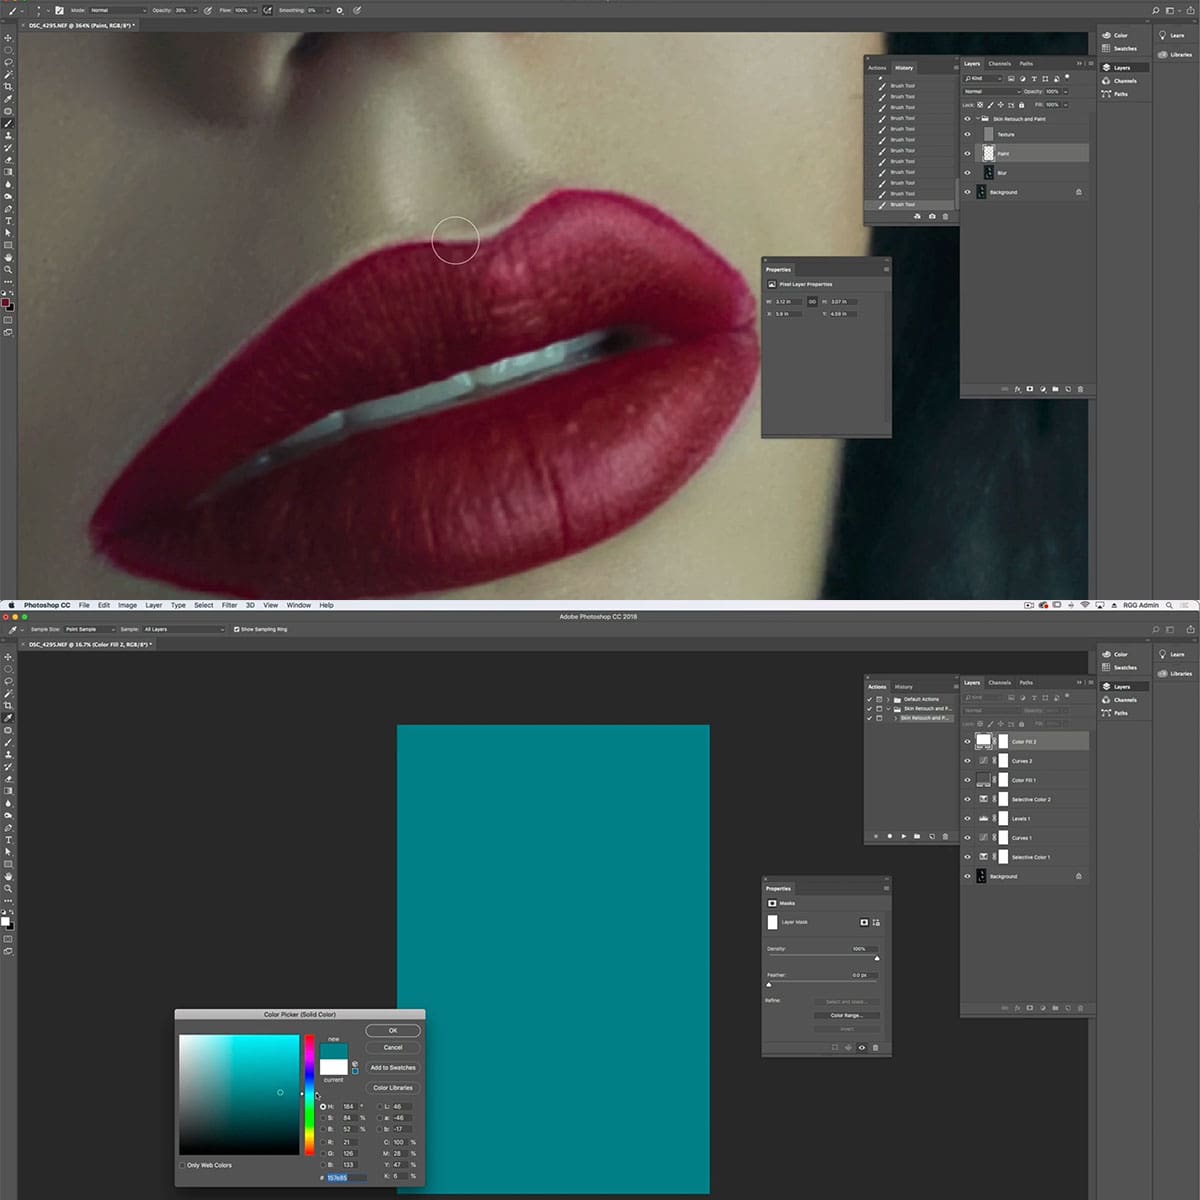
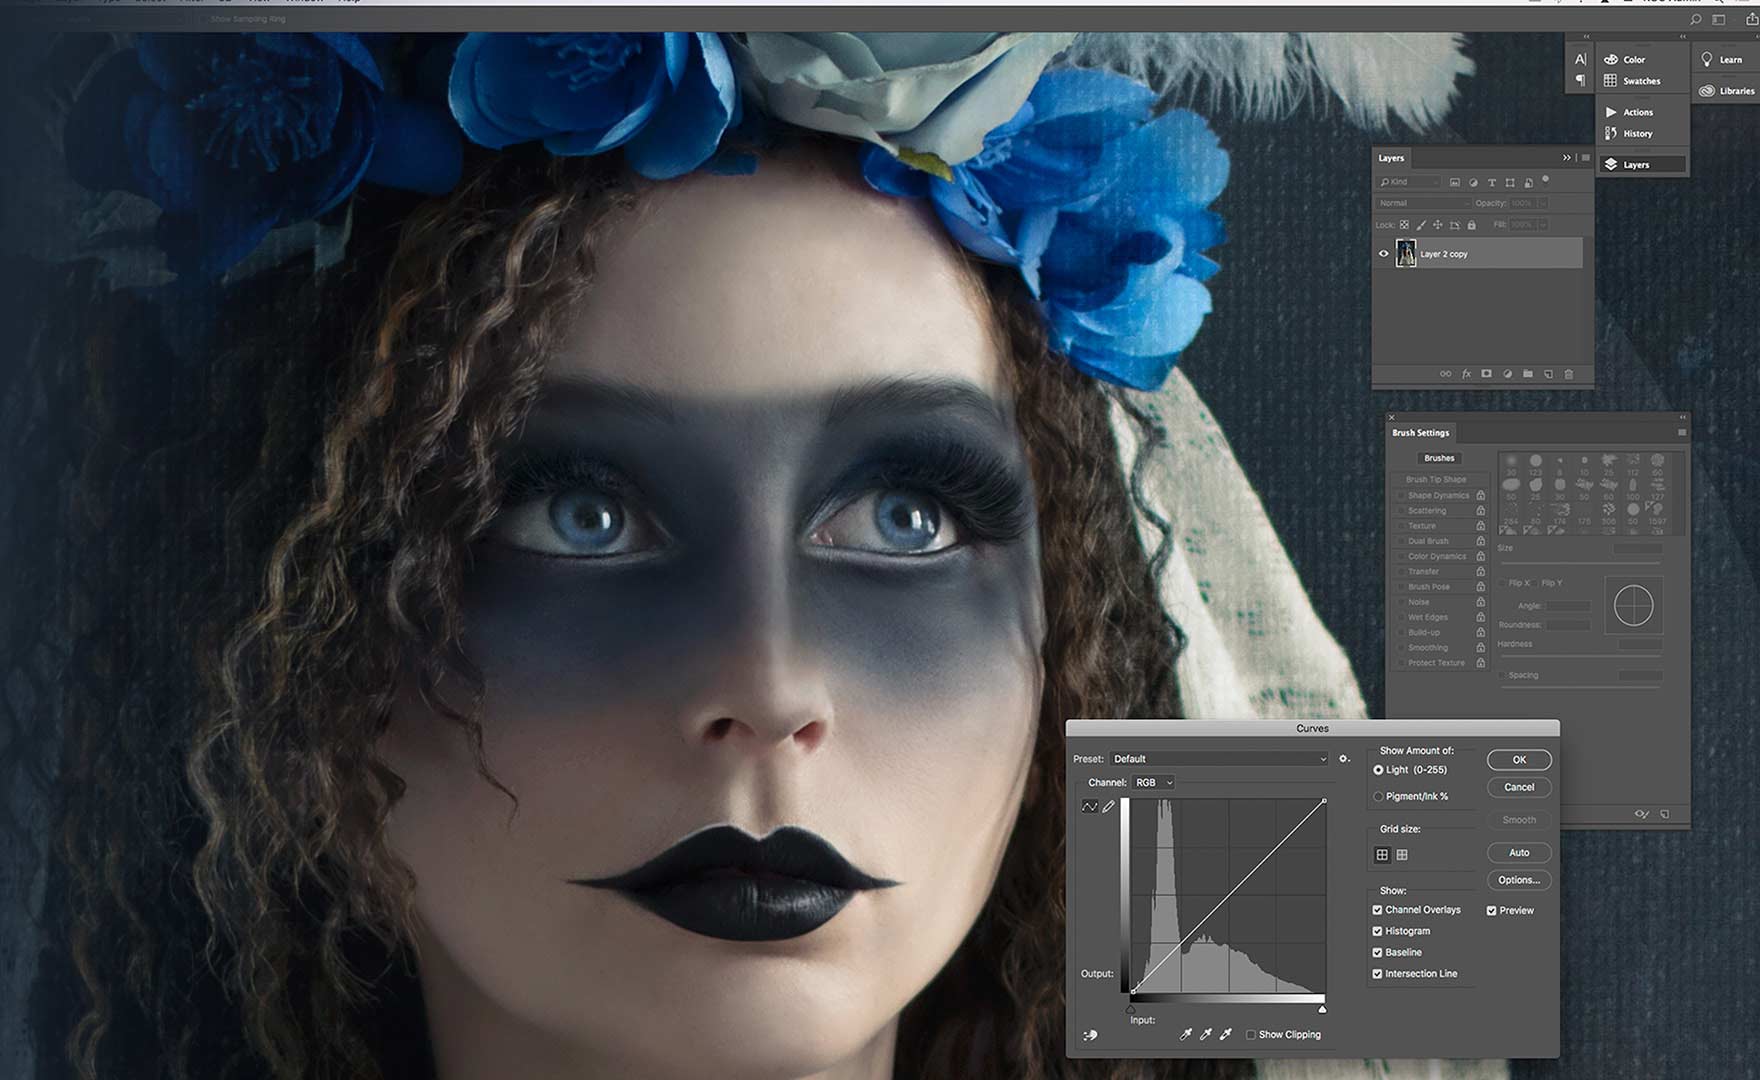
In this tutorial, Kelly Robitaille unveils her entire creative workflow for surreal and whimsical portraits. Beginning with a concept, she stresses the importance of giving her subjects backstory to create a photographic narrative and enhance character-driven emotion within her surreal portraiture. She then dives into the technical side of her work, demonstrating a number of Photoshop tools in interesting and unconventional ways specific to her style.
Surreal Portraiture: Styling & Retouching is included with hundreds of products and courses in our Unlimited PRO PLAN membership, learn more here.
What's Included In
Surreal Portraiture: Styling & Retouching
Once you purchase this course, you can sign in and download all videos and assets.
STREAM + DOWNLOAD HERE21
3.0
Yes
Yes
Yes
Desktop, iOS App, Android, AppleTV, ROKU, Amazon Fire Stick
Yes
Yes, Sign up here.
READY TO LEARN A NEW APPROACH?
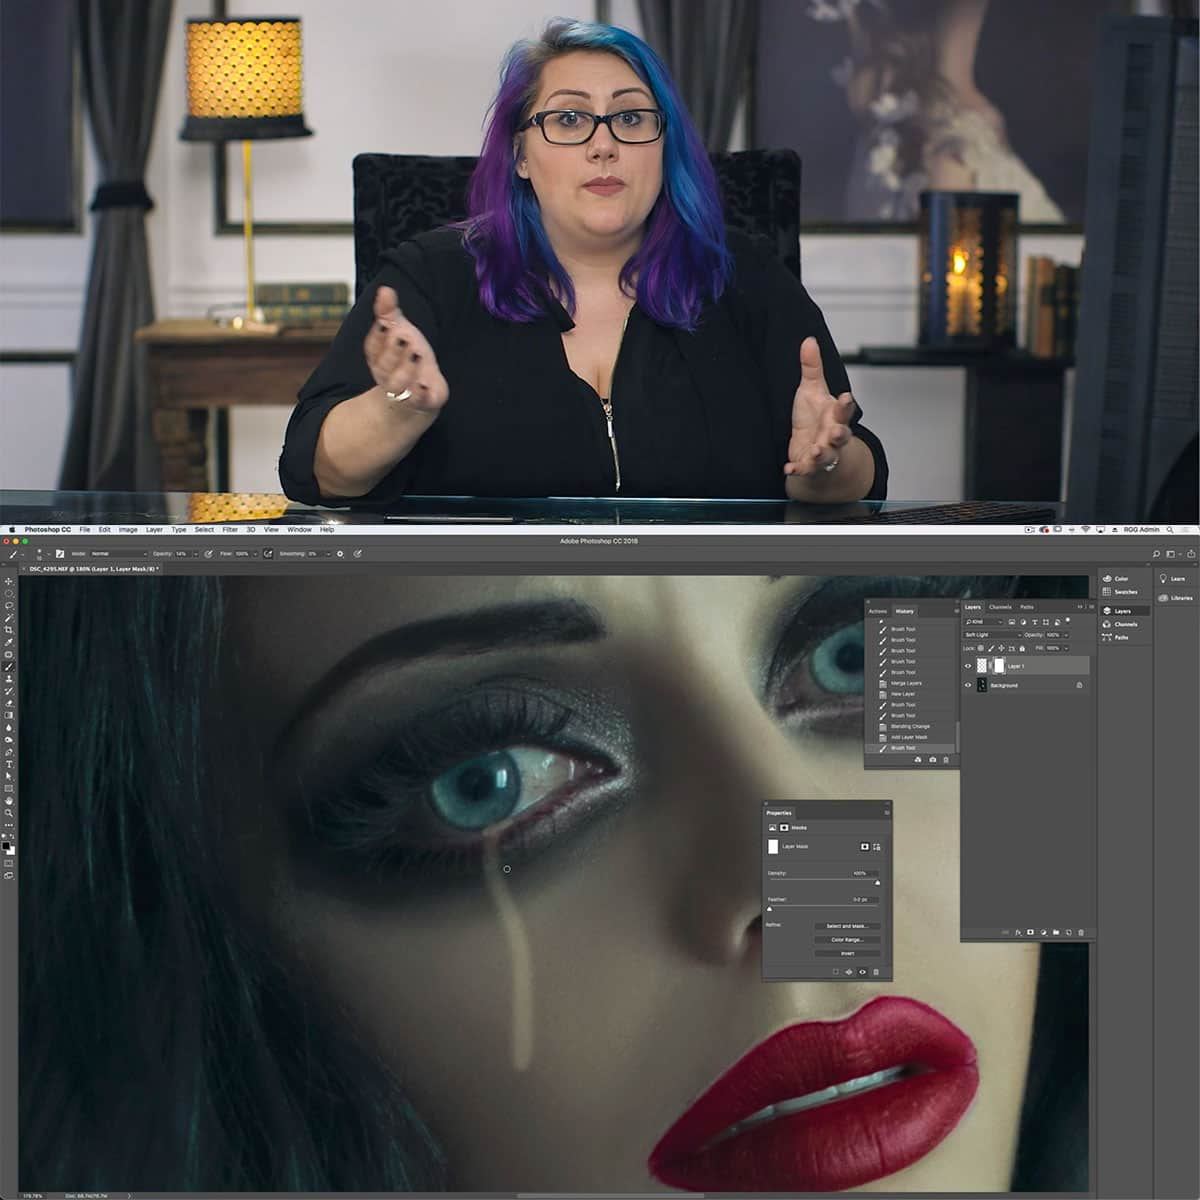
Do you want to learn how to make surreal portraits? Kelly Robitaille is a world-renowned retoucher who has mastered the art of making surreal and whimsical portraits. In this tutorial, she unveils her entire creative workflow for creating these captivating images that will leave your viewers in awe.
TAKE YOUR CREATIVITY TO SURREAL PLACES
She begins with a concept, giving her subjects backstory to create a photographic narrative and enhance character-driven emotion within her work. Then she dives into the technical side of her work, demonstrating Photoshop tools in interesting and unconventional ways specific to her style.
LEARN TO PUSH YOUR PORTRAITS FURTHER
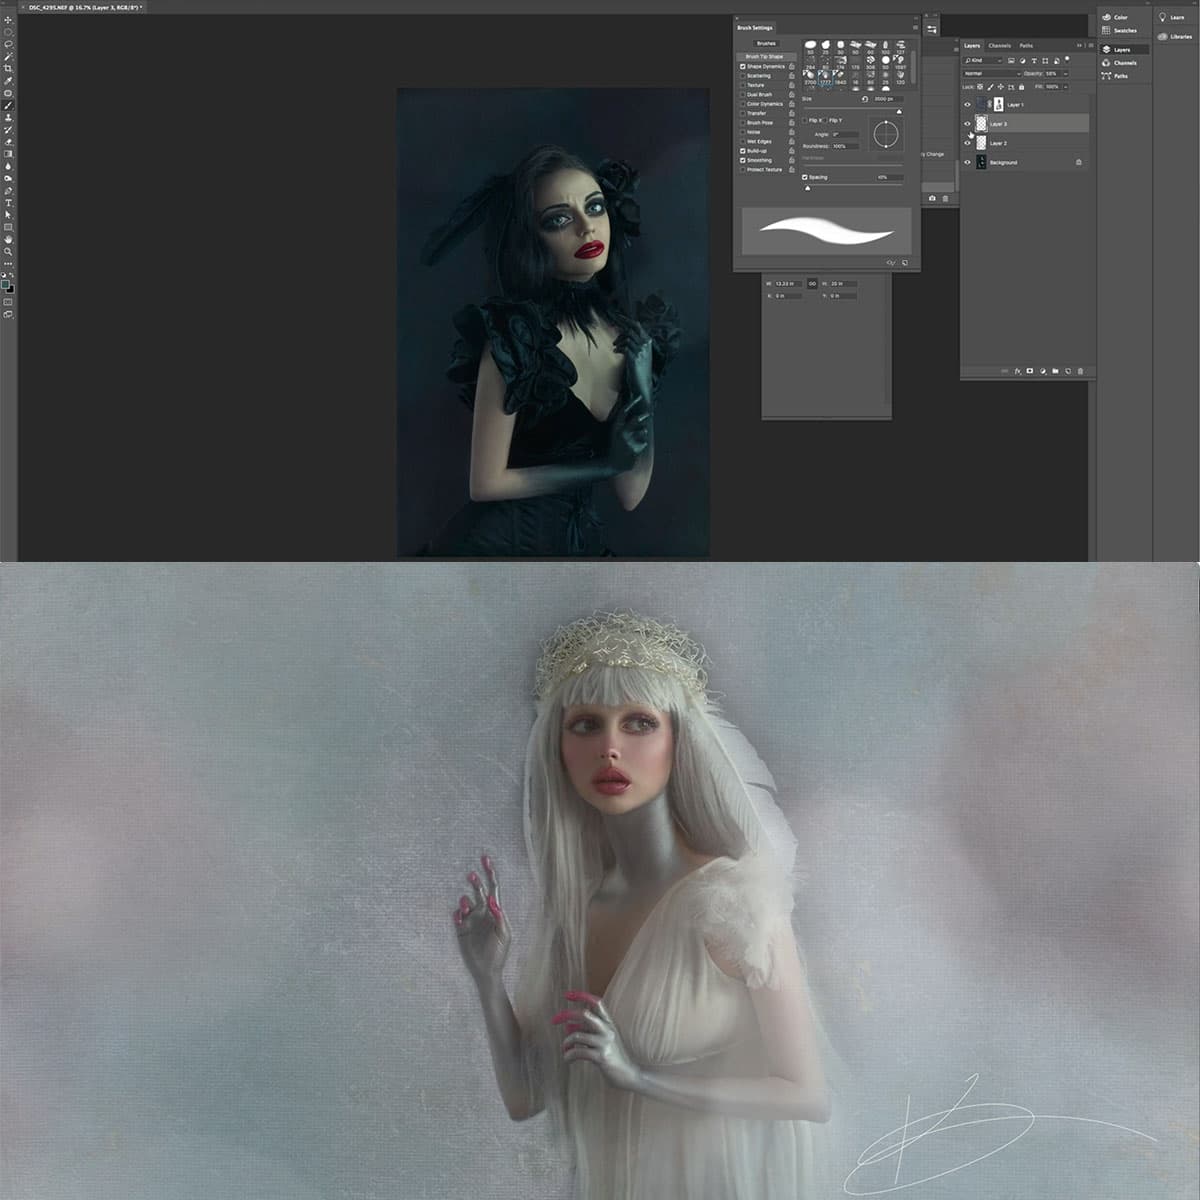
In this tutorial, Kelly Robitaille unveils her entire creative workflow for surreal and whimsical portraits. Beginning with a concept that is specific to the story she wants to tell in each photo - whether it be about something unusual or just someone looking off into space dreamily-she stresses giving subjects backstories so they have more dimensionality as people and teaches how to enhance features to support that story. This is a professional tutorial on how to retouch your photos using Photoshop in a surreal way. You'll learn everything about creating surreal portraits in Photoshop, including lighting tips, composition advice, post-production techniques and more!
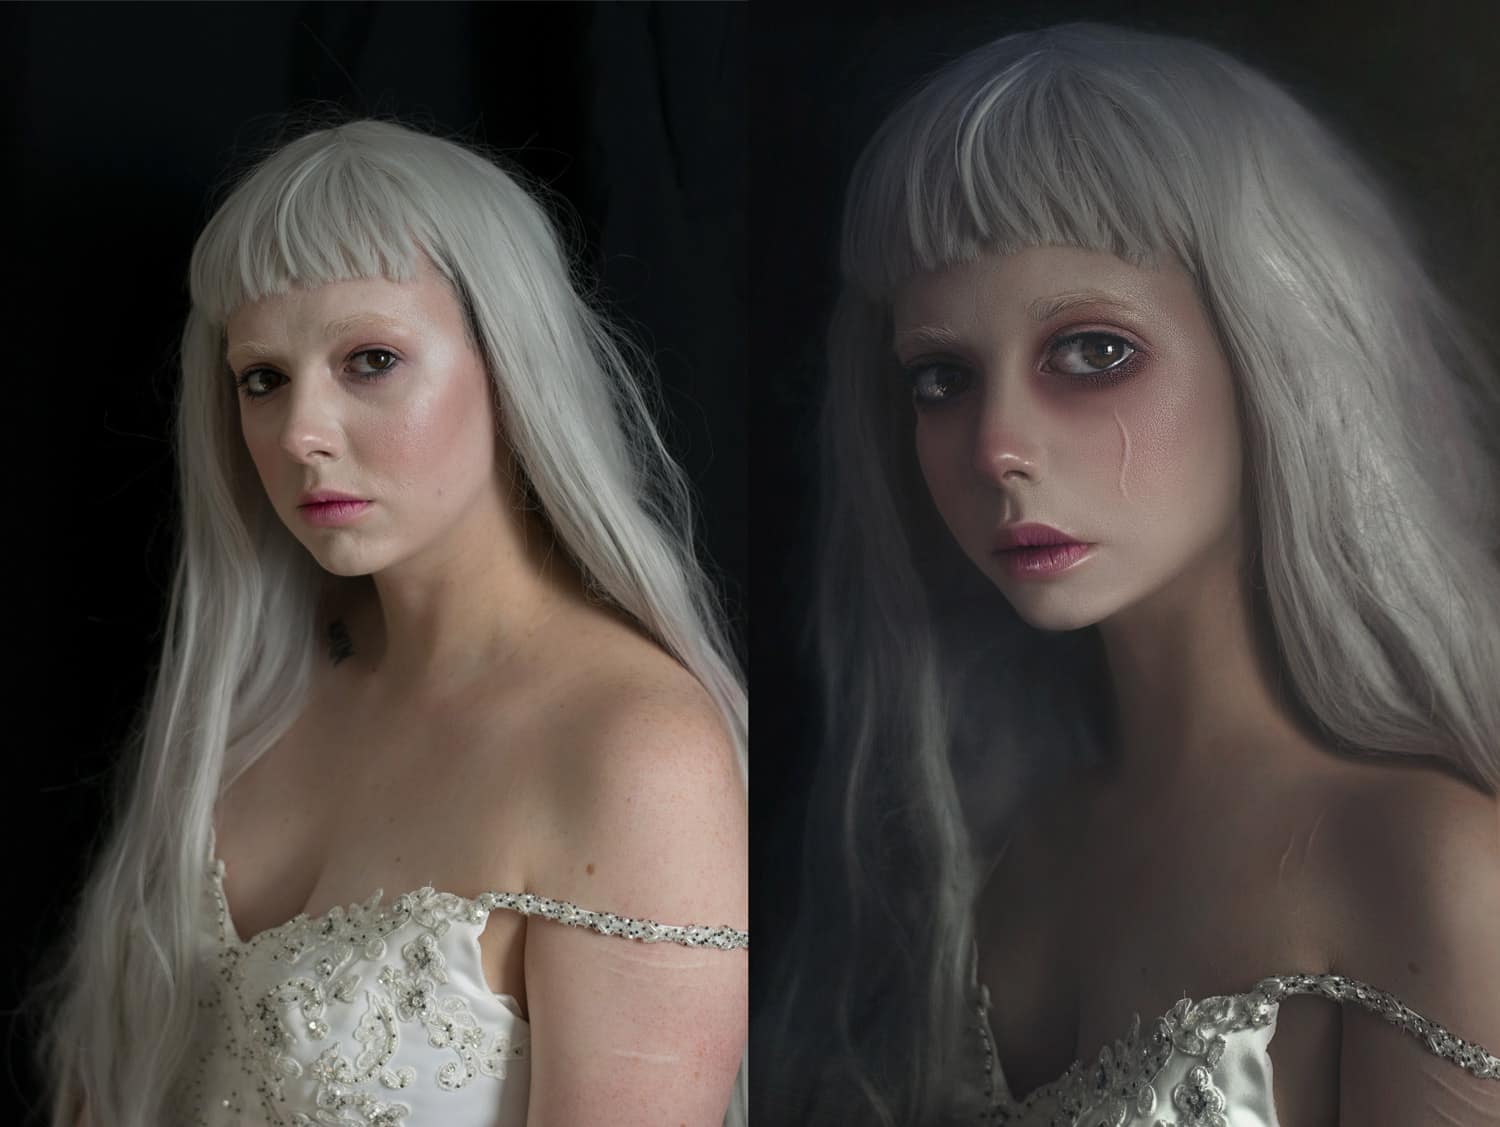
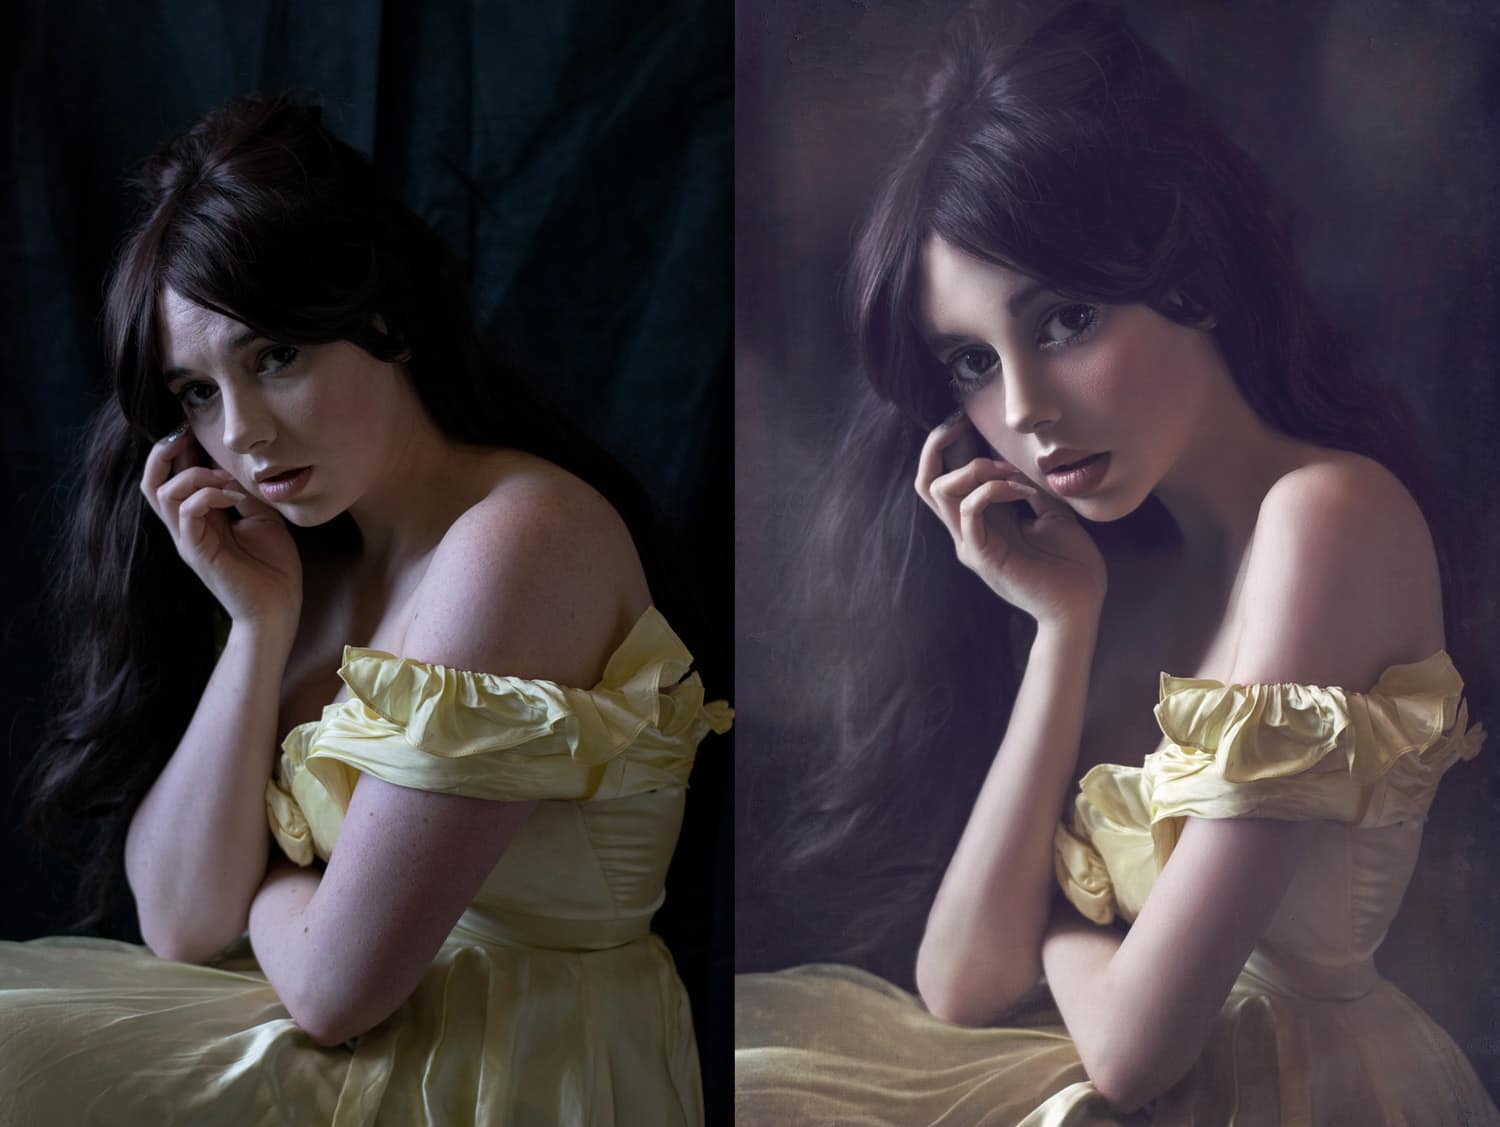
Before
After
Love this style and the walk through tutorial is easy to follow. Great for all levels.
A very clear tutorial with lots of tips and tricks you can use for your own art. Loved it!
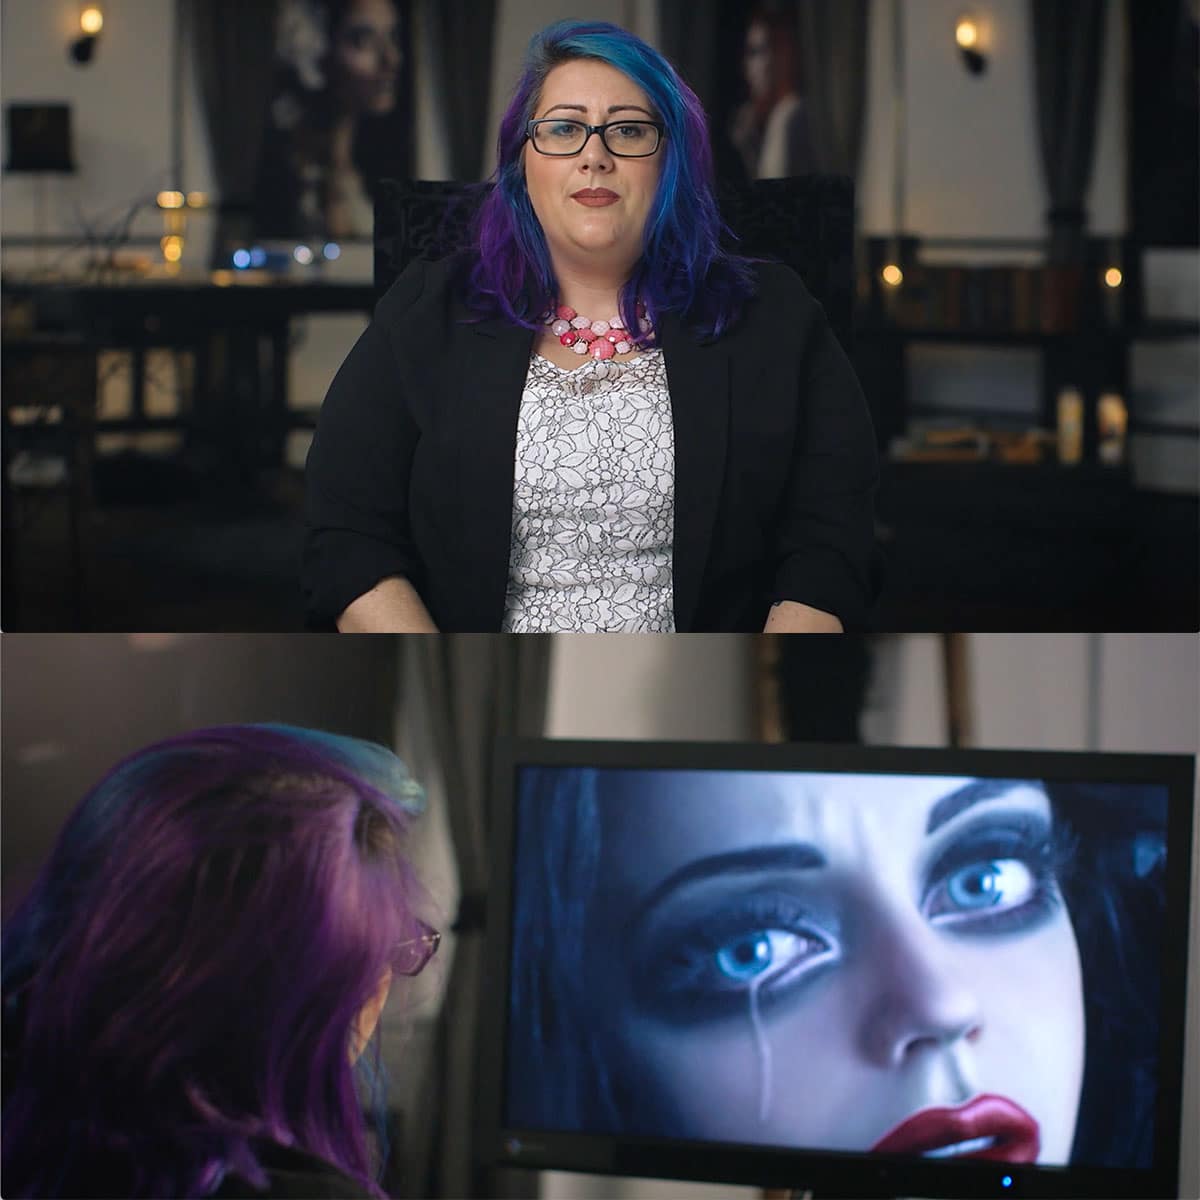
Get to know your new instructor
ABOUT Kelly Robitaille
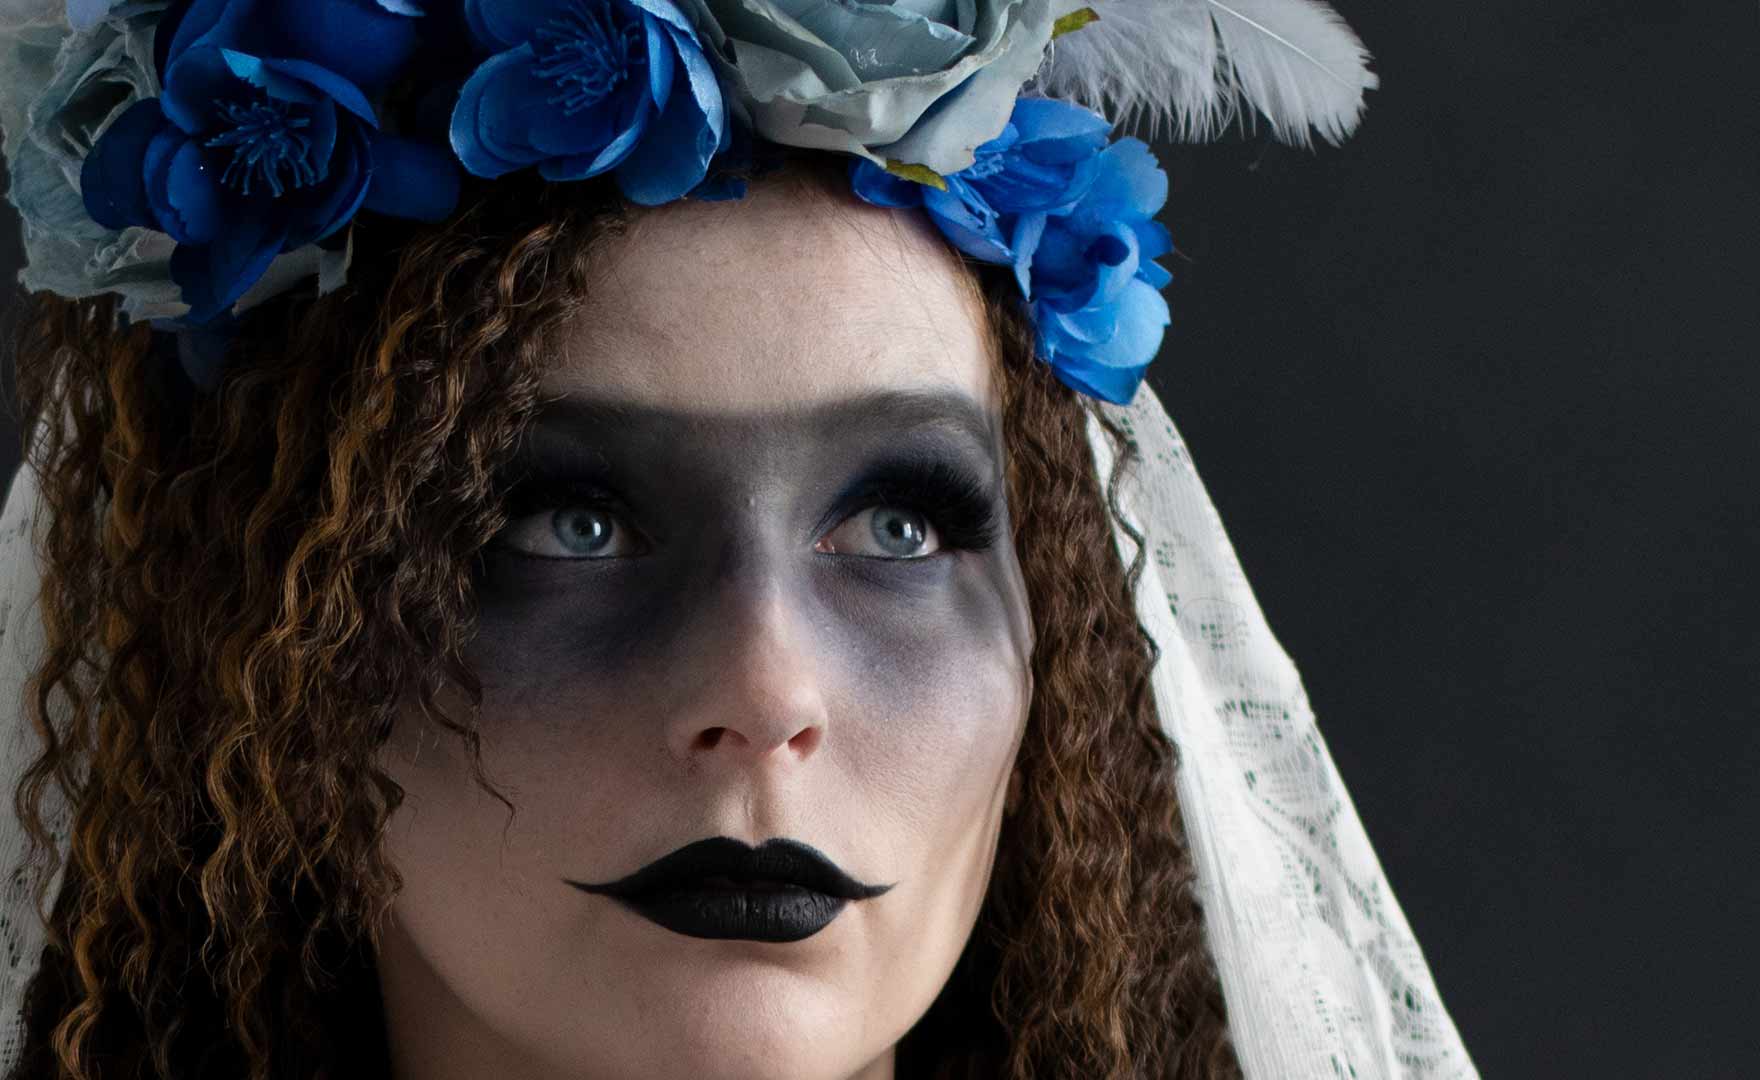
Kelly Robitaille is a Canadian based commercial retoucher and photographer. Her deep skills as a retouching artist has her working for clients around the globe. Kelly is widely known for her 'Whimsical Waif' portrait series which feature exaggerated body form and large eyes. Her non-traditional approach to portraits and retouching have given her a unique and instantly recognizable look.

Surreal Portraiture: Styling & Retouching
When you sign up for the Unlimited PRO PLAN you will get Surreal Portraiture: Styling & Retouching and 80+ other courses for the entire year.
-Unlimited Access
-All Courses
-All Tools
-All Plugins
-All 3D Luts
Everything we release for 12 months after you the day you sign up is FREE for PRO PLAN members.
Get this course and every product with any PRO PLAN membership and access everything for 6, 12, or 24 months. Members save 98% versus buying courses individually. Sign up here.


Surreal Portraiture: Styling & Retouching FAQ
Questions about Surreal Portraiture: Styling & Retouching
How do I Access This Course?
Surreal Portraiture: Styling & Retouching is available with the Unlimited PRO PLAN membership and can be streamed and downloaded offline on our Mobile Apps on the Learn Platform.
Where Do I Log In To View?
After you become a member of the PRO PLAN, this will become available to stream, download offline, and view in your PRO EDU Learn Account HERE.
Where can I download Apps to view this?
You can download free apps for your mobile devices and TV's on Apple tvOS, iOS, iPad OS, ROKU, Amazon Fire TV, and Google Play for Android.
Are English Closed Captions Included?
Yes.
Are Spanish Subtitles Included?
Yes