Photoshop for Astrophotography: Enhancing the Wonders of the Night Sky
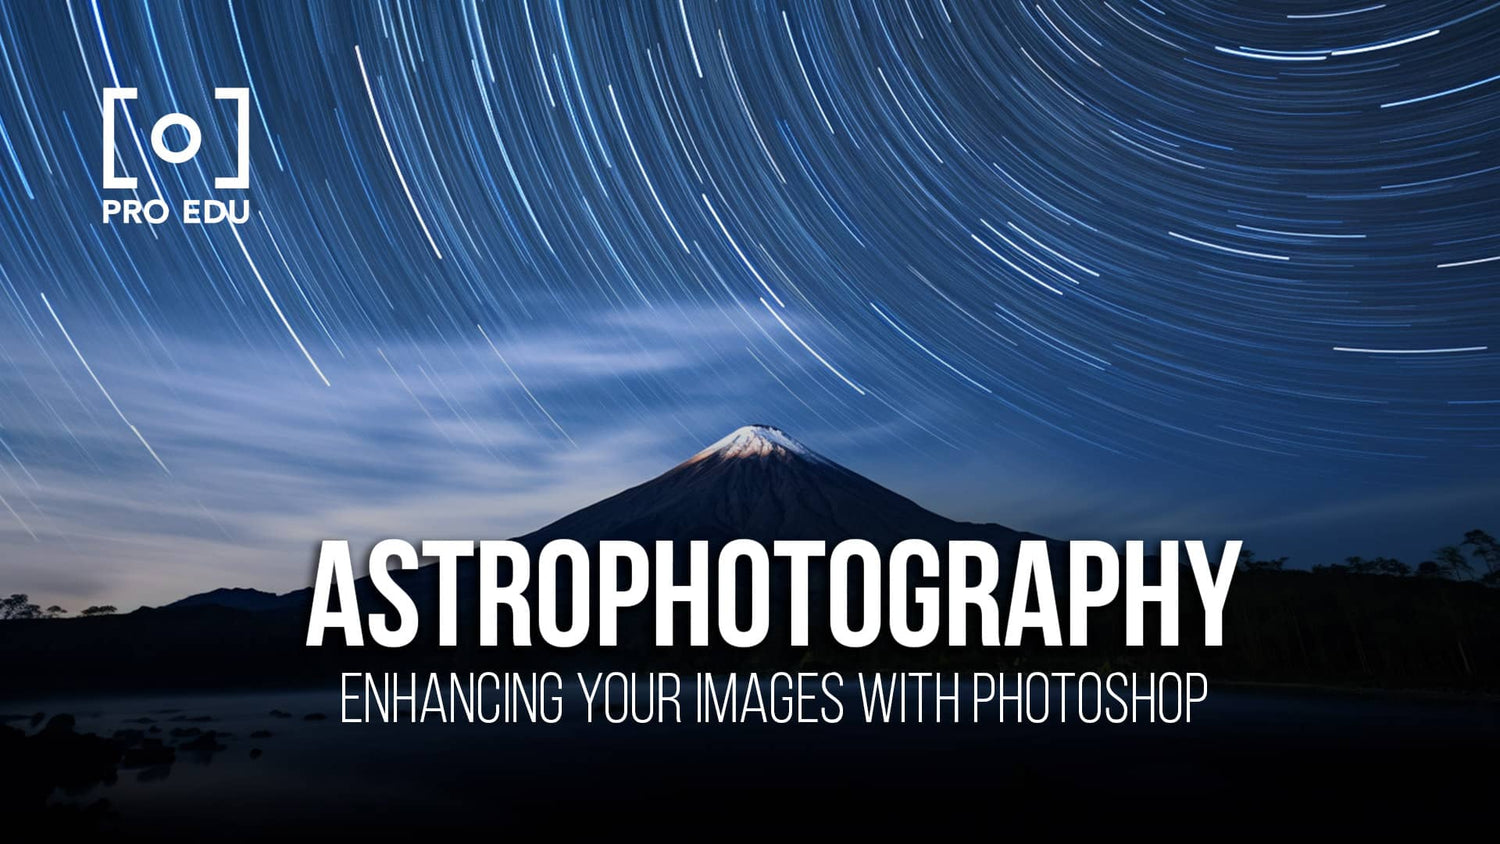
Astrophotography is an art that marries the infinite beauty of the cosmos with the technical prowess of photography to produce images that can awe and inspire. With the advent of digital photography, capturing the wonders of the night sky has become more accessible to enthusiasts and professional astronomers alike. Adobe Photoshop emerges as an indispensable tool in this endeavor, providing an extensive range of features tailored for refining celestial captures.
While taking pictures of celestial bodies is relatively straightforward with the right equipment and clear skies, the magic often lies in post-processing. Photoshop enables us to transform the raw, often muted, images taken by our cameras into vibrant, clear, and detailed representations of celestial phenomena. From basic tweaks to advanced manipulations, Photoshop is the astrophotographer's digital darkroom where the true visual potential of our cosmic subjects is unlocked.
Key Takeaways
- Astounding celestial images are achievable through mastering Photoshop's advanced tools.
- Equipment choice and camera settings are foundational to capturing high-quality astrophotos.
- Post-processing is essential to reveal the hidden details and beauty in night sky photography.
Essential Equipment for Astrophotography
Astrophotography requires precision and the right set of tools to capture the wonders of the night sky. Our journey into celestial photography is supported by some key pieces of equipment that are indispensable for this intricate craft.
Camera: A cornerstone of our astrophotography setup is a reliable camera. We prefer using a DSLR or a mirrorless model capable of manual mode, which offers us control over exposure settings vital for capturing dim stars and distant galaxies.
Lens: The lens serves as the eye of our operation. A fast lens with a wide aperture is what we seek, allowing more light to strike the camera's sensor, which is perfect for the low-light conditions of astrophotography.
Telescope: For those of us desiring close-up views of celestial bodies, a telescope becomes essential. It grants us the ability to magnify and photograph the cosmos in detail otherwise impossible with standard lenses.
Mounts and Tripods: Stability is non-negotiable. We use a sturdy tripod to eliminate camera shake and a motorized mount that tracks the stars’ movement across the sky, maintaining our target in view throughout the long exposures required.
Remote Shutter Release: To further reduce vibrations when shooting, we utilize a remote shutter release. This allows us to capture images without physically touching the camera, preserving the sharpness of our cosmic captures.
Here are the components summarized in a table for quick reference:
| Equipment | Purpose |
|---|---|
| Camera | To control exposure settings and capture images. |
| Lens | To let in ample light for low-light conditions. |
| Telescope | For detailed images of distant celestial objects. |
| Tripod | To provide a stable platform for the camera. |
| Remote Shutter Release | To avoid vibrations from manual camera operation. |
With the right equipment, we're ready to embrace the challenge of astrophotography and create stunning images of the night sky.
Understanding Camera Settings for the Night Sky
When we photograph the night sky, our primary goals are to capture detailed celestial objects, achieve pinpoint stars, and maintain a well-balanced exposure. Mastery of camera settings is essential to accomplishing these goals, as even the slightest misstep can lead to noisy or blurry images.
Mastering Exposure and ISO
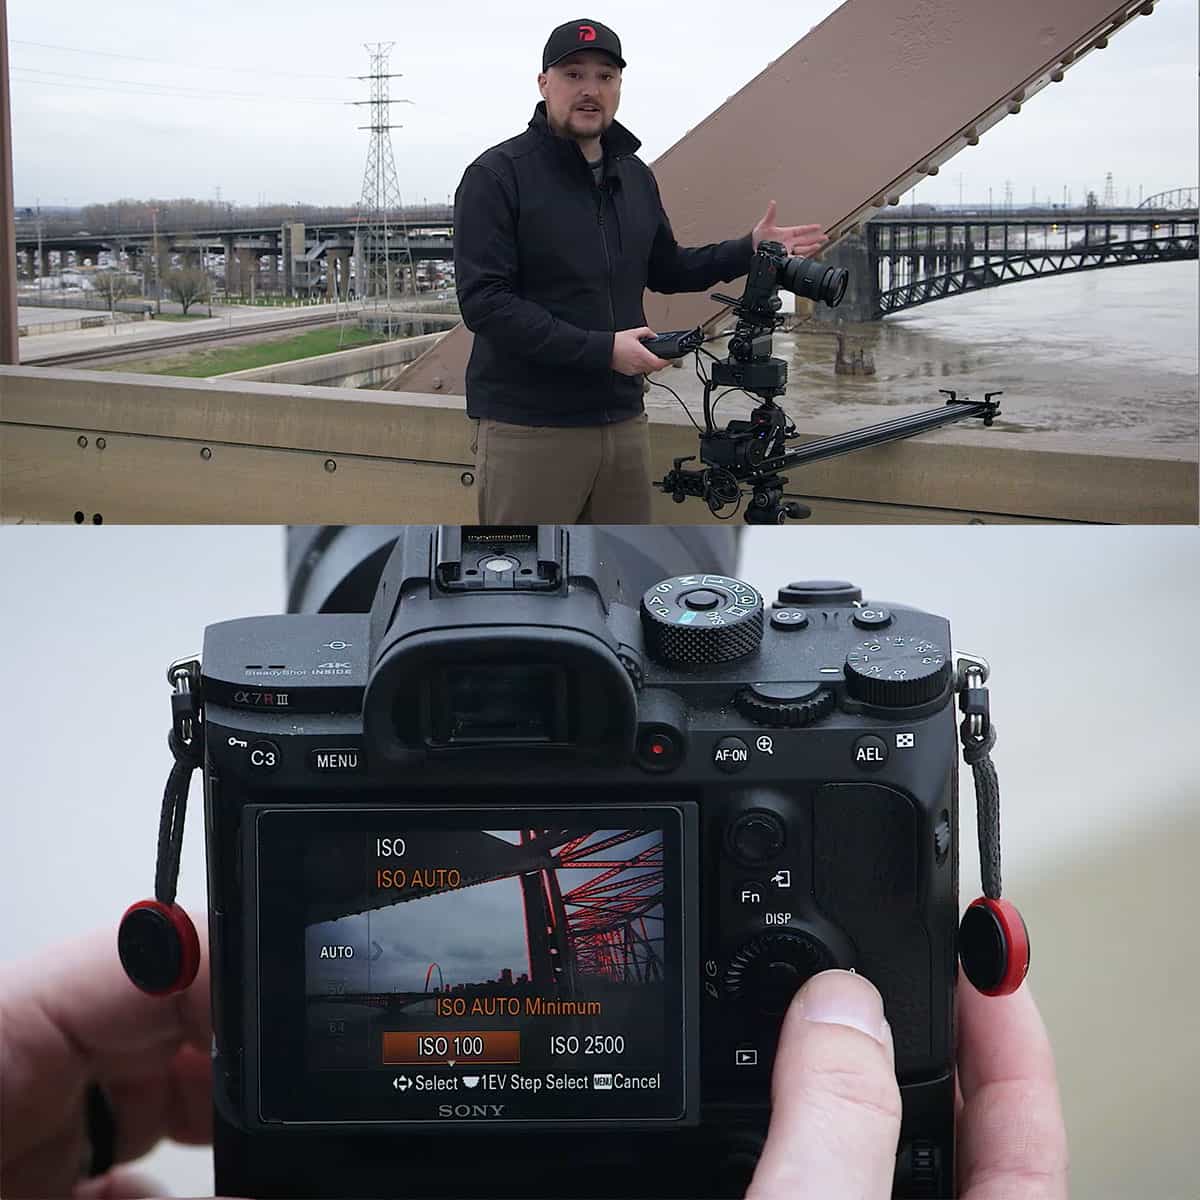
To start, we ensure the exposure settings maximize the light captured while controlling for noise. Long exposures allow more light to hit the sensor, but also increase the chance of noise, especially at high ISO settings. We typically set an ISO between 400 and 1600, balancing sensitivity with an acceptable noise level. An exposure length of 15 to 30 seconds is often a sweet spot for capturing sharp stars and nebulae without trailing due to the Earth's rotation.
| ISO Setting | Suggested Exposure Length | Noise Level |
|---|---|---|
| 400 | 30 seconds | Low |
| 800 | 20 seconds | Moderate |
| 1600 | 15 seconds | Higher |
Focusing Techniques for Sharp Stars
For focus, precision is key. We switch our lens to manual focus and employ techniques like zooming in on a bright star using live view and adjusting focus until the star is a small, sharp point of light. Additionally, using a Bahtinov mask or focusing on the moon, if visible, can aid in achieving that precise focus necessary for stellar clarity.
Using Live View for Better Composition
Live view is our window to real-time composition and focusing. By displaying a live feed from the camera sensor onto the screen, we can better compose our shots and confirm focus accuracy—critical when framing the vast night sky. The use of live view also allows us to minimize camera movement, ensuring sharp images during those crucial long exposures.
By following these guidelines on exposure, ISO, focus, and using live view, we maximize our camera's capabilities for astrophotography, turning our lens to the sky with confidence.
The Basics of Shooting Astrophotos
In astrophotography, our ability to capture the awe-inspiring beauty of the night sky hinges on meticulous planning and a nuanced understanding of exposure. Let's dive into the fundamental steps we need to take for a successful astrophotography session.
Planning Your Astrophotography Session
Proper planning is crucial for astrophotography. We must check the weather conditions to ensure clear skies and identify the phase of the moon for minimal light pollution. Location is also key; we aim for areas with little to no artificial lighting. Next, we align our shoot with celestial events and the position of our desired objects in the night sky. Equipment readiness is equally important, with special attention to battery life and memory card capacity. Let's ensure our shoot is as smooth as possible by scouting our desired location ahead of time.
Capturing Light Frames, Darks, and Flats
-
Light Frames: These are the actual shots of the night sky and our main focus. We typically use a long exposure to let in enough light to capture details of celestial objects. Composition is important, so we take our time framing our shot. Depending on our target, exposures can range from a few seconds to several minutes.
-
Dark Frames: Taken with the same exposure settings as our light frames but with the camera's cap on, dark frames help us identify and remove noise from our images during post-processing.
-
Flat Frames: These are used to correct vignetting and uneven field illumination. We shoot them by pointing our camera at an evenly lit white surface.
Understanding and properly executing the capturing of light frames, dark frames, and flat frames greatly enhances the quality of our astrophotographs. By strictly adhering to these processes, we lay a strong foundation for obtaining striking images of the night sky.
Post-Processing in Photoshop for Impactful Images
In the realm of astrophotography, Photoshop is an essential tool that allows us to transform raw celestial captures into vivid cosmic portrayals. By manipulating layers and effectively applying noise reduction techniques, we enhance both color depth and image clarity.
Using Adjustment Layers for Color and Contrast
When we post-process our astrophotography images, adjustment layers are pivotal for non-destructive editing. These layers enable us to fine-tune color and contrast without altering the original image data:
- Levels Adjustment: By modifying the levels, we adjust the intensity of the shadows, midtones, and highlights, enhancing the overall contrast.
- Curves Adjustment: Curves offer more nuanced control, allowing us to selectively tweak contrast and brighten or darken different parts of our image.
Through these adjustments, we can coax out the subtle hues of distant galaxies, highlighting the rich tapestry of the night sky.
Advanced Techniques for Noise Reduction
Astrophotography images often grapple with digital noise, particularly in low-light conditions:
- Selective Noise Reduction: We apply noise reduction with a discerning eye, targeting noisy regions while preserving the detail in others.
- Sharpening Layers: After reducing noise, we can use sharpening layers, with careful masking, to restore edge definition without reintroducing noise.
Our goal is to achieve a harmonious balance where the stars remain crisp, and the cosmic background retains its smooth gradients.
Stacking for Enhanced Detail and Reduced Noise
Finally, stacking is a powerful technique in our post-processing arsenal:
- Layer Alignment: We begin by aligning our stacked images correctly to ensure that star positions match across all frames.
- Median Stacking: By employing a median stack, we can significantly reduce random noise across our images.
Stacking not only reduces noise but also amplifies the faintest of details, allowing us to reveal celestial wonders with striking clarity.
Employing these specific post-processing techniques in Photoshop, we elevate our astrophotography from simple snapshots of the night to impactful images that resonate with depth and detail.
Leveraging Specialized Astrophotography Software
When we engage in astrophotography, we often rely on powerful software to transform raw celestial captures into stunning imagery. The key to maximizing image quality lies in choosing the right tools tailored for the stars.
Adobe Photoshop is a mainstay in our arsenal, offering robust features for adjusting tones, enhancing details, and crafting fine edits. However, the astrophotography journey does not end with Photoshop; we enhance our workflow with specialized software designed for the cosmos.
PixInsight shines as a comprehensive application dedicated to pre and post-processing of deep-sky images. It's where we perform calibration, stacking, and gradient removal with finesse. Moreover, Gradient Xterminator, a Photoshop plugin, eases gradient challenges that plague night-sky photography.
For stacking purposes, DeepSkyStacker and Autostakkert are our trusted companions. These programs excel in combining multiple exposures to reduce noise and improve detail. Sequator and Starry Landscape Stacker cater to our needs when aligning and stacking images that include a landscape element, ensuring star clarity against earthly silhouettes.
Siril is also part of our toolkit, known for its user-friendly interface, making it suitable for both novices and seasoned astrophotographers. On the flip side, BackyardEOS revolutionizes our capture process, particularly for Canon DSLR users, providing more control during the image acquisition phase.
Lastly, Adobe Bridge helps us efficiently organize and preview our astronomical images before diving into detailed processing.
By integrating these specialized tools with Photoshop, we elevate our astrophotography, achieving results that resonate with the clarity and beauty of the night sky.
Best Practices for Image Stacking and Calibration
https://www.youtube.com/watch?v=5C4bXcNeuR0&embed=true
When we approach astrophotography post-processing, calibrating frames and stacking them correctly is crucial for enhancing signal quality and reducing noise, creating vibrant celestial images.
Calibrating Frames for Optimal Signal Quality
Before we stack our astrophotography images, we ensure each frame is calibrated. Calibration involves subtracting bias, dark, and flat frames from our light frames to correct for sensor noise, thermal noise, and vignetting respectively.
- Bias Frames: These are the shortest possible exposures that our camera can take, snapping pictures with the cap on. We capture around 15-20 bias frames to create a master bias that helps us correct the read noise from our light frames.
- Dark Frames: Akin to bias frames but with normal exposure times, dark frames let us rectify thermal noises that occur due to the camera's sensor heating up during long exposures. We take dark frames with the same exposure settings and ambient temperature as our light frames.
- Flat Frames: To address vignetting and dust shadows, we shoot flat frames through an evenly lit white surface, generally at the same aperture, and focus position as our light frames.
All these are calibration frames, and they play a pivotal role. We utilize software like Deep Sky Stacker to automate the calibration process, which aligns and combines our frames seamlessly, integrating all our pre-shot calibration data for cleaner, sharper images.
Aligning and Stacking with Deep Sky Stacker
Once our frames are calibrated, we proceed with aligning and stacking. This process increases the signal-to-noise ratio, pulling out details from the night sky that would otherwise be submerged in the noise of a single exposure.
- Load calibrated light frames: Import our prepared frames into Deep Sky Stacker.
- Star alignment: The software locates stars in each frame to align them accurately, which is crucial for the stacking process.
- Stacking: Light frames are then combined into a final image. The more frames we stack, the better our end result, typically starting with a minimum of 10-12 exposures.
- Post-stacking: After stacking, we use image editing software like Photoshop to enhance the final image's colors and details.
The meticulous practice of calibrating and stacking images is fundamental in astrophotography. By taking the time to accumulate bias, dark, and flat frames and harnessing the capabilities of tools like Deep Sky Stacker, we can create celestial images that not only capture the imagination but do so with impressive clarity and color fidelity.
Enhancing Details and Composition
In this section, we'll explore how to utilize layers, masks, and filters in Photoshop to bring out the stunning details in astrophotography images. Through precise editing practices, we can manipulate the histogram and levels to reveal the hidden beauty of the night sky.
Applying Masks and Filters for Precision Editing
We often begin by analyzing our image's histogram, adjusting levels and curves to correct the overall tonal range and contrast. Once the foundation is set, applying masks becomes our way of non-destructively targeting specific areas of the image for enhancement. For example, we might use a luminosity mask to isolate bright stars and apply a sharpening filter specifically to them.
To refine our edits, we employ the Select and Mask tool. This allows us to create incredibly accurate selections, even in the complex realm of star fields, enabling targeted adjustments that maintain the natural look and integrity of the cosmos.
-
Masks:
- Luminosity: Targets different brightness levels.
- Gradient: Gradually blends adjustments.
-
Filters:
- Sharpening: Enhances star detail.
- Noise reduction: Cleans up the image.
Selecting and Adjusting Foreground and Background Elements
We then turn our attention to the foreground and background elements, understanding that a harmonious balance is key for composition. Through careful selection, we can make individual adjustments to each element. Our tools here are versatile; using the Select and Mask tool, we can distinguish between the crisp silhouette of a foreground object and the delicate structure of the Milky Way in the background.
We often incorporate the Gradient Xterminator plugin to manage the tricky light gradients that can occur due to light pollution or natural atmospheric conditions. This helps us ensure that the background remains smooth and doesn't detract from the celestial subjects.
-
Foreground/Background Adjustments:
- Contrast: Set apart by altering light and dark values.
- Color Balance: Ensures foreground compatibility with the starry background.
By considering both minute details and the overall composition, we can craft astrophotography images that truly resonate with the wonders of our universe.
Finishing Touches for a Stellar Presentation
In the realm of astrophotography, the journey from capturing the cosmos to presenting a mesmerizing rendition of the night sky pivots on the delicate art of image processing. This final stage breathes life into our celestial captures, turning ordinary into extraordinary. We meticulously refine our images, making them ready to astonish and inspire.
Saturation plays a crucial role in accentuating the vibrancy of celestial objects. By judiciously enhancing saturation, we ensure that the colors of the cosmos pop, but remain true to the wonders they represent.
| Image Aspect | Action | Purpose |
|---|---|---|
| Clarity | Adjust for definition | Brings out the finer details |
| Color Cast | Remove unwanted hues | Ensures color accuracy |
| Vignetting | Correct uneven brightness | Creates a balanced exposure |
For those who strive for unparalleled excellence, we suggest following a premium image processing guide. These resources provide a structured workflow, enabling us to achieve a consistently high level of quality across all our images.
When preserving our work, we create a master file. This file serves as the ultimate archive, holding the highest quality version of the image—retouched, refined, and resonating with the majesty of the stars it portrays.
By embracing these practices, we create stellar presentations that not only showcase the untamed beauty of the universe but also share our unique vision akin to the clarity of the night sky itself.
Frequently Asked Questions
In this section, we answer common queries to help improve your astrophotography with the help of Photoshop, from enhancing your images to choosing the right editing software.
How can you utilize Photoshop to enhance astrophotography images?
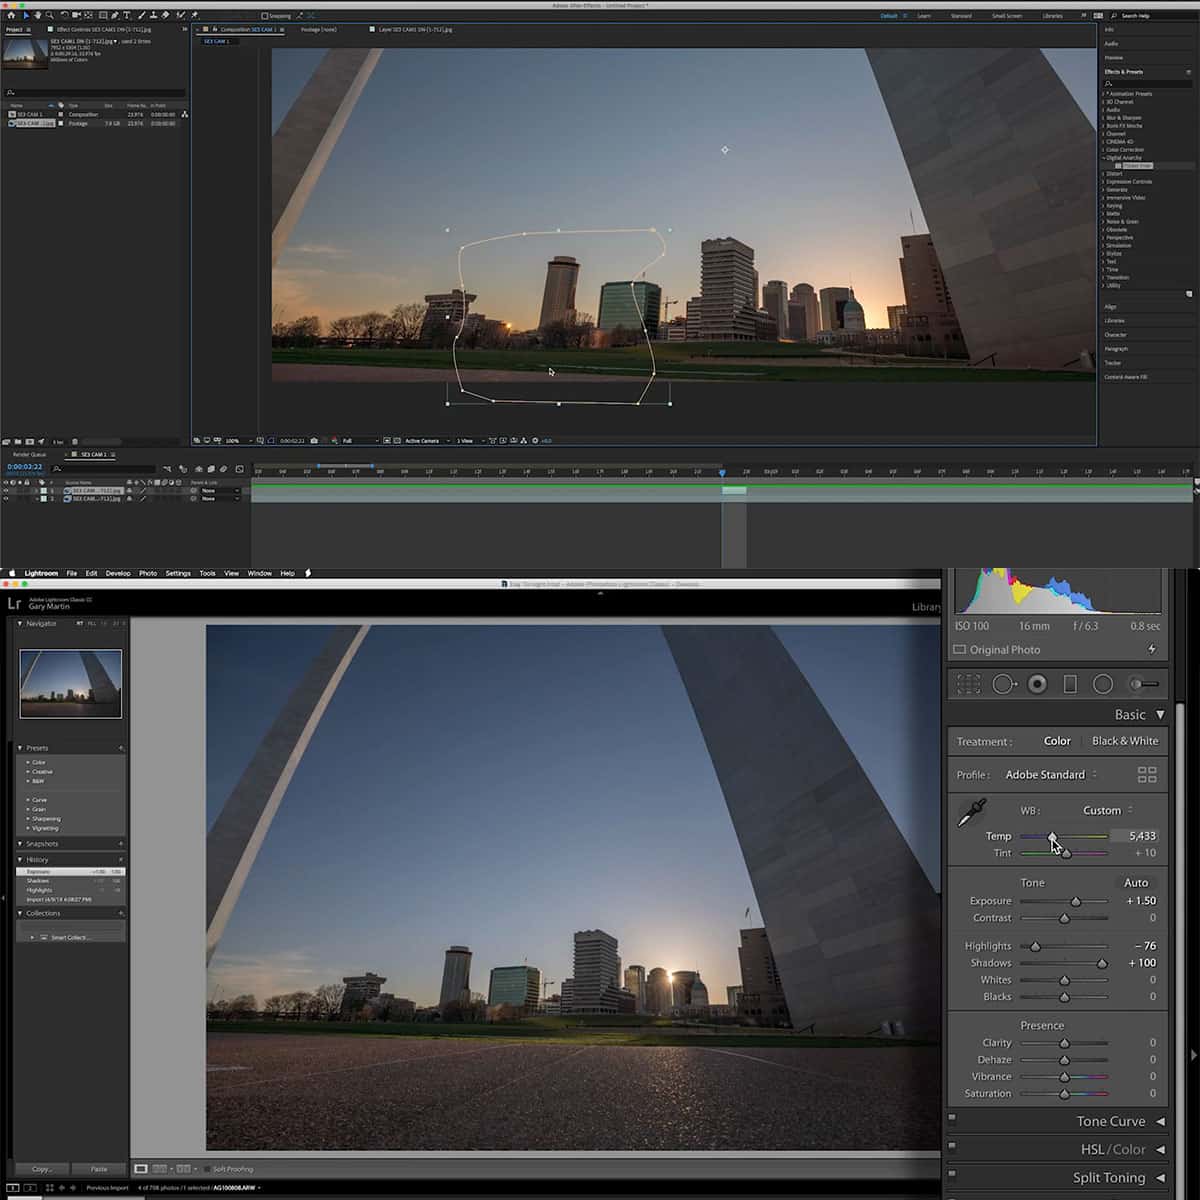
We utilize Photoshop to adjust brightness, contrast, and color balance, which can bring out hidden details and reduce noise in our astrophotographs. Techniques such as layer masking and levels adjustment are essential for accentuating the fine details of celestial objects. For a step-by-step guide, check out this astrophotography image processing tutorial in Photoshop.
What are the must-have Photoshop plugins for astrophotography editing?
Essential Photoshop plugins that we recommend include GradientXterminator for removing gradients, Noise Ninja or Topaz DeNoise for noise reduction, and HLVG for eliminating green casts. Plugins can significantly streamline the editing process and enhance the final image quality.
Which is more suitable for astrophotography post-processing, Photoshop or Lightroom?
Photoshop is more suited for astrophotography post-processing due to its advanced layer and masking capabilities, which are crucial for fine-tuning images of celestial bodies. Lightroom can be used for initial edits, but for deep sky images requiring detailed adjustments, Photoshop is the preferred choice.
How do you determine the optimal ISO settings for astrophotography?
Determining the optimal ISO setting for astrophotography involves balancing signal-to-noise ratio and dynamic range. We often start with a higher ISO to capture sufficient details from faint stars, then adjust based on the camera's performance and the level of ambient light. The goal is to minimize noise while capturing as much detail as possible.
Can Photoshop Elements be effectively used for editing astrophotography?
Photoshop Elements can indeed be used effectively for editing astrophotography. While it lacks some of the advanced features of Photoshop CC, it still offers a robust set of tools suitable for basic image enhancement like adjusting the shadows, highlights, and sharpening the details in your astro images.
What are the best practices for setting aperture in astrophotography?
For astrophotography, we often use a wide aperture to allow more light to reach the sensor, which is particularly important for capturing dim stars and nebulae. Best practices include using an aperture of f/2.8 to f/4 for wide-field astrophotography and adjusting as necessary for sharper images and reduced optical aberrations.


