Beverage Photography Lighting & Retouching Techniques
Commercial beverage photography is a specialized niche within the realm of advertising photography, where the art of capturing the perfect shot of a drink leaves a significant impact on the viewer's mind. Our PRO EDU Tutorial on commercial beverage photography, particularly focused on lighting and retouching, aim to help photographers unlock their potential in creating impressive and engaging images for advertising purposes. With practical tips and valuable insights, these tutorials have everything needed for photographers to expand their skills and excel.
One of the main challenges in beverage photography is achieving the perfect blend of lighting, composition, and color to convey the brand's message and evoke a particular emotion in the viewers. Our tutorials are designed to address these challenges by providing practical guidance on the use of light, angles, and retouching techniques. Furthermore, we shed light on the importance of understanding the unique requirements of different brands in order to produce images which resonate with their target audience.
What You Are Going To Learn With This Course
- Mastering lighting and retouching is essential for creating impactful beverage photos
- Overcoming challenges in composition, color, and emotion are crucial in capturing the brand's essence
- Understanding the specific requirements of different brands enables photographers to cater to their unique target audience
The Journey of a Beverage Photographer
When we venture into the world of beverage photography, we quickly develop a keen eye for capturing the essence of various drinks. The PRO EDU tutorial on lighting and retouching for advertising teaches us the nuances of creating visually stunning beverage images.
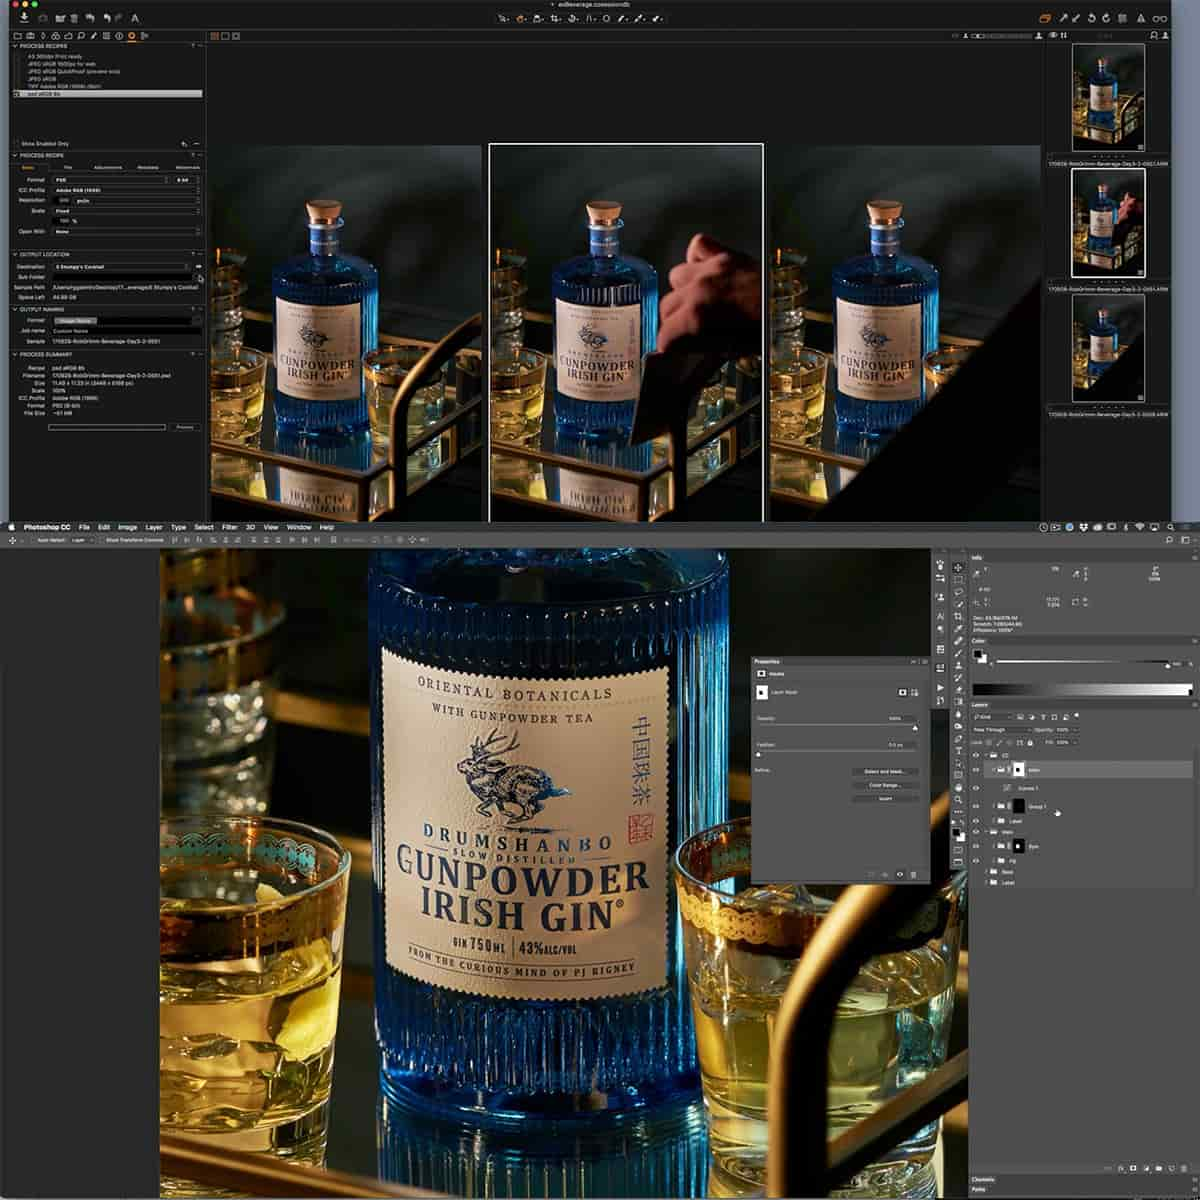
As beverage photographers, we begin our journey by understanding the different lighting techniques. One such technique often used is double diffusion, which involves using two light modifiers, such as a softbox and a large scrim/diffuser to create a specific mood in our images.
This method significantly impacts the final results of our drink photos by enhancing the vibrancy of the colors, and drawing attention to the unique features of each beverage.
To succeed in the industry, we continually refine our skills and experiment with different photography techniques. For example, we might practice taking photos of various beverages using reflectors, gels, and snoots to enhance the visual appeal of our images. Additionally, mastering software like Adobe Photoshop is crucial to achieve the desired exposure and manage highlights effectively in our pictures.
Here are some key aspects we focus on, to elevate our beverage photography skills:
- Develop an understanding of different beverages and their properties
- Experiment with various lighting techniques
- Master the art of styling drinks for aesthetically pleasing results
- Learn efficient workflows for retouching and post-production
Beverage photography is a dynamic and rewarding field, where we continually explore different techniques and hone our skills to stand out in the industry. As we progress through our journey, guided by resources like the PRO EDU tutorial, we are better equipped to create memorable and persuasive images that captivate and entice our audience.
Key Challenges in Beverage Photography
Beverage photography is a specialized field that requires attention to detail and technical skill. As we dive deep into this fascinating area, we will address some of the key challenges that photographers face when capturing stunning and persuasive images of drinks.
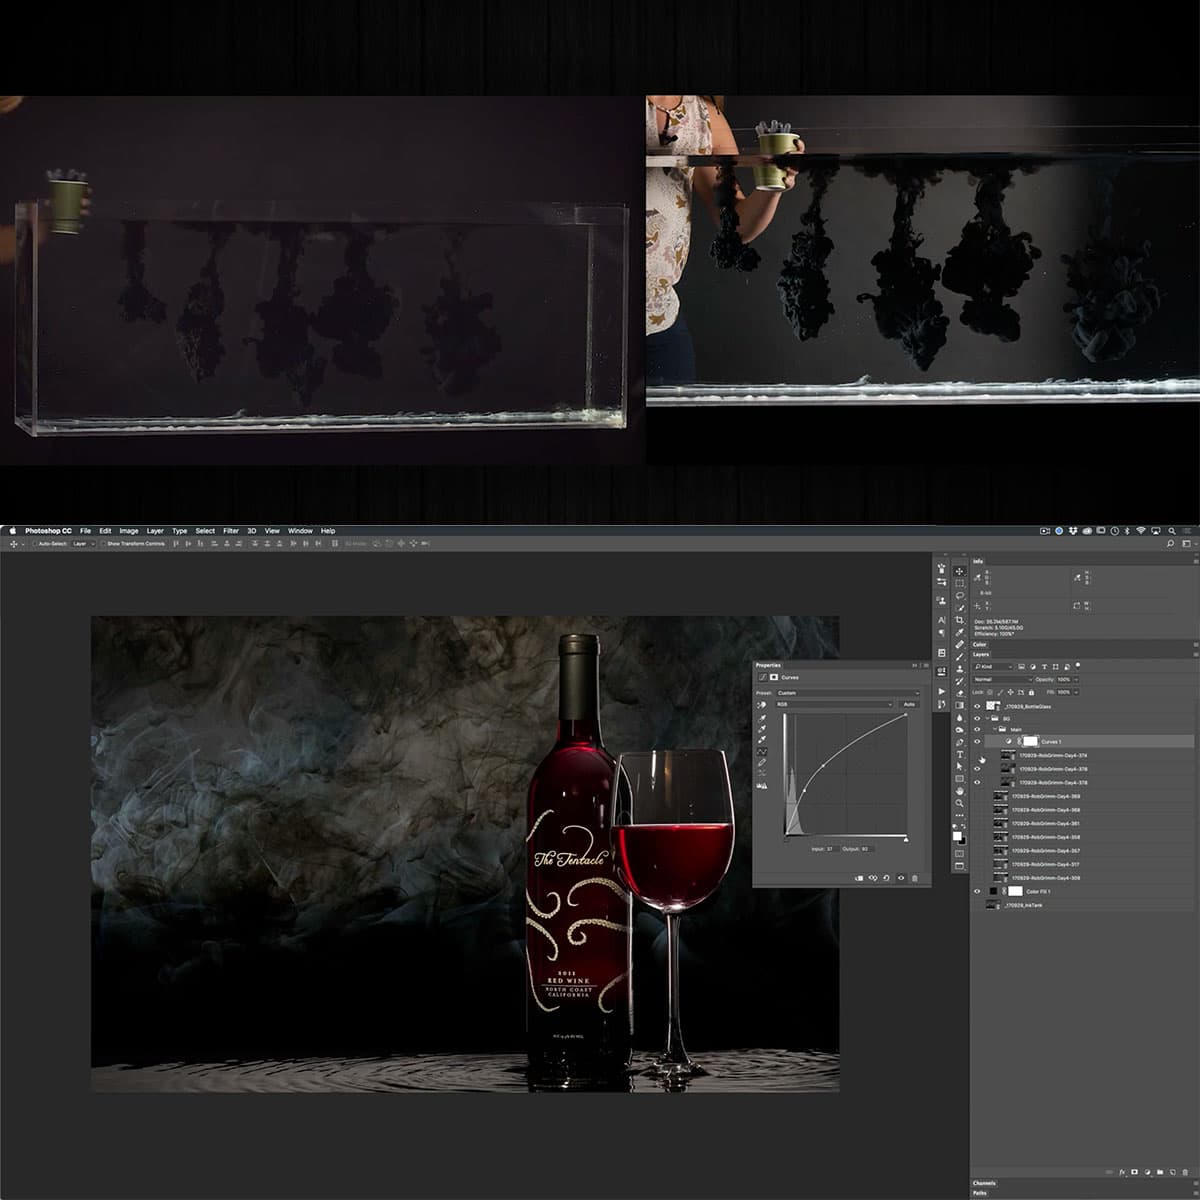
One of the primary challenges in beverage photography is managing exposure and highlights. Since beverages often involve glassware and liquids, managing reflections, glare, and transparency is crucial. Double diffusion is one technique that helps to create soft, even lighting, which is achieved by using two light modifiers such as a softbox and a large scrim/diffuser. Additionally, mastering post-production techniques, such as using Photoshop to manipulate exposure and highlights, can significantly improve your results.
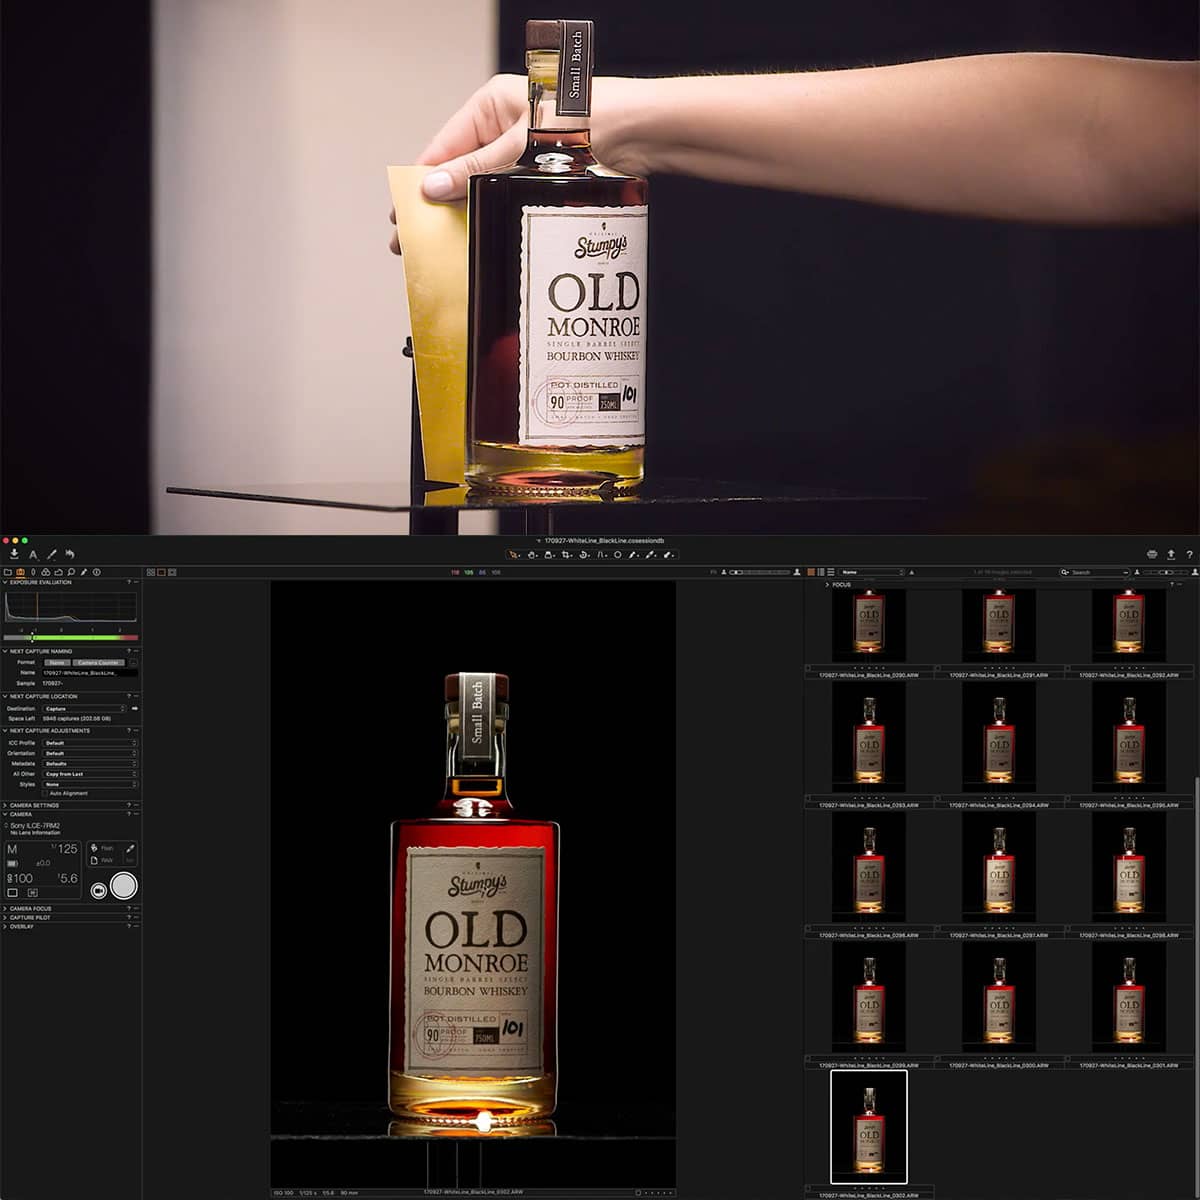
Another critical aspect is backlighting. Placing the light source behind the beverage allows it to shine through, creating depth and accentuating the drink's colors and textures. By playing with the positioning of the object relative to the light source, you can achieve various desirable effects that make your photographs more dynamic and appealing.
The choice of glassware also presents a challenge. Selecting the appropriate glass that complements and highlights the beverage's features is essential. Varieties of glassware include:
- Wine Glasses: stemmed glasses with a rounded bowl, used for red, white, and sparkling wines
- Beer Glasses: typically cylindrical, though shapes may vary depending on beer type
- Cocktail Glasses: ranging from the classic martini glass to more specialized options such as hurricane glasses
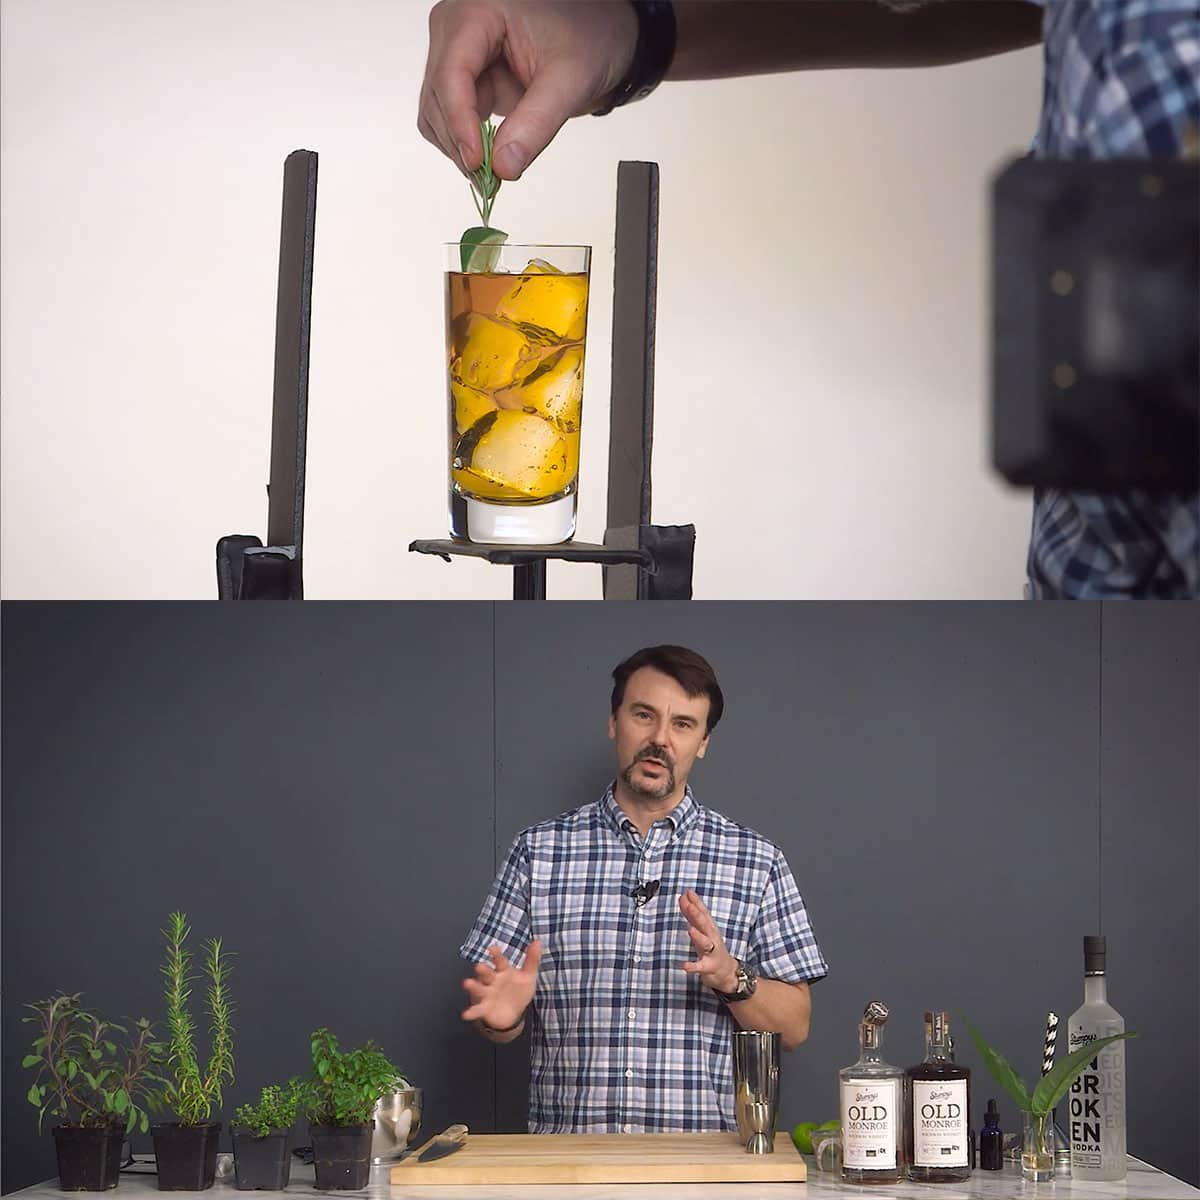
Learning how to style the scene is another crucial component. This may entail incorporating elements such as garnishes, ice, and straws to enhance the visual appeal of the beverage. Additionally, it's important to create the desired mood and atmosphere, which can be achieved through thoughtful set design, prop selection, and background choices.
Lastly, mastering various studio lighting techniques can make a significant difference in the final outcome of your drink photos. Understanding the differences between continuous lighting, strobes, and flashes, as well as experimenting with various modifiers, can help you achieve the desired look and feel in your beverage photography.
As we navigate the challenges of beverage photography, harnessing the power of techniques such as double diffusion, backlighting, glassware selection, styling, and studio lighting will help us create compelling and persuasive images that captivate viewers.
Overcoming Challenges: Tricks and Tips
Handling Different Beverages
Working with different beverages in commercial photography can be challenging due to their unique characteristics and reactions to light. As we photograph various beverages, it is essential to understand how to make each drink look its best. In some cases, using natural light can provide the most aesthetically pleasing results. For instance:
- Carbonated Drinks: Capture the bubbles and condensation by backlighting the drink, which will emphasize the fizziness and freshness.
- Dark Liquids: Illuminate these drinks from the side to create a "liquid gradient" effect, showcasing the depth of the liquid in the glass.
-
Opaque Beverages: For drinks with a milky or creamy consistency, use soft, diffused lighting to emphasize the smooth texture.
Remember, adjusting the angle and intensity of your light sources can make a significant difference in the final outcome. Experimenting with different setups can help you achieve the best results for each specific beverage type.
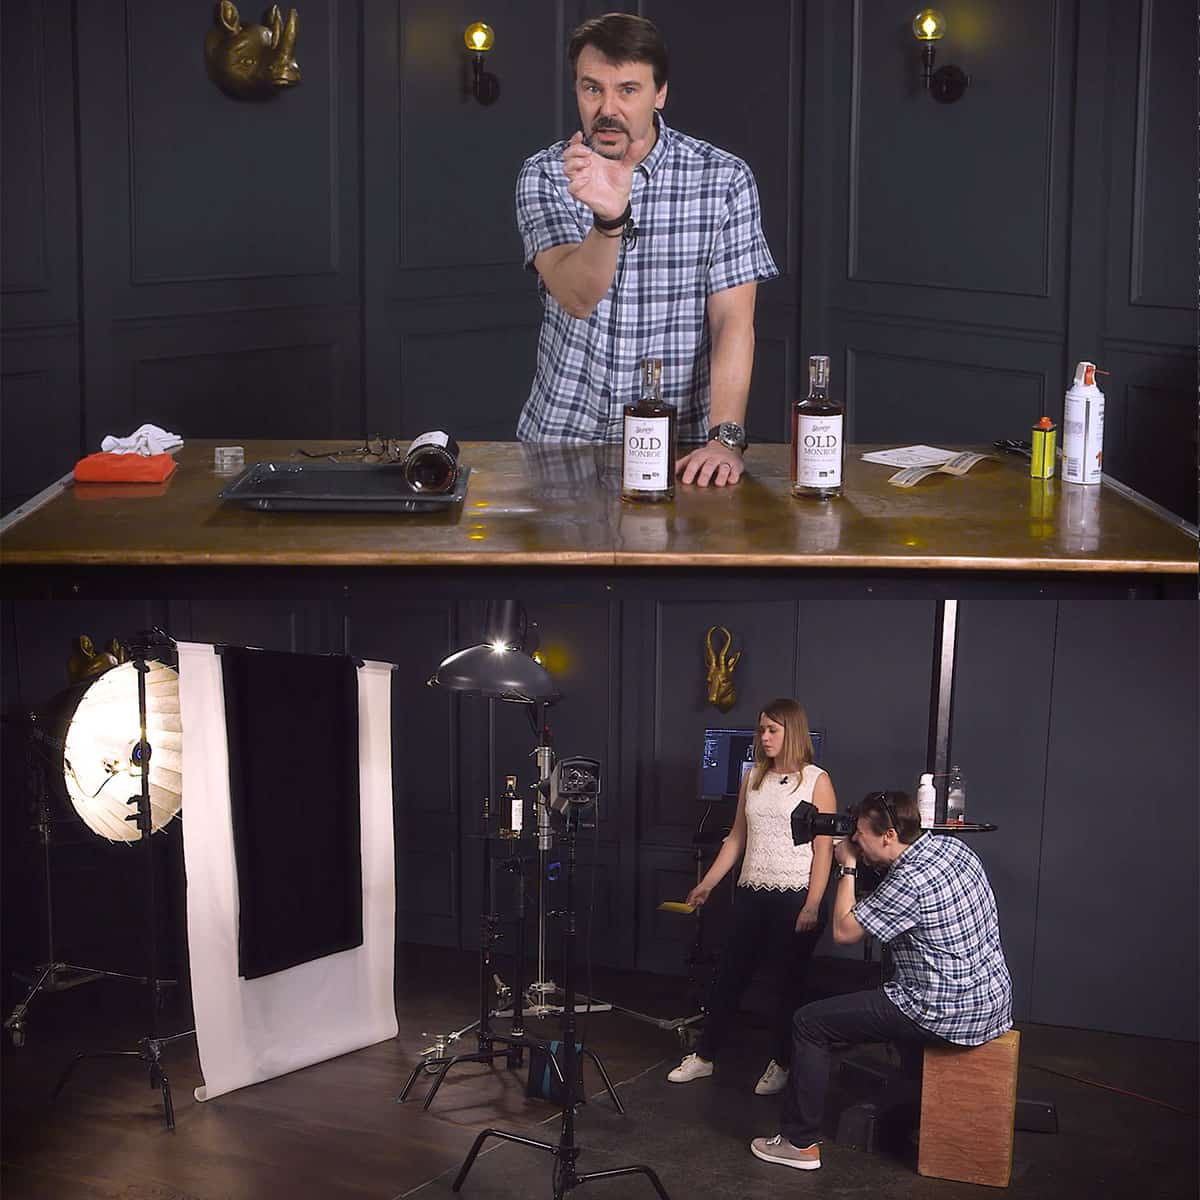
Chapter 2 - Prepping Bottles for Set
Retouching Techniques
After capturing the perfect shot, the next step in commercial beverage photography is retouching. Here are some essential techniques we recommend for enhancing your images:
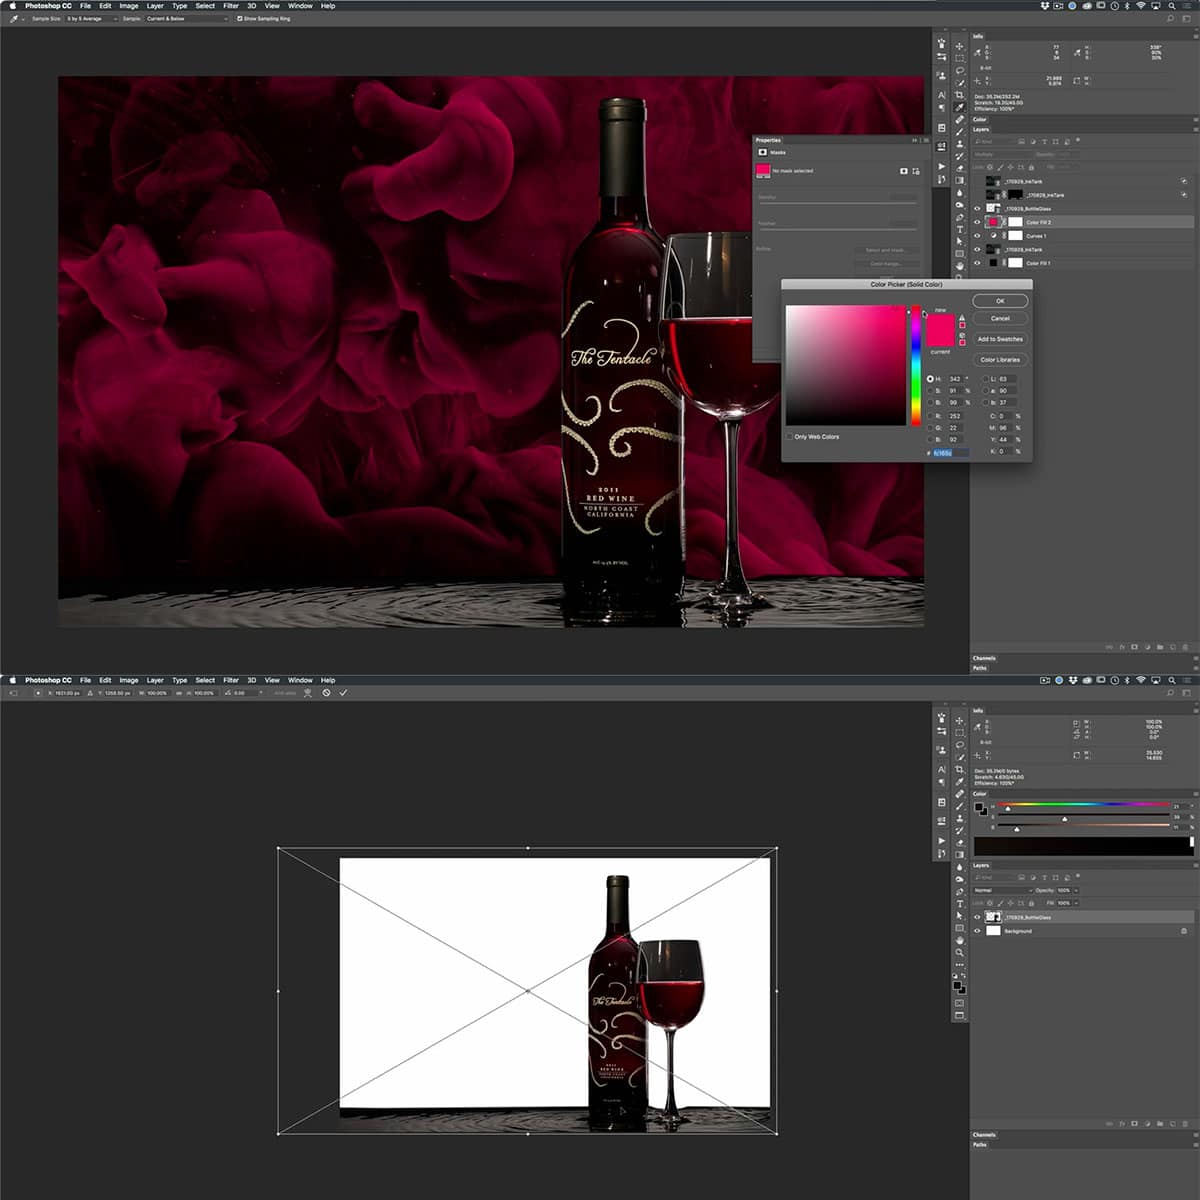
- Color Correction: Ensure that the beverage colors are accurate and vibrant. Use selective adjustments in your retouching software to fine-tune each color in the image.
- Focus Stacking: Combine multiple images with different focus points to create a final image with all the essential elements in sharp focus.
- Removing Imperfections: Use the clone and healing tools in your retouching software to remove any blemishes, scratches, or unwanted reflections that may be present in the image.
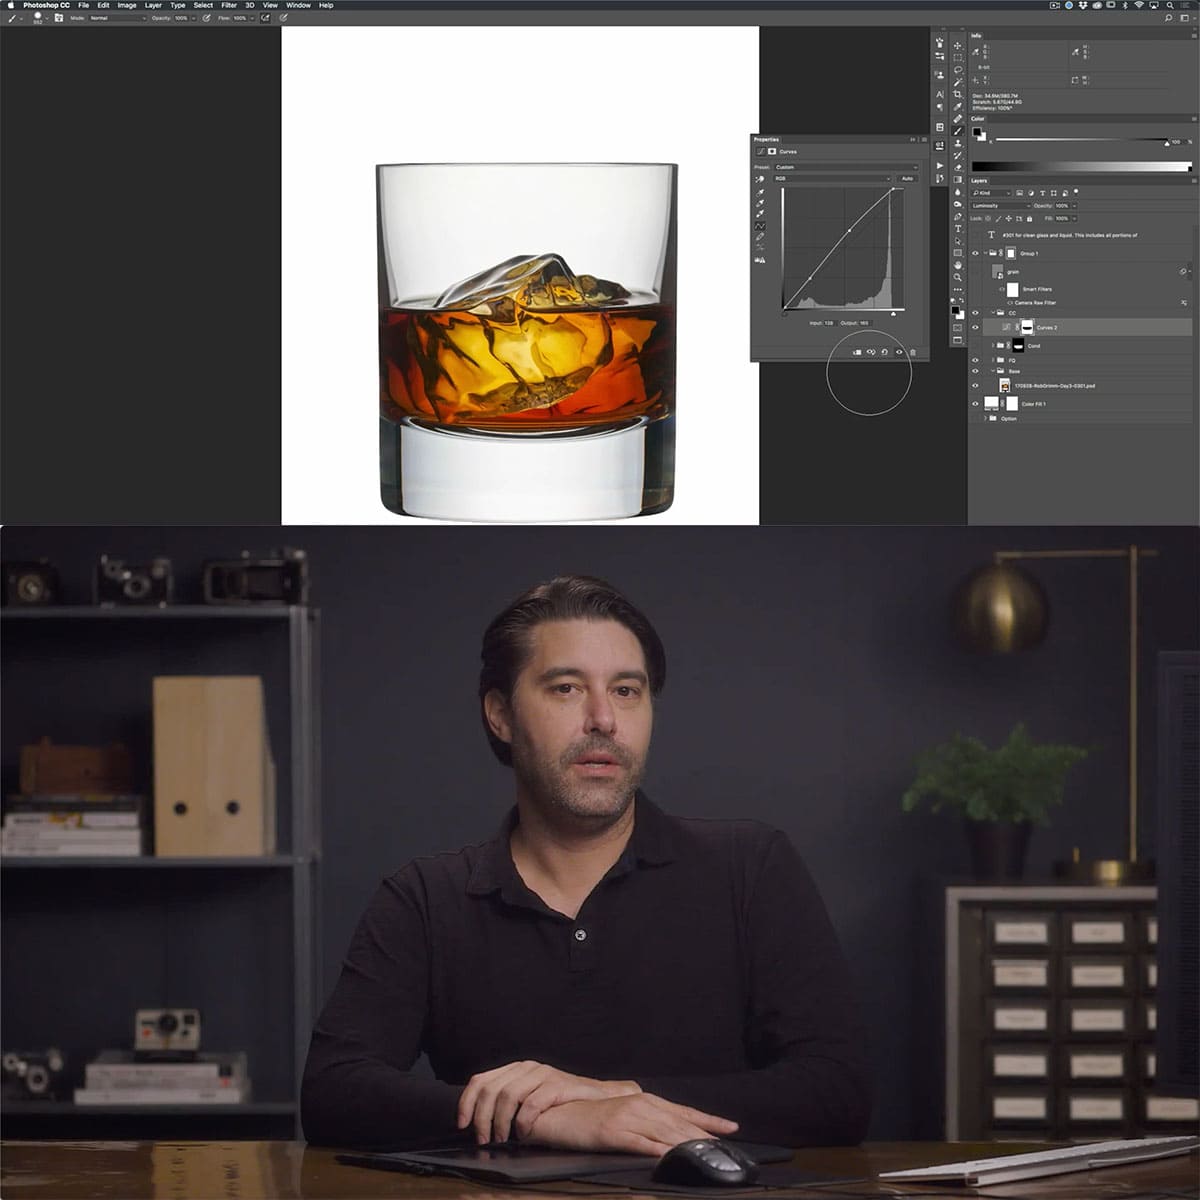
- Enhancing Highlights and Shadows: Work with the curves or levels adjustments to create more contrast and depth in your image. This step can help you bring out the best features of the beverage, such as bubbles, condensation, or a frothy texture.
- Emphasizing Texture: Use the dodge and burn tools to emphasize the texture of the beverage and the glass it is in. This technique can provide your image with a more three-dimensional and realistic appearance.
Being well-versed in these retouching techniques allows us to create visually striking and accurate representations of the beverages we photograph. By understanding how to work with various beverages and incorporating effective retouching, we can overcome the challenges associated with commercial beverage photography and deliver outstanding results to our clients.
Learning from a Brand: A Case Study
We've chosen to take a closer look at Jack Daniels, an iconic whiskey brand with a rich heritage and unmistakable visual identity. By analyzing the techniques used in their advertising campaigns, we can gain valuable insights into the power of impactful imagery and effective lighting.
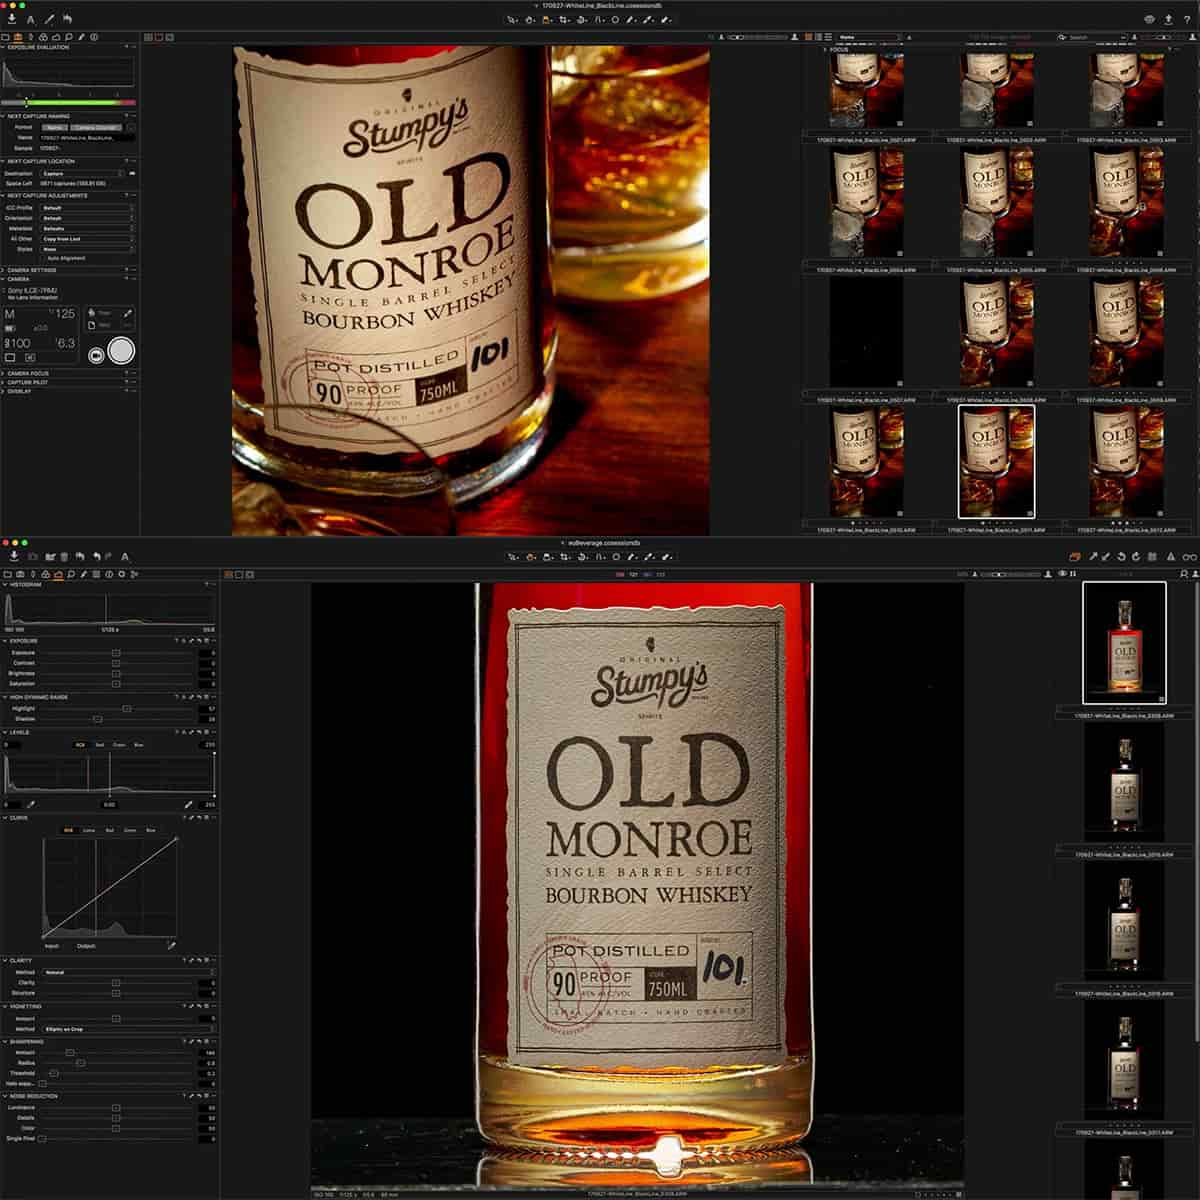
One of the key aspects of photographing Jack Daniels products is capturing the essence of their distinctive amber-colored whiskey. This starts by using low-key lighting techniques that emphasize the depth and richness of the liquid. To achieve this, we often opt for soft, diffused light and experiment with various angles and positions to create a dynamic and visually appealing result.
We also pay close attention to the whiskey's interaction with its container, whether it's a classic Jack Daniels bottle or a whiskey glass. The play of light and reflections on the glass surfaces allows for an opportunity to create interesting textures and patterns, further enhancing the overall impact of the image.
Presenting the Brand
While capturing the perfect photograph is vital, equally important is how the image is seamlessly integrated into the brand's advertising materials. For Jack Daniels, this requires a meticulous retouching process to ensure the end result remains consistent with the brand's visual identity.
As part of the retouching process, we focus on:
- Color grading: We adjust the colors in the image to align with Jack Daniels' iconic amber tones, without compromising the vibrancy and depth of the whiskey.
- Background enhancements: By refining the background elements in the image, we can add depth and context to the product while maintaining the brand's identity.
- Fine details: To ensure the highest quality image, we carefully remove any imperfections and distractions, such as dust, inconsistent reflections, or unwanted artifacts.
In the case of Jack Daniels, effective lighting and retouching techniques play a crucial role in presenting a powerful visual representation of the brand. This exploration stands as a valuable lesson for photographers, demonstrating the importance of conveying a brand's identity through compelling and engaging imagery.
Understanding Brands in Beverage Photography
Understanding the essence of the brands we work with is crucial. This not only helps us achieve the right look and feel for individual products but also ensures the images we create align with the brand's identity and target audience.
One of the first things we do is conduct thorough research on the brand's visual identity, such as the logo, color palette, and typography. By incorporating these elements into our compositions, we enhance the visual coherence between the advertisement and the brand.
Another key aspect is understanding the target audience. For instance, a sophisticated whiskey brand will require a different approach compared to a fun and fruity cocktail. Keep in mind the intended message and emotions the brand wants to evoke, and adapt our photography accordingly.
Here are some techniques we frequently use to achieve the desired look:
- Bold Colors for eye-catching shots that appeal to younger, trendier audiences.
- Sophisticated Settings with subtle lighting and elegant props for luxury brands.
- Freshness by using ice, condensation, and splashes to showcase drinks as refreshing and thirst-quenching.
- Brainstorming using a technique Rob calls Character, Cocktail, Place which you'll learn in the tutorial.
Since lighting plays an important role in beverage photography, we adapt it according to each brand's requirements. Backlighting is a common technique that showcases the drink's transparency, while using light modifiers helps to highlight details and texture.
Additionally, Photoshop compositing can be an essential technique in creating the perfect image. By combining multiple images, we can perfect the lighting and reduce reflections, resulting in flawless photographs that stay true to the brand's identity.
Conclusion
This tutorial covers essential techniques to create stunning beverage photographs that are perfect for advertising campaigns.
In the tutorial, we discovered the value of preparation in achieving professional results. From selecting the right glassware to understanding the properties of various liquids, every detail contributes to the final outcome. We also learned the importance of capturing the essence of the beverage, whether it's the refreshing fizz of a soda or the rich creaminess of a latte.
Lighting plays a crucial role in bringing out the best in our photos. We mastered the art of using multiple light sources to sculpt the shape and contours of the glassware while maintaining a visually appealing balance. Our newfound expertise in modifiers and gels provides us with the tools to create captivating images that evoke the desired emotions in potential customers.
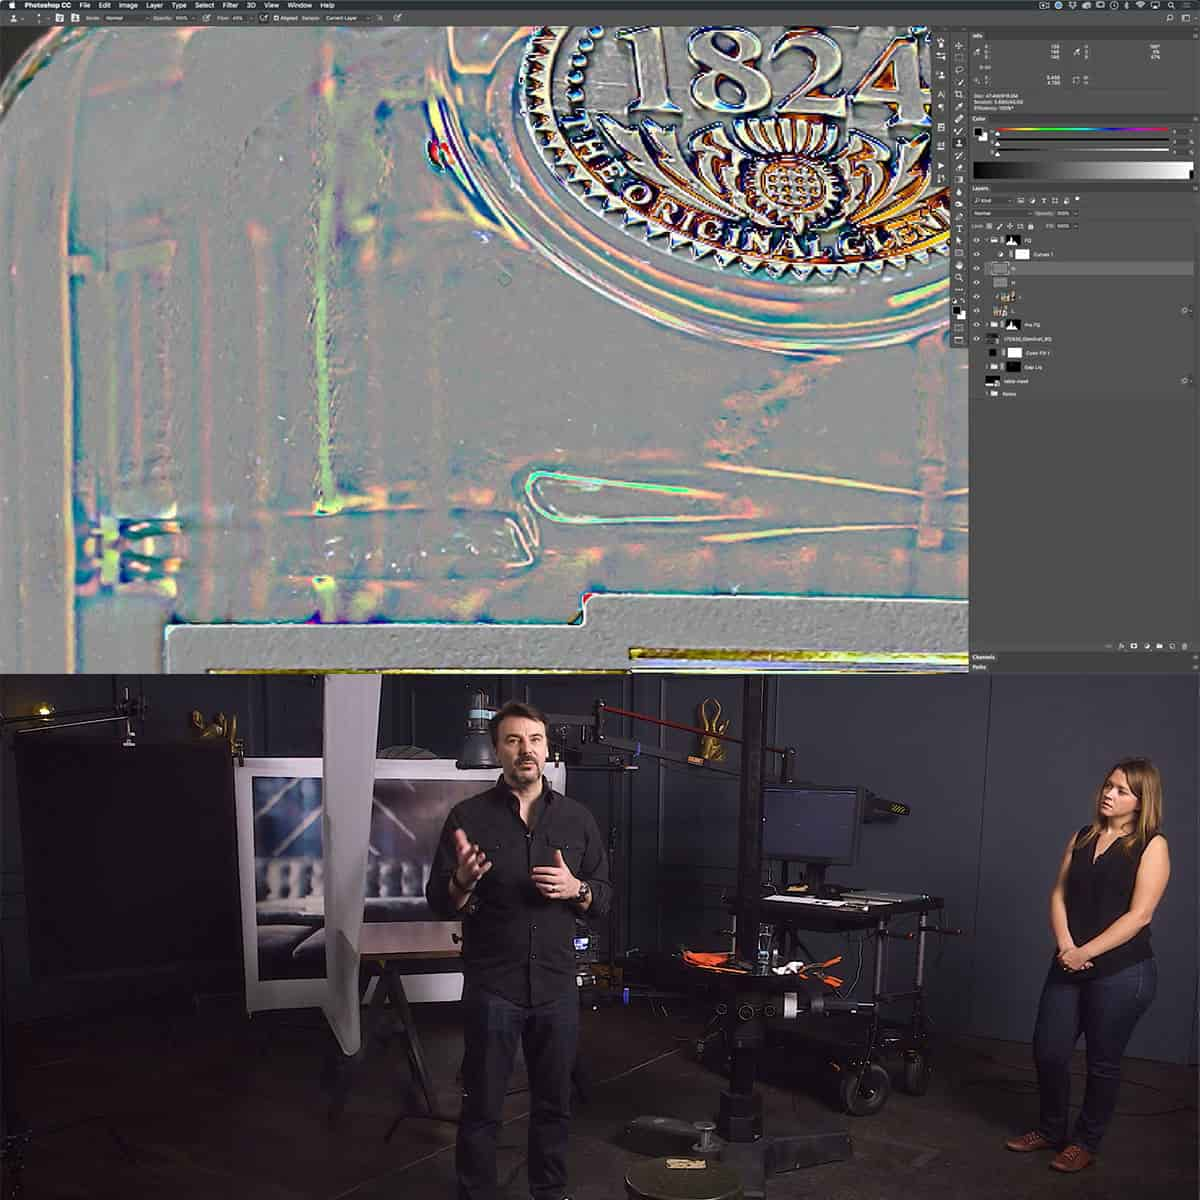
Retouching is the final step in perfecting our images, and the tutorial taught us how to utilize Photoshop to its full potential. We can now skillfully remove imperfections, enhance colors, and create realistic condensation, taking our beverage images from good to great.
In summary, we can confidently apply these skills and techniques to our own projects, elevating our work to a professional level. The knowledge gained from this tutorial will not only improve our advertising photography but also make us more versatile and in-demand photographers in the industry.
Frequently Asked Questions
What are the key lighting techniques for commercial beverage photography?
Some key lighting techniques we recommend include:
- Backlighting: This technique helps emphasize the transparency of liquids and highlights the glassware's texture and contours.
- Softbox lighting: Using a softbox can help create a diffused, even light, which can be perfect for emphasizing the product's texture and preventing harsh reflections.
- Rim lighting: This technique involves placing the light source behind the subject, generating a thin outline of light around the glass, creating a sense of depth and dimension.
How does retouching enhance advertisement images?
- Removing unwanted elements such as dust, scratches, or blemishes.
- Adjusting the colors and contrasts to make the product pop.
- Enhancing the details and textures of the drink and the glassware.
- Creating a sense of perfection, which is vital for advertisement images.
What essential tools and software are used for retouching in commercial beverage photography?
For retouching in beverage photography, we recommend using professional photo editing software like Adobe Photoshop or Capture One. Some essential tools within these programs include:
- Healing Brush or Spot Healing Brush: To remove dust, scratches, or blemishes.
- Curves or Levels: To adjust contrast and tonal range.
- Hue/Saturation or Vibrance: To enhance colors and saturation.
- Dodge and Burn: To add depth, dimension, and strategic lighting adjustments.
How can you create a realistic appearance with retouching in advertising images?
To create a realistic appearance, consider the following retouching tips:
- Preserve the original texture and form of the glass and liquid, avoiding over-smoothing or over-sharpening.
- Make subtle adjustments to color and contrast, avoiding extreme changes that may look unnatural.
- Stay true to the product's appearance, accurately portraying its features and characteristics.
- Use a non-destructive editing workflow, keeping the original image intact and allowing for revisions.
What are the vital elements to consider when setting up a lighting setup for beverage photography?
When setting up lighting, these vital elements should be considered:
- Number of light sources: A combination of key light, fill light, and accent light will help create dimension and depth.
- Light modifiers: Utilize softboxes, grids, or reflectors to shape and control the light.
- Light positioning: Place lights at the appropriate height and angle to create the desired effect.
- Light intensity: Adjust the strength of the light to avoid overexposure or underexposure.
What are the best practices for workflow in commercial beverage photography?
To ensure a seamless workflow, we recommend following these best practices:
- Develop a shot list, outlining the required shots and angles to be captured.
- Prepare the set, props, and products in advance, ensuring everything is clean and ready for the shoot.
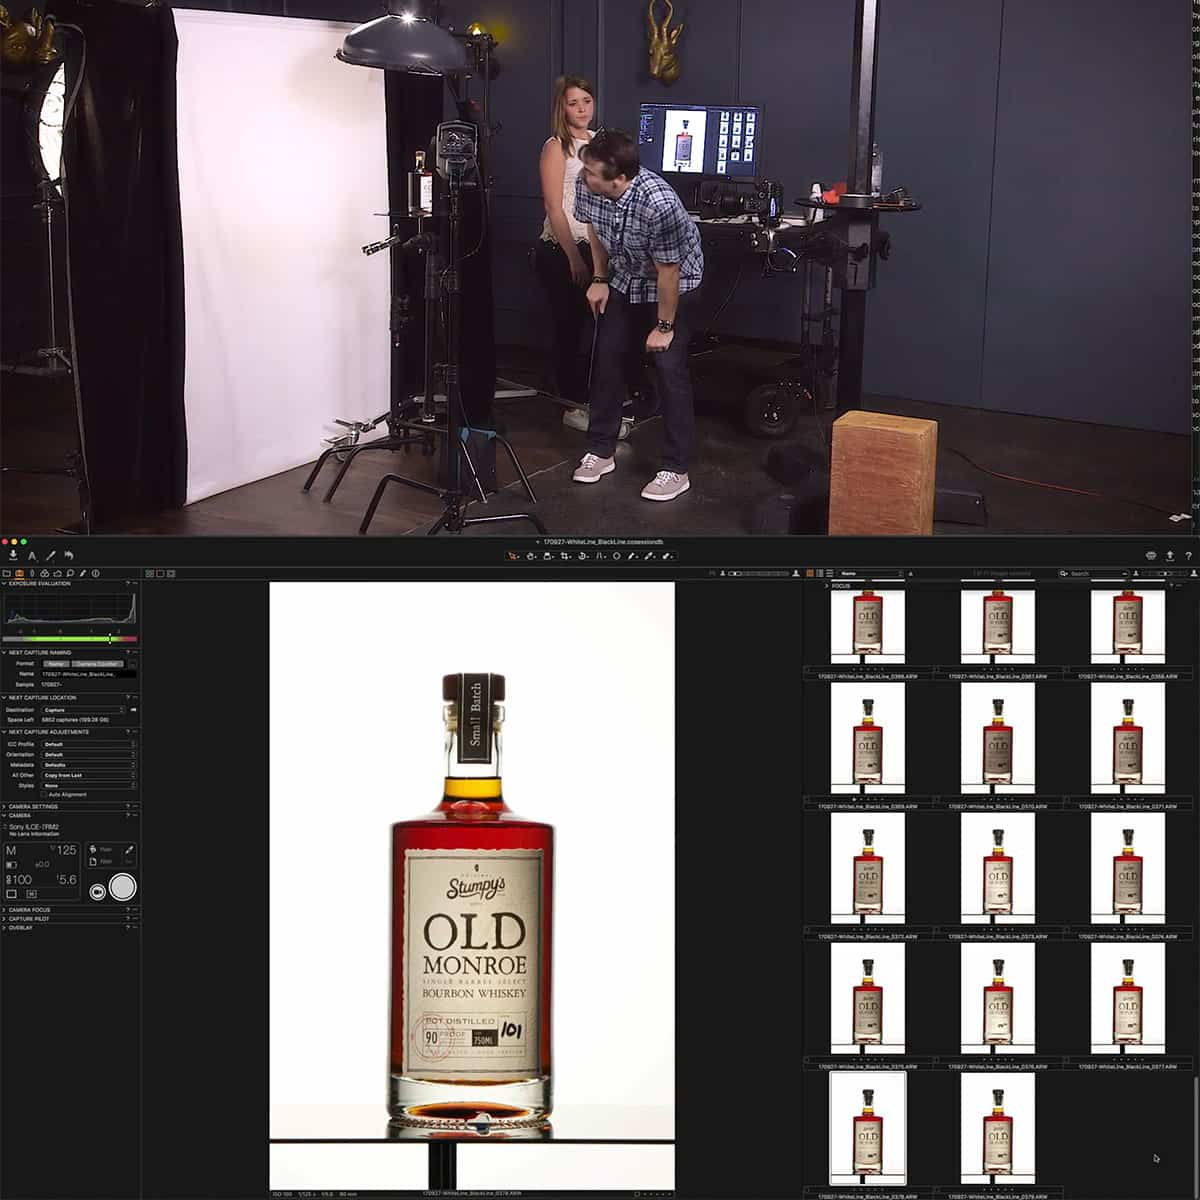
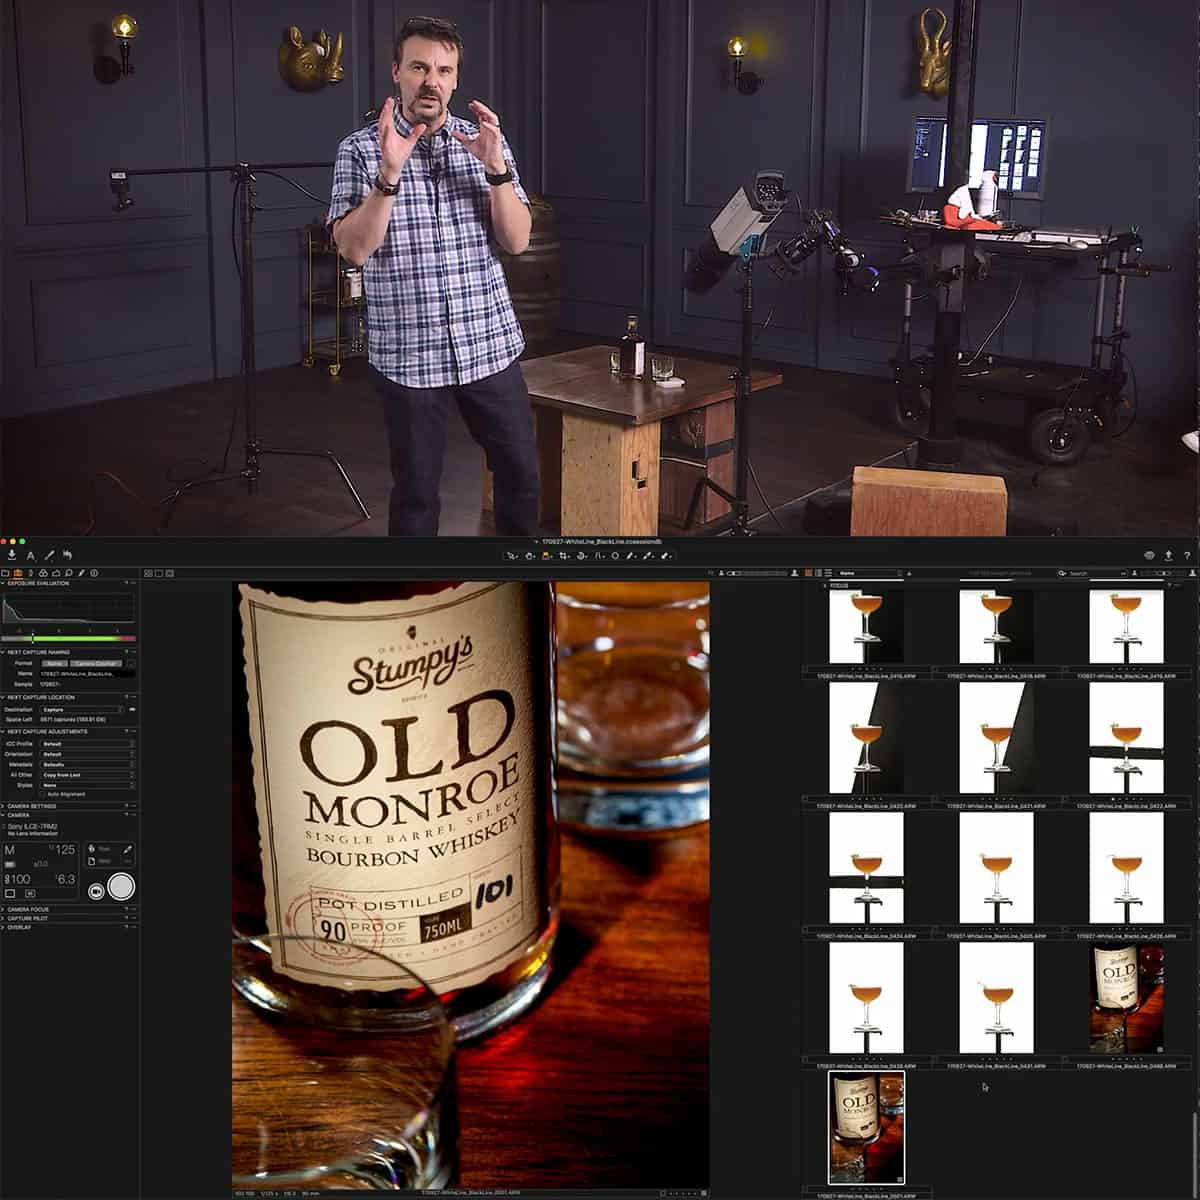
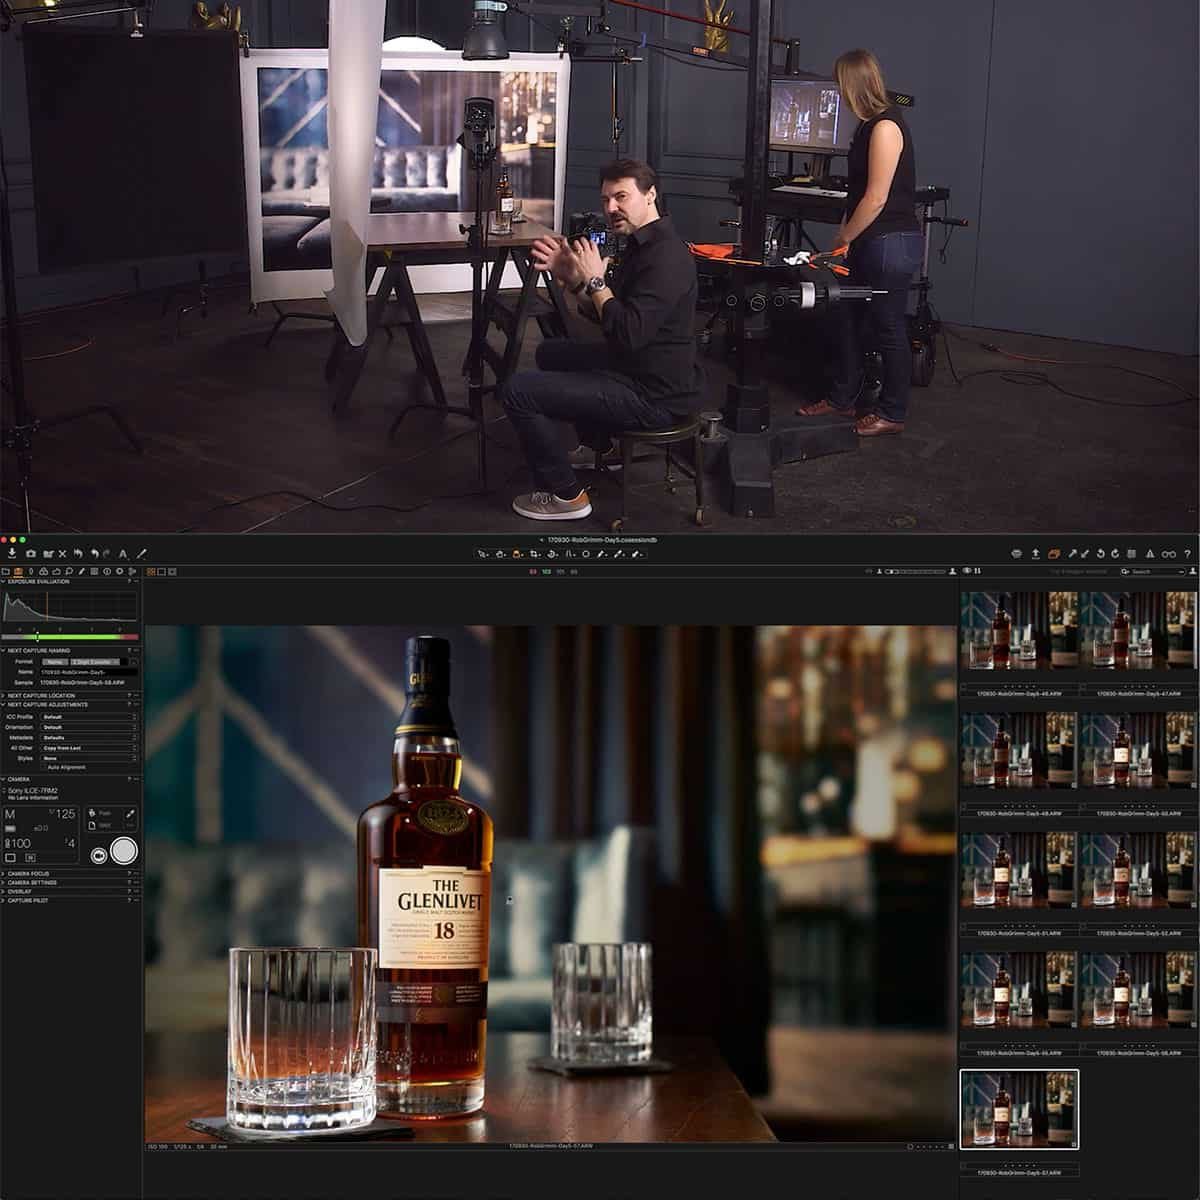
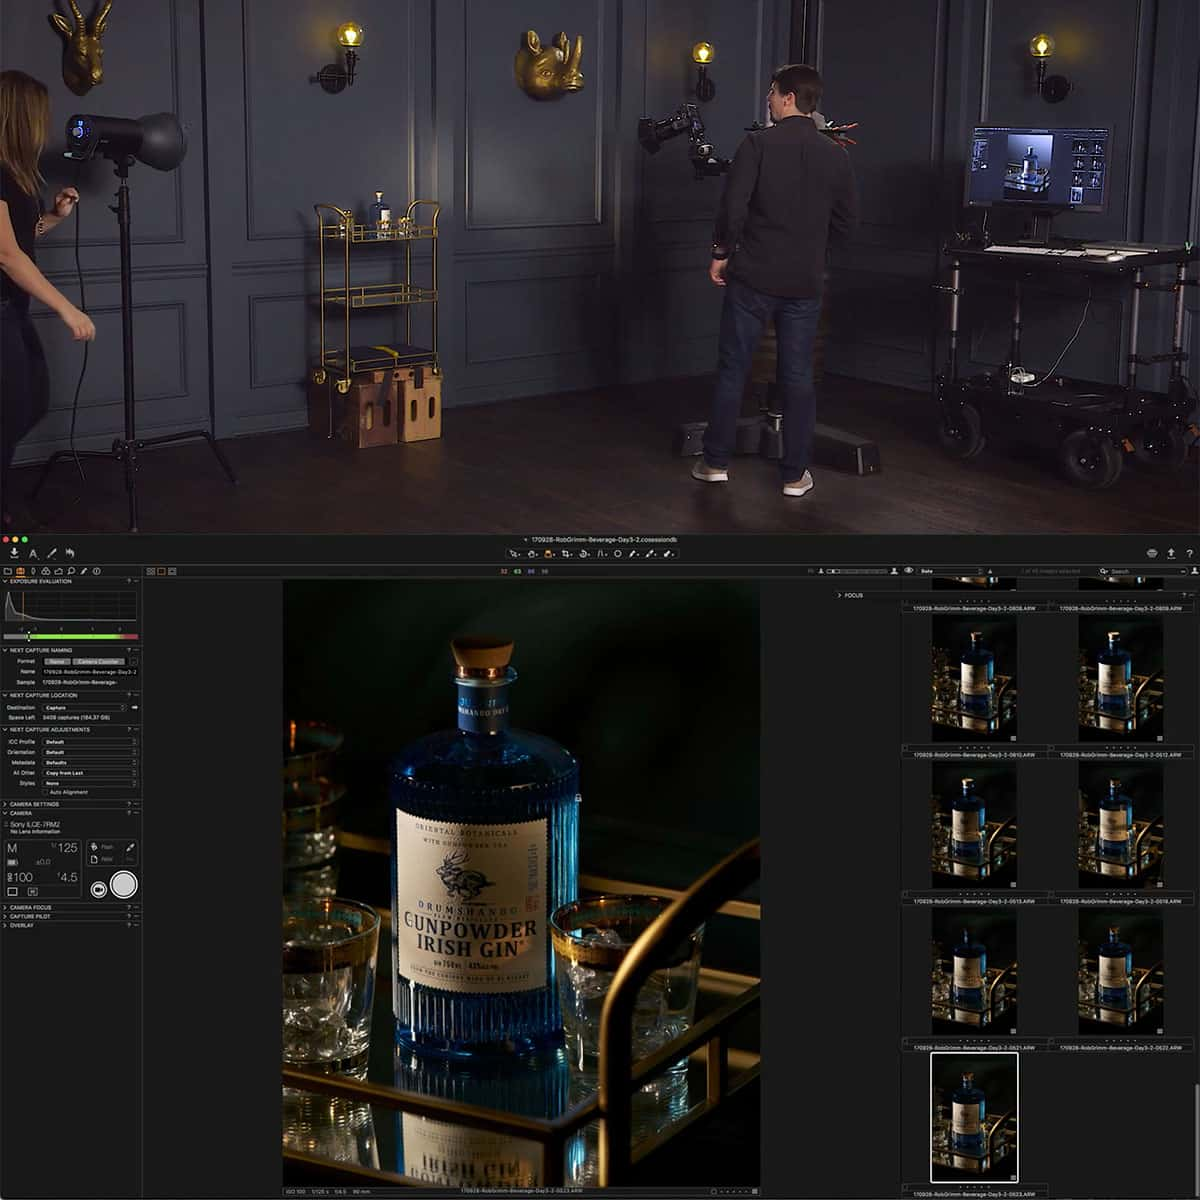
- Use a tethered shooting workflow, allowing for real-time viewing of images and adjustments.
- Maintain clear communication with the creative team and client, addressing any questions, concerns or requests during the shoot.
- Manage file organization, backup, and post-production efficiently, ensuring timely delivery of final images.


