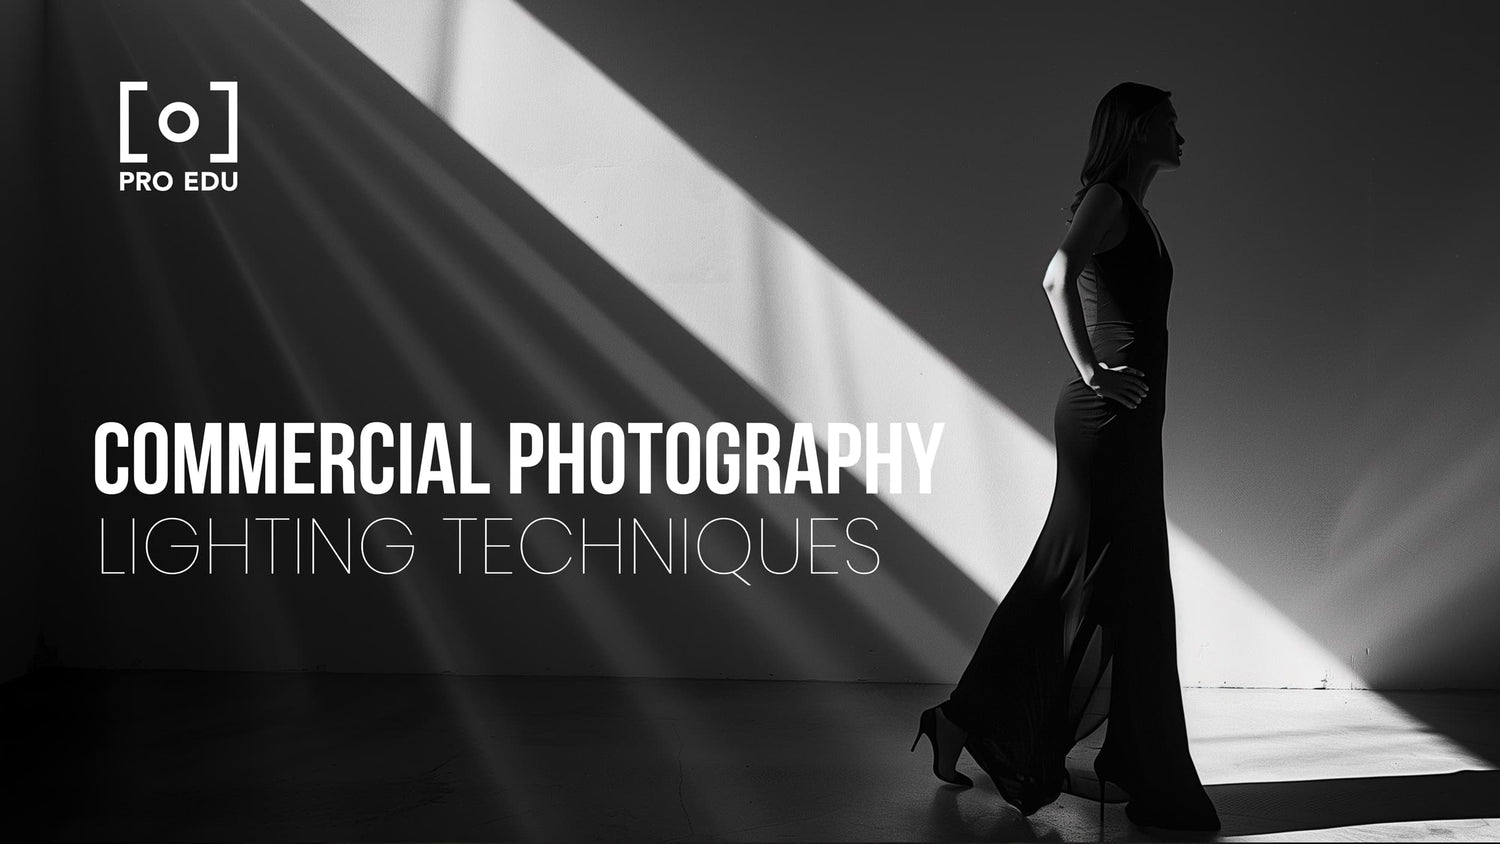
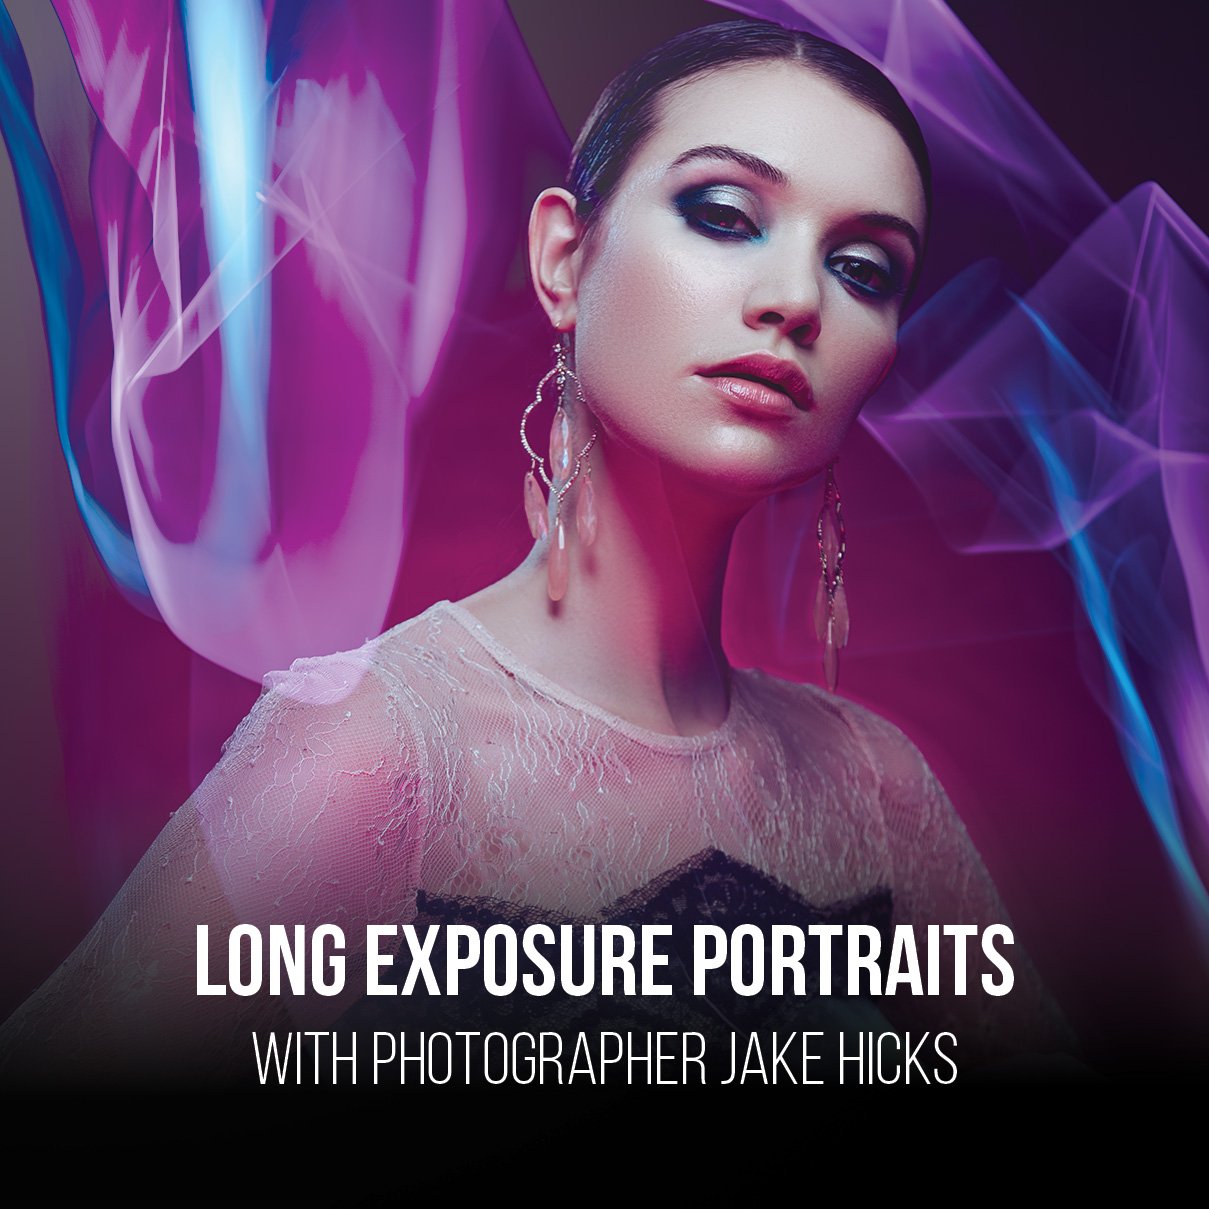
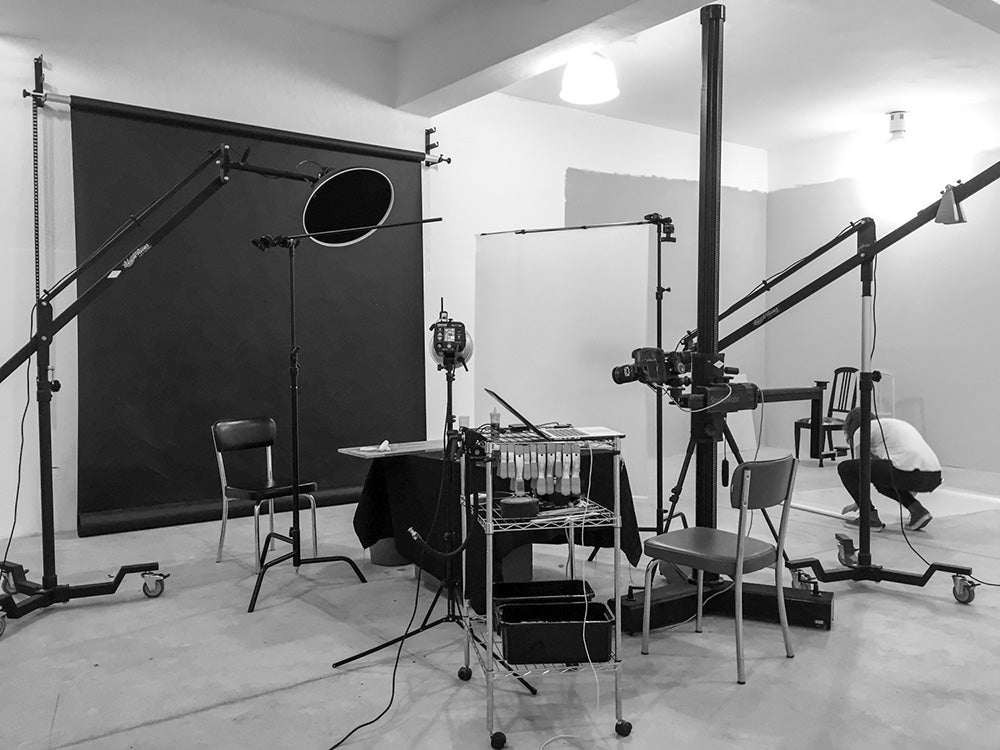
Mastering lighting techniques is a crucial part of commercial photography that can transform the mundane into the magnificent. As we navigate the complex world of professional photography, it becomes apparent that light is not just a tool for illumination but a means of sculpting the visual story we aim to tell.
Understanding how to manipulate light effectively allows us to highlight textures, create mood, and enhance the composition of our images.
As commercial photographers, our mission extends beyond capturing an image; we endeavor to convey a message or evoke an emotion that resonates with the viewer. To achieve this, we need a solid grasp of both natural and artificial lighting.
We harness the subtleties of natural light to add authenticity, while artificial light offers us control to create consistent and targeted effects in our imagery. Advanced lighting techniques open up a myriad of possibilities to represent a brand or product in its best light, quite literally.
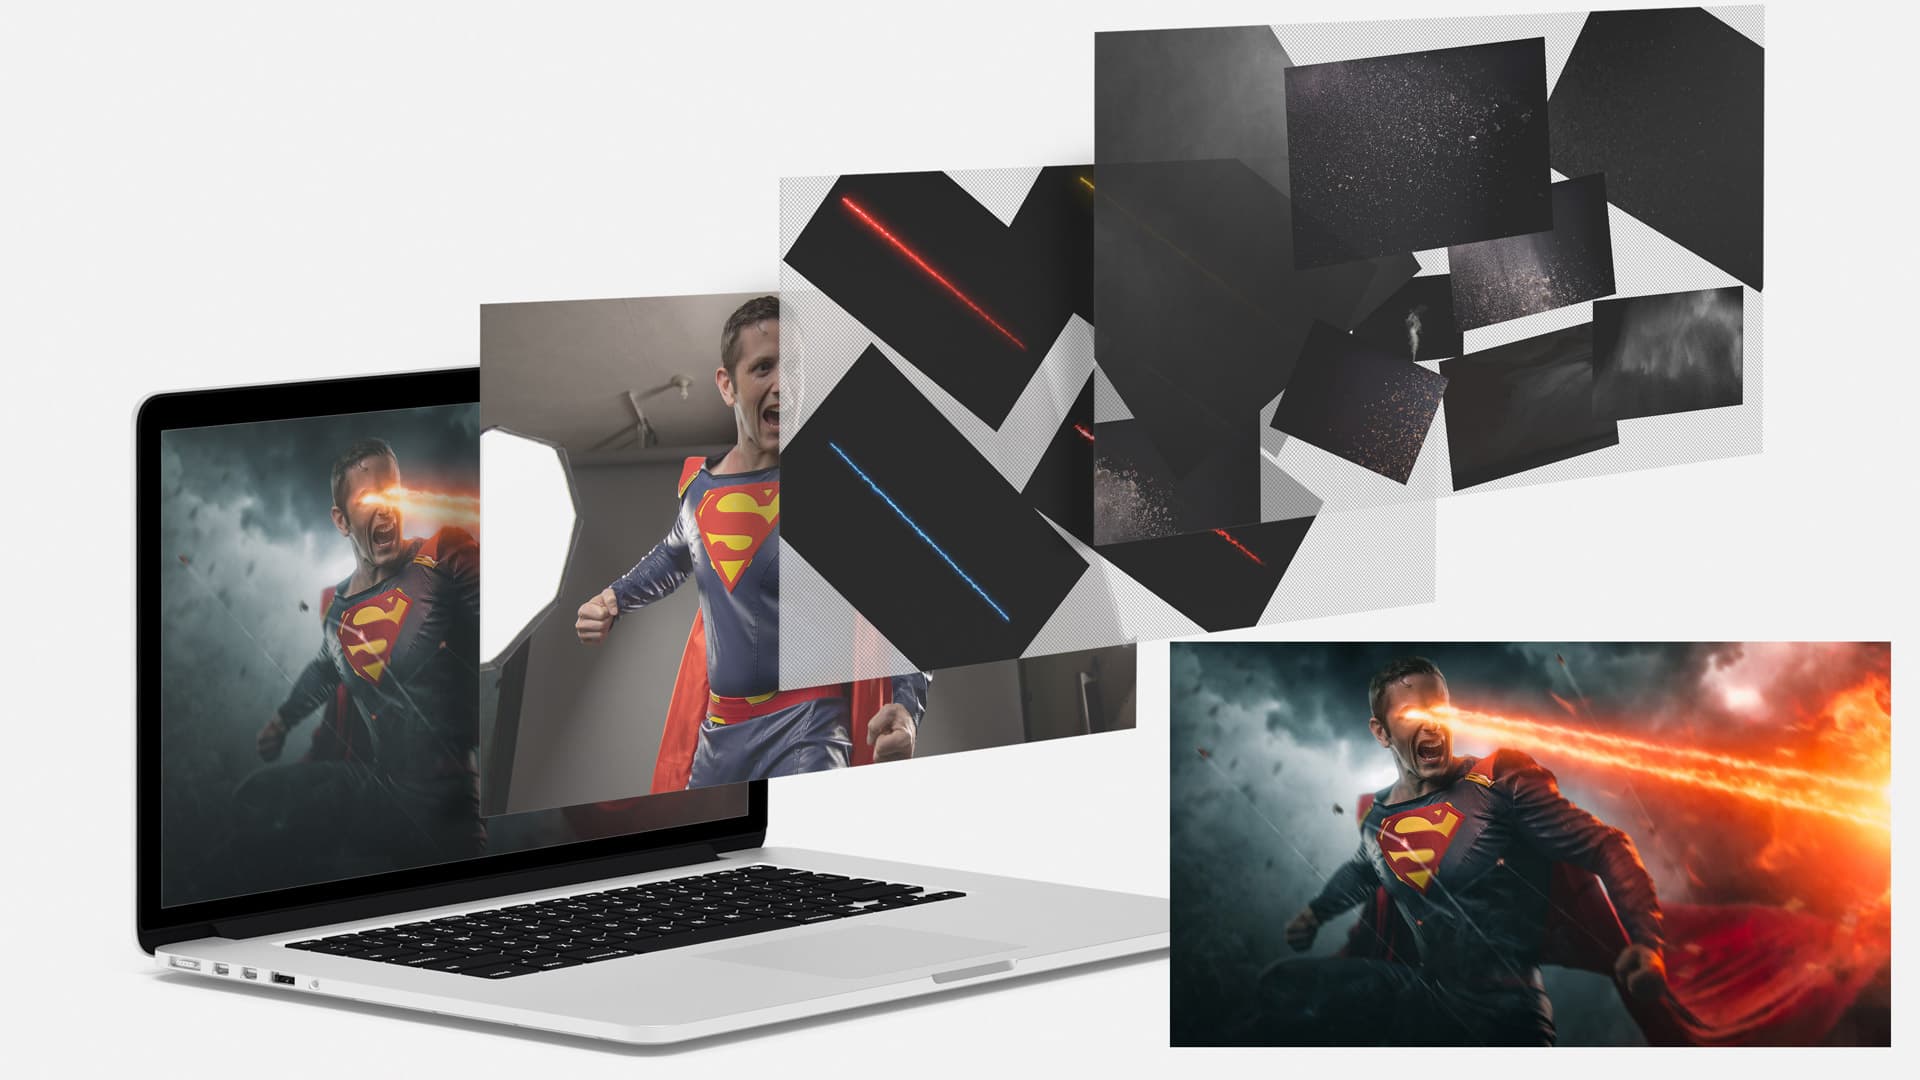
Post-production further refines our lighting choices, enabling us to fine-tune details that might not have been possible in the shooting environment. Whether adjusting the exposure, tweaking the shadows, or enhancing specific highlights, the post-production process is an integral step in the commercial photography workflow.
Key Takeaways
- Effective lighting shapes the narrative and mood of commercial photography.
- Mastery of both natural and artificial light is essential for creating compelling images.
- Post-production is a critical phase for perfecting the lighting in a photograph.
Understanding the Basics of Photography Lighting
Before we dive into the minutiae, it's essential for us to grasp how lighting, color, and camera settings interplay to form the foundation of commercial photography. Let's examine these core principles, ensuring that we can manipulate them to our advantage.
Exploring Color and Light
Color temperature and white balance are pivotal to the perception of color in our images. Color temperature is measured in Kelvin, with lower numbers indicating warmer, amber-hued light and higher numbers reflecting cooler, bluish light.
We adjust white balance to neutralize color casts and maintain color accuracy in varying lighting conditions. For instance, the golden hour provides a warm color temperature that can evoke feelings of nostalgia or warmth in a photograph.
The Importance of Shadows and Highlights
Shadows and highlights define the depth and dimension of our subjects, giving them a sense of presence and texture. We harness the directional nature of light to sculpt these effects, knowing that hard light sharpens shadows for a dramatic effect, while soft light creates subtler transitions.
For product shots, this technique of manipulating shadows and highlights can make an item pop and attract the viewer's attention.
Mastering Camera Settings for Optimal Lighting
We achieve optimal exposure by balancing ISO, shutter speed, and aperture—the three pillars of the exposure triangle. ISO governs the sensor's sensitivity to light, while the shutter speed dictates the duration of light hitting the sensor. Aperture controls the breadth of light allowed through the lens.
Each setting affects the other; for instance, a low ISO can reduce grain but might necessitate a slower shutter speed or wider aperture. A thorough understanding of these settings allows us to effectively manage the exposure and depth of field in function of our creative lighting intentions.
Natural Light vs. Artificial Light
In commercial photography, mastering the interplay between natural and artificial light is essential. We must know when to harness the warmth of sunlight during the golden hours or how to manipulate soft window light. Similarly, artificial lighting such as strobe and continuous lighting can be pivotal in creating the desired ambiance in a shot. Let's explore effective techniques for using both types of light to our advantage.
Harnessing the Golden Hours
Golden hour light offers a warm, diffused glow that can enhance product shots with a natural essence. To capitalize on this, we arrange our shoot to coincide with the first or last hour of sunlight during the day. This time is ideal for softer shadows and a golden hue that can make our subject matter truly stand out.
Using Window Light and Reflectors
We often turn to window light as a primary source of natural light. It's a versatile and soft light that provides a consistent and diffused illumination. By positioning our items near a window, we can capture this soft light, and using reflectors, we are able to bounce it back, reducing harsh shadows and evenly distributing light across the subject.
Introduction to Strobe and Continuous Lighting
Artificial light, from sources like strobe and continuous lighting, gives us complete control over the lighting environment. Strobe lighting offers a high-intensity flash of light for freezing motion, making it ideal for capturing sharp images with precision. On the other hand, continuous lighting allows us to see the lighting effect in real-time, which is perfect for making fine adjustments to achieve the desired mood or effect in our imagery.
Advanced Lighting Techniques for Commercial Photography
In the realm of commercial photography, understanding and mastering advanced lighting techniques is crucial. They allow us to manipulate mood, texture, and dimension in images, thereby elevating the visual narrative we aim to convey. With precision and careful planning, these techniques can produce stunning imagery that catches the eye and serves the client's vision with distinction.
Creating Depth and Dimension
We harness the power of contrast and shadow to infuse depth into our images. Key to this is the directional use of light, especially with off-camera flash, to cast shadows that sculpt subjects and add a tactile feel to the two-dimensional medium. Strategic positioning of strobe lighting, slightly off to one side, can emulate the natural play of light and shadow, giving a sense of three-dimensionality to the subject.
Incorporating Gels and Diffusers for Dramatic Effects
Gels and diffusers are powerful tools in our arsenal, enabling us to introduce rich, vibrant colors or soften harsh lights to suit the mood of the shoot. By attaching colored gels to light sources, we can colorize the scene, adding drama and emotion. Simultaneously, diffusers come into play when we look to create a gentle spread of light, reducing contrast and softening shadows for a more flattering illumination.
Utilizing Off-Camera Flash and Strobe Lighting
Moving beyond the confines of natural light sources, we explore the dynamic realm of off-camera flash and strobe lighting to exercise full control over the lighting in a scene. We often combine these with various light modifiers, like softboxes, to shape and direct light with precision. This allows us to construct tailored lighting setups that bring focus to specific areas, highlight textures, and create a controlled environment that complements the subject matter.
The Role of Light In Defining Texture and Mood
Lighting is a pivotal element in commercial photography that dictates the texture and mood of the image. Our precise control over the quality and direction of light allows us to sculpt the subject in a way that aligns with the desired emotional response.
Balancing Hard and Soft Lighting
Hard light creates deep shadows and enhances the texture of a subject, giving us stark contrasts and sharp edges. In contrast, soft light wraps around the subject, reducing shadows and texture for a more gentle and uniform appearance. We often use diffusers and reflectors to transform hard light into soft light, tailoring the illumination to our needs.
Using Backlighting to Enhance Texture
Backlighting emphasizes the texture of a subject by illuminating it from behind. This technique casts fine shadows along the textures and edges, effectively bringing out details that would otherwise remain flat or unnoticed. It's an excellent way to add depth and dimension, particularly when depicting materials like fabrics, food, or even glass.
Lighting for Mood
The mood of a photograph is largely influenced by the quality and direction of light. Natural light offers a vast spectrum, from the warm hue of a sunset to the cool tone of a shaded area, which can evoke a range of emotional responses. We use light strategically to convey the desired atmosphere, whether it's a bright, cheerful ambiance or a somber, dramatic scene.
Composition and Lighting
In commercial photography, mastering the interplay between composition and lighting is fundamental. We consider not just the subject but also how light and shadow contribute to the overall aesthetic.
Principles of Three-Point Lighting
Three-point lighting is a classic setup that can dramatically enhance the composition of an image. It consists of a key light, the main light source that delineates the form and structure of the subject. The fill light controls contrast, softening the shadows created by the key light. Lastly, we use the backlight or rim light to separate the subject from the background, adding depth and dimension to the image. We often adjust the intensity and angle of these lights to fine-tune the photograph's mood and focus.
- Key Light: Main light source, determines form
- Fill Light: Reduces contrast, softens shadows
- Backlight: Separates subject from background
The Impact of Lighting Position on Composition
The positioning of lighting elements within a scene directly affects its composition. For example, side lighting can emphasize texture and form, creating a sense of volume in the photograph. We place lights strategically to guide the viewer’s eye through the image, using highlights and shadows to craft visual narratives. The quality of light is equally important; we might choose a hard light for a striking, high-contrast composition or soft light for subtler, more even textures.
- Side Lighting: Emphasizes texture, adds volume
- Quality of Light: Hard for contrast, soft for evenness
Through these techniques, we control not just the light but the shadows as well, carefully shaping our images to convey the intended message or emotion.
Lighting for Different Genres of Photography
As we delve into the realm of commercial photography, it's imperative to understand how lighting techniques vary significantly across different genres. Each genre demands a distinct approach to lighting to accentuate the subject's best features or to convey a particular mood.
Portrait Lighting Essentials
Portrait photography is about capturing the essence of an individual's character. We often use three-point lighting setups to achieve depth and dimension on the subject's face. This includes a key light, which is the main light source, a fill light to soften shadows, and a backlight to separate the subject from the background. Soft, diffused light sources help us avoid harsh shadows and highlight the subject's facial features.
- Key Light: Main source of light; placed at a 45-degree angle to the subject.
- Fill Light: Reduces shadows caused by the key light; less intense and placed on the opposite side.
- Back Light: Provides depth; placed behind the subject.
Product Photography Lighting
In product photography, our goal is to make the product look as appealing as possible. We meticulously control lighting to define the product's textures, colors, and shapes. High-key lighting setups, often with softboxes, are used to create a clean, minimalistic look. A combination of hard and soft light can bring out the texture and material of products, with hard light creating defined shadows and contrast, while soft light minimizes shadows and reduces reflection.
- Soft Light: For even illumination; softboxes or diffusers are typical choices.
- Hard Light: For texture and contrast; direct light sources without diffusion.
Capturing Light in Landscapes and Events
Lighting in landscape and event photography can be challenging, as we rely heavily on ambient light. In landscapes, we look to utilize natural light during the golden and blue hours, when sunlight is softer and the colors are more vibrant. For events, we manipulate what's available and sometimes incorporate artificial light into our setups to ensure key moments are well-lit and free from distracting shadows.
- Golden Hour: Just after sunrise or before sunset; offers warm, diffused light.
- Blue Hour: Just before sunrise or after sunset; provides a cooler tone and even light.
In all genres of photography, lighting is our most potent tool. We must master its subtleties and nuances to create impactful imagery that stands out in the competitive field of commercial photography.
Post-Production and Lighting
In commercial photography, post-production is where we refine and enhance our images. Our goal is to maintain a consistent quality across all photos and ensure that the lighting conveys the intended mood and message.
Achieving Consistency in Editing
To achieve consistency in editing, we meticulously match lighting conditions across the series of images. This involves a detailed process of comparing shadows, highlights, and overall tonality. Tools like the histogram help us maintain a balanced exposure throughout our edits, ensuring that all images feel cohesive when viewed side by side. Utilizing presets and synchronized settings across batches of photos can expedite this process while preserving uniformity.
Understanding Color Temperature and Balance
Color temperature plays a vital role in defining the mood of an image. In post-production, we use our knowledge of color theories and tools to adjust the white balance, ensuring the colors in our images appear natural and true to life. Meticulous attention to color temperature helps us avoid any color cast that might distract from the image's visual impact. We strive to keep a balanced color temperature throughout different images by using reference points like a gray card during shooting and matching these references during the editing process.
Frequently Asked Questions
In our pursuit to master the art of lighting in commercial photography, we encounter several recurring questions. Whether it's about elevating product details, choosing the right equipment, or achieving color accuracy, each query plays a crucial role in refining our imagery.
What are key light positioning strategies for enhancing product details in commercial photography?
We employ various positioning strategies such as side lighting to emphasize texture and angled lighting to reveal subtle product features. Strategic use of light directionality can bring out the best in product details for that perfect shot.
What lighting equipment is essential for a professional product photography setup?
A professional product photography setup requires a dependable camera body with a full-frame sensor for superior image quality, various lenses for flexibility, and a mix of speedlights and strobes. Light modifiers, such as softboxes, are also essential for sculpting the light.
How does light quality affect the representation of products in photographs?
Light quality, encompassing color temperature and light softness, crucially impacts how products appear in photos. Harsh light might create unwanted shadows, while soft, diffused light can flatter product features and maintain true colors.
What is the role of lighting in showcasing a product's texture and color accuracy?
Lighting is pivotal in highlighting a product's texture and ensuring colors are represented accurately. By controlling the intensity and direction of light, we can enhance or soften textures and accurately match the product's true colors.
How can studio lighting be adjusted to minimize reflections on shiny surfaces in product photos?
We minimize reflections on shiny surfaces by adjusting the angle of incidence and using polarizing filters. Soft diffusion and careful positioning of light sources also prevent hot spots and reflections in product photography.
What techniques do commercial photographers employ to ensure consistent lighting across multiple product shoots?
To ensure consistency, we use calibrated light meters and maintain a standard setup for all shots. Repetition and documentation of lighting positions and settings also help achieve a uniform look across multiple product photographs.


