WB Explained: Achieving Color Accuracy in Photography
White balance is a critical element in photography, ensuring that the colors in your images represent reality as accurately as possible. Understandably, the concept might seem technical, but at its core, it's about color correction. It compensates for the color temperature of different lighting environments, ensuring whites are rendered as true whites, which in turn, makes other colors look more natural.
Whether you're dealing with the warm glow of indoor lights or the cool shades on a cloudy day, mastering white balance can dramatically impact the quality and authenticity of your photographs.
Knowing how to set white balance is an essential skill for any photographer. Modern cameras offer several white balance presets that cater to common lighting scenarios, as well as an auto mode that lets the camera make its best guess.
Taking control of this feature, whether through presets or by manually adjusting the white balance, gives you more creative control over your images. Additionally, understanding how to make post-processing adjustments will further ensure that every photo you take reflects the true colors of the scene, regardless of the complexities of the lighting conditions.
Key Takeaways
- White balance ensures colors in photos are true to life.
- Camera presets and manual adjustments provide control over white balance.
- Post-processing is vital for fine-tuning color accuracy.
Understanding White Balance
In photography, white balance (WB) is crucial for reproducing colors the way our eyes perceive them under varying lighting conditions. It balances the color temperature of the image, measured in Kelvins (K), ensuring that objects which appear white in person are rendered white in your photos.
The Role of Color Temperature in Photography
Color temperature is a number on the Kelvin scale, indicating whether a light source emits a warm or cool light. Our cameras interpret this light using white balance settings to maintain color accuracy in our images. Natural daylight has a Kelvin number around 5500K, considered a neutral baseline. As lighting conditions shift—from the golden hues of tungene light around 3200K to the bluish tint of overcast daylight or shade—calibrating the camera's white balance becomes essential.
White Balance Settings and Icons
Most cameras offer a selection of white balance settings, each with unique icons representing different lighting conditions. For instance:
- A little sun icon usually denotes Daylight
- A cloud symbol stands for Cloudy
- Three triangles forming a pyramid represents Tungsten
- A fluorescent strip light for Fluorescent
Selecting the correct icon adjusts the camera to compensate for the light's color temperature, thus neutralizing color casts. This manual selection augments the camera’s automatic detection and tailors the WB-setting to the specific conditions.
Color Casts and Lighting Conditions
Color casts occur when the color temperature of the lighting affects the colors in an image. For example, tungsten light introduces a warm, yellowish cast, while fluorescent light often casts a cool, blue tone. Understanding and adjusting to these differences is vital. When we're faced with mixed lighting—such as interior lights combined with natural light—or changing conditions such as those found on a cloudy day or in shade, tweaking the white balance can substantially improve color fidelity.
Setting White Balance In-Camera
When we capture images, ensuring that the colors are accurate is vital. In-camera white balance settings help us counteract the color casts of different light sources, ensuring the colors in our photos look natural.
Using Presets for Common Scenarios
Most cameras offer a range of white balance presets to match common lighting conditions. These presets are designed based on typical scenarios and their Kelvin temperature values. Here's a list of common presets and their corresponding light sources:
- Daylight for normal daylight conditions
- Shade for subjects in the shade, which has a bluer tint due to the sky
- Cloudy for overcast conditions, which can make light appear cooler
- Tungsten for indoor lighting, like incandescent bulbs, which emit a warmer hue
- Fluorescent to counteract the cool cast from fluorescent light tubes
- Flash to compensate for the bright, somewhat cool light of a camera flash
Using these presets can quickly get us closer to the true colors without having to manually adjust white balance settings for each photo.
Employing Auto White Balance
Auto White Balance (AWB) is a camera setting that automatically adjusts the color balance in real-time, aiming to make white objects appear white regardless of the type of light. AWB is a great general-purpose setting when the lighting conditions are changing rapidly or when we're unsure which preset to choose. It uses a complex algorithm to guess the correct setting, and while it's not always perfect, it works well in a variety of scenarios.
Custom White Balance for Precise Control
For situations demanding the highest color accuracy, we employ custom white balance. This involves manually calibrating the camera to the precise lighting situation we're in. To do this, we photograph a neutral reference (often a gray or grey card), which the camera then uses to set the white balance. Here's how to do it:
- Place the gray card in the same light as the subject.
- Photograph the card using the camera's custom white balance mode.
- Follow your camera's instructions to use this photo to set the white balance.
This process tells our camera exactly what neutral looks like under the specific lighting condition, allowing it to adjust the colors more accurately across our images. It's particularly useful in controlled lighting situations or where color rendition is critical.
Post-Processing White Balance Adjustments
Achieving accurate colors in photography often involves making white balance adjustments during post-processing. We'll explore how to correct white balance using editing software and the benefits of working with RAW files.
Correcting White Balance in Editing Software
When the white balance in a photo isn't quite right, we can turn to photo editing software such as Lightroom or Photoshop to correct it. These tools enable us to fine-tune the colors to reflect the scene as our eyes saw it or to creatively alter the mood of the image. Here's how we tackle color correction in two popular software:
Adobe Lightroom:
- Locate the White Balance Selector (eyedropper tool).
- Click on an area of the image that should be neutral (white, gray, or black).
- Lightroom will then adjust the entire photo to correct any color casts based on the selected area.
Photoshop:
- Go to
Image>Adjustments>LevelsorCurves. - Use the Gray Eyedropper Tool to select a neutral target.
- Photoshop will adjust the colors to make the selected area appear neutral.
Working with RAW Files for Maximum Flexibility
The RAW file format retains all data from the camera sensor, which is crucial for our post-processing endeavors. Here's why working with RAW files is beneficial:
- Complete Control: RAW files provide us with the highest level of control over white balance adjustments, as they contain all the unprocessed and uncompressed information captured by our camera.
- Non-Destructive: Adjustments made to RAW files are non-destructive. Which means we can modify the white balance without permanently altering or degrading the original image quality.
Both post-processing and the manipulation of RAW files are integral parts of modern digital photography. Utilizing RAW files gives us the flexibility to make precise white balance adjustments and ensures our photos look as natural as possible.
Advanced Techniques and Considerations
In this section, we explore sophisticated strategies for mastering white balance to achieve precise and consistent color reproduction. By understanding these advanced techniques, we can manipulate color temperature to set the desired mood in our images and ensure that colors look natural and true to life under varied lighting conditions.
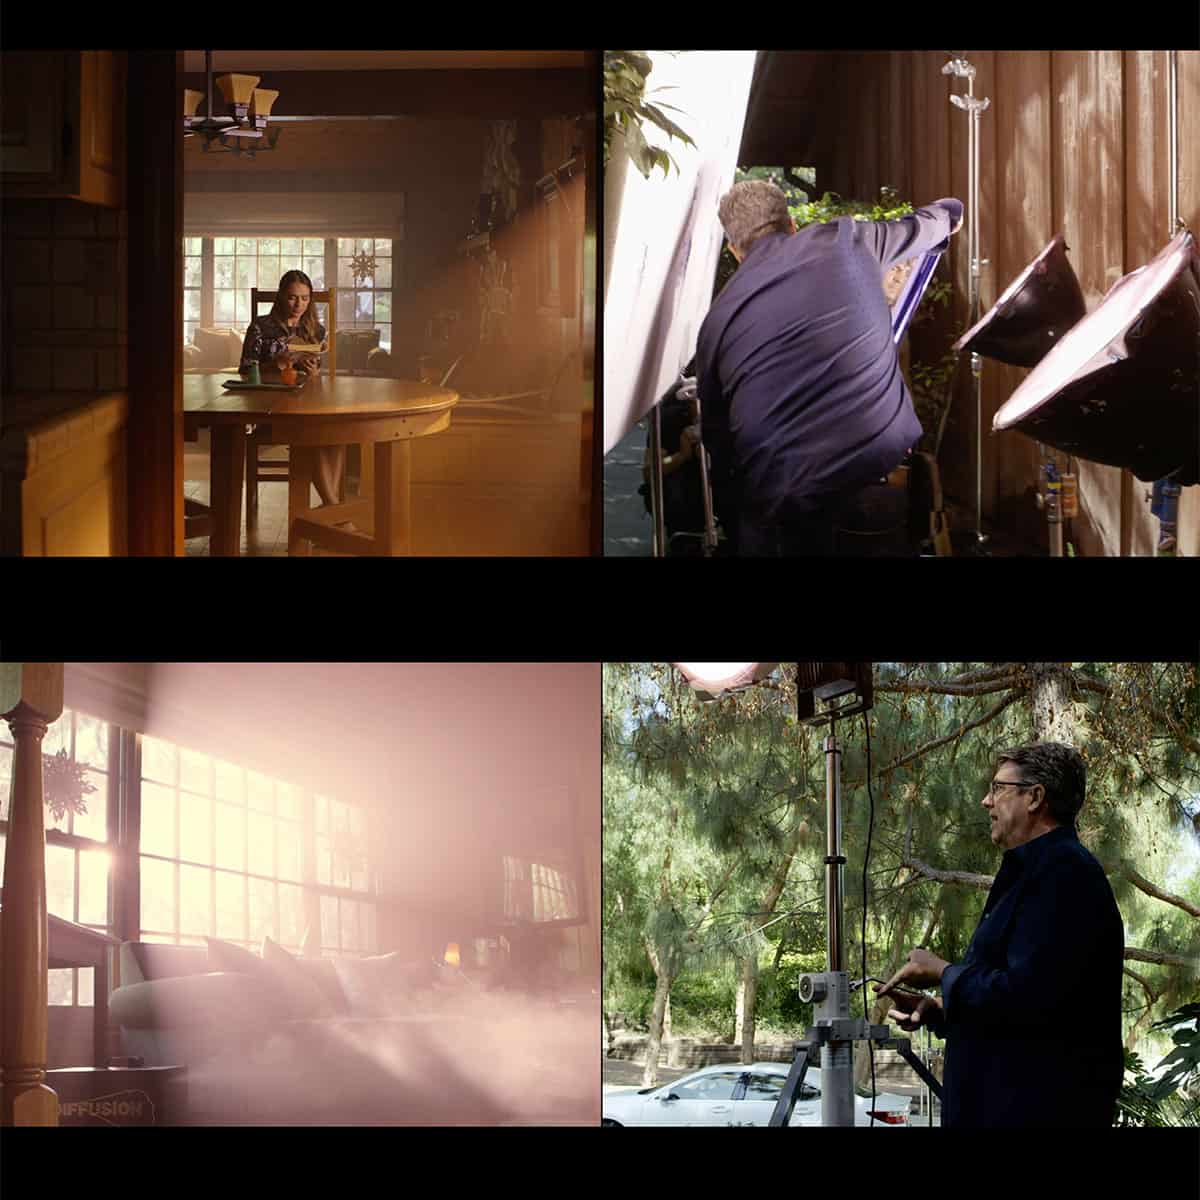
Mixed Lighting and Color Grading
Under mixed lighting, achieving accurate colors on every surface can be complex. It's crucial to recognize how different light sources affect colors. For instance, candlelight imparts a warm glow that may require balancing against cooler (blue) light sources. We often employ color grading in post-production to fine-tune the mood created by mixed lighting. This involves adjusting the high, mid, and low tones to achieve a harmonious look that reflects our vision for the image.
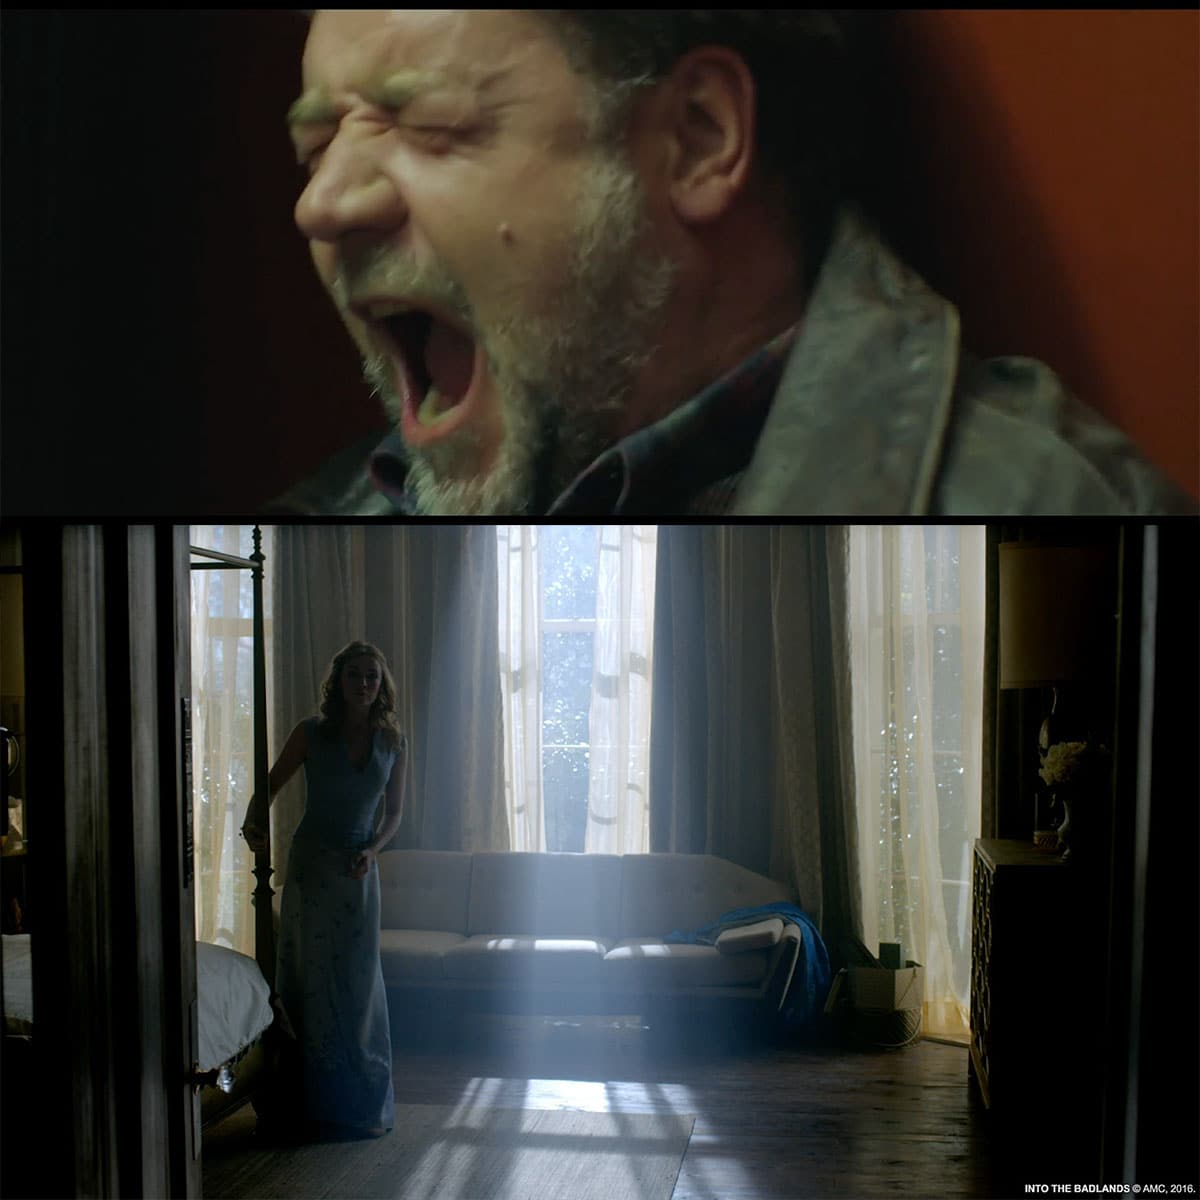
Setting Mood with Color Temperature
Color temperature significantly impacts the mood of a photograph. Warm colors often evoke feelings of coziness and intimacy, while cool colors impart a sense of calm or detachment. By deliberately choosing a warm or cool white balance setting, we can enhance the emotional impact of our images. For instance, adjusting the white balance to incorporate more blue (cold) tones can create a serene atmosphere, or, conversely, a neutral grey approach can help in achieving a balanced, unbiased representation of the scene.
Ensuring Color Accuracy and Consistency
For accurate colors, calibration with a neutral grey card is essential, especially in consistent lighting. This helps in negating any color cast and setting a custom white balance to ensure that the whites in our images are truly white under various light sources. Our aim is to maintain color consistency across an entire shoot, which can be particularly challenging in scenarios with fluctuating lighting conditions. To achieve this, we might also employ tools and techniques such as histogram checking and bracketing white balance settings during the shoot.
Key Tips for Achieving Accurate White Balance
When we talk about photography, color accuracy is essential to creating visually appealing photos. Accurate white balance (WB) ensures that colors are faithfully reproduced in various lighting conditions. Here are some tips to achieve the perfect balance:
-
Understand Your Environment: We must assess the lighting conditions we are working with. Is it natural or artificial light? This awareness helps us choose the appropriate WB preset.
-
Use the Right Camera Settings: Digital cameras come with white balance presets such as Daylight, Shade, Tungsten, and Fluorescent. Select the one that matches your shooting environment to automatically correct color temperature.
-
Custom White Balance: For more control, we can use a custom white balance setting. By photographing a neutral grey or white card under the same lighting our subject is in, our camera can calibrate to that specific light source, resulting in accurate colors.
-
ISO and Exposure: Maintain a balanced ISO and exposure to avoid noise and color shifts that can negatively impact the white balance.
-
Post-processing: Even with careful in-camera setting, sometimes we need to fine-tune our photos. Tools like Adobe Lightroom offer white balance adjustments in post-processing, allowing us to make slight corrections to achieve the perfect color balance.
-
Continuous Learning: The more we practice setting our white balance and understand how different light sources affect our images, the more instinctive our adjustments will become.
Here is a simple reference table for common lighting conditions and the corresponding white balance settings:
| Lighting Condition | White Balance Setting |
|---|---|
| Sunny | Daylight |
| Overcast | Cloudy |
| Shade | Shade |
| Incandescent | Tungsten |
| Fluorescent | Fluorescent |
Remember, achieving accurate white balance is crucial in photography to ensure that the colors in our images mirror reality as closely as possible. By mastering our camera settings and understanding the nuances of light balance, we set ourselves up for success.
Frequently Asked Questions
In this section, we tackle some of the most common inquiries about white balance and its role in ensuring the colors in your photos and videos are true to life.
What is the importance of white balance in capturing accurate colors in photos and videos?
White balance is crucial because it adjusts the colors to appear as they would under natural light, regardless of the lighting conditions. Accurate white balance ensures that whites are rendered truly white, which in turn makes all other colors look natural.
How does white balance impact the color temperature in images?
The color temperature of an image is greatly influenced by white balance settings, which can make a photo look warmer or cooler. Proper adjustment of the white balance counteracts the color casts caused by different light sources, measured in Kelvin degrees.
What are the optimal white balance settings for different lighting conditions such as tungsten and daylight?
For tungsten lighting, a lower color temperature setting helps neutralize the yellowish color cast. When shooting in daylight, a higher color temperature typically provides the best results as it compensates for the cooler, bluish light. Each lighting condition has specific white balance presets that can serve as a starting point.
How can a white balance card be used to improve color fidelity in photography?
A white balance card provides a reference point to calibrate color balance in an image, ensuring that the camera can produce the most accurate colors possible. It reflects light consistently across all color spectrums and aids in setting the correct white balance before shooting.
What methods are used to correct white balance in post-processing?
In post-processing, one can adjust the white balance using software that changes the color temperature and tint. Tools like color sliders, eyedroppers, and presets allow for fine-tuning to correct any color imbalances that occurred during the shoot.
How does one assess the accuracy of white balance in captured images?
To assess the accuracy of white balance, examine the neutral tones and whites in the image; they should not have a color cast. Using a calibrated monitor can help determine if the white balance is correctly adjusted, ensuring accurate colors.


