Light Meter Basics: Achieving Perfect Exposure in Photography
As photographers, we understand the importance of achieving perfect exposure for our images, which is where light meters play a crucial role. These indispensable devices help us determine the correct combination of aperture, shutter speed, and ISO settings by providing accurate measurements of the light intensity in a scene.
When using a light meter, it's essential to grasp the basics, such as properly utilizing different metering modes and familiarizing ourselves with troubleshooting common issues. Through practice and resourceful techniques, we can effectively use light meters to capture stunning, well-exposed photos, even with digital cameras that have built-in metering systems.
Key Takeaways
- Light meters are essential tools for achieving optimal exposure in photography
- Understanding metering modes and techniques leads to better use of light meters
- Troubleshooting and practice can improve your ability to capture well-exposed images.
Grasping the Basics of Light Meter
Understanding Exposure Triangle
To achieve perfect exposure in photography, it is crucial to understand the exposure triangle which consists of three main components: aperture, shutter speed, and ISO. These elements work together to control the amount of light that reaches the camera sensor. Balancing these factors allows us to produce well-exposed images in various lighting situations.
Types of Light Meters
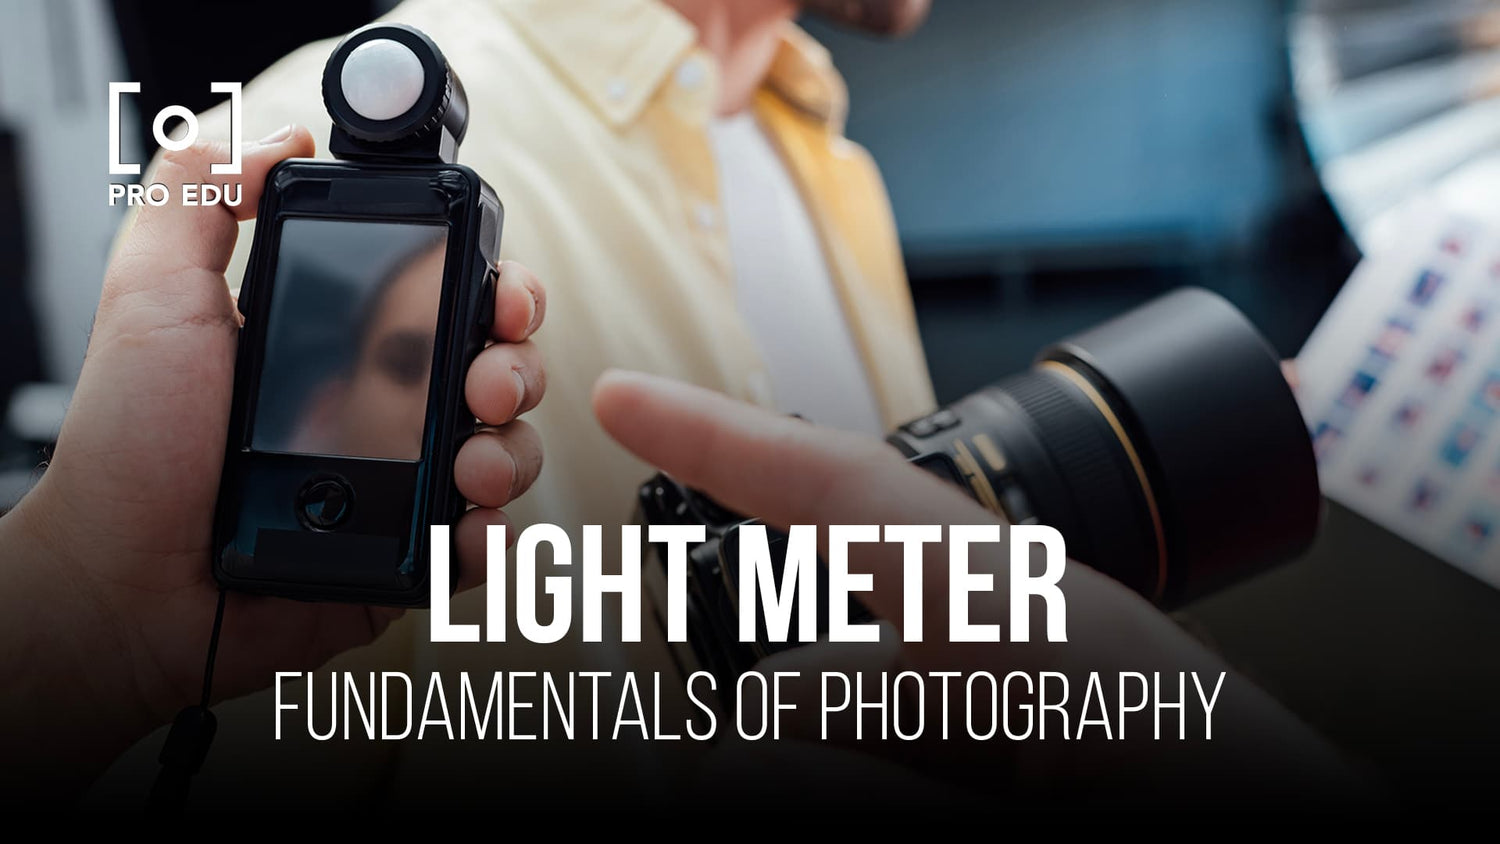
There are two main types of light meters: incident and reflective. Incident meters measure the amount of light falling on the subject, resulting in more accurate exposure settings. Reflective meters, on the other hand, measure the light reflected off surfaces and are commonly found in most cameras. It is important to understand the distinction between these types to appropriately use a light meter for desired results.
In-Built Vs Handheld Light Meters
Most cameras come with an in-built light meter which, as mentioned earlier, typically uses reflective readings. While convenient and available in most situations, they might not always produce the most accurate results due to factors like mixed lighting and backlit subjects.
Handheld light meters, on the other hand, are separate devices used by photographers to measure incident light. They tend to produce more accurate and reliable readings, especially in complex lighting scenarios. In particular, they are valuable for photographers working with film, where adjusting exposure in post-production is limited.
Mastering Metering Modes
Spot Metering
Spot metering refers to measuring the light in a very small area of the frame, usually about 1-5% of the entire scene. This mode is particularly useful when shooting high-contrast scenes or when your subject is backlit. It allows for precise control over exposure, as the camera will focus on the specific area that holds the most importance in your composition.
However, be mindful when using this mode, as it may require manual adjustments if the light conditions change rapidly. Spot metering is best suited for experienced photographers who have a deep understanding of exposure principles.
Center-Weighted Metering
In center-weighted metering mode, the camera gives more importance to the light in the center of the frame, gradually reducing its sensitivity towards the edges. This method is particularly suitable for portraits or any scene where the subject is located near the frame's center. To get the most accurate exposure, it's crucial to balance the main subject and background's light levels.
Center-weighted metering is considered a more forgiving mode compared to spot metering, as it accommodates minor changes in light conditions without drastically affecting the overall exposure.
Evaluative Metering
Evaluative metering, also known as matrix or multi-zone metering, takes into account the entire frame divided into several zones. In this mode, the camera analyzes each zone's light levels and calculates an optimal exposure that's well-balanced across the entire frame. This method is suitable for various shooting scenarios, such as landscapes, where achieving accurate exposure across the scene is crucial.
While evaluative metering is generally a reliable method, complex lighting conditions may still require manual adjustments or exposure bracketing to ensure the proper outcome. However, this mode serves as an excellent starting point for capturing well-exposed images in most situations.
Achieving Perfect Exposure
Using ISO, Aperture and Shutter Speed
To achieve perfect exposure in photography, we must consider three factors: ISO, aperture, and shutter speed. ISO is the camera's sensitivity to light, with lower numbers meaning less sensitivity and less noise in your images. Aperture refers to the size of the opening in the lens, controlling the amount of light that enters the camera. Larger apertures (smaller f-numbers) let in more light, creating a shallow depth of field.
Shutter speed is the length of time the camera's sensor is exposed to light. Faster shutter speeds freeze motion, while slower speeds can create motion blur. Balancing these three settings can result in optimally exposed images. For example, increasing the ISO allows for faster shutter speeds or smaller apertures in low light situations.
Working with Ambient and Flash Light
In addition to understanding camera settings, working with both ambient light and flash light is crucial for achieving perfect exposure. Ambient light refers to the existing light in the scene, such as sunlight or indoor lighting. Using a light meter can help us determine the correct exposure settings when working with ambient light.
Flash light, on the other hand, adds artificial light to the scene. Controlling the intensity and direction of this light source can further improve exposure, adding depth and dimension to the subject. Combining ambient and flash light effectively requires practice and knowledge of both light sources.
Reading and Interpreting Histogram
A histogram is a graphical representation of the tonal values in a photo, showing the distribution of brightness levels from darks to lights. It is an essential tool for evaluating exposure as it provides an accurate view of the tonal range in an image, unlike relying solely on the camera's LCD screen.
Reading and interpreting the histogram helps us make any necessary adjustments to ISO, aperture, and shutter speed to optimize the exposure. A histogram weighted towards the left indicates underexposure, while one leaning to the right indicates overexposure. An ideal histogram will have a balanced distribution of tones, but this may vary depending on the scene and artistic intent. To achieve perfect exposure, we must use the histogram in conjunction with the camera's light meter and our understanding of ISO, aperture, and shutter speed.
Resourceful Techniques for Advanced Users
Depth of Field in Relation to Light Metering
When working with depth of field (DOF) in photography, it's essential to understand its connection to light metering. The DOF affects the amount of light reaching the camera sensor, so a shallow DOF (wide aperture) lets in more light, while a deep DOF (narrow aperture) lets in less light.
As advanced users, we may wish to intentionally manipulate DOF for creative effects. To achieve your desired DOF while maintaining optimal exposure, adjust your camera settings accordingly. Remember to consider your aperture, shutter speed, and ISO all together.
Ensuring Consistency in Metering
Consistency in metering is crucial for producing a series of well-exposed images. One technique is to use a gray card that reflects 18% of the light. Place the card in the scene, meter its light, and use the resulting settings as a reference for your shots.
Another option is to make use of spot metering. This mode allows us to meter a specific area within the frame, reducing the influence of varying light conditions. Learn more about these photography basics from Digital Photography School.
Achieving Accurate Skin Tones
Capturing accurate skin tones requires careful attention to the light meter. For lighter skin tones, we can slightly overexpose to capture detail without losing texture. For darker skin tones, slightly underexposing retains depth and richness.
Additionally, pay close attention to your camera's white balance settings. Adjusting the white balance helps you achieve natural skin tones in various lighting conditions. You can find detailed information on camera settings and metering to achieve perfect exposure in this CreativeLive lesson.
Troubleshooting Common Light Meter Problems
One common issue with light meters is getting inaccurate exposure settings when using manual mode. To solve this, ensure your camera's ISO setting matches your light meter's ISO, and double-check that your light meter is set to measure the correct light source, such as daylight or flash1. Fine-tuning these details can help improve the accuracy of your light meter readings.
Occasionally, you might experience inconsistencies in exposure settings when the meter isn't reading the scene correctly. In these situations, consider using spot metering to measure light in specific areas, giving you better control over the exposure settings2. Additionally, be mindful of your camera's metering mode selection, as it can also affect the exposure accuracy.
When troubleshooting, it's helpful to grasp the relationship between aperture, shutter speed, and ISO2. Gain a deeper understanding of how changing one setting affects the others. For instance, if you increase your ISO setting, you can lower the aperture or shutter speed to achieve a well-exposed image. Understanding this interplay enables you to make adjustments to achieve the desired exposure.
Lastly, here are some practical tips to tackle common light meter problems:
- Make sure your camera and light meter are properly calibrated.
- Use a gray card to get a more balanced reading of the available light.
- Double-check your camera settings and update firmware when needed.
By following these guidelines and gaining a good understanding of light meter basics, we can minimize problems and achieve consistently perfect exposures in our photography.
Frequently Asked Questions
What is the purpose of a light meter in photography?
A light meter is a tool that measures the intensity of light in a scene, helping photographers to determine the optimal combination of aperture, shutter speed, and ISO settings for a well-exposed image. Its primary purpose is to ensure proper exposure and avoid under- or overexposed photos. More about light metering.
How do you use a light meter for achieving perfect exposure?
To use a light meter effectively, first, choose a mid-toned portion of the scene to take the light readings. Then, adjust your camera settings (aperture, shutter speed, and ISO) according to the meter's recommendations to achieve the desired exposure. This helps ensure a balanced exposure and avoids dark or overly bright images. Read more on light meters.
What is the difference between incident and reflected light meters?
Incident light meters measure the light that falls directly onto your subject, whereas reflected light meters measure the light reflecting off the scene. Incident meters typically have a lumisphere, a white dome, which provides more accurate exposure readings in backlit or high-contrast situations. Tips and tricks for using light meters.
Can a light meter be used for both film and digital cameras?
Yes, a light meter can be used for both film and digital cameras. The principle of measuring light intensity remains the same, and the meter provides valuable information for determining the appropriate camera settings to achieve the desired exposure, regardless of the camera type.
How do light meters assist in capturing images with optimal shadow detail?
By providing accurate exposure readings, light meters help photographers achieve the right balance of light and darkness in an image. Proper exposure allows for the capture of shadow details while preserving highlight information, resulting in a more balanced and visually appealing photograph.
Are there reliable light meter apps for smartphones, or should you invest in a standalone device?
There are indeed light meter apps available for smartphones that can provide decent exposure readings. However, a standalone light meter is typically more accurate and offers more advanced features. If you're serious about photography or working in a professional setting, investing in a standalone device is advisable. Here is a guide to camera light meters.


