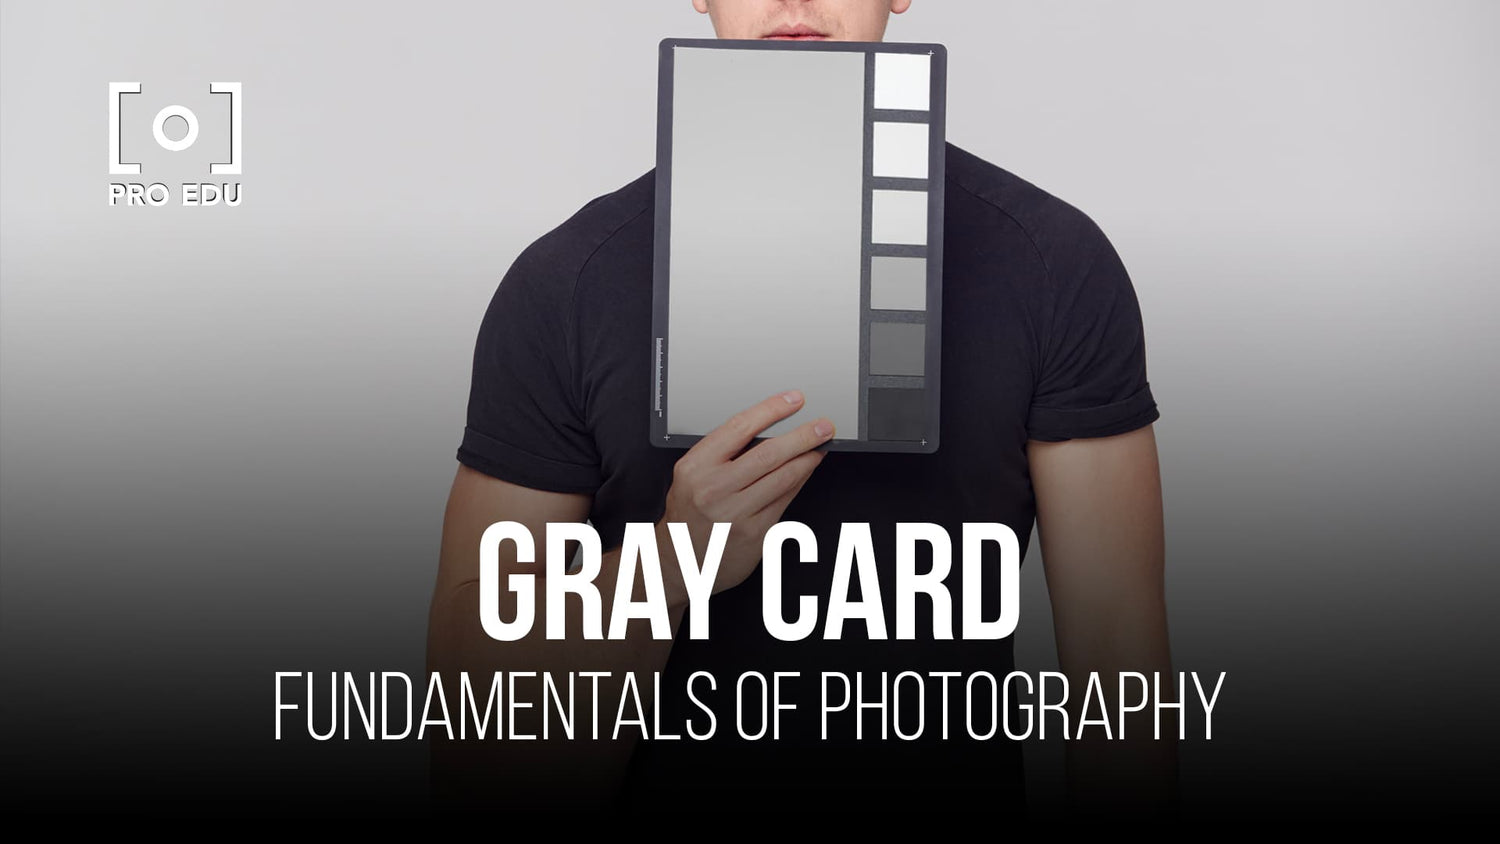
Using a Gray Card for Perfect White Balance: Expert Tips and Techniques
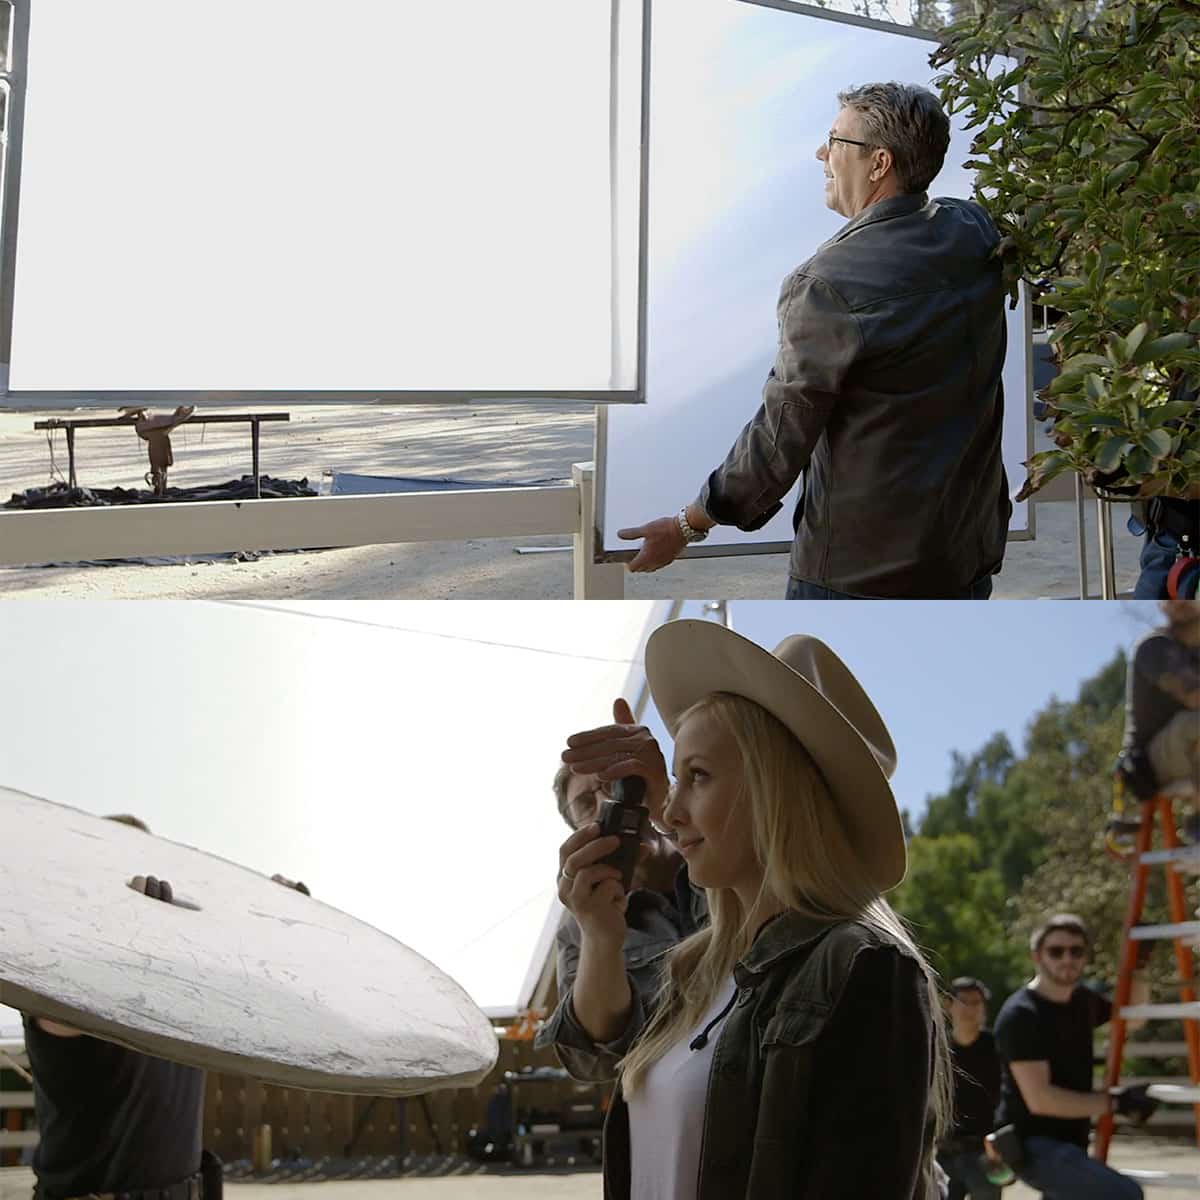
In photography, achieving accurate colors and optimal lighting in images is crucial for both amateur and professional photographers. One of the most effective tools to help attain this goal is the gray card. This handy tool enables photographers to obtain a perfect white balance and exposure for their photos, effectively enhancing the quality of the images and reducing the need for post-processing.
Gray cards are designed with a precisely calibrated 18% gray tone, which acts as a reference point for the camera's exposure meter, ensuring accurate color reproduction and optimal lighting. By incorporating a gray card into your photography workflow, you can confidently capture images knowing that your camera sees the accurate colors and lighting that you envision.
Key Takeaways
- Gray cards are essential tools for achieving perfect white balance and accurate colors in photography.
- Using a gray card in your workflow minimizes the need for post-processing and saves time.
- Learning advanced techniques with gray cards allows photographers to further improve their image quality.
Understanding the Gray Card
Importance of Gray Card in Photography
A gray card, also known as a grey card, is a crucial tool for photographers that ensures accurate colors and optimal lighting in their photos 1. By giving a neutral reference point for the camera meter to assess the correct exposure, it helps us obtain consistent results across different shooting sessions. This is especially useful when working with challenging light conditions or when we need to faithfully recreate colors for commercial or scientific purposes 2.
Technical Explanation
The gray card is designed to reflect 18% gray, which corresponds to a mid-gray, the middle point between the darkest shadows and the brightest highlights 3. Our camera's meter understands the light reflected from an 18% gray card as "normal" exposure. To use the gray card, we need to position it in our scene, adjusting our camera settings, such as aperture, shutter speed, and ISO, according to the card's readings utilizing the spot metering functionality.
With the gray card in place, we can measure the white balance more precisely and establish a more accurate exposure reading for our scene. When the lighting conditions change, such as natural light fluctuation or adjustment of artificial light sources, it's essential to re-evaluate the gray card readings to maintain accurate color reproduction 4.
Setting Perfect White Balance
Using Gray Card for White Balance
A gray card is an essential tool for achieving perfect white balance in our photography. It helps us obtain accurate colors and optimal lighting in every shot 1. To use a gray card, we position it in front of our subject and set the lighting accordingly 2. The camera's meter reads the light reflecting off the 18% gray card as "normal" exposure 3.
By training our camera on a gray card, we can create a custom white balance for everything we photograph. Custom white balance ensures faithful reproduction of colors in our images 4.
Issues with Auto and Preset Modes
Auto white balance (AWB) and preset modes can sometimes cause issues with color accuracy and exposure. This is because AWB tends to estimate the neutral tone, which may result in incorrect colors 5. Furthermore, auto modes can struggle in different lighting scenarios, which may produce inconsistent results.
By using a gray card, we maintain precise control over the color balance and exposure in manual mode. Instead of relying on the camera's automatic settings, we can confidently capture the true-to-life colors and shading of our subjects 6.
Gray Card and Post-Production
Alteration in Lightroom and Photoshop
When we work with raw files in post-production, achieving precise white balance becomes even more critical. Thankfully, using gray cards can help us capture accurate colors during the shoot, allowing us to make minor adjustments in software like Lightroom or Photoshop as needed. We can easily set the white balance using the Eyedropper tool in Camera Raw or Lightroom by clicking on the gray card present in our image.
To make it easier for you, here are some of the key steps:
- Open the raw file in Lightroom or Photoshop.
- Select the Eyedropper tool and click on the gray card in the image.
- Adjust exposure to fine-tune the image.
Spot Metering and Custom WB
It's essential to consider spot metering mode and custom white balance (WB) when working with gray cards. In spot metering mode, our camera measures light only from a small area (usually the center) of the frame. By placing the gray card in this area, we can obtain more accurate exposure readings for our image. This method can be particularly useful when photographing high-contrast scenes.
To use a gray card for Custom WB, follow these steps:
- Place the gray card in the scene, making sure it's evenly lit and fills the center of the frame.
- Switch to spot metering mode and set the camera's custom white balance based on the gray card.
- Take the photo and continue shooting with the custom white balance setting.
In conclusion, using a gray card during photoshoots can significantly enhance our post-production workflow by providing us with more accurate white balance and exposure settings. By incorporating this tool into our process, we can streamline our editing and produce more consistent, natural colors in our final images.
Advanced Techniques and Tools
Studio Use and Portraits
When working in a studio setting, accurately adjusting the white balance is essential, particularly for capturing well-lit portraits. To achieve this, we recommend using a gray card as a reference, which will allow you to precisely measure the color temperature of various light sources, such as strobes and reflective light.
In addition to proper white balance, correct exposure and incident light are crucial aspects to consider when photographing portraits. Tools like the Ezybalance and ColorChecker Passport are handy options for assessing and adjusting these values in your DSLR camera.
Comparison and Choices
- 18% Gray Card: The standard and affordable choice, suitable for both color balance and exposure adjustment.
- ExpoDisc: A quick and efficient tool for capturing accurate colors by fitting directly onto your camera lens.
- Calibrite ColorChecker Passport Photo 2: A comprehensive tool for professional photographers that offers multiple charts, including an 18% gray card, for precise color management.
It's worth noting that each of these tools has its unique benefits, so choose based on your specific requirements and budget.
Other Uses and Tips
Besides adjusting your white balance for capturing accurate colors, gray cards have additional uses. For instance, they can be used as a reference for color correction during post-processing, particularly when shooting in JPEG format. They're also valuable for measuring incident light, requiring an incident light meter.
Finally, when working with multiple light sources or lighting conditions, don't hesitate to frequently adjust your white balance to prevent unwanted color casts. By mastering the use of gray cards and other white balance tools, you'll be well on your way to achieving professional-quality photos with natural, accurate colors.
Conclusion
Using a gray card is a valuable technique for any photographer aiming to achieve perfect white balance. By incorporating a gray card into our photography process, we can ensure accurate colors and optimal lighting in our images.
It's essential for us to remember that a gray card is a must-have accessory, especially when faithfully recreating colors for commercial or scientific purposes is necessary. This tool enables us to set the correct white balance and serves as a reference point in our photographs.
In conclusion, incorporating a gray card into our photography workflow can greatly improve the quality and accuracy of our images. As photographers, it is our responsibility to learn how to use a gray card effectively and make it an indispensable tool for capturing impeccably balanced and well-lit photographs.
Frequently Asked Questions
How does a gray card help achieve accurate white balance?
A gray card helps achieve accurate white balance by providing a neutral reference point for your camera. By photographing the gray card under the same lighting conditions as your subject, you can easily adjust the white balance in post-processing or set a custom white balance in-camera. The gray card ensures that your camera reads consistent and accurate color temperatures, resulting in more precise colors in your photos. 1
What are the steps to properly use a gray card in photography?
To properly use a gray card in photography, follow these steps:
- Position the gray card in the same lighting as your subject, making sure it faces your camera.
- Fill your camera's frame with the gray card (or as much as possible).
- Take a photo of the gray card, ensuring the exposure is consistent with your subject.
- Use this gray card photo to set a custom white balance in your camera, or adjust the white balance in post-processing using photo editing software. 2
Can a gray card be used with any camera brand?
Yes, a gray card can be used with any camera brand. Most digital cameras, regardless of the brand, come with the ability to set custom white balance. The process of using a gray card for setting white balance may vary slightly between camera brands, but the general concept remains the same. 3
What are alternatives to purchasing a gray card for white balance?
Alternatives to purchasing a gray card for white balance include using a white or 18% gray piece of paper, an off-white object like a t-shirt or wall, or even a specialized tool called an Expodisc or a color checker. However, these alternatives may not provide the same level of accuracy and consistency as a gray card designed specifically for white balance purposes. 4
How can I set custom white balance using a gray card in post-processing?
To set custom white balance using a gray card in post-processing, import the photo of the gray card and your other images into photo editing software. Use the software's white balance tools to sample the gray card's color, and apply that custom white balance setting to your other images. This will ensure accurate and consistent color balance across the entire set of photographs. 5
When is it most crucial to use a gray card for white balance in photography?
It is most crucial to use a gray card for white balance when accurate color reproduction is essential, such as in product, portrait, or commercial photography. Additionally, using a gray card helps when dealing with mixed or challenging lighting conditions, where automatic white balance adjustments by the camera may not be sufficient to achieve proper color representation. 6


