What Is Warp in Photoshop: A Quick Explanation for Beginners
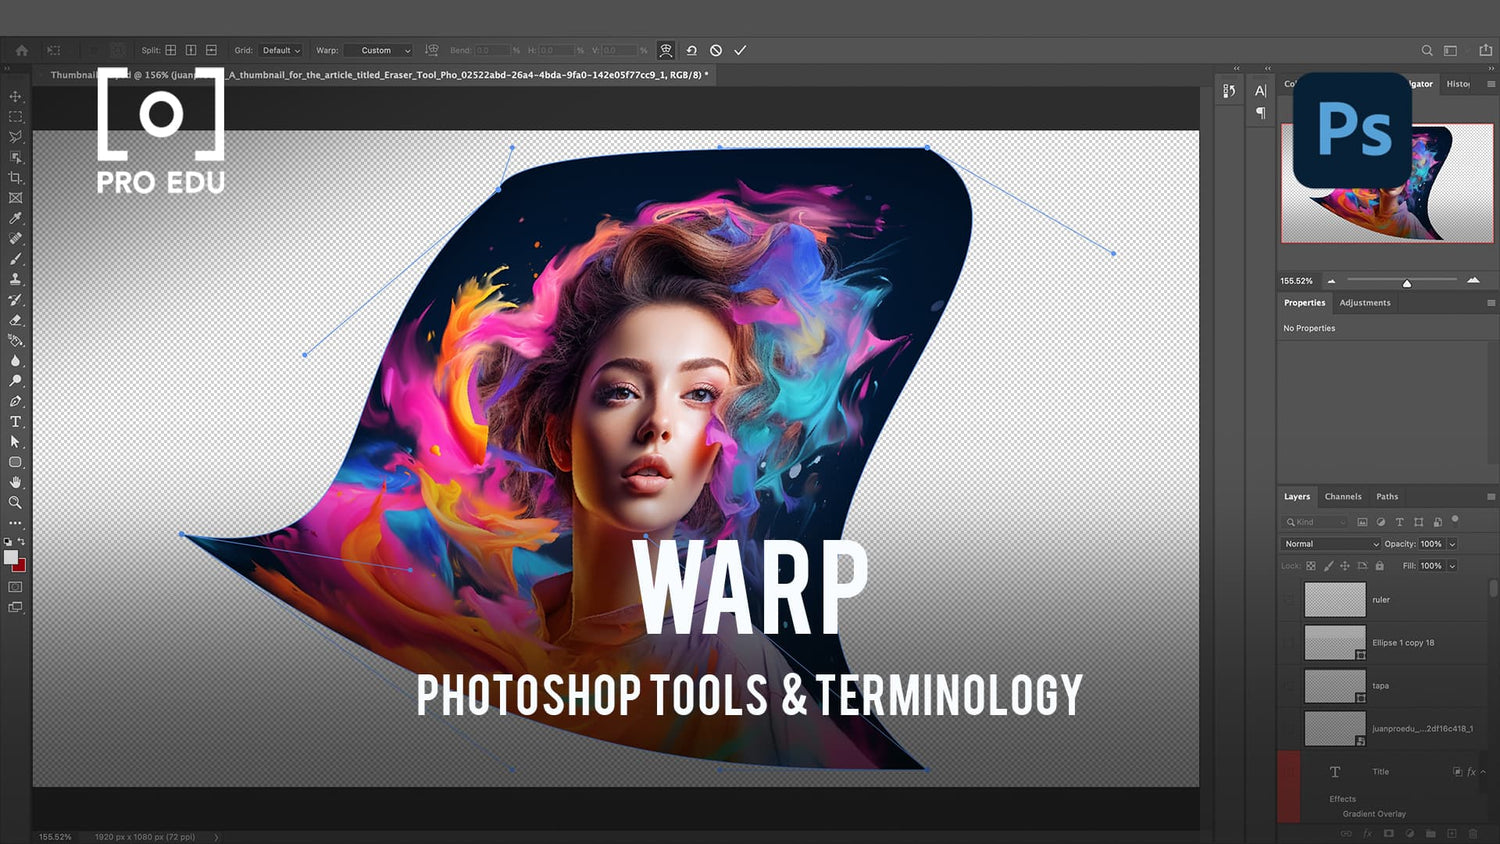
Adobe Photoshop is an incredibly versatile tool that enables users to explore their creativity through a variety of features and commands, one of which is the Warp tool. The Warp tool in Photoshop allows users to manipulate the shape of images, text, and shapes by dragging control points. This capability can be employed for both creative and corrective purposes, making it an essential part of any proficient Photoshop user's skill set.
Using the Warp tool, graphic designers and photographers can achieve impressive results such as correcting perspective problems and making various adjustments to image elements. The tool's flexibility coupled with its ease of access and user-friendly interface makes it a valuable asset for those seeking to improve their Photoshop capabilities.
Key Takeaways
- The Warp tool in Photoshop allows for versatile image manipulation by dragging control points.
- With its flexibility and user-friendly interface, it is an essential tool for mastering Photoshop.
- The Warp tool enables users to correct perspective issues and perform various adjustments to image elements.
Basics and Controls of Warp Tool
Understanding Warp Mode
The Warp Tool in Photoshop is a powerful feature that allows us to manipulate the shape of images, text, and shapes by altering the underlying grid. As we make adjustments to the grid, the image or object in the photo is warped accordingly, enabling us to create creative or corrective results.
Getting Acquainted with Warp Controls
Control Handles are essential components of the Warp Tool that we use to manipulate the image. These can be found at the intersection of the grid lines. By clicking and dragging these control points, we can warp the image, bending or twisting it into a custom shape that suits our needs.
The Layers Panel is particularly important for organizing and selecting the elements we want to warp. Before using the Warp Tool, we should ensure that the desired layer is selected in the Layers Panel to avoid affecting other elements in the image.
Working with Warp Command
To access the Warp Command, we need to go to the top menu bar, click on Edit, then select Transform and Warp. This command will apply the warp tool to the selected layer, allowing us to begin manipulating the image.
The Warp Tool also offers a customizable grid that can have varying sizes and numbers of control points. By adjusting the grid, we can make it easier to achieve the contour or effect we are looking for in our image.
Remember to utilize the various formatting tools such as bold, italic, and tables or lists, where appropriate, to enhance the readability of our content. Following these guidelines and maintaining a clear, knowledgeable tone will ensure that our Photoshop tutorials remain informative and engaging for our readers.
Transform and Distort with Photoshop's Warp
Application of Transform Warp
In Photoshop, we can apply Transform Warp to manipulate the shapes of images, objects, or even text. It is quite useful for making creative or corrective changes. You can warp layers and smart objects by using control points, which are adjustable.
When working with the Transform Warp tool, it's essential to have a good understanding of the Free Transform command. This command grants us access to a variety of transformation options, including scaling, rotating, and skewing our images and objects.
Techniques of Distort and Rotate
Distortion and rotation are important aspects of Photoshop's Warp tool. To distort an image or object, we utilize the Enhanced Warp Tool by adjusting anchor points around the edges of the object. This technique allows you to stretch and compress specific parts of the image for desired effects.
Rotation, on the other hand, can be done by using the Rotate icon found on the toolbar. Additionally, Free Transform can provide more intricate rotation options, while also allowing the user to combine rotation with other transformation techniques.
Steps for Perspective Warp
- Open your image in Photoshop.
- Optional: Convert the image layer to a smart object to retain original data.
- Go to Edit > Perspective Warp.
- Draw a perspective grid by clicking and dragging on the image.
- Adjust the grid's control points to align with the image's perspective.
- Press Enter or click the Warp button on the options bar.
- Move, scale, or rotate the grid to modify the image's perspective.
- Press Enter or click the Commit Transform button to apply the changes.
Applying a perspective warp requires a good understanding of the relationship between the camera's location and the objects being photographed. Adjusting perspective can help correct distortion resulting from wide-angle lenses or composite images shot from different angles.
Selections and Layer Editing in Photoshop
In this section, we will discuss the various aspects of selection and layer editing in Photoshop. We will cover the use of selection tools and layer manipulation techniques to enhance your workflow.
Understanding and Using Selection Tools
One of the critical aspects of working with Photoshop is using selection tools. These tools help us isolate parts of an image from the rest, making it easier to edit specific areas. There are various selection tools available, such as the Marquee tools, Lasso tools, and Magic Wand tool.
The Marquee tools (Rectangular and Elliptical) allow us to create rectangular or elliptical selections. Lasso tools (Lasso, Polygonal Lasso, and Magnetic Lasso) enable more precise and freeform selection. Finally, the Magic Wand tool helps select areas of similar color with just a click.
Edit and Manipulate Layers
In Photoshop, layers are an essential component of organizing and editing images. The Layers panel allows us to access and manipulate layers efficiently. Utilizing layers helps keep our edits non-destructive, enabling us to modify or remove adjustments without affecting the original image.
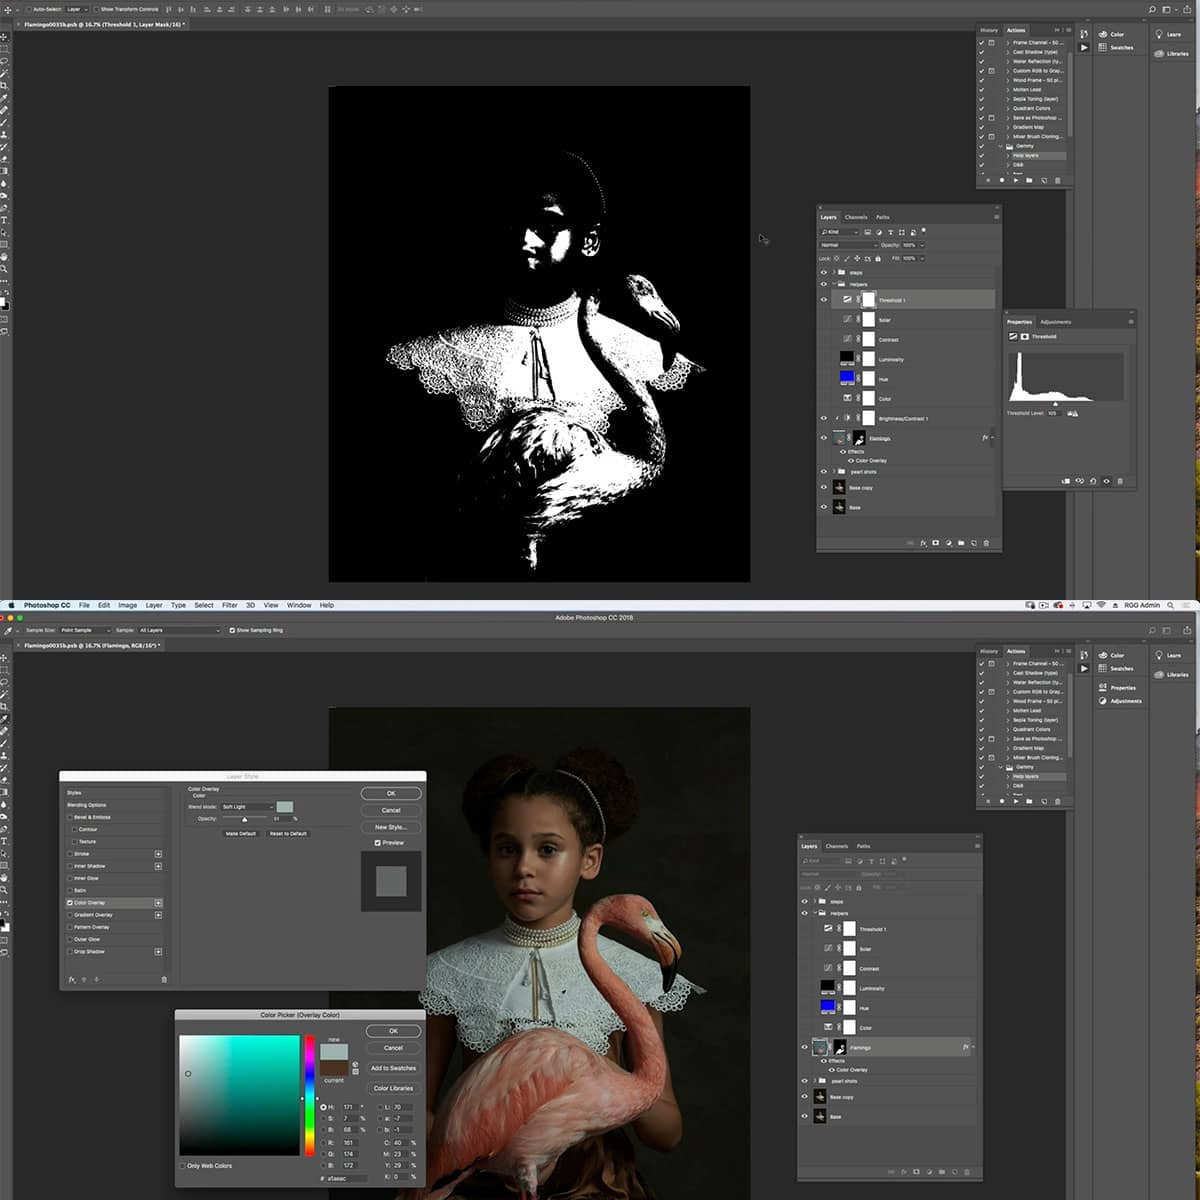
Some common layer editing techniques include adding layer masks and using blending modes. Layer masks allow us to hide or reveal areas of a layer non-destructively. Blending modes dictate how layers interact with each other, creating unique effects such as combining textures or adjusting colors.
In conclusion, mastering selections and layer editing techniques is crucial for any Photoshop user. With a decent understanding of these concepts, we can enhance our Photoshop editing skills and create stunning edits.
Advanced Warp Techniques
Working with Custom Grids
One of the great features in the enhanced Warp tool is the ability to work with custom grids. This provides more control over image manipulation. We can create custom grids by specifying the number of rows and columns, giving us more anchor points for precise adjustments.
Start by selecting the Warp command, then choose Grid from the options panel. Adjust the columns and rows as needed, and begin warping the image by dragging the control points. This technique is especially useful for complex image transformations.
Applying Warp to Text
Not only can we warp images, but also text layers in Photoshop. To apply Warp to text, first, create a text layer. Then, select the Create Warped Text button in the options panel, and choose a style from the Warp drop-down menu. Experiment with different styles and options to achieve the desired text effect, such as Arc or Twist.
Remember to rasterize the text layer if you wish to apply further transformations, like custom grids or the Warp tool itself.
Experimenting with Warp Orientation
In addition to using Photoshop's built-in Warp options, we can create unique effects by experimenting with Warp orientation. For example, changing the orientation from horizontal to vertical can yield different results, while combining multiple orientations can create intricate designs.
To experiment with Warp orientation, go back to the Warp tool and adjust the orientation settings in the options panel. Try changing the direction of the warp or combining various orientations on multiple layers for an interesting effect.
One advanced technique to consider is using a vanishing point while manipulating the warp orientation. This adds an element of perspective to your images, enhancing the overall realism and depth. With these advanced Warp techniques, we have the power to create stunning visual effects in Photoshop.
Mastering the Use of Warp in Photography
Warp in Retouching
In photography, retouching is a crucial step, and the use of the Warp tool in Photoshop is crucial. We can precisely manipulate the shape of objects to create an aesthetically pleasing image by adjusting perspective. Two to three sentences are optimal for each paragraph, and we'll use brief and clear language throughout.
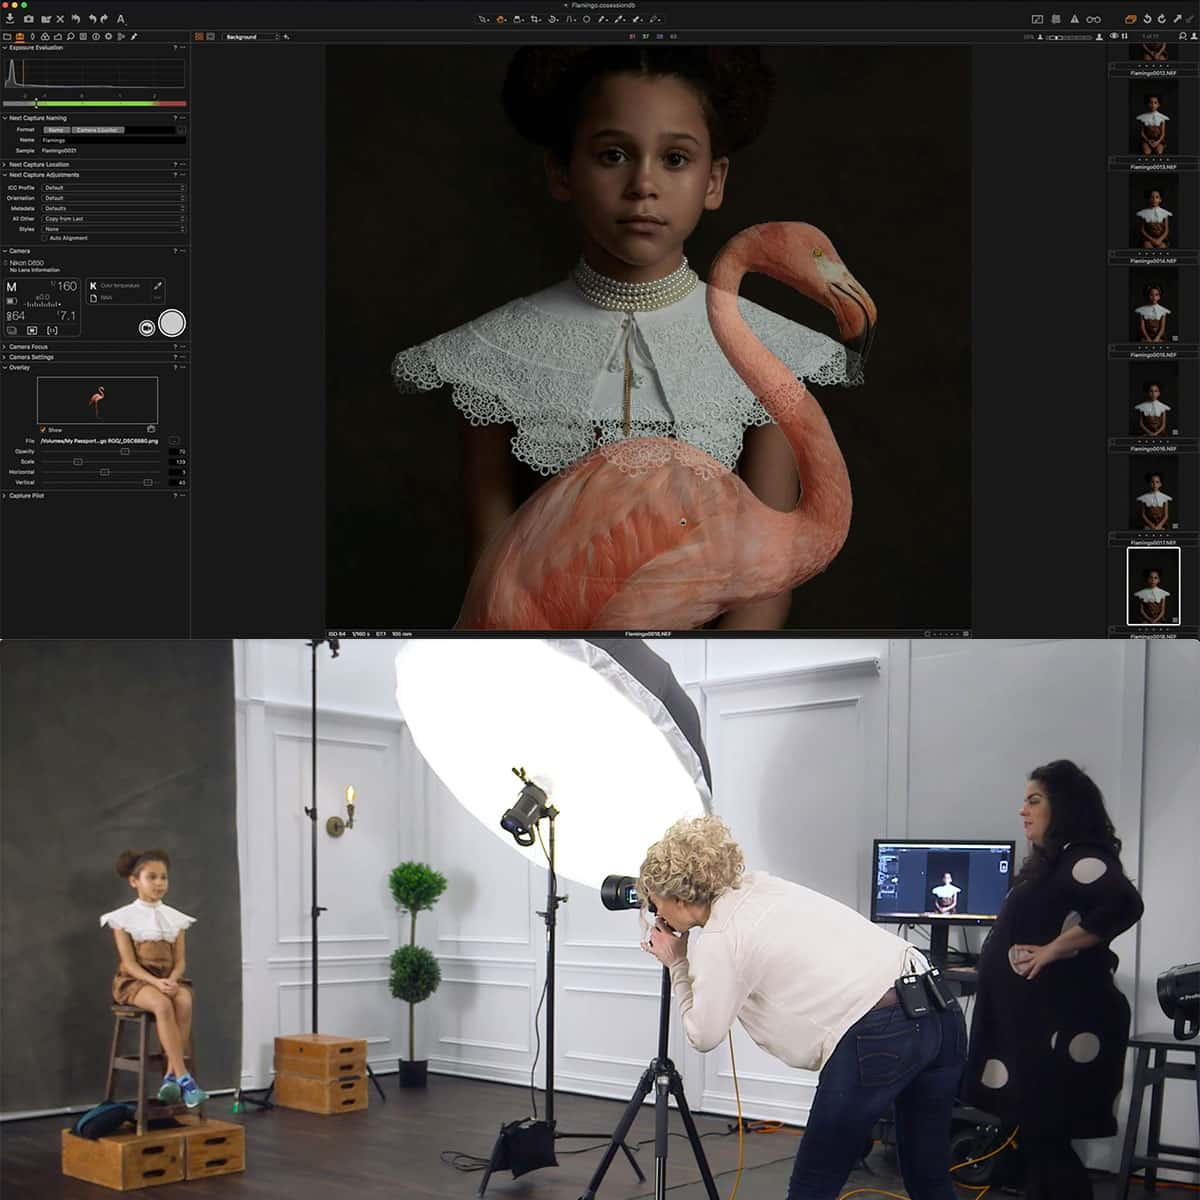
The Warp tool is excellent for portrait and commercial photography, allowing us to adjust photos creatively or correctively. We can easily fix distortions caused by camera lens or perspective issues and ensure a professional finish.
Composite Images with Warp
Warp is particularly useful when creating composite images, as it enables us to seamlessly blend different elements from multiple images. For instance, we can change the perceived angle and distance of objects to achieve depth and dimension, enhancing the final composition.
By mastering the Warp tool, we can ensure that composite images look natural and realistic, as it allows us to fine-tune and harmonize objects, shapes, and paths taken from various photographs.
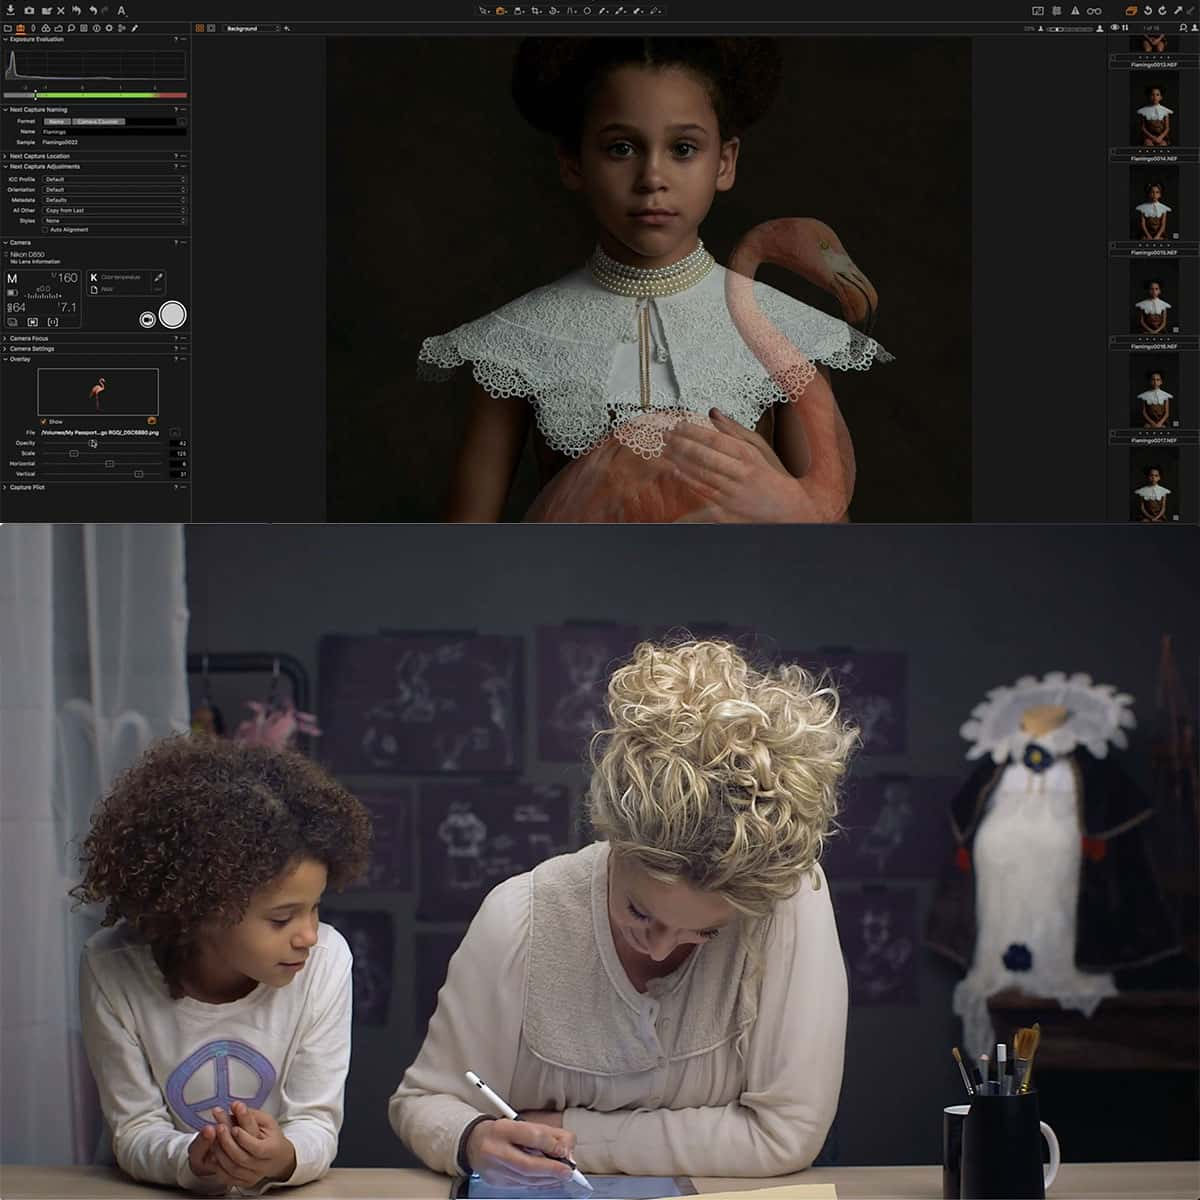
Warp Application in Drawings
Not only is the Warp tool beneficial in photography, but it's also valuable in digital art and drawings. Using grids as a reference Adobe Photoshop lets us manipulate drawn images, shapes, and paths in a controlled manner to achieve the desired effects.
By learning how to efficiently use the Warp tool in our drawings, we can create dynamic and visually striking results that may be difficult to achieve with traditional drawing methods.
Frequently Asked Questions
How does the Puppet Warp tool work in Photoshop?
The Puppet Warp tool in Photoshop allows us to manipulate specific areas of an image by adding pins to create a flexible mesh-like structure. By moving these pins, we can smoothly distort and reposition segments of the image according to our needs. This tool is especially useful for altering complex shapes and figures.
What is the process to warp text in Photoshop?
To warp text in Photoshop, first, we need to create a text layer by selecting the Type tool and typing our desired text. Next, with the text layer active, we go to Edit > Transform > Warp. A grid with control points will appear over the text, allowing us to manipulate its shape. Dragging these points, we can achieve the desired text warp effect.
How can I use Cylinder Warp effectively in Photoshop?
Cylinder Warp in Photoshop can be used to wrap images or elements around cylindrical objects. To accomplish this, we first open the image to be warped in Photoshop, and then create a rectangular selection around it. Next, we go to Filter > Distort > Polar Coordinates, choosing the "Rectangular to Polar" option. This will create a cylindrical warped effect on the image.
What are the steps to use Perspective Warp in Photoshop?
The Perspective Warp tool helps us adjust the perspective of an image or a portion of it. Initially, we'd select the layer to be warped and go to Edit > Perspective Warp. By clicking and dragging, create a grid over the area we wish to modify. Adjust the grid's anchor points and handles to align with the desired perspective. Finally, press Enter to apply the new perspective.
How can I add points to the warp grid in Photoshop?
To add points to the warp grid, we first need to enable the Warp tool by going to Edit > Transform > Warp. By holding down the Alt/Option key (on Windows or Mac), we can click anywhere on the grid to add a new control point. These points will serve as anchors, allowing us to manipulate the image more precisely and in smaller segments.
Is there a warp tool available on Photoshop for iPad?
As of now, the Warp tool is not available in Photoshop for iPad. However, Adobe is continually updating the app and adding new features, so the Warp tool may be available in future updates. In the meantime, we can achieve similar results on the desktop version of Photoshop.


