
What Is A Color Picker In Photoshop: A Comprehensive Guide for Beginners
A color picker in Photoshop is an essential tool for digital artists, photographers, and designers, allowing them to select and manipulate colors with precision. This tool gives users control over hues, saturation, and brightness, enabling them to create the exact shade they envision for their projects.
Photoshop offers various ways to access and use the color picker, making it easy to choose colors from the color panel, swatches, or even by using the eyedropper tool to sample colors from images. The color picker can be customized according to individual preferences, giving users the flexibility to work efficiently with colors in different Photoshop elements and advanced color techniques.
Key Takeaways
- The color picker in Photoshop allows precise control over hue, saturation, and brightness
- It can be accessed through various methods, including the color panel, swatches, and the eyedropper tool
- Customization options provide flexibility for working with colors in different aspects of Photoshop
Understanding the Photoshop Workspace
Adobe Photoshop has a vast and customizable workspace that allows users to efficiently edit and create images. In this section, we will discuss the workspace basics, preferences, rulers, guides, and provide a brief introduction to the Photoshop workspace.
The main components of the workspace are the Application Bar, Tools Panel, and the Options Bar. The Application Bar, located at the top, contains the workspace switcher and other application controls. The Tools Panel, found on the left side, includes various tools for creating and editing images, artwork, and page elements. The Options Bar, usually displayed at the top below the Application Bar, changes according to the selected tool and displays relevant options.
Managing your preferences is crucial for optimizing your workspace according to your specific needs. You can access and modify application preferences by navigating to Edit > Preferences (Windows) or Photoshop > Preferences (Mac). This allows you to control your workspace settings, adjust performance, and customize shortcuts to enhance your productivity.
Rulers and guides are essential tools for creating precise and well-aligned designs. To enable rulers, press Ctrl+R (Windows) or Cmd+R (Mac), or go to View > Rulers. Once enabled, you can click and drag from the rulers to create guides within your canvas, helping you maintain consistent spacing and alignment throughout your design.
To get acquainted with the Photoshop workspace, it's a good idea to spend some time exploring the different panels and options available. This will allow you to become familiar with the tools and features that can be used to create high-quality images and designs. Remember to make use of the extensive range of resources and tutorials available online, such as Adobe's official documentation, which will further enhance your understanding and mastery of the Photoshop workspace.
Basics of Color in Photoshop
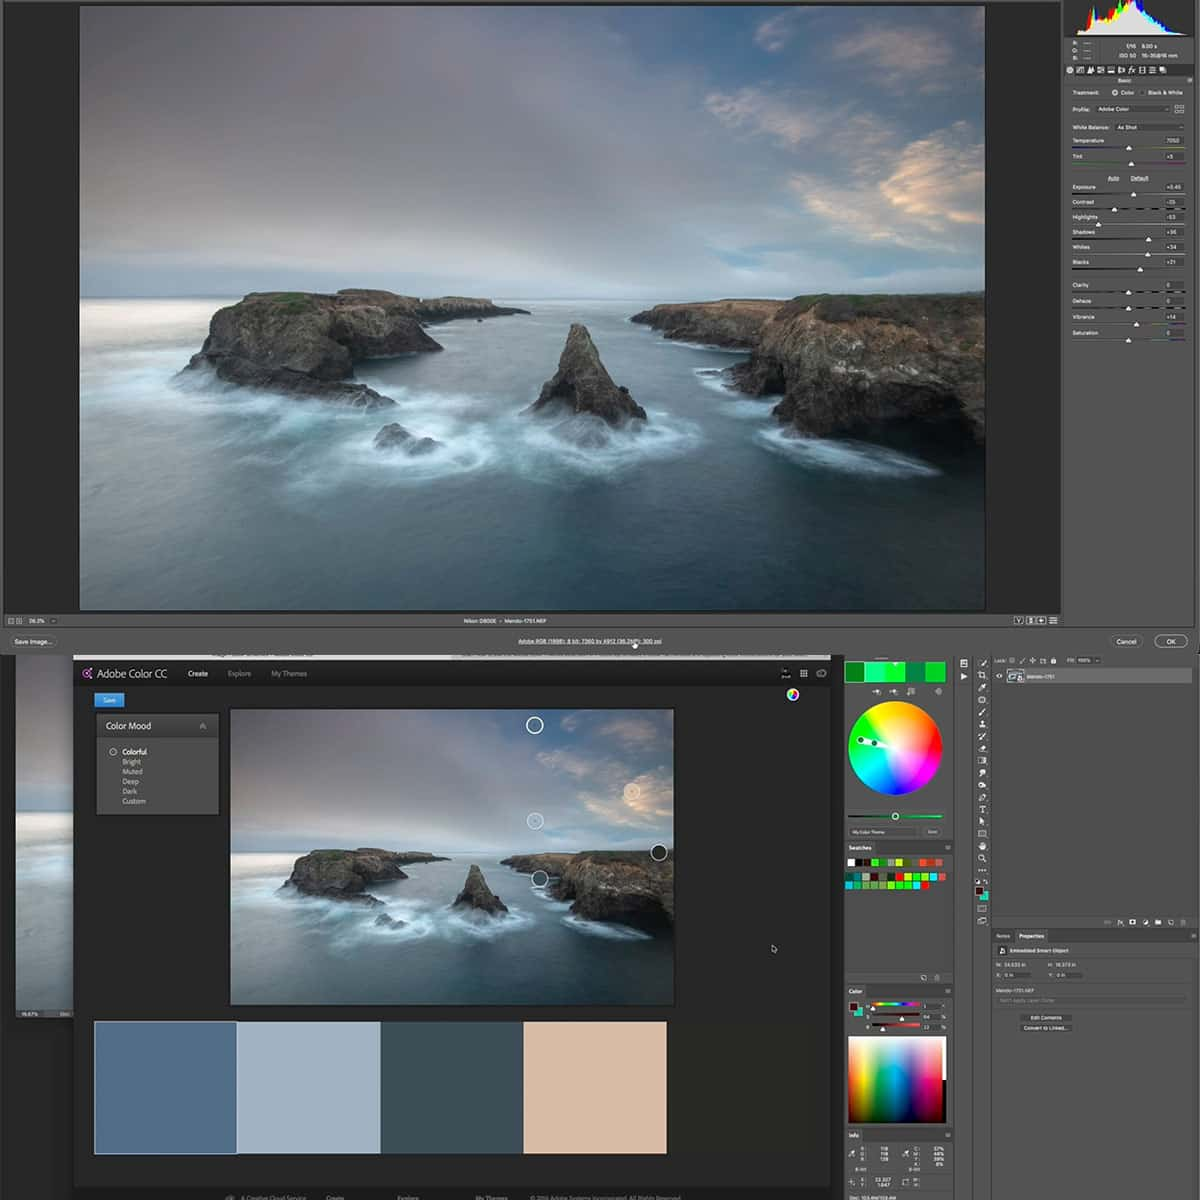
Photoshop offers various tools for working with color, and one of the essential tools is the color picker. This tool allows us to choose and select colors for our projects efficiently. Color picker displays a wide range of colors and modes such as RGB, HSB, and CMYK.
Understanding color in Photoshop begins with grasping the concepts of Hue, Saturation, and Brightness (HSB). Hue refers to the pure color, saturation indicates the intensity of the color, and brightness refers to the amount of light. By mastering these three properties, we can create any desired color.
Another useful feature is selective color, which helps us to adjust specific colors in an image without affecting other areas. Also, Photoshop provides convenient color tables to customize swatches for quick access.
In summary, mastering the color picker and understanding color properties in Photoshop empower us to create visually stunning designs. By effectively using the available tools and resources, we can bring our ideas to life and convey our message through vibrant visuals.
Color Picker Tool and Its Functions
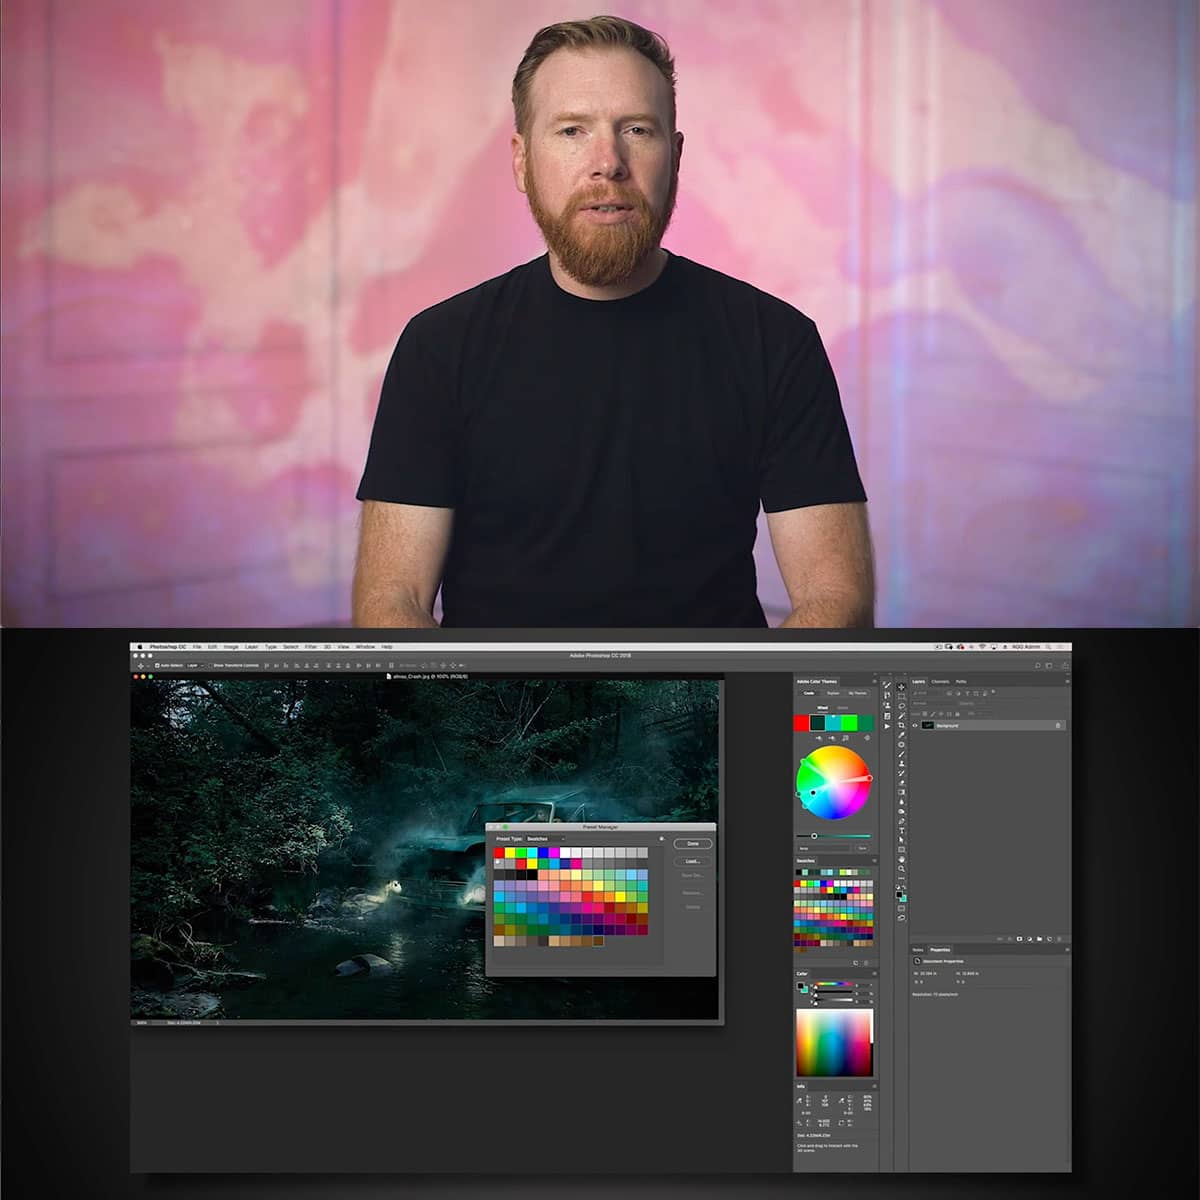
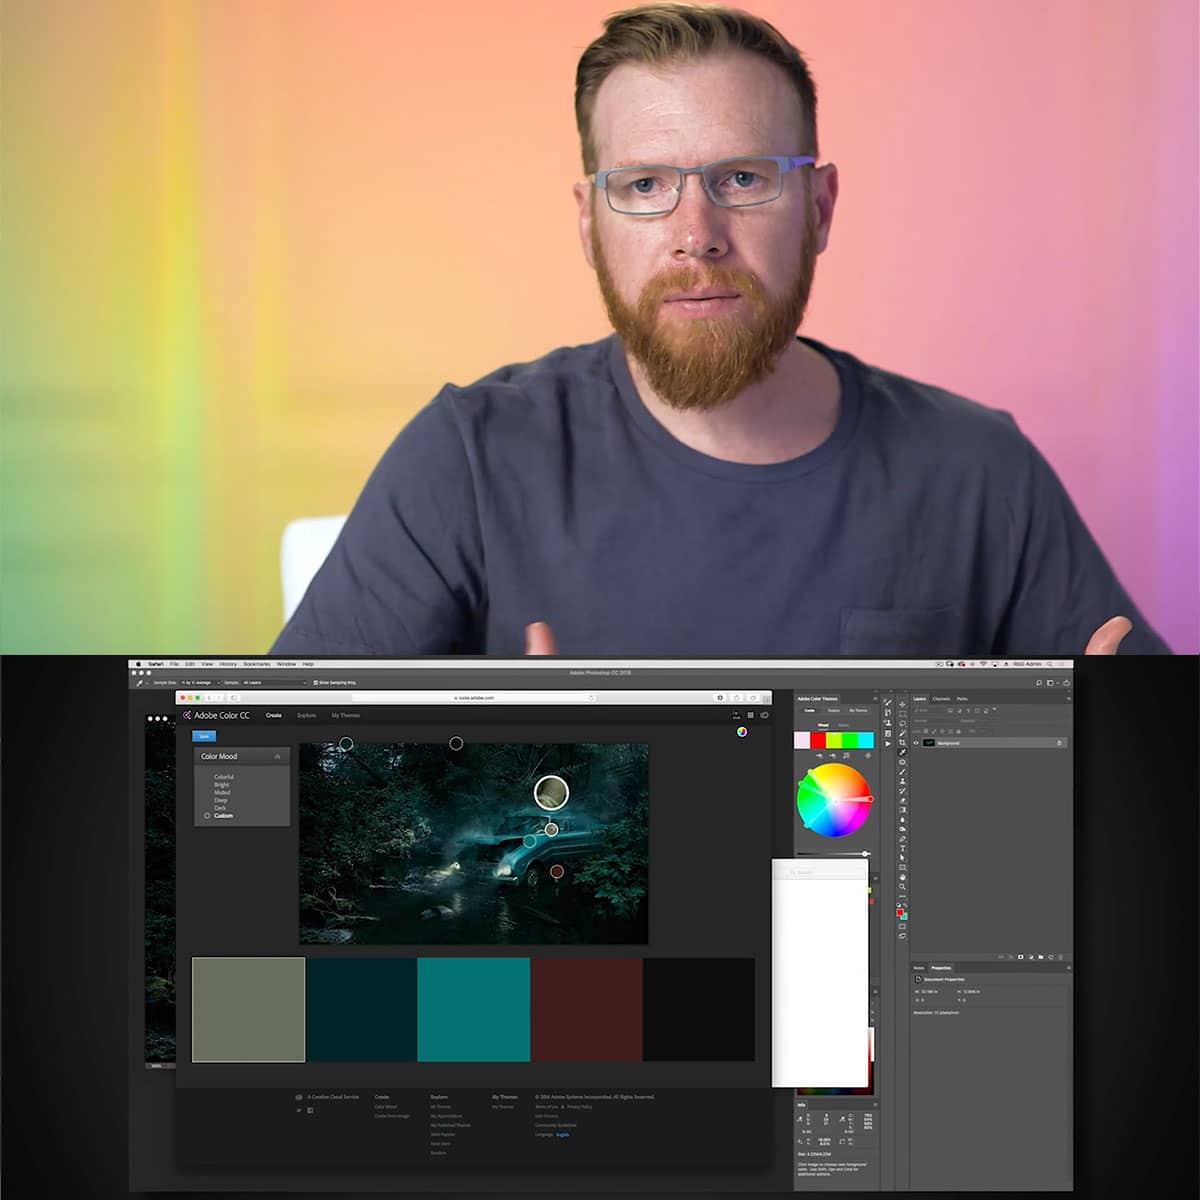
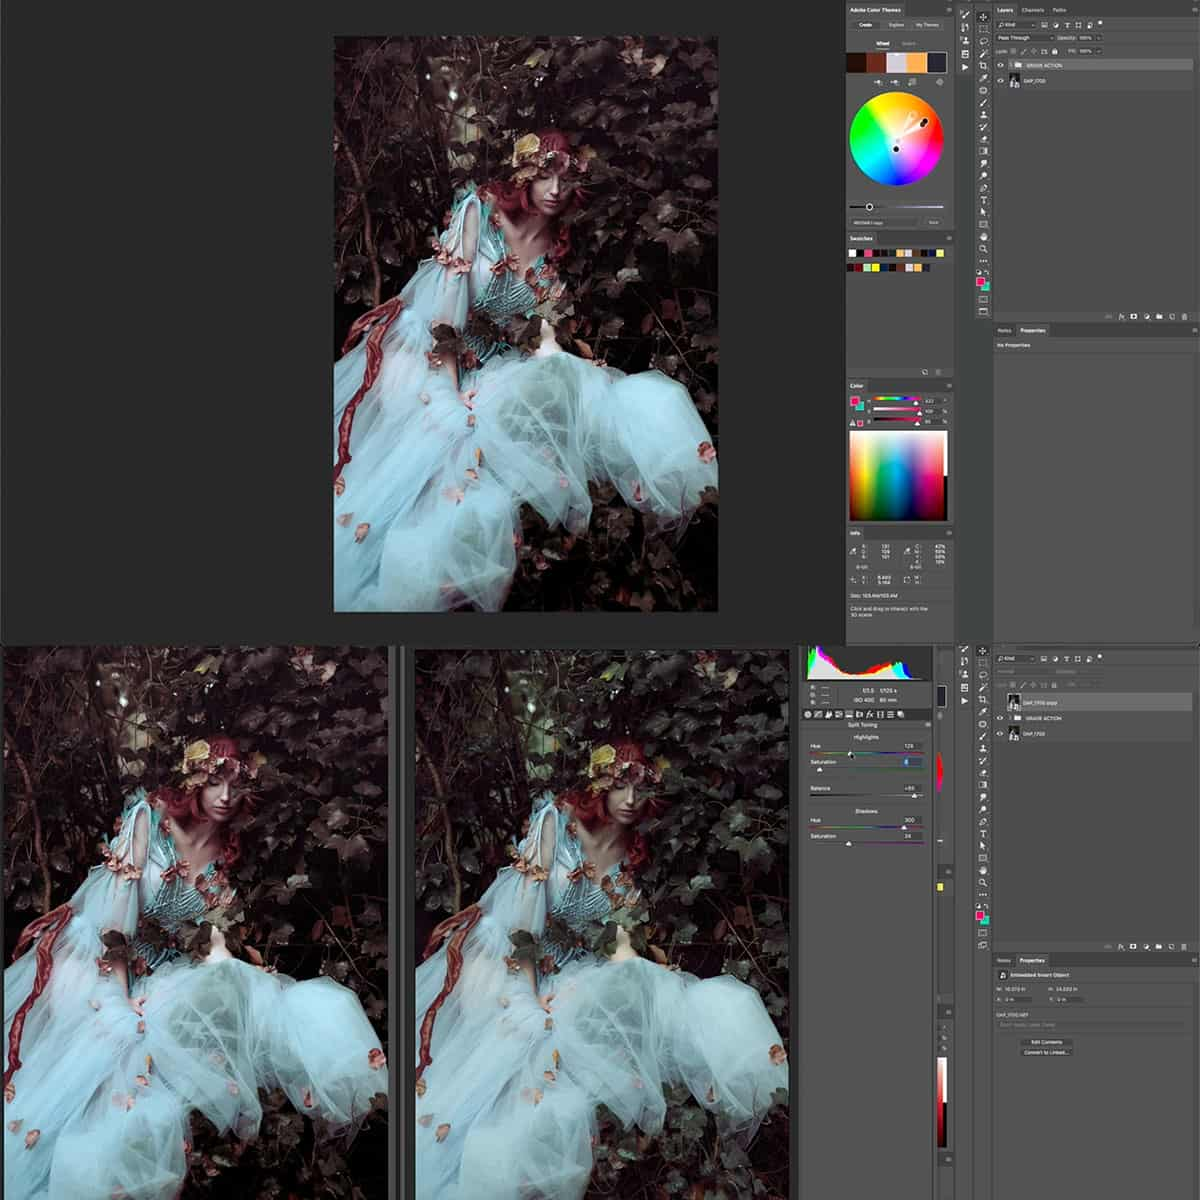
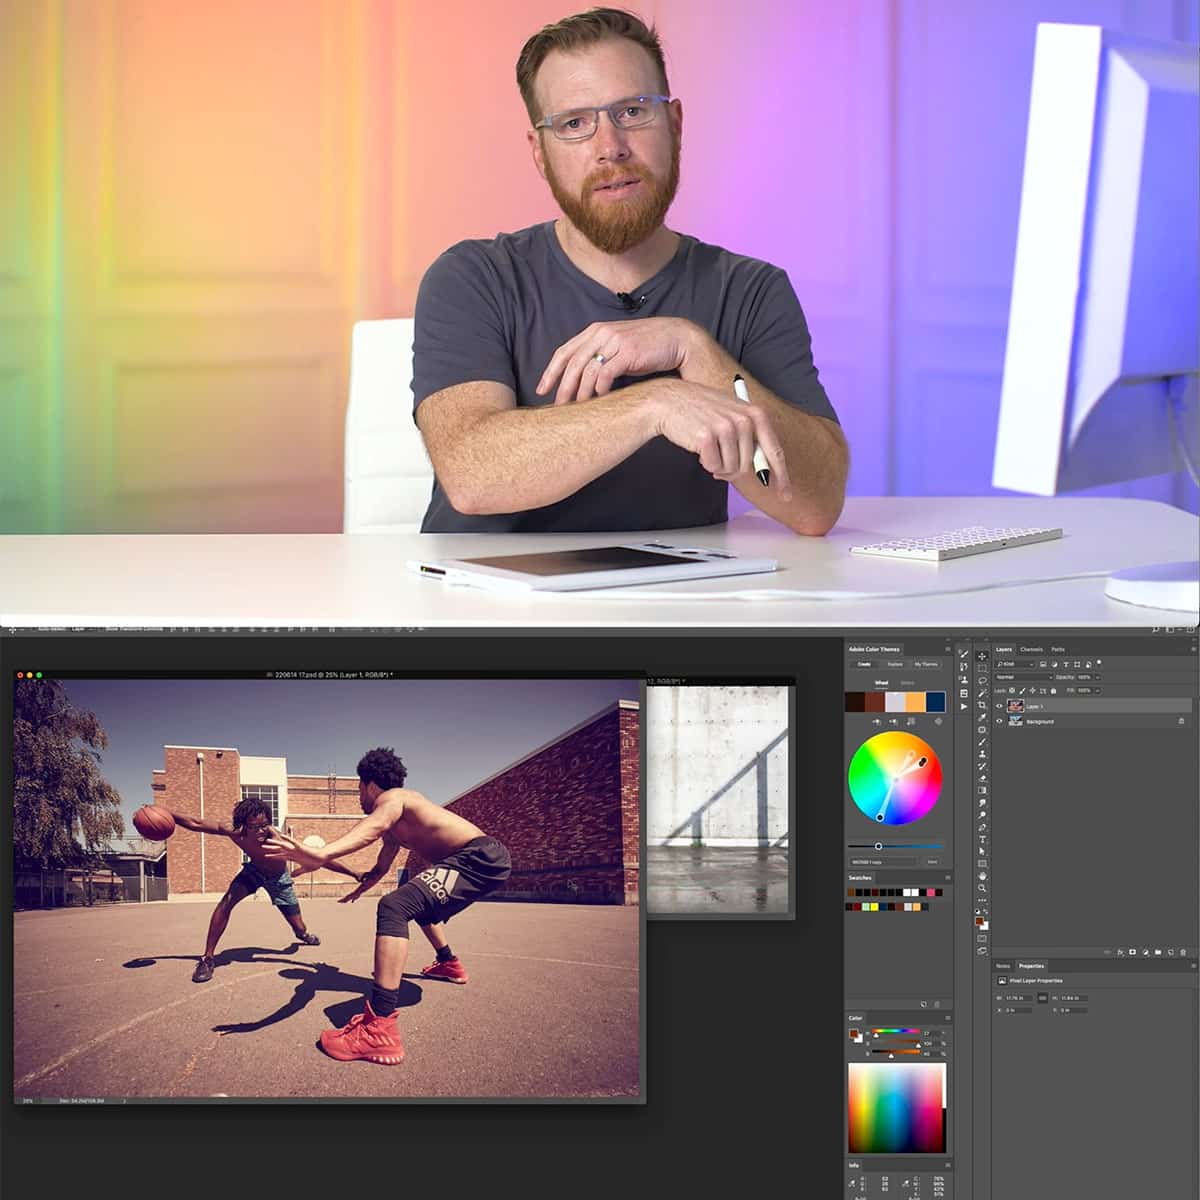
The Color Picker tool in Photoshop is essential for selecting the perfect hue for your project. It offers a comprehensive range of colors and modes, such as Hue, Saturation, and CMYK 1. We can access the Color Picker by either clicking on the foreground/background color swatches or by creating a solid color adjustment layer 2.
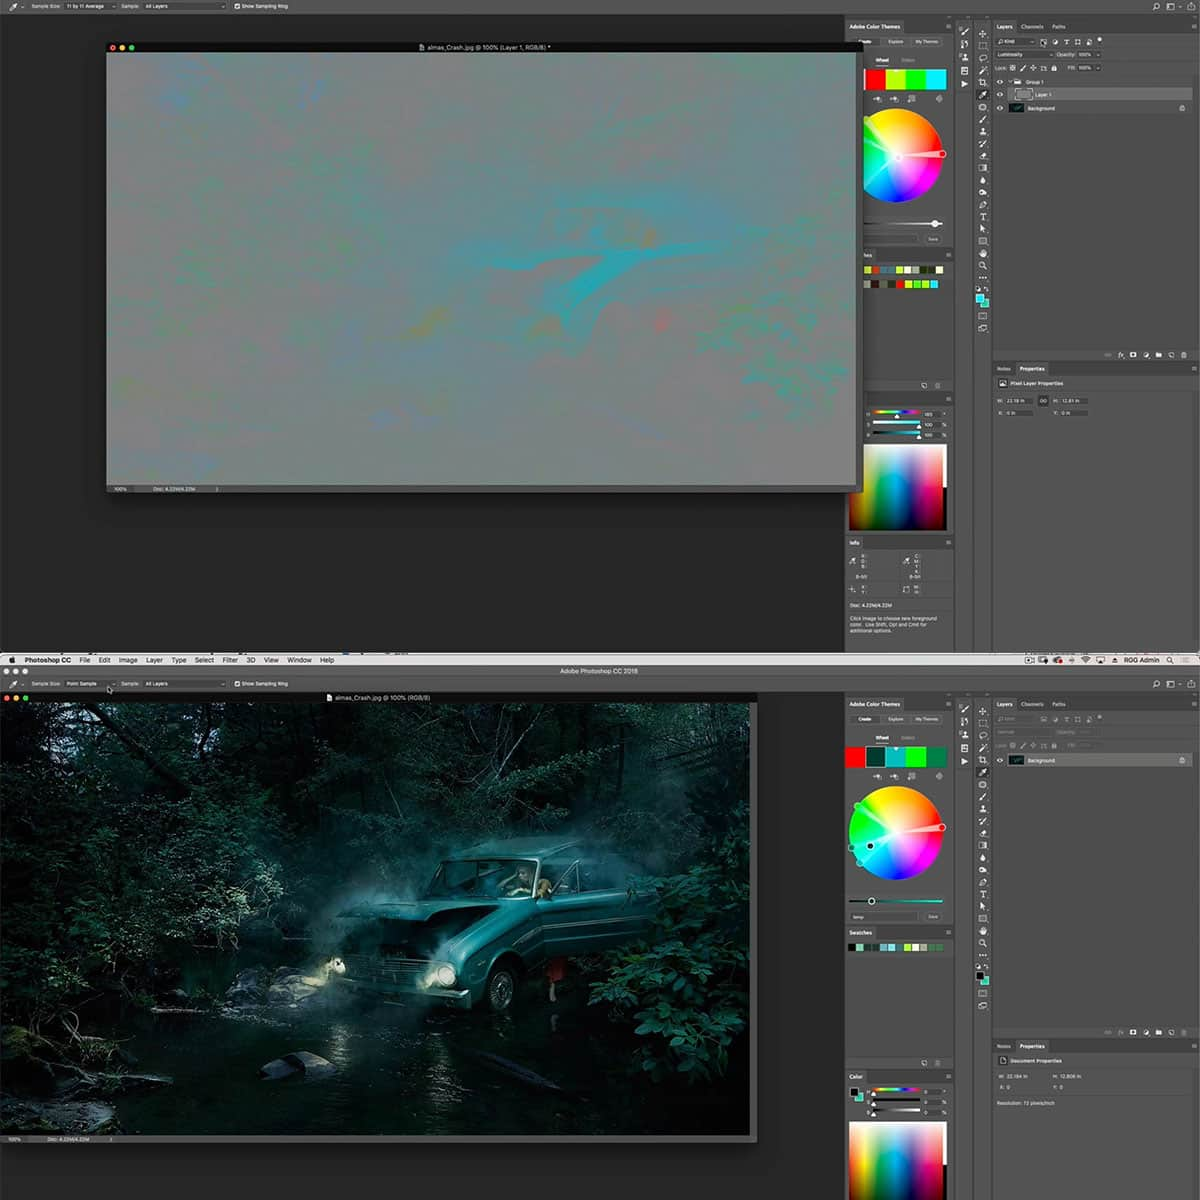
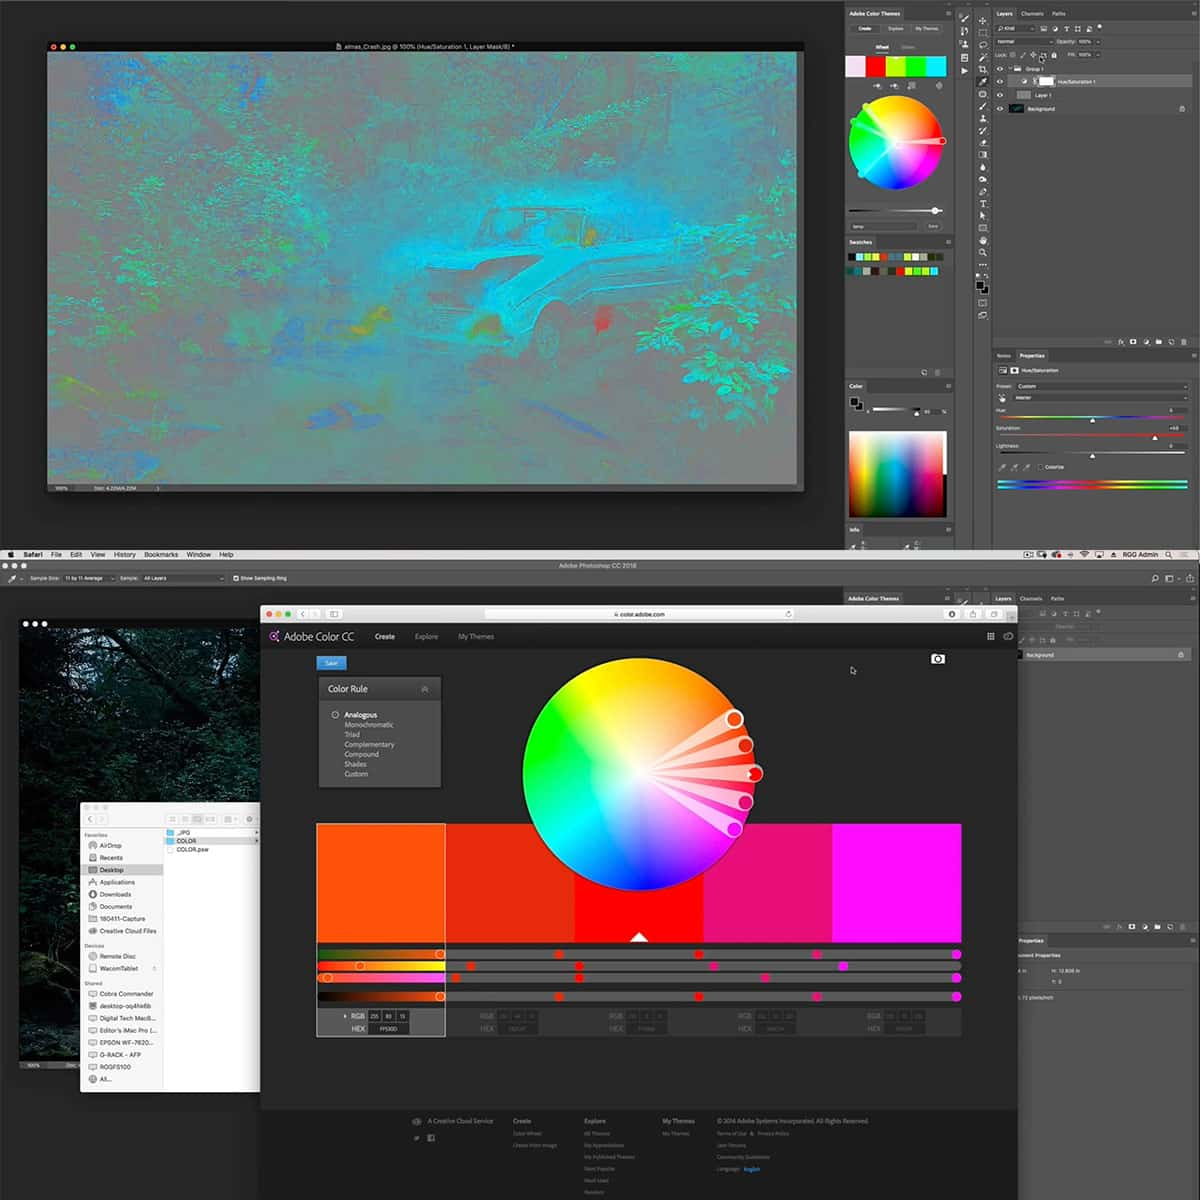
A crucial feature of the Color Picker is the Eyedropper tool. This tool enables us to sample colors from the active image or from anywhere on our screen 3. In the options bar, we can modify the sample size for more accurate color sampling.
When working with light and shadow, the color picker tool plays a pivotal role. We can effortlessly choose lighter or darker shades of a color, ensuring a consistent palette. Similarly, when working with specific colors like black and yellow, the tool provides us with a spectrum of shades to maintain harmony and contrast in our design.
In summary, the Color Picker tool in Photoshop is a powerful and versatile feature that allows us to select and work with colors efficiently. From sampling colors with the Eyedropper tool to adjusting hues for light or specific colors like black and yellow, this tool is an indispensable asset in every design project.
Working with Color in Different Photoshop Elements
In Photoshop, we can work with colors in various elements such as layers, text, effects, blending modes, selections, brushes, gradients, patterns, and adjustment and fill layers. Let's explore some of these elements and how color interacts with them.
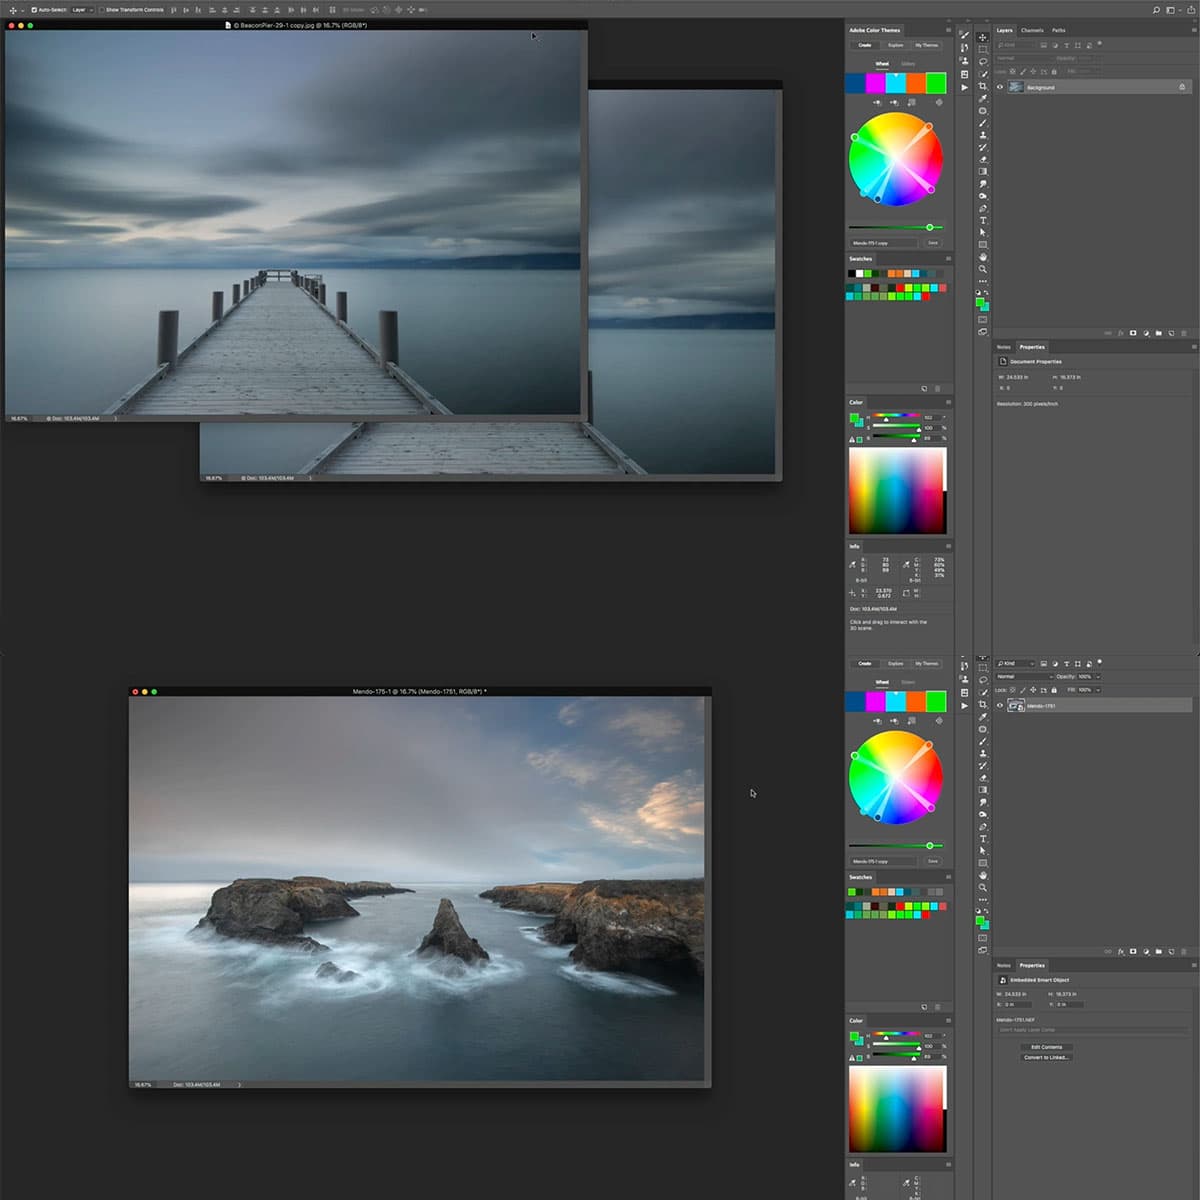
When using layers, we can apply color changes to specific portions of our project without affecting other parts. For instance, using adjustment layers allows us to modify colors non-destructively, giving us more control over our work.
Moving on to text, we have the ability to add color to our typography in Photoshop. We can use the color picker, swatches, or even sample color from an image using the eyedropper tool. This flexibility helps us create the perfect look for our designs.
Effects and blending modes offer us unique ways to combine and manipulate colors in different layers. With blending modes, we can change the way colors interact, creating interesting and dynamic results. Effects, on the other hand, allow us to apply different styles and visual transformations to our work.
When working with selections, it's essential to ensure that the chosen colors accurately represent the desired outcome. By understanding color models, such as HSB and RGB, we can make precise selections to make accurate adjustments.
With brushes, we can paint color onto our canvas, using various presets and customizing our brush size, shape, and style. Additionally, we have the option of using gradients to create smooth color transitions and add depth to our work. Gradients can be linear, radial, or angular, depending on our design needs.
Finally, patterns offer us a way to fill areas with repeating color and design elements. We can choose from preset patterns or create our custom design, adjusting scale and rotation to fit our work perfectly. Overall, understanding how to work with color across different Photoshop elements helps us create impactful and visually striking designs.
Advanced Color Techniques in Photoshop
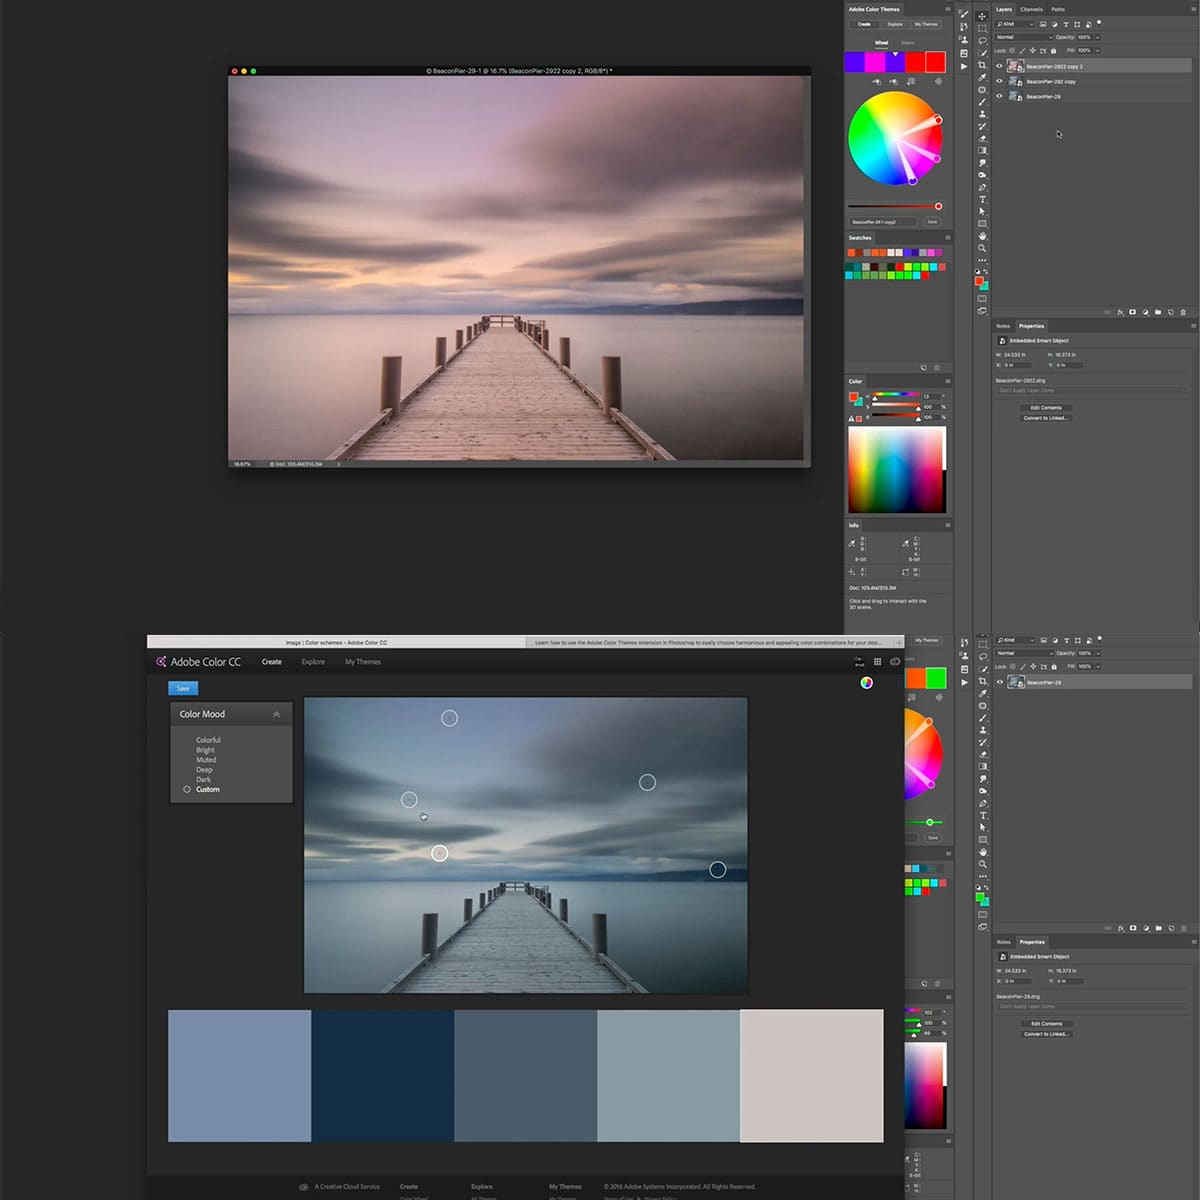
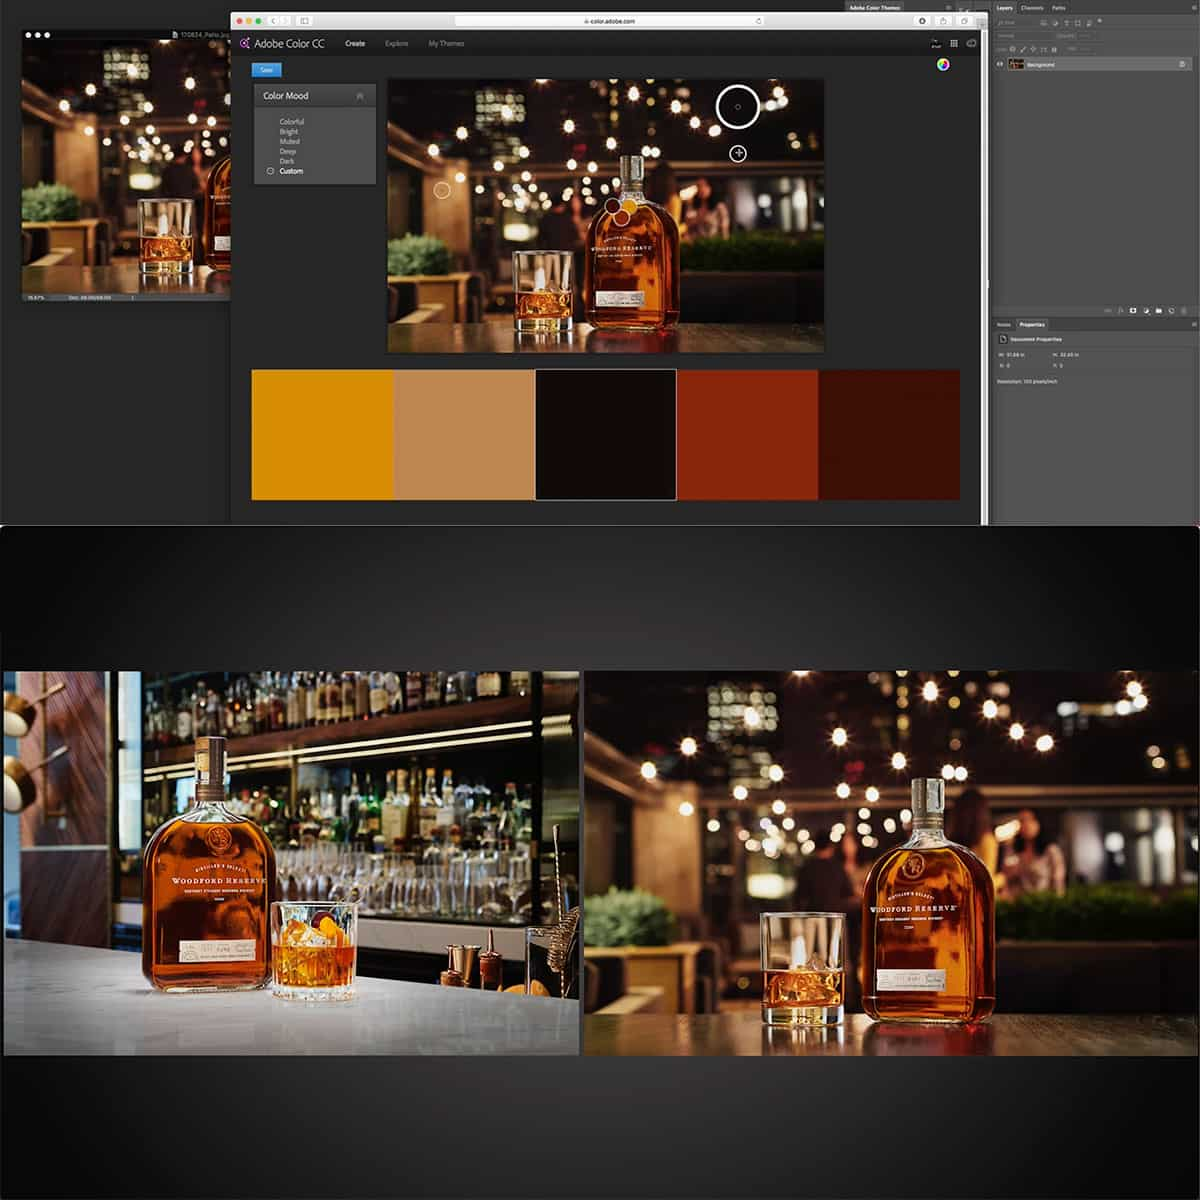
When working with colors in Photoshop, utilizing libraries can help organize and store your selected colors. This can be done by navigating to Window > Library to access the color library panel. Having an organized workspace is essential, so be sure to keep your color panels accessible and arranged. More on this can be found here.
Adjustment layers offer a non-destructive way to apply color adjustments to your images. We can use adjustment layers for precise color and tonal corrections, like Curves, Levels, and Hue/Saturation. Using adjustment layers allows us to easily modify or remove the adjustments without affecting the original image.
Photoshop offers various painting tools such as the Brush, Gradient, and Paint Bucket to modify colors on a layer. Each tool can be used in conjunction with different blending modes to achieve specific effects or color interactions. Picking specific colors is made simple through Photoshop's Color Picker which provides comprehensive control and customization. Read more here.
When painting in Photoshop, it's common to use the Brush tool with various brush presets to create different effects. These presets can be adjusted in terms of size, shape, and opacity to achieve the desired outcome. Furthermore, using blending modes can further alter the way colors interact with each other, allowing for limitless possibilities in color manipulation.
In addition to painting tools, distort filters can be applied to modify the visual appearance of an image or a selection. These filters can create various effects such as ripple, twirl, or displace, diversifying the range of artistic expressions possible with Photoshop. Understanding and mastering these advanced color techniques in Photoshop can significantly enhance your design workflow and the visual impact of your projects.
Optimizing Your Work with Color in Photoshop
When working with colors in Photoshop, it's essential to utilize tools and features to optimize our workflow. A key component in this process is the Color Picker. This tool allows us to choose a precise color for any selected object or layer in our project.
Some useful actions within Photoshop that can speed up our workflow include using keyboard shortcuts, implementing quick actions, and effectively utilizing layers masks. For example, we could use the shortcut Ctrl+Z (Cmd+Z on a Mac) to quickly undo an action. Additionally, having a reliable knowledge of Photoshop's system requirements will help ensure that our hardware is optimized to handle the software efficiently.
In order to enhance our images within Photoshop, we should consider actions such as resizing, retouching, and editing text. To resize images effectively, it's important to maintain the aspect ratio, while adjusting the canvas size can provide extra workspace for our designs. Retouching is an essential skill for removing any unwanted elements, smoothing out surfaces, or correcting color in an image. Additionally, when working with text, using various fonts, sizes, colors, and styles can enhance the visual appeal of our projects.
In conclusion, optimizing our work in Photoshop with color involves utilizing the Color Picker, knowing vital shortcuts, and being proficient with various editing techniques. By applying these tips and tricks, we can enhance our designs and create visually appealing projects.
Frequently Asked Questions
How can I switch between background and foreground colors in the color picker?
In Photoshop, you can switch between background and foreground colors by clicking on the two color swatches located at the bottom of the toolbar. A quicker way to swap these colors is by pressing the "X" key on your keyboard.
What are the default settings for Photoshop's color picker?
The default settings for Photoshop's color picker are to display colors in the HSB (Hue, Saturation, Brightness) mode. It also provides options for RGB, CMYK, Lab, and Web Safe modes. The foreground color is set to black, while the background color is set to white as the default.
How to find the hex code of a color-using the color picker?
To find the hex code of a color in the color picker, first, open the color picker by clicking on the foreground or background color swatch. Then, locate the "Hex" field at the bottom of the panel, where you can see the six-digit hexadecimal code representing the currently selected color.
What is the function of the eyedropper tool in Photoshop?
The function of the eyedropper tool in Photoshop is to sample colors from an image or artwork. When you select the Eyedropper tool and click on a specific area of your image, the color of the selected pixel will become the new foreground color. You can find a more detailed guide here.
How can I find and use Pantone colors in Photoshop?
To find and use Pantone colors in Photoshop, first, choose the Color Picker or the Swatches panel. Then, click on the panel's menu icon and select "Color Libraries." From the dropdown menu, select one of the Pantone color systems, and browse or search for your desired Pantone color.
What is HUD color picker and how to access it in Photoshop?
The HUD (Heads-Up Display) color picker is a convenient, on-screen color selection tool available in Photoshop. To access the HUD color picker, press "Ctrl + Alt + Shift" (Windows) or "Cmd + Option + Shift" (Mac) and click on your image. The HUD color picker will be displayed around your cursor, allowing you to pick colors quickly and efficiently while working on your project.


