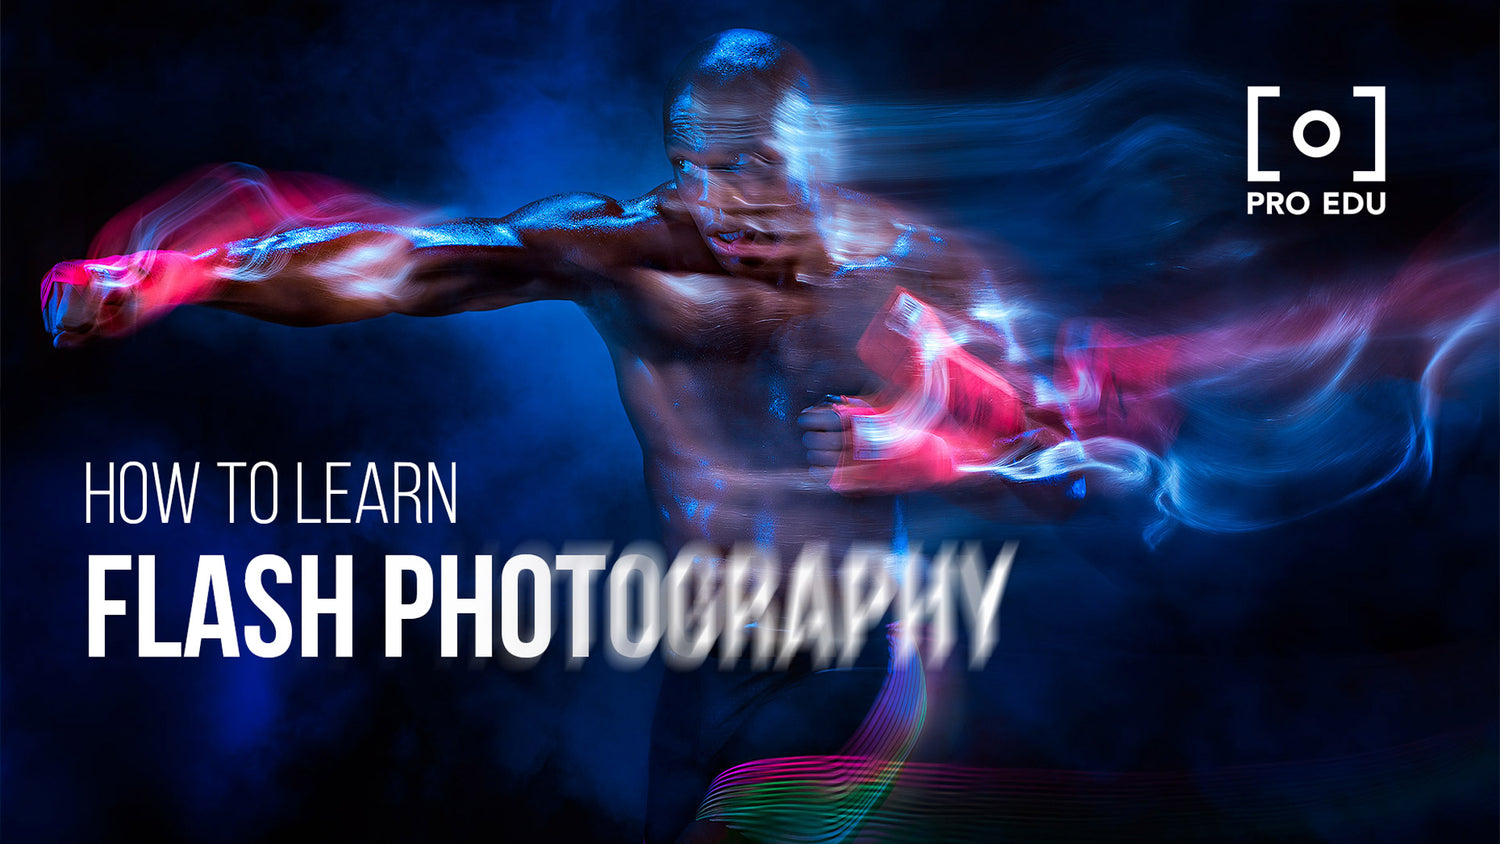
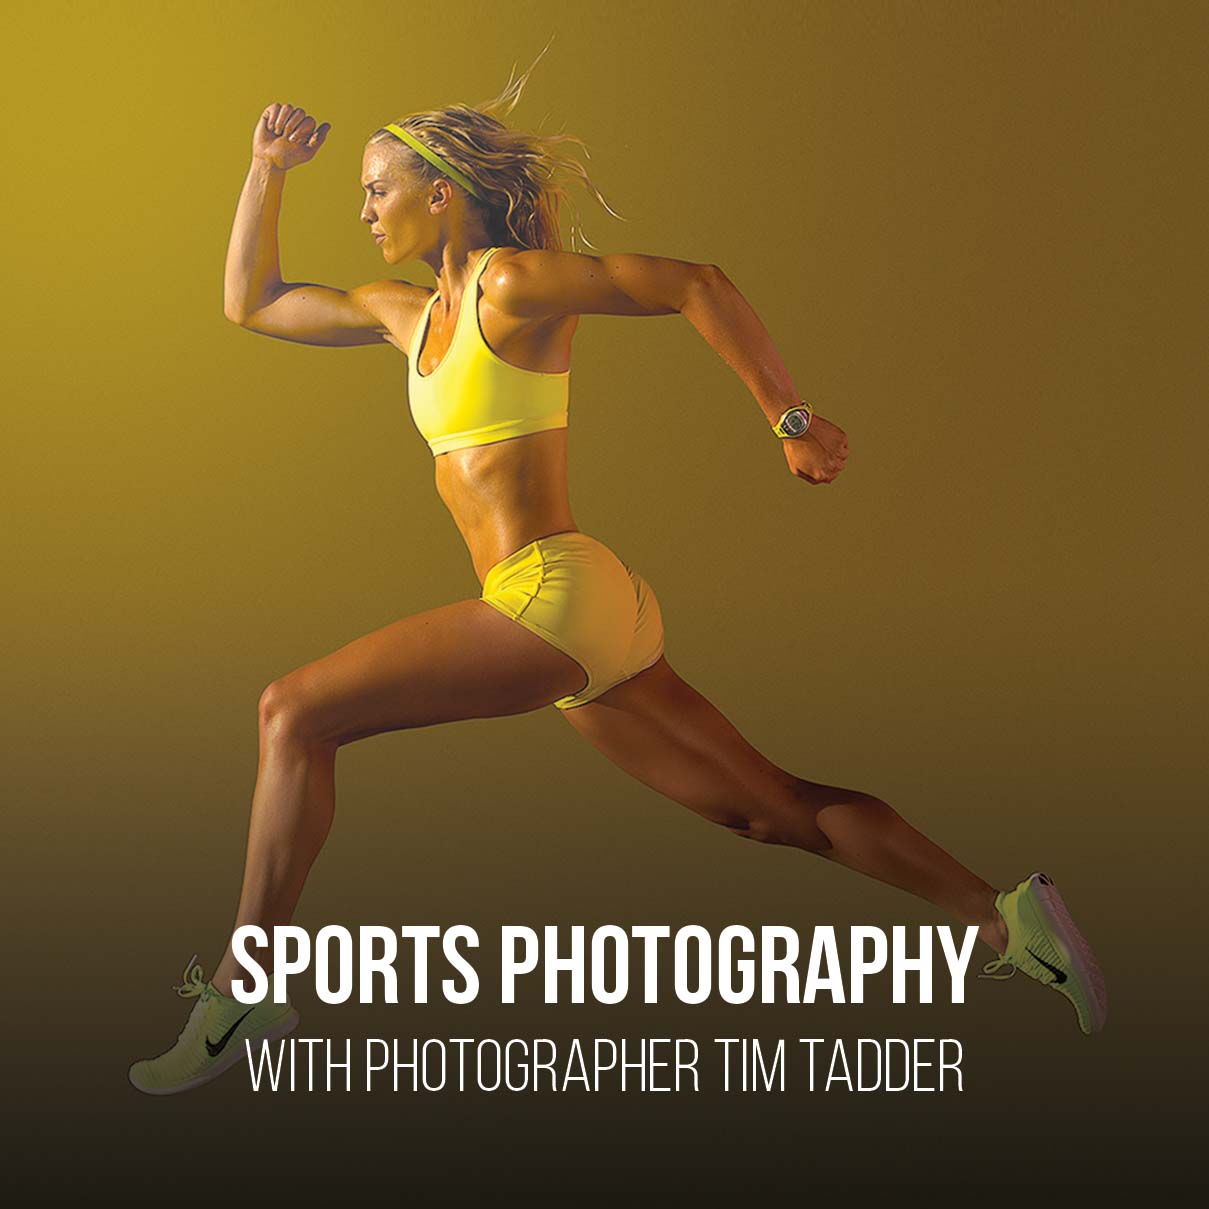
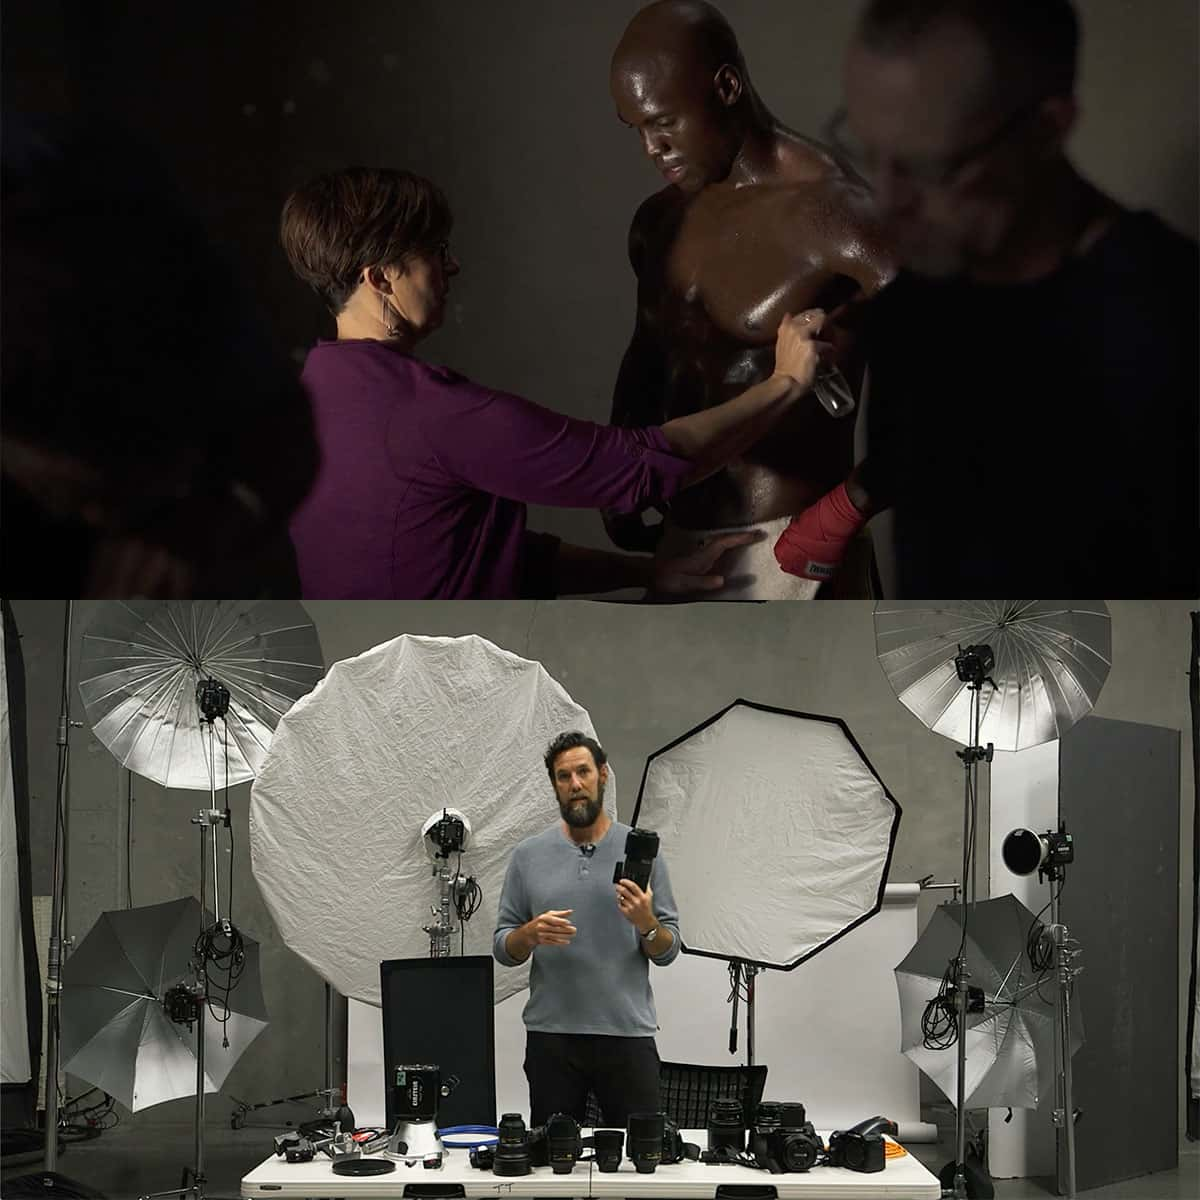
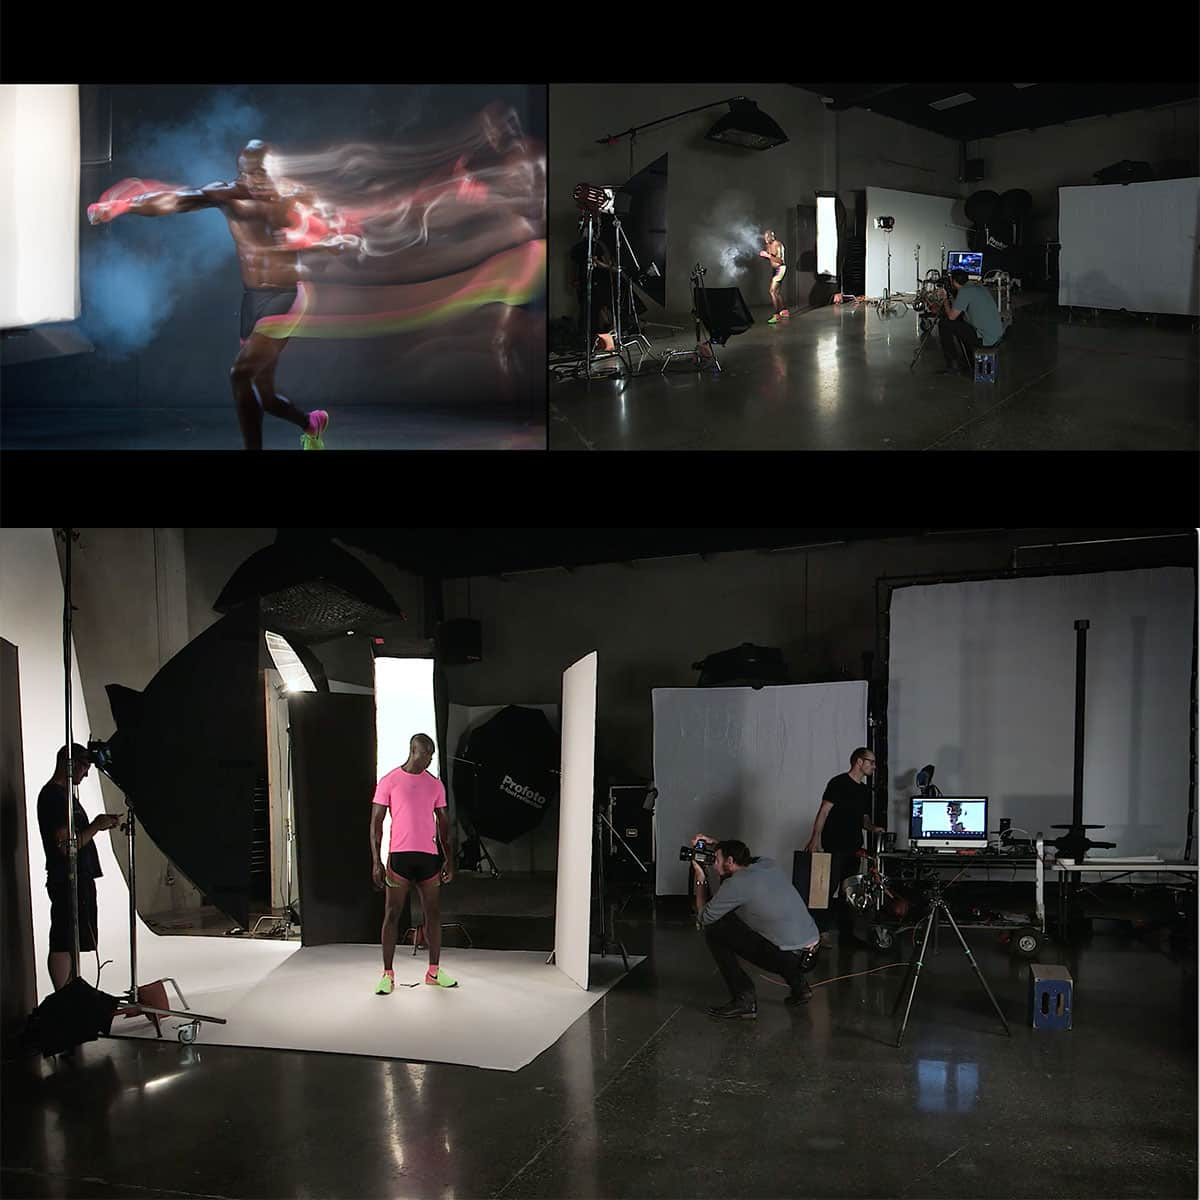
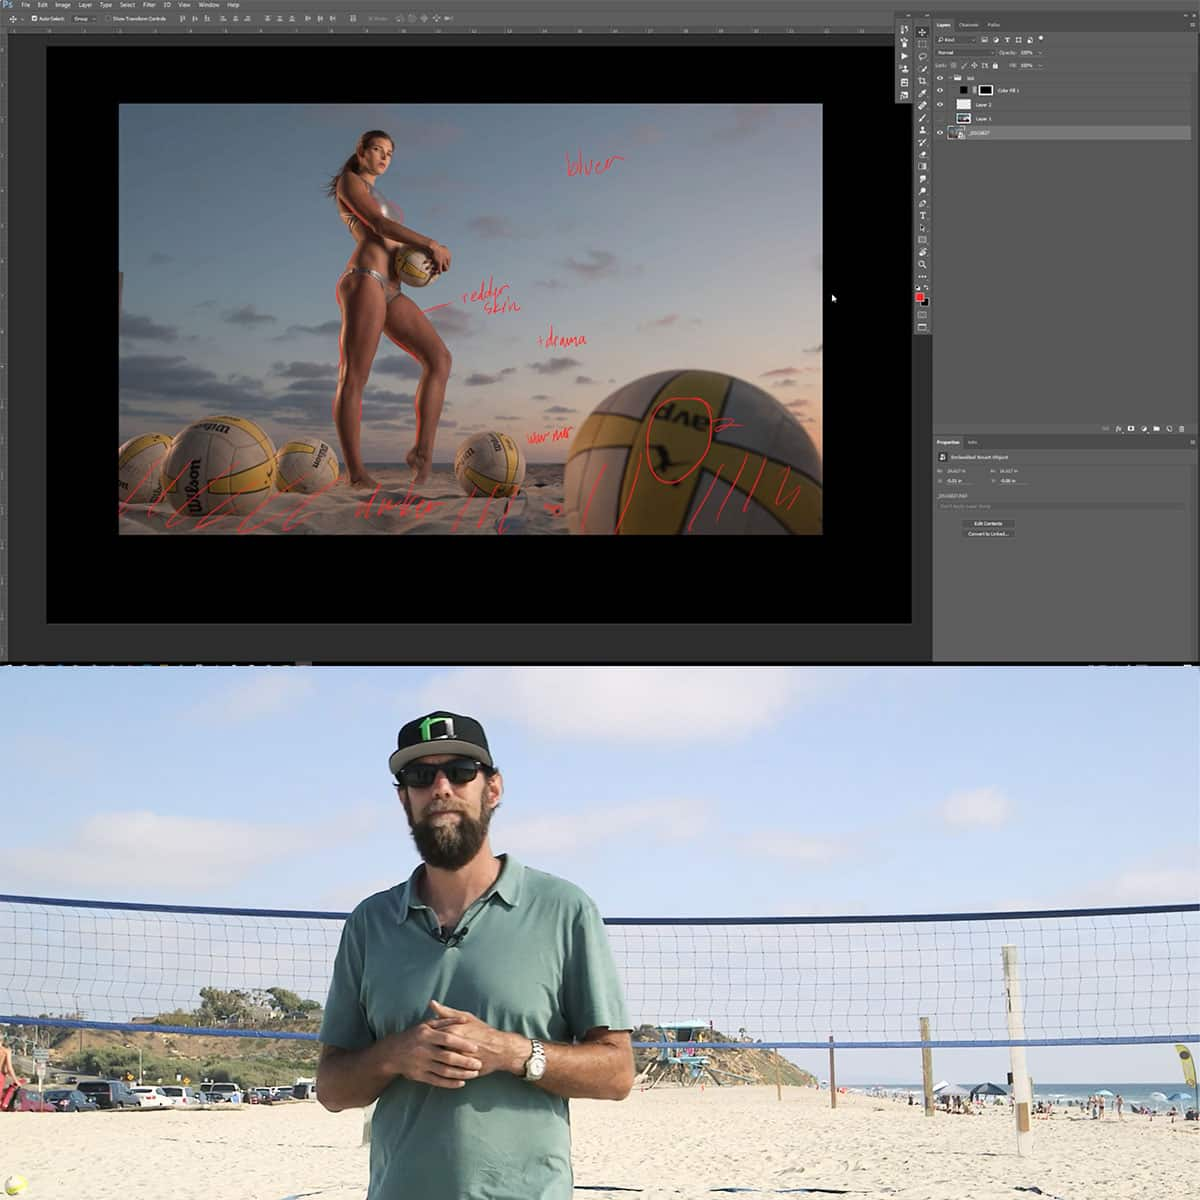
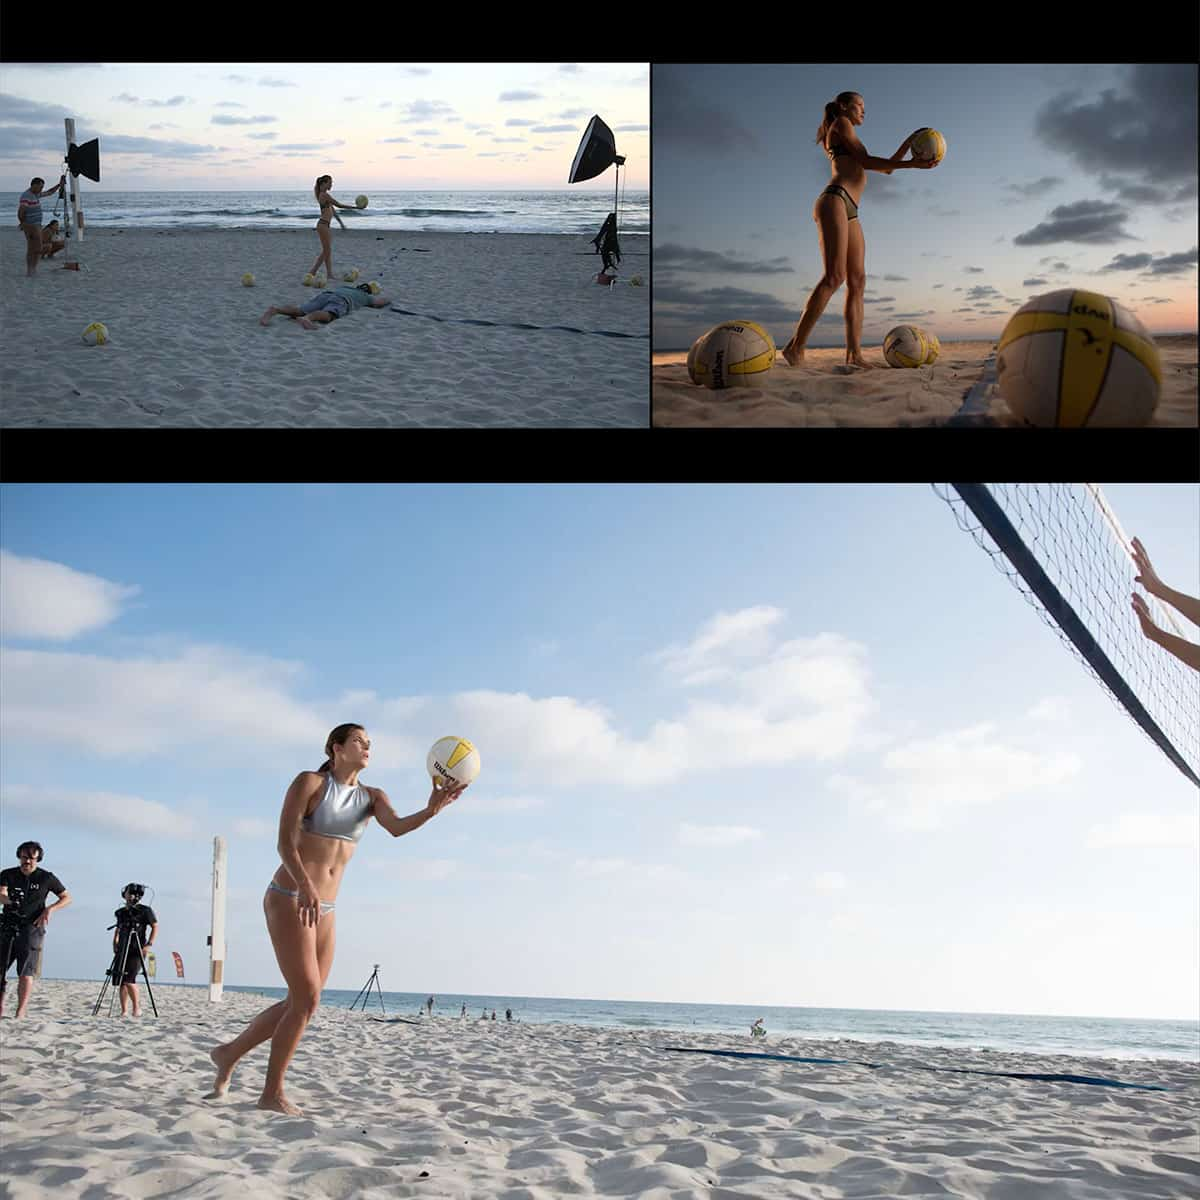
As photographers, we often find ourselves at the mercy of the available light. Whether it's the harsh midday sun or a dimly lit event, the challenges of lighting can make or break a photograph. This is where flash photography comes into play, offering a level of control and creativity that natural light simply cannot match. Learning flash photography allows us to control and modify light, ensuring well-lit subjects and desired effects, regardless of the ambient conditions.
Topics of this video include how to bounce the light, camera settings, flash photography, flash power, shutter speeds, hot shoe, flash units, manual flash, flash sync speed, ttl mode, cameras built in flash, ambient lighting, manual modes, built in flashes, depth of field, lighting conditions, slower shutter speed, light source, maximum flash sync, flash exposure.
Mastering flash photography is not just about understanding your gear, but also about harnessing the power of light to enhance and transform your images. From fill flash that illuminates shadows on a sunny day to a multi-flash setup that sculpts the light in a studio portrait, flash can be the tool that elevates your photography from good to great. By investing time into learning how to use a flash, photographers give themselves an invaluable skill set that opens up a new world of photographic possibilities.
Key Takeaways
- Flash photography enhances image quality in challenging lighting conditions.
- Command over flash techniques empowers creative expression in photography.
- Understanding and practicing flash can significantly improve photographic results.
In this section, we'll navigate the fundamental aspects of flash photography that are crucial for capturing well-lit photographs. From the roles of flash in photography to the settings that govern it, we cover the essentials you'll need on this enlightening journey.
The Role of Flash in Photography
Flash plays a pivotal role in photography, providing the necessary light when ambient light is insufficient. It helps to freeze motion, allowing us to capture sharp images, and can be used to create dramatic effects or fill in shadows when the sunlight is too harsh.
Types of Flash Equipment
Flash equipment comes in different forms, each suitable for various situations. The speedlight is versatile and can be mounted on the DSLR or mirrorless camera's hot shoe. Off-camera flashes offer more control and creativity, while a ring flash provides even lighting, ideal for macro or portrait photography. Flash heads are larger and primarily used in studio settings.
Camera and Flash Settings
For optimal results, we must synchronize our camera settings with the flash. In manual mode, we have full control over aperture, shutter speed, and ISO settings, while automatic mode adjusts the settings based on ambient light. Flash settings also need to be adjusted according to the desired exposure and effect.
Mastering Exposure and Light
Achieving the right exposure is a balance between aperture, shutter speed, and ISO settings. We use a light meter to measure ambient exposure. Adjusting flash power in relation to ambient light is key, whether we’re working with natural light or sunlight in combination with our flash.
Understanding Flash Power and Quality
The quality of light is determined by the flash power and modifier used. Soft light is achieved through diffused light, which can soften shadows. Conversely, a direct flash creates hard light with sharper shadows. We must also consider color temperature to ensure the flash complements the ambient lighting conditions.
Essential Flash Photography Techniques
Mastering essential flash photography techniques allows us to beautifully illuminate subjects, enhance ambience, and reduce common issues like red-eye. Taking control over light direction and quality can truly elevate our photographic results.
Bounce Flash Technique
Bounce flash refers to angling our flash towards surfaces such as ceilings or walls rather than directly at our subject. This creates a bounce light effect that mimics natural light, yielding a softer and more diffused look. To effectively use the bounce flash technique, we must consider the color and texture of the bounce surface, as these can impact the color temperature and softness of the light.
Using Flash in Low Light
In low light conditions, flash photography becomes invaluable. When ambient light is insufficient, introducing flash can illuminate our subject without overly brightening the entire scene. To maintain a balance between flash and ambient light, we can adjust our camera settings like the ISO, aperture, and shutter speed. A good practice is to use a slow sync flash, allowing us to capture both subject and ambient light effectively.
Controlling Light Direction and Quality
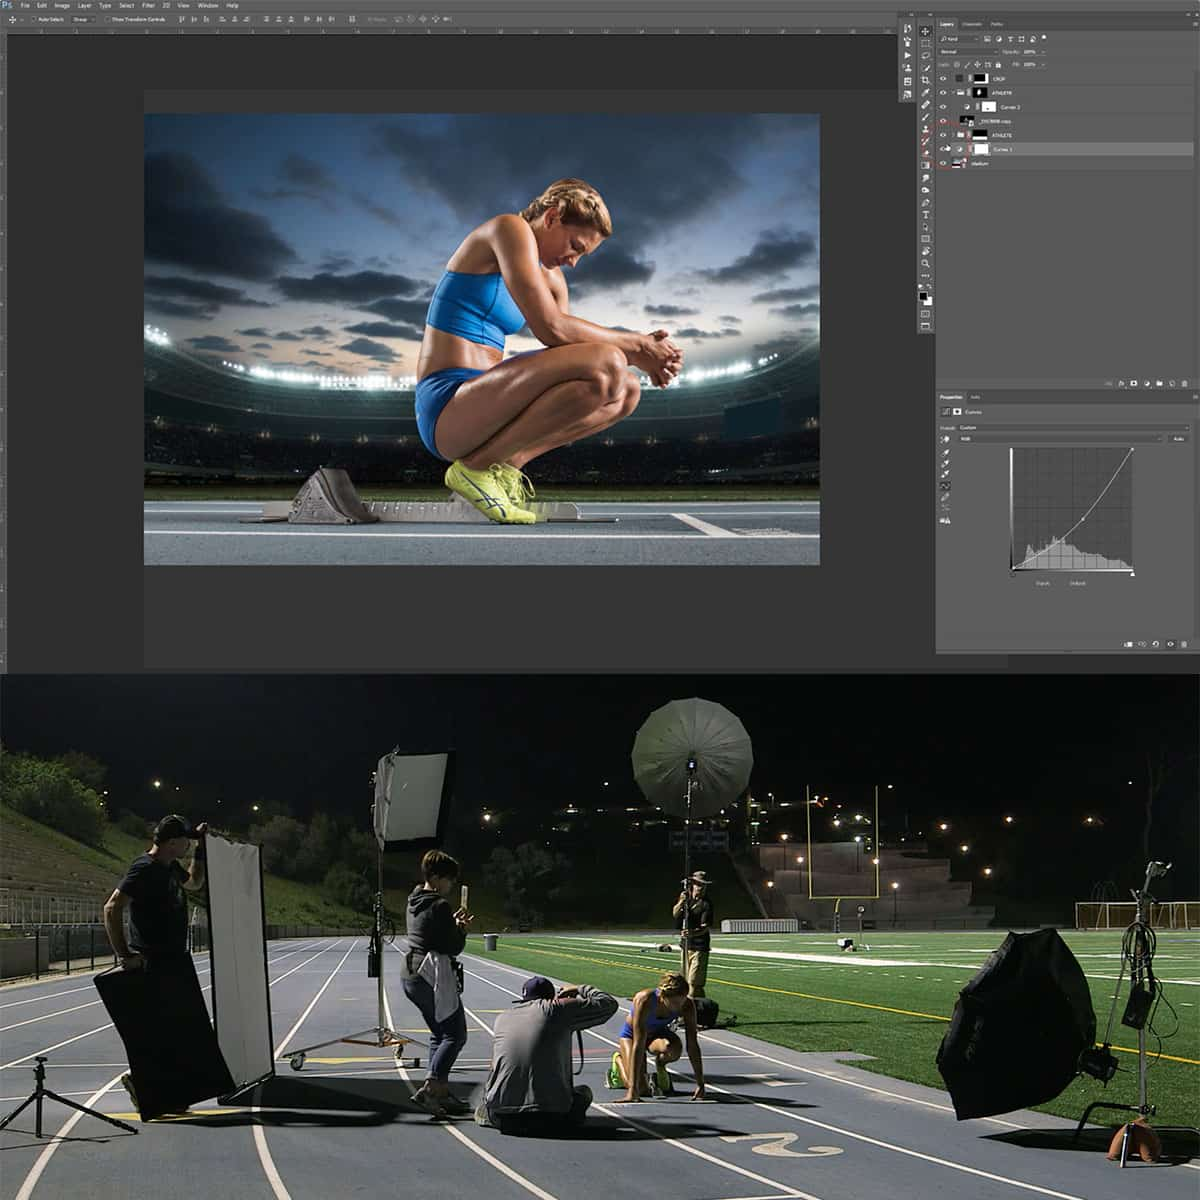
Directing the light where we desire is essential. By employing modifiers such as a softbox, grid, or diffuser, we can sculpt the direction and quality of light. Use a softbox for a broader, softer light, akin to window light. A grid can focus the light into a tighter beam for dramatic effect, while a diffuser spreads the light, reducing harsh shadows—a must for creating flattering fill light and controlling the overall direction of light.
Red-Eye Reduction Strategies
To mitigate the red-eye effect, which occurs when flash reflects off the retinal blood vessels, we use several strategies. Raising the flash above the camera lens or using a bounce flash can change the angle of light, lowering the likelihood of red-eye. Additionally, many cameras come with a red-eye reduction mode that emits pre-flashes to shrink pupils, thus reducing red-eye. This mode helps us maintain the natural look of our subjects' eyes.
Advanced Flash Photography Concepts
As we venture into advanced flash photography, our goal is to master techniques such as off-camera flash usage, balancing flash with ambient light, understanding synchronization options, and utilizing various flash modifiers. These concepts allow us to elevate our photographic work and take control of the lighting in any situation.
Off-Camera Flash Use
Off-camera flash provides us with the flexibility to position our light source away from the camera, offering a more dynamic and directional light. By using wireless triggers, we can fire our off-camera flash units from a distance, allowing for creative lighting setups. We often rely on flash power settings and flash exposure compensation (FEC) to finely tune the light intensity for the desired effect.
Balancing Flash with Ambient Light
Our aim with balancing flash with ambient light is to create a natural-looking scene where the light sources appear seamless. To do this, we frequently adjust our camera's shutter speed to control the ambient exposure, while using exposure compensation on the flash to regulate the flash contribution. The end result should be a well-lit subject with a background that remains visible and properly exposed.
Flash Synchronization Options
Understanding flash synchronization is crucial for ensuring our flash fires at the correct moment. Using a flash trigger is standard practice for syncing our camera to our flash. Options like high-speed sync (HSS) allow us to shoot with fast shutter speeds that exceed the camera's sync speed, which is useful for freezing action, even in bright conditions. Knowing the flash guide number can aid us in determining the right power settings for our flash to achieve the correct exposure.
Working with Flash Modifiers
Flash modifiers like softboxes, grids, and diffusers are essential accessories to modify the quality of light. A softbox softens and enlarges the light source for more flattering portraits, while a grid focuses the beam for dramatic effect. Using a diffuser can spread the light, reducing harsh shadows. We select our modifiers based on the subject and the mood we're aiming to convey in our photographs.
Gear and Accessories for Flash Photography
Selecting the proper gear and accessories is pivotal in mastering flash photography. We'll look at the essential equipment needed to effectively use flash, offering you the flexibility to work in various lighting scenarios and enhance your photos with precision.
Choosing the Right Flash Equipment
DSLR and mirrorless cameras often come with a built-in flash, but for more power and control, an external flashgun or speedlight is recommended. When selecting these, consider the flash power output, measured in Guide Numbers (GN), and the recycle time, as these factors influence the intensity and frequency of your shots. It's crucial to ensure compatibility between the camera flash and your specific DSLR or mirrorless camera.
Utilizing Reflectors and Modifiers
Modifiers like softboxes, reflectors, and diffusers are essential to shaping and softening the light from your flash. Using a bounce flash technique with a reflector can reduce shadows and create a more natural look. Accessories such as:
- Softbox: Enlarges and diffuses light.
- Diffuser: Spreads light to decrease harshness.
- Reflector: Bounces light to fill in shadows.
Are tools we use to achieve the desired lighting effects.
Upgrading Your Camera for Flash Use
To fully utilize external flashes, we might need to upgrade our camera settings. This could mean adjusting to a model that offers a hot shoe mount and allows for full manual control over aperture, shutter speed, and ISO. Older DSLRs and some mirrorless cameras might have limitations that newer models overcome with advanced features.
Exploring Flash Triggers and Wireless Systems
Flash triggers and wireless systems let us fire our flashguns remotely, offering versatility in flash placement. Options include:
- On-camera triggers: Direct connection through the hot shoe.
- Wireless triggers: Provide freedom of movement without the restrictions of cables.
Understanding Flash Tubes and Bulbs
The heart of the flash unit is the flash tube. Standard flashbulbs are generally good for thousands of flashes, but over time, they do wear out and affect the color temperature of the light produced. We recommend having spare tubes or bulbs on hand to maintain consistent performance.
Adjusting White Balance and Colour
Managing white balance and color temperature is crucial in flash photography to ensure colors are rendered accurately. We tweak the camera settings to match the flash's color temperature, ensuring our images have the correct hues. With adjustable white balance settings, we can counteract the cooler light of the flash for more natural results.
By equipping ourselves with the right tools and knowledge on how to use them, we enhance our flash photography skills and produce professional, high-quality images.
Practical Tips for Flash Portrait Photography
When we venture into flash portrait photography, mastering lighting is crucial. Consistent practice and understanding of lighting techniques can transform our portraits from flat to dynamic.
Lighting Arrangements for Portraits
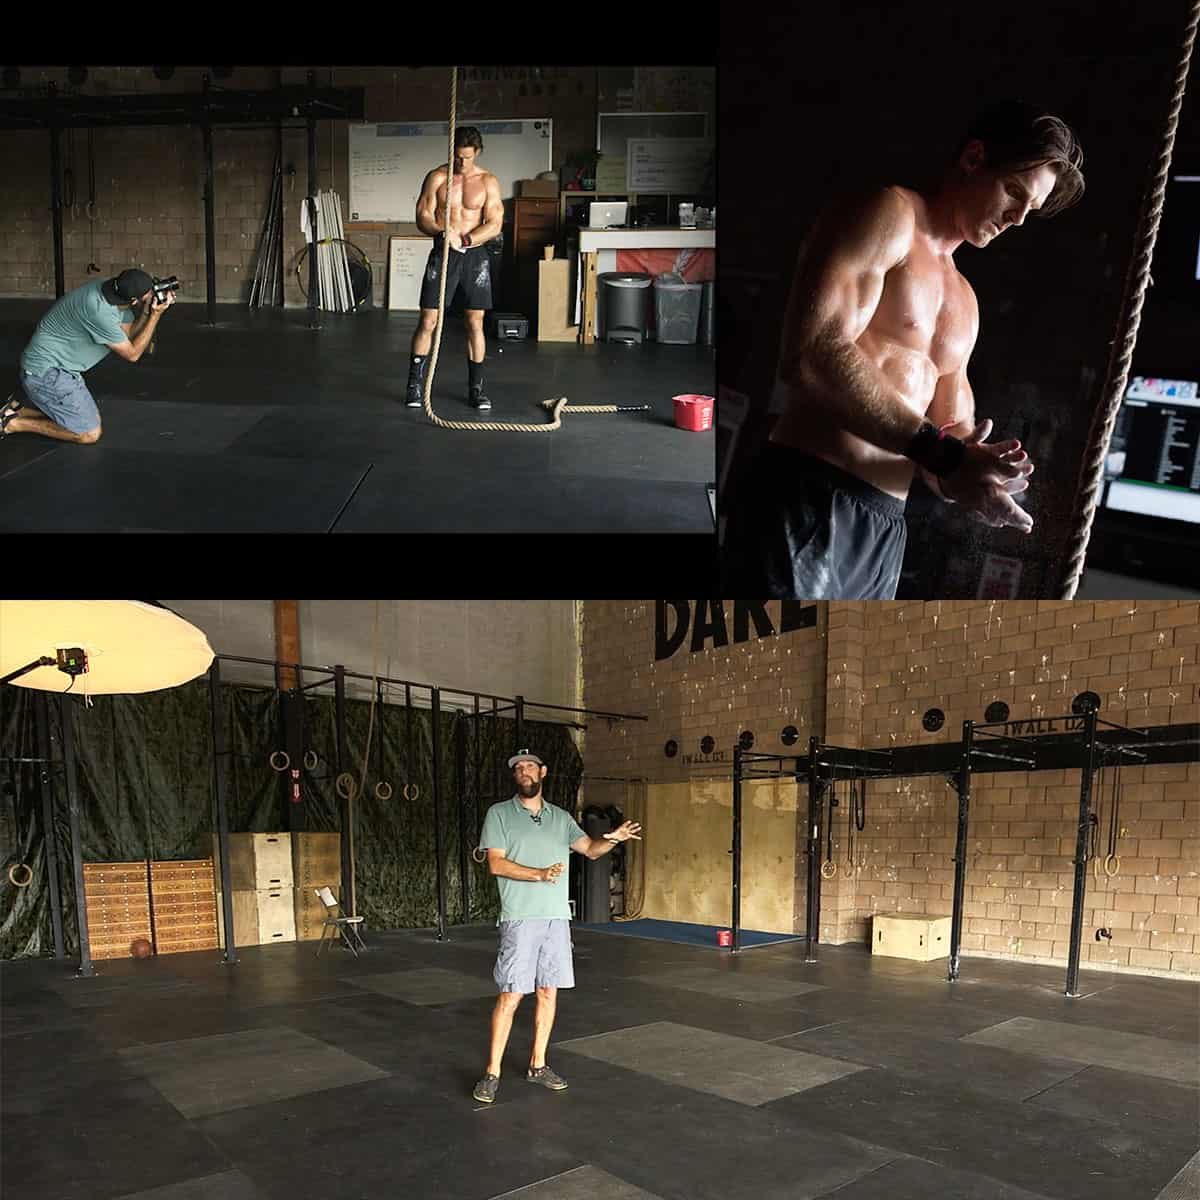
To create compelling portraits, lighting arrangements are key. A classic starting point is using a softbox or umbrella to produce diffused light, which casts soft shadows and reduces harshness on the subject. Consider the direction of light; positioning the light source at a 45-degree angle to the subject can yield a natural and flattering look. For sharper details and dramatic effect, side lighting can be a powerful tool. When using a DSLR or similar camera, ensure that the flash power and aperture are balanced for proper exposure, depending on your desired depth of field.
Minimizing Shadows and Harshness
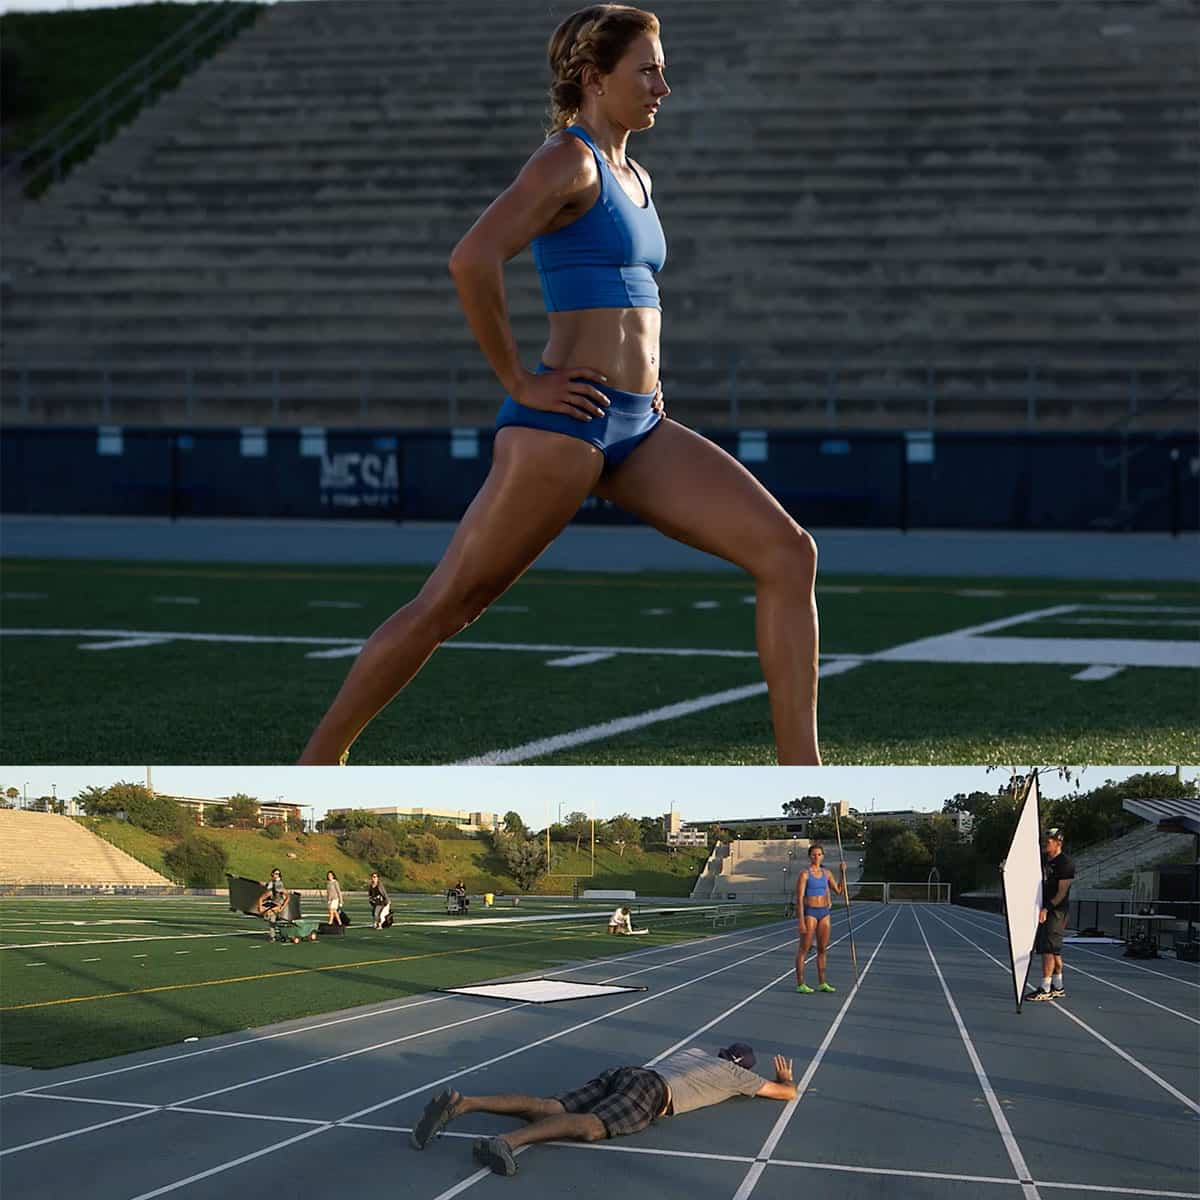
To minimize unflattering shadows and harshness in your portraits, we must use light modifiers. A reflector can fill in shadows, bouncing light back onto the subject. It's also beneficial to use a diffuser on your flash to spread the light more evenly. Consider using a manual flash setting to have full control over the flash power, which allows us to fine-tune the intensity of light. Setting the flash to bounce off a white ceiling or wall can create a larger, more soft light source, which envelops our subject and offers a more even, quality of light.
Creative Techniques for Unique Portraits
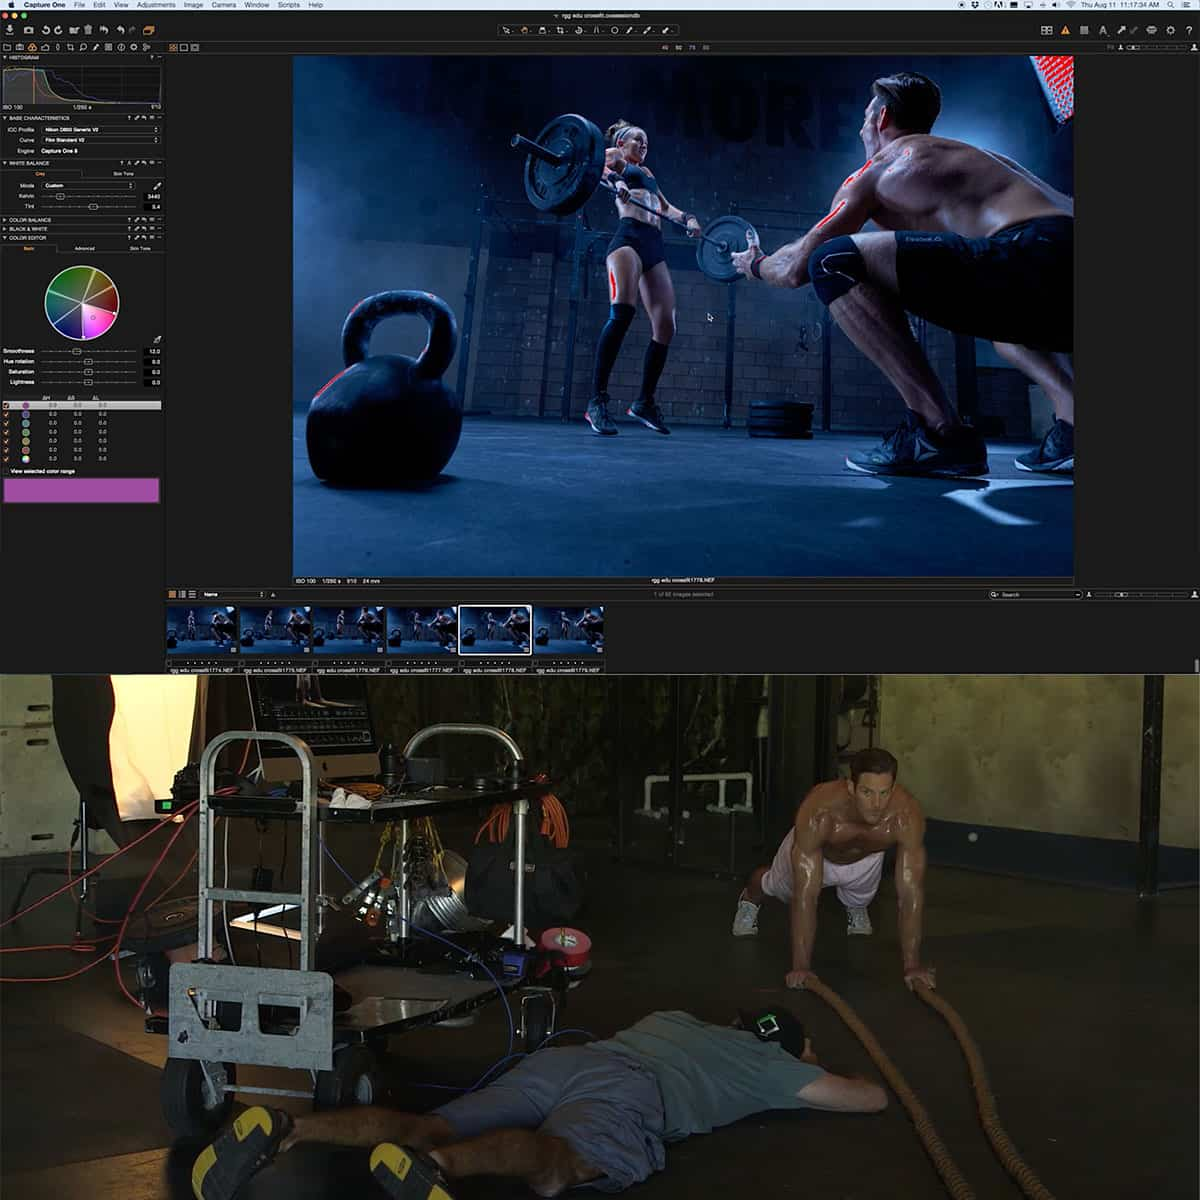
Exploring creative flash techniques can give our portraits a unique edge. Experiment with gels to alter the color temperature and mood of the shot. A snoot or grid can direct the light precisely where we want it, adding drama to the portrait. Playing with high-speed sync allows us to use flash in combination with a fast shutter speed, broadening our creative options. Don’t be afraid to experiment with unconventional backgrounds that reflect light differently, contributing to the atmosphere of the portrait.
Conclusion
We’ve explored the foundational elements of flash photography, and now it's time to put our knowledge into practice. Here are some key takeaways:
-
Understand Your Tools: Getting to know your flash's settings and modes is crucial. Remember, sync speed and TTL metering are our friends in creating well-exposed images.
-
Manage Light Creatively: Flash is more than a solution for low light; it's a means to control and modify lighting. We can shape, soften, or intensify light according to our creative vision.
-
Start Simple: It's advisable to start with a single flash and then experiment with multi-light setups as our skills grow. With practice, off-camera flash techniques will become second nature.
-
Practice Makes Perfect: As with any skill, regular practice is essential. Try different environments, subjects, and flash positions to see firsthand the effects they have on your photos.
By applying these insights and steadily building on them, we enhance our flash photography. Let's keep learning, experimenting, and, above all, enjoying the journey in mastering the art of flash photography.
Frequently Asked Questions
In this section, we address common inquiries to help you navigate the beginnings of flash photography, from starting tips to creative techniques.
What are the first steps to getting started with flash photography?
To get started with flash photography, it's essential to understand why flash is used and what it can achieve. We recommend familiarizing yourself with your flash's settings and practicing in various lighting conditions to see its effects.
Which online resources are best for learning flash photography?
There are many valuable resources online; for structured learning, take advantage of tutorials like the Complete Guide for Beginners provided by iPhotography or practical tips found on SLR Lounge.
Can you recommend some basic flash photography techniques for beginners?
For beginners, we suggest mastering bounce flash which reduces harsh shadows and practicing with flash modifiers to diffuse light. Learn to balance ambient and flash light for natural-looking photos.
How do I improve my skills in flash photography from home?
Practice is key to improvement, so experiment with different subjects and settings at home. You might also create challenges for yourself or follow online workshops and tutorials, such as those found on Shotkit.
What are some creative ideas to experiment with flash photography?
Play with colored gels to alter the color of your flash light or try rear-curtain sync for artistic motion blur effects. Experimenting with off-camera flash can also open up a realm of creative possibilities.
What camera settings should I use when working with flash photography?
For flash photography, start with your camera in manual mode to have full control over shutter speed, aperture, and ISO. Adjust these settings while considering the flash's power output for the desired exposure.


