From adding the final touch for a composite image to making paint blend in with your photograph, adding the right amount of Noise is one of those tricks experienced retouchers keep in their back pocket.
The conventional way for adding Noise to an image in Photoshop is by creating a layer, setting the blending mode to Overlay or Softlight then filling it with 50% Gray and running the Add Noise filter on it.
While this can work well it does make your file sizes bigger and making changes to it means having to re-fill the layer with 50% Gray then running the Noise filter again with a different setting.
Since this kind of Noise layer is based on the specific file you made it for if you need to apply that same Noise effect to a series of images of different sizes you’ll need to remake it over and over again.
What if you had a trick for adding Noise that was flexible, easily editable, added next to nothing to the size of your file and could easily be applied to individual layers as well? Enter the patented “Mo Better Noise” method!
Instead of the usual approach, the Mo Better Noise trick uses Noise Patterns in Pattern Fill Layers using the same Blending Modes.
The advantage with using Noise Patterns is that not only does this keep your file sizes smaller, but the Pattern Fill Layers also give you a tremendous amount of flexibility to edit and change the effect as needed.
And Making A Set Of Noise Patterns Is A Pretty Simple Process
Here are the basic steps:
-
Make a new Photoshop file, 1024x1024 pixels in size.
-
Fill the background layer with 50% Gray.
-
Select All then go to Filter > Noise > Add Noise to add your Noise.
-
Go to Edit > Define Pattern to define the pattern. Give your pattern a name that will make it easy to remember how much Noise you added. (I name mine RGB Noise 1%, RGB Noise 2% etc).
-
Since running the Add Noise Filter was the last step, you can use Command-Z to undo that, letting you run the Filter again with different amounts of Noise saving each pattern as you go.
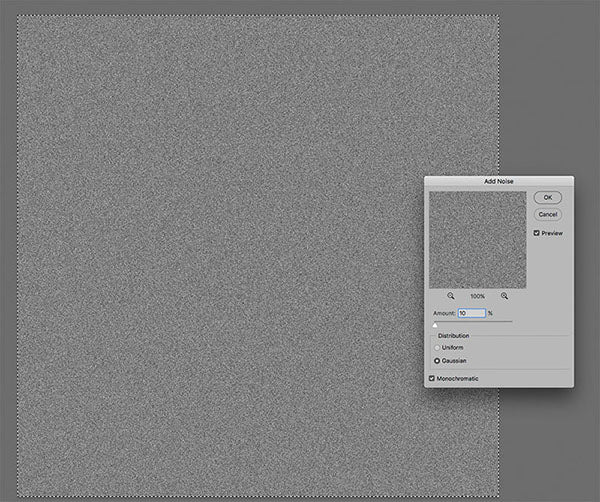
Use the Add Noise filter to add different amounts of Noise.

To save the Noise patterns go to Edit > Define Pattern. Be sure to name it with the amount of Noise you added.
Make a Series of Patterns
Since making Noise Patterns is pretty quick and easy, it’s convenient to make a series of patterns at one time. Once your Noise Patterns have been created using them can be done in a variety of ways and this range of uses is what gives this technique it’s great power.
Make a Pattern Fill Layer
The simplest way to use a Noise Pattern is to make a Pattern Fill Layer by going to Layer > New Layer > Pattern.

Go to Layer > New Fill Layer > Pattern to make your Pattern Fill Layer.
Once the layer has been created Photoshop will bring up another dialogue where you can choose the pattern to use along with an option to change the scale of the pattern. Changing the scale can be an easy way to make your Noise appear smaller or larger depending on the effect you’re going after.
If you just want to add a little Noise to help the various elements in your image blend in better you might use a small amount of Noise at say 75% scale. If you want to add a heavy pepper noise effect you might scale the pattern to 150% or even 200%.

When making the Pattern Fill Layer Photoshop gives you the ability to scale the pattern as well giving you easy control over how large or small your Noise will appear.
Use Noise Patterns To Unify Composite Images
In my own workflow I use these Noise Patterns in many ways. Most commonly when working on a composite image that uses elements from many different sources. Adding a layer of Noise on top of the layer stack can give the image the look of a consistent grain.
For instance in the image below, a poster I worked on for the Jumanji reboot. The background, foreground, and all the pieces we pulled together to put the Rock on the motorcycle all came from different sources. Some were stock elements, some were from stills shot on the set and some came from a special shoot done in a photo studio.
Adding a layer of Noise using about 8% Monochromatic Gaussian Noise helped to unify the image.

A Layer of Noise was added on top of the Layer stack to unify the various elements used to create this composite image.
Use Noise Patterns as a Layer Style
Another cool use for the Noise Patterns is to apply them as Layer Style using the Pattern Overlay style. In the dialogue shown below you can see there are options for Blending Mode, Transparency, and Size.

Photoshop’s Layer Style dialogue offers an option to add Pattern Overlays as a style.
This brings a lot of power, basically it makes it easy to add Noise to any layer while retaining a great deal of flexibility and keeping your file sizes down. For instance the Pattern Overlay Style comes in very handy when having to add painted elements, such as hair, to an image making it easy to match whatever grain the other elements might have.
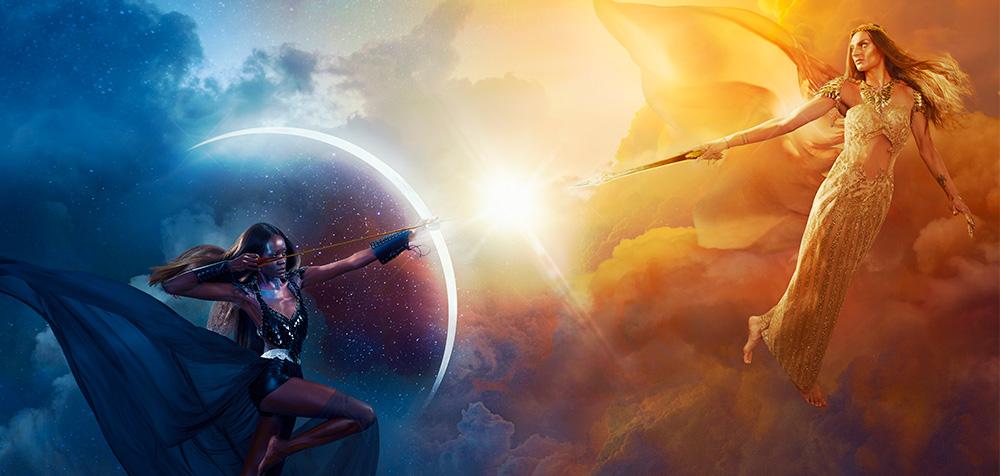
In working with Kate Woodman on her Sun Goddess/Moon Goddess image we had to illustrate a good deal of hair. Since the shots of hair we used had their own grain structure the painted strokes would stick out more readily. Adding the Pattern Overlay Layer Style to the painted hair layers made this an easy problem to solve.
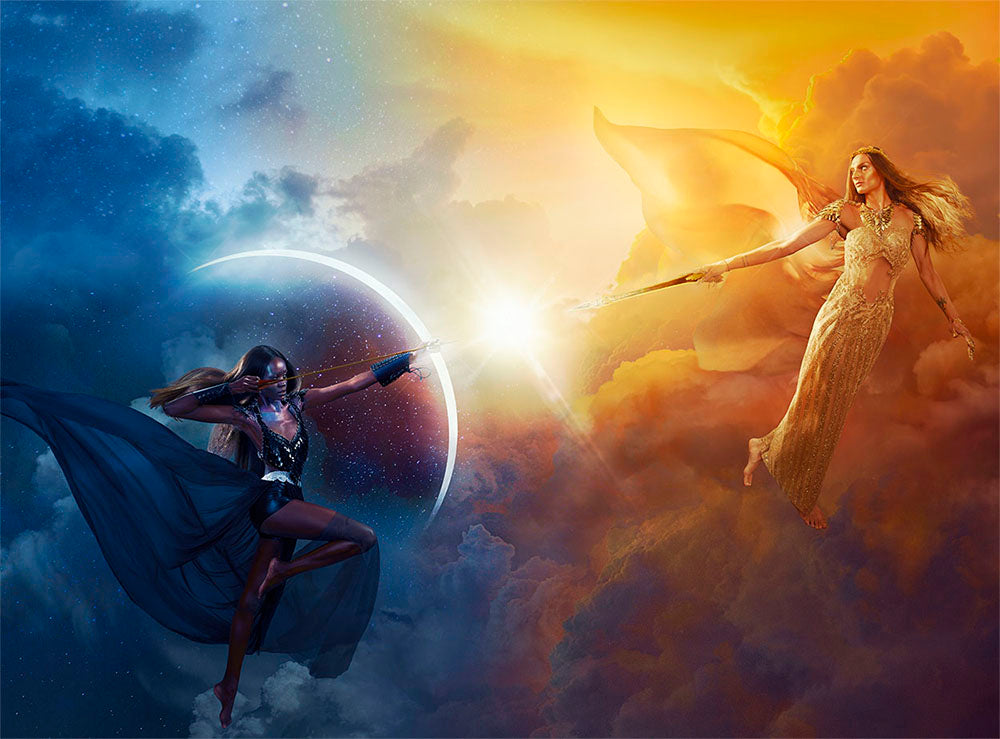
A Pattern Overlay Layer Style was added to the layers of painted hair to help the illustrated hair match the look of the various layers of hair used in this composite for Kate Woodman.
These examples are just the beginning of the power and flexibility these Noise Patterns bring. For instance adding a Pattern Fill Noise layer then turning that into a Smart Object will allow you to non-destructively use Filters to modify the look and effect.
Need to create a skin texture layer? Just add a Pattern Noise layer, make it a Smart Object then experiment with using the Emboss Filter, and maybe a touch of Gaussian Blur. Need a “rain” layer? Try using the Motion Blur Filter on your Pattern Noise Smart Object layer.
The possibilities are endless. How will you use this cool technique?

About Dennis: Since 1991 Dennis has been adding the Photoshop Magic to movie posters and images for ad campaigns. He loves working on cool images with cool creatives whether they’re for the latest blockbuster movie or a shot of a beautiful model or a product shot for a new ad campaign. His work can be found at: www.dunbardigital.com.
90 Days Of Content
Over the next 90 days we are going to be working with some top artists to explore recommendations giving you solutions to problems we have all gone through. We are paying the writers a really fair wage for every original article, and we are writing about things that aren’t sponsored by any brand. There is no one but our opinion behind it. We would love it if you do use our affiliate links here so we can continue to keep writing awesome articles that you can trust.


