ACCURATE LAYER MASKS MADE QUICK AND EASY
“There is no end to education. It is not that you read a book, pass an examination, and finish with education. The whole of life, from the moment you are born to the moment you die, is a process of learning.”
– Jiddu Krishnamurti
There are dozens of different ways to create layer masks in Photoshop, but one of the fastest and most accurate ways is using Apply Image. Whether you want to replace a sky or create a luminosity mask, Apply Image is there to save the day with a quick little curves adjustment trick that will give you accurate masks, every time.
Apply Image uses the pixel information from a source document to apply a blend mode to a target layer. In this case, Photoshop will use the source document, the background layer, to apply a blend mode to an adjustment layer mask, resulting in a grayscale mask of the image. The layer mask can then be manipulated to fine-tune the final effect.
This is a handy trick for things like color grading, sky replacement, selective contrast, and many more. Before we go through the step-by-step process, let’s talk about what a layer mask is, and what makes it so important in post-production.
WHAT IS A LAYER MASK?

A layer mask is a way to hide or reveal a layer in Photoshop. Pure black masks hide the layer, and pure white masks reveal them. A 50% grey mask will show the layer at 50% opacity. By altering what parts of the mask are black, white, or various shades of gray, you can control what parts of the layer get seen.
Layer masks are an invaluable post-production tool that lets the retoucher selectively apply effects, create composites, color grade, and do a host of other edits that can be reversed or changed later by adjusting the mask. It's a non-destructive way to edit the look of an image without affecting the contents of the layer.
WHY USE APPLY IMAGE TO CREATE A LAYER MASK?
Apply image allows you to preview and create a layer mask, using blending modes and channels, based on the pixel information of the source document. This means all shape information and tonality don’t have to be reproduced to create a convincing mask.
It’s also a very quick method to create a clean mask that represents the source document, which makes it really easy to adjust or paint on to perfect.
CONTROL OR COMMAND + M?
This handy little command allows you to alter the curves of the layer you’re working on without creating a separate adjustment mask, just like CMD/CNRL+L allows you to work on the levels. You can use this command to help fine tune the mask while maintaining the natural falloff, which means you can alter the mask to focus on the shadows, highlights, mid-tones, and everything in between.
HOW DOES IT WORK?
Let’s look at an example of how the process can be used to selectively apply color. This example isn’t meant to be pretty, just illustrative of the process.
Step 1:
Choose The Image You Want To Work With

Step 2:
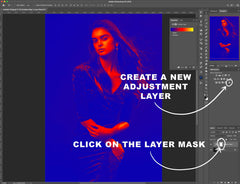
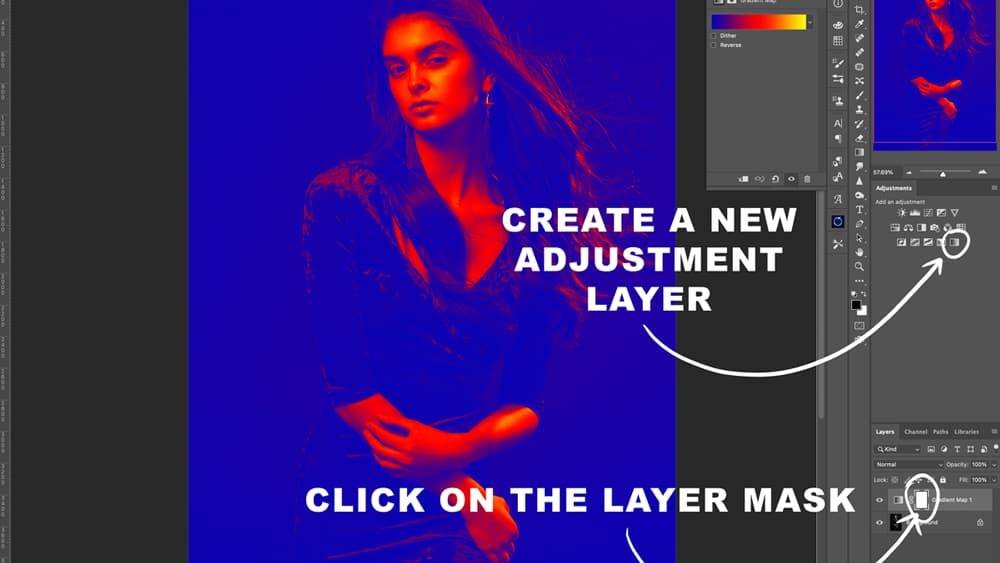
In the layers panel, create a new adjustment layer, and then make sure the layer mask thumbnail is selected. This lets the Apply Image function know where you want the effect applied.

Step 3:
Navigate to the Image menu and choose Apply Image. In the Layer dialog box, choose which layer you want Photoshop to use to draw information. In this case, we’re going to use the background layer, but you can choose any layer as long as it's at the bottom of the layers you're making adjustments to.

Step 4:
Hold Option and select the layer mask to reveal the mask. This should be in greyscale, and remember that the black parts of the mask will be concealed, and the white parts of the mask will be revealed.

Step 5:
This is a quick, handy little command that allows you to manipulate the layer mask using a curves adjustment. You can change the mask to focus on the shadows, mid-tones, or highlights, which makes it a great option for color grading.

Step 6:
Isolate the part of the luminosity range you want to apply the effect to. You can create multiple versions of the layers, and different layer masks to affect different parts of the image. If you add layer masks, make sure to label what you're using them for.

Step 7:
Once you’ve got a layer mask you like, you can make any additional adjustments you need. You can use the brush tool, or any other method you prefer to fine-tune the mask.

Step 8:
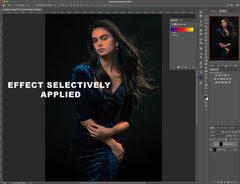
Result

CONCLUSION
Once you’ve got a layer mask you like, you can make any additional adjustments you need. You can use the brush tool, or any other method you prefer to fine-tune the mask.


