What Are Curves in Photoshop: A Concise Overview for Users
Adobe Photoshop offers a wide range of image manipulation tools, and among them, the Curves feature provides exceptional control over the tones and colors of an image. Curves allow users to manipulate the histograms of their images directly, providing fine-tuned adjustments to brightness, contrast, tonality, and color. This tool, while a bit more complex than some others in Photoshop, is worth mastering for its unparalleled control over image editing.
As you begin working with Curves in Photoshop, it's essential to understand its fundamental concepts. Curves represents an image's tonal range by plotting shadows, mid-tones, and highlights along a line, allowing users to modify specific ranges of tones independently. With practice and experience, you can harness the power of Curves to create dynamic, striking images that stand out from the rest.
Key Takeaways
- Curves offers precise control over brightness, contrast, tonality, and color in Photoshop.
- Users can manipulate the histogram directly, adjusting specific tonal ranges of an image.
- Mastering Curves can lead to the creation of dynamic and visually striking photographs.
Understanding the Basics
Curves Tool Overview
The Curves tool in Photoshop is an essential feature for photographers and designers to understand and effectively use. It allows us to directly manipulate the histogram, providing more control over adjustments to an image's tonal range, contrast, and color corrections1. The tool's powerful capabilities can significantly enhance the quality of our creations.
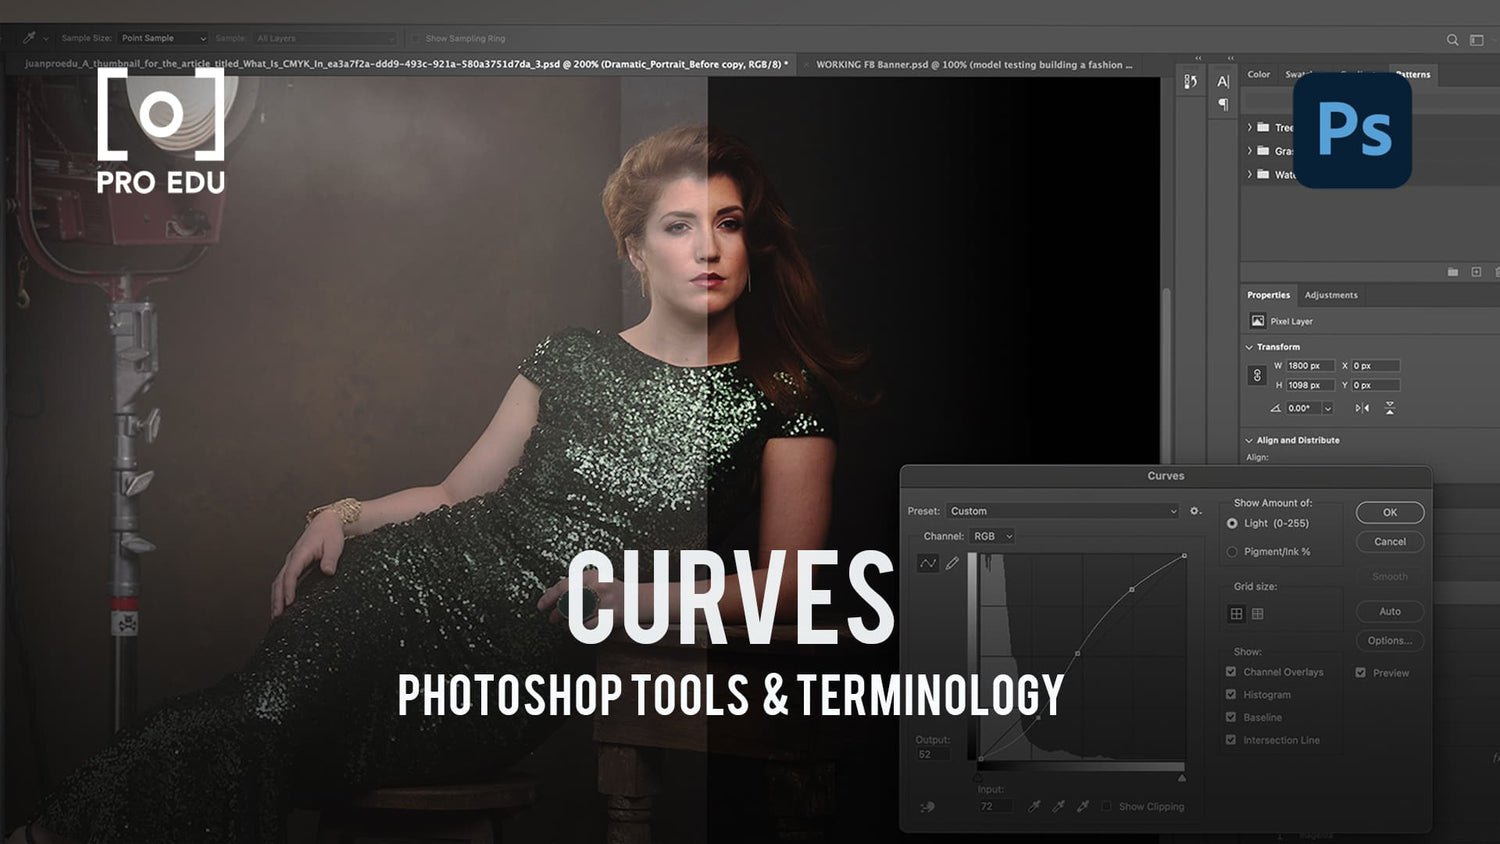
In the Curves dialog, we can see a graph representing the image's tonality. The lower-left portion of the graph corresponds to the shadows, while the upper-right area represents the highlights2. The horizontal axis of the curves graph maps the input levels, and the vertical axis represents the output levels3.
To adjust the image, we can click and add control points on the curve to modify various tonal values. For instance, dragging a control point upward brightens the corresponding tones, while pulling it downward darkens them4. It's essential to remember that these adjustments are not isolated, as altering one point on the curve will affect other tonal values as well.
In addition to basic tonal adjustments, we can use the Curves tool for color correction by modifying individual color channels, such as red, green, or blue2. This advanced control helps us achieve desired results by targeting specific hues and correcting color imbalances.
As we practice and master the Curves tool, we'll find it a valuable resource in our Photoshop workflow, enabling us to unlock the full potential of our images and enhance our digital projects.
Working with Curves
Using the Curves Adjustment Layer
In Photoshop, we can utilize the Curves adjustment layer to effectively manage the brightness and contrast of our images. This powerful tool allows us to have granular control over the tones in our images and make precise adjustments. There are a few ways to apply a Curves adjustment layer. One option is to click on the Adjustment Layer icon at the bottom of the Layers Panel, and from the options that appear, select Curves (source).
Alternatively, we can access the Curves adjustment by choosing Layer > New Adjustment Layer > Curves. This method is useful because it applies the adjustment non-destructively, preserving our original image information (source).
Introduction to Histograms and Color Correcting
When working with Curves, it's essential to understand histograms. A histogram displays the distribution of colors and tones present in an image, giving us valuable insight into the required adjustments for color correcting.
To visually understand histograms better, we can look at the Curves interface that displays the histogram of our image overlaid with a grid and a diagonal line (source). By observing the distribution of tones in the histogram, we can identify areas within our image that need adjustments in brightness and contrast.
The Curves adjustment layer also allows us to selectively adjust individual color channels. By doing so, we can target specific color casts and correct the colors of our image efficiently. For example, we can increase the warmth of an image by adjusting the red channel or balance the blues and yellows using the blue channel.
In summary, mastering the Curves adjustment is crucial when working with images in Photoshop, as it provides us with unmatched control over brightness, contrast, and color correction. By understanding histograms and effectively using the Curves adjustment layer, we can significantly enhance the quality of our images.
Advanced Curve Techniques
Mastering Shadows and Highlights
Curves in Photoshop allow us to manipulate shadows and highlights for a more refined image. By adjusting the left side of the curve, we can modify the shadows, while handling the right side helps us with enhancing the highlights. This technique offers fine control over the tonal range, producing a perfectly balanced photograph.
To start, create an S-curve by raising the line on the right side and lowering it on the left. This enhances contrast and creates a more striking image. Experiment with different S-curves for various shadow and highlight adjustments.
Using Colors in Curves
Curves aren't limited to luminosity; they can be used to correct colors as well. By choosing the Red, Green, and Blue channels in the Curves panel, we can adjust individual color levels for color correction.
For instance, to add warmth to an image, increase the red curve and decrease the blue one. Conversely, create a cooler mood by enhancing blues and reducing reds. Always remember to make minimal adjustments, as extreme changes may result in unnatural-looking images.
Additionally, Curves can be used for selective edits by applying layer masks. This gives us the ability to fine-tune specific areas of an image without affecting the overall color balance.
Tips and Tricks for Efficient Curve Use
Understanding Mid-tones and Grayscale
In our workflow, understanding the balance between mid-tones and grayscale aspects of an image is essential. Mid-tones represent the middle luminosity in grayscale images, with black and white on opposite ends. By mastering mid-tones manipulation, we can achieve better contrast and exposure for our photography. Grayscale representation, on the other hand, allows us to focus solely on the luminance levels and value, making it easier to control the balance in our images.
Maximizing the Curves Panel
The Curves panel in Photoshop is a powerful tool that provides total control over the adjustment of an image's luminosity levels. It enables us to make precise tonal value adjustments to specific regions of an image without affecting the entire image. We recommend using the following techniques to maximize the efficiency of the Curves panel:
-
Create Adjustment Layers: Instead of applying Curves adjustments directly to the image, use adjustment layers. This non-destructive workflow allows us to edit and fine-tune the changes later.
-
Use Eyedroppers: We can set white and black points by selecting the eyedroppers in the Curves panel. This helps to maintain a proper balance of contrast and ensures that our image retains accurate tonal values.
-
Familiarize with S-Curve: The S-Curve technique is a go-to method to enhance the contrast and tonal range of an image. By adjusting the curve points to form an "S" shape, we can lighten the highlights and darken the shadows, creating a balanced and visually appealing image.
By incorporating these tips and tricks into our workflow, we can efficiently utilize Curves in Photoshop to improve the overall quality of our images.
Conclusion and Final Thoughts
In this article, we discussed the importance and functionality of Curves in Photoshop. Curves are an essential tool for adjusting the brightness and contrast in your images, allowing you to create stunning and professional results. By mastering the use of curves, we can effortlessly manipulate tonal values and bring new life to our digital creations.
There are two primary ways to utilize curves within Photoshop, one being through the menu (Image->Adjustments->Curves), and the other using Curves as an adjustment layer. The latter is a non-destructive form of editing and is highly recommended for those who want the flexibility to modify their adjustments later.
Moreover, we learned about the versatility of the Curves tool, as it provides options for fine-tuning color grading techniques and crafting high-impact contrasts. Below is a brief summary to help solidify our understanding of curves in Photoshop:
- Curves provide precise control over brightness and contrast.
- Curves are a powerful and effective tool for color grading.
- Using curves as an adjustment layer is recommended.
- With practice, mastering curves leads to professional results.
We hope that this article has provided you with valuable insights into Curves in Photoshop and a solid foundation for implementing this essential tool in your future projects.
Frequently Asked Questions
How do I use the Curves tool for color correction?
To use the Curves tool for color correction in Photoshop, first, add a Curves adjustment layer by clicking on the adjustment layer icon at the bottom of the Layers panel. Next, click on the dropdown menu in the Properties panel to select the color channel you wish to adjust (red, green, or blue). By clicking and dragging points on the curve, you can adjust the color balance in your image. See this tutorial for more details.
What is the difference between Curves and Levels adjustments?
Both Curves and Levels adjustments in Photoshop are used to adjust the tonal range of an image. However, Curves provides more control and flexibility, as it allows you to adjust any point along the tonal range without affecting other areas. Levels adjustments, on the other hand, only allow you to adjust highlights, shadows, and midtones. Learn more about the differences between Curves and Levels.
How can I create a custom curve in Photoshop?
To create a custom curve in Photoshop, first add a Curves adjustment layer. Then, click and drag points on the curve to create a custom tonal adjustment. You can add multiple points to create complex curves, adjusting different tonal ranges. Once you have created your desired curve, remember to save your changes. Here is a tutorial on mastering the art of smooth curves.
What are some tips for effectively reading the Curve in Photoshop?
To effectively read the Curve in Photoshop, remember that the horizontal axis represents input values and the vertical axis represents output values. The lower left corner represents shadows, the upper right corner represents highlights, and the line in between represents midtones. A steeper curve signifies higher contrast, while a flatter curve signifies lower contrast. Understanding the Curves tool can further help you read and manipulate the Curve effectively.
Can I save and load my custom Curves presets?
Yes, you can save and load custom Curves presets in Photoshop. To save your custom curve, click on the menu icon in the top-right corner of the Properties panel, and choose 'Save Curves Preset'. This allows you to name and save your custom curve for future use. To load a custom curve, click on 'Load Curves Preset' in the same menu, and then select your saved curve. Here's a guide on using the Curves adjustment that covers saving and loading presets.
Why are my Curves adjustments not working as expected?
There are several reasons why your Curves adjustments might not be working as expected. Ensure that you selected the correct layer and didn't accidentally target a mask. Check that the layer's blending mode is set to normal and its opacity is at 100%. Additionally, other adjustments or filters applied to the layer might be affecting the outcome of your Curves adjustments. For more troubleshooting tips, refer to this guide on Curves in Photoshop.


