Understanding Tonal Range in Photography: Mastering Contrast and Lighting Techniques
Understanding tonal range in photography is crucial for capturing high-quality images that effectively convey the intended message or emotion. Tonal range refers to the spectrum of light values in an image, extending from the darkest shadows to the brightest highlights. It includes various shades of gray, pure black, and pure white, as well as the tones that lie in between.
A solid grasp of tonal range allows photographers to adjust the contrast of their pictures, bring out the details in shadows and highlights, and enhance the overall impact of their work. It is an essential aspect of photography that can be refined through proper in-camera techniques and post-processing skills.
Key Takeaways
- Tonal range is crucial for creating compelling images with a good balance of shadows, highlights, and contrast.
- Mastering tonal range involves learning in-camera techniques and post-processing adjustments to optimize the range of light values in an image.
- Understanding advanced tonal range concepts can help photographers make more informed decisions on exposure and editing to produce visually appealing photographs.
The Essence of Tonal Range
What is Tonal Range
Tonal Range refers to the range of shades captured in a photograph, from the darkest blacks to the lightest whites and every gray in between1. In both color and black and white photography, tonal range plays a vital role in capturing the fine details in images through the various gradations of light. When we capture images, our goal is to include a broad spectrum of tones to accurately represent the scene in front of us.
Importance of Tonal Range
A well-balanced tonal range allows photographers to convey the details and mood of a scene effectively. The better the tonal range, the richer, and more accurate the photograph becomes in terms of reflecting the atmosphere and emotions of the captured subject.
Understanding and mastering tonal range helps us to reflect the intricate textures and varying shades present in reality. A photograph with good tonal range often appears more aesthetically pleasing and captivating to viewers, drawing them into the visual narrative.
By emphasizing the significance of tonal range, we can better refine our photographic skills and create images that resonate with the viewer. Enhancing the tonal range not only improves the overall quality of our photographs but also broadens our artistic expression and creative potential.
Analyzing and Using Tonal Range
Understanding Histograms
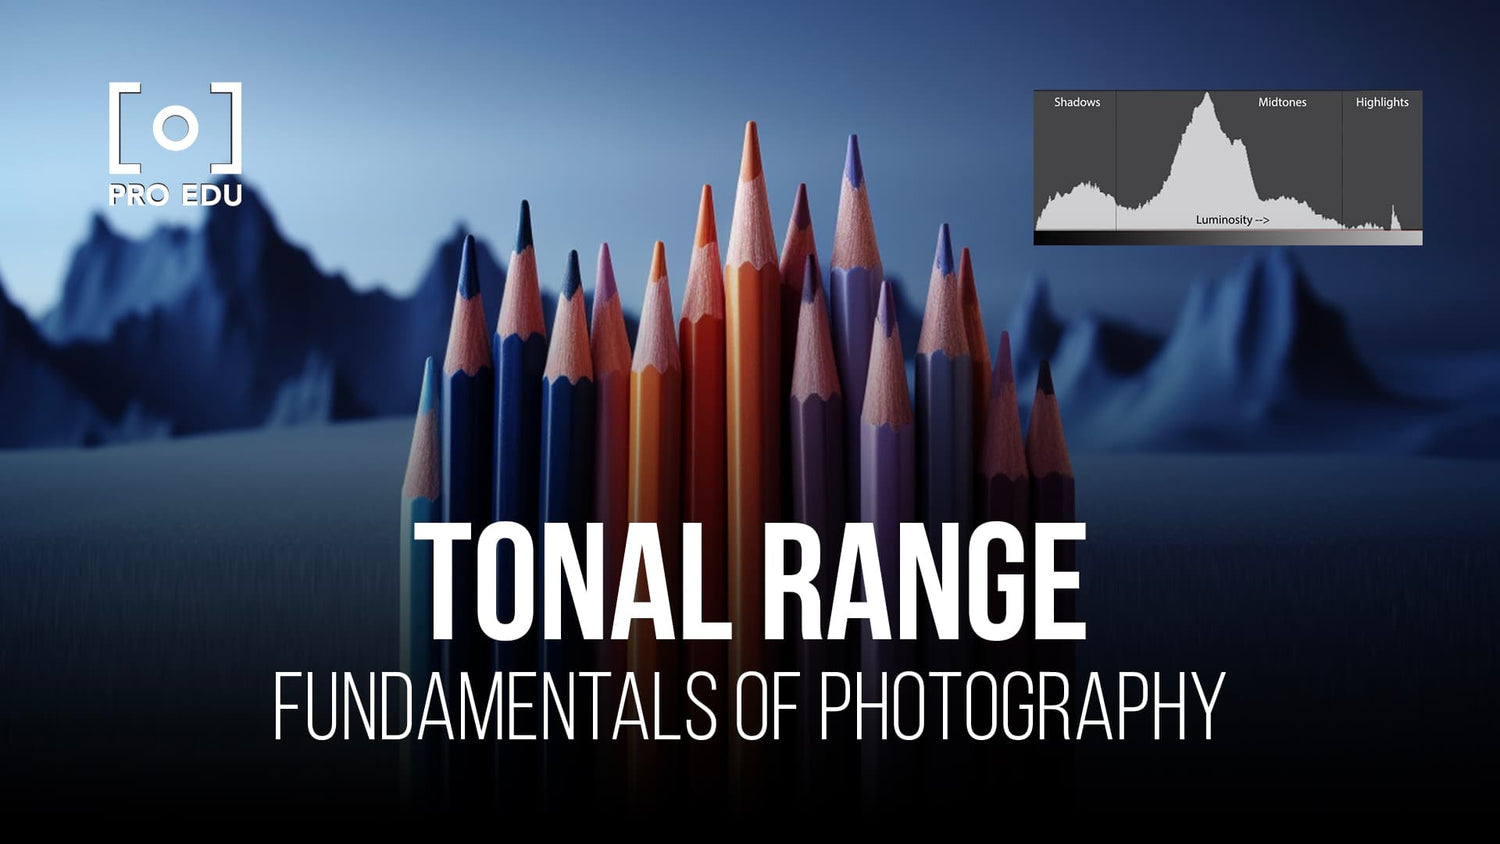
A histogram is a graphical representation of the tonal values in a photograph, displaying the distribution of brightness levels from dark to light. Analyzing a histogram can help us identify any issues with exposure and make informed adjustments. In the histogram, the left side represents the shadows (pure black), the right side represents the highlights (pure white), and the middle represents the midtones (grays).
A well-exposed photograph generally has a balanced distribution of tones. However, depending on the subject and artistic intent, the desired tonal range may vary. It is essential to consider the lighting and texture of the scene when interpreting the histogram.
Mastering Dynamic Range
Dynamic range refers to the difference in brightness between the darkest and lightest parts of an image. A photograph with a wide dynamic range (HDR) captures a broader range of tones, allowing for more detail in shadows and highlights. On the other hand, a photograph with a narrow dynamic range (LDR) has a limited range of tones, which can result in underexposed shadows or overexposed highlights. To manage dynamic range, we need to control the lighting and exposure settings in our camera.
One way to effectively capture a wide dynamic range is by using exposure bracketing, taking multiple images with varying exposure settings and combining them during post-processing. Another technique is to control the lighting by using artificial light sources, reflectors, or filters, which can help balance the overall exposure and reduce contrast.
Ultimately, understanding and using tonal range in photography involves careful analysis of histograms and mastering dynamic range to achieve balanced exposures. This, in turn, can help us to create visually striking images with rich textures and impressive depth.
Techniques for Optimal Tonal Range
Improving Camera Settings
One essential aspect to consider when trying to capture a wide tonal range in photography is adjusting your camera settings. A good starting point is using a low ISO value, as this helps to capture a clean and noise-free image, preserving tonal range, especially in the blacks and mid-tones.
Another technique to improve the tonal range in your photographs is to shoot in RAW format. This will allow your camera to record more data and provide a higher bit depth, resulting in better tonal range preservation. It is also possible to use exposure bracketing or graduated neutral density filters to balance the exposure and adapt to challenging lighting conditions.
Effective Use of Lighting
Manipulating the available light is crucial for obtaining optimal tonal range. You can control the mood and feel of a photograph by being mindful of brightness and contrast. By experimenting with different lighting sources and their intensity, you'll be able to achieve the desired balance between the whites, blacks, and mid-tones.
When dealing with natural light, we can wait for the golden hour, when the sun is low on the horizon, casting a warm light and producing long shadows. This type of light enhances textures and depth, providing a pleasing tonal range. Additionally, using a reflector or diffuser can help manipulate and soften the natural light to create a more even exposure, especially when handling shadow areas or tricky subjects.
In conclusion, understanding and managing the tonal range in your photographs can significantly impact the final image's quality and overall appearance. Combine these techniques and continuously practice to refine your skills and improve your photography.
Post-Processing for Tonal Range
Processes for High Contrast
In the world of photography, post-processing plays a crucial role in enhancing tonal range. We can achieve high contrast by manipulating brightness and shadows, creating a striking visual impact. Our primary focus should be on shadow and highlight adjustment, allowing us to find the perfect balance between them.
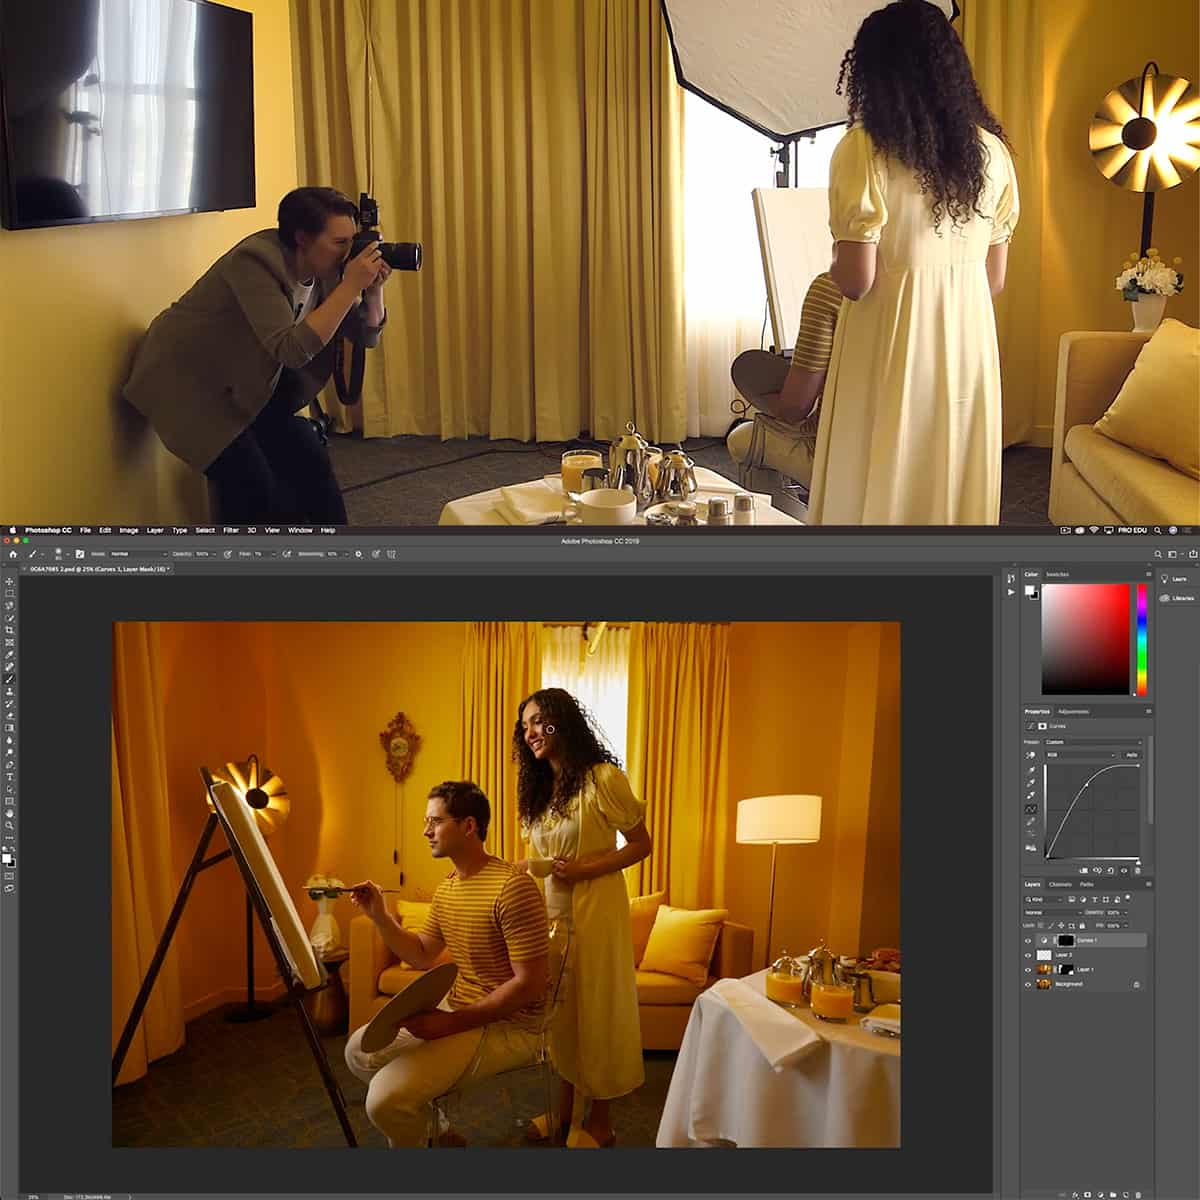
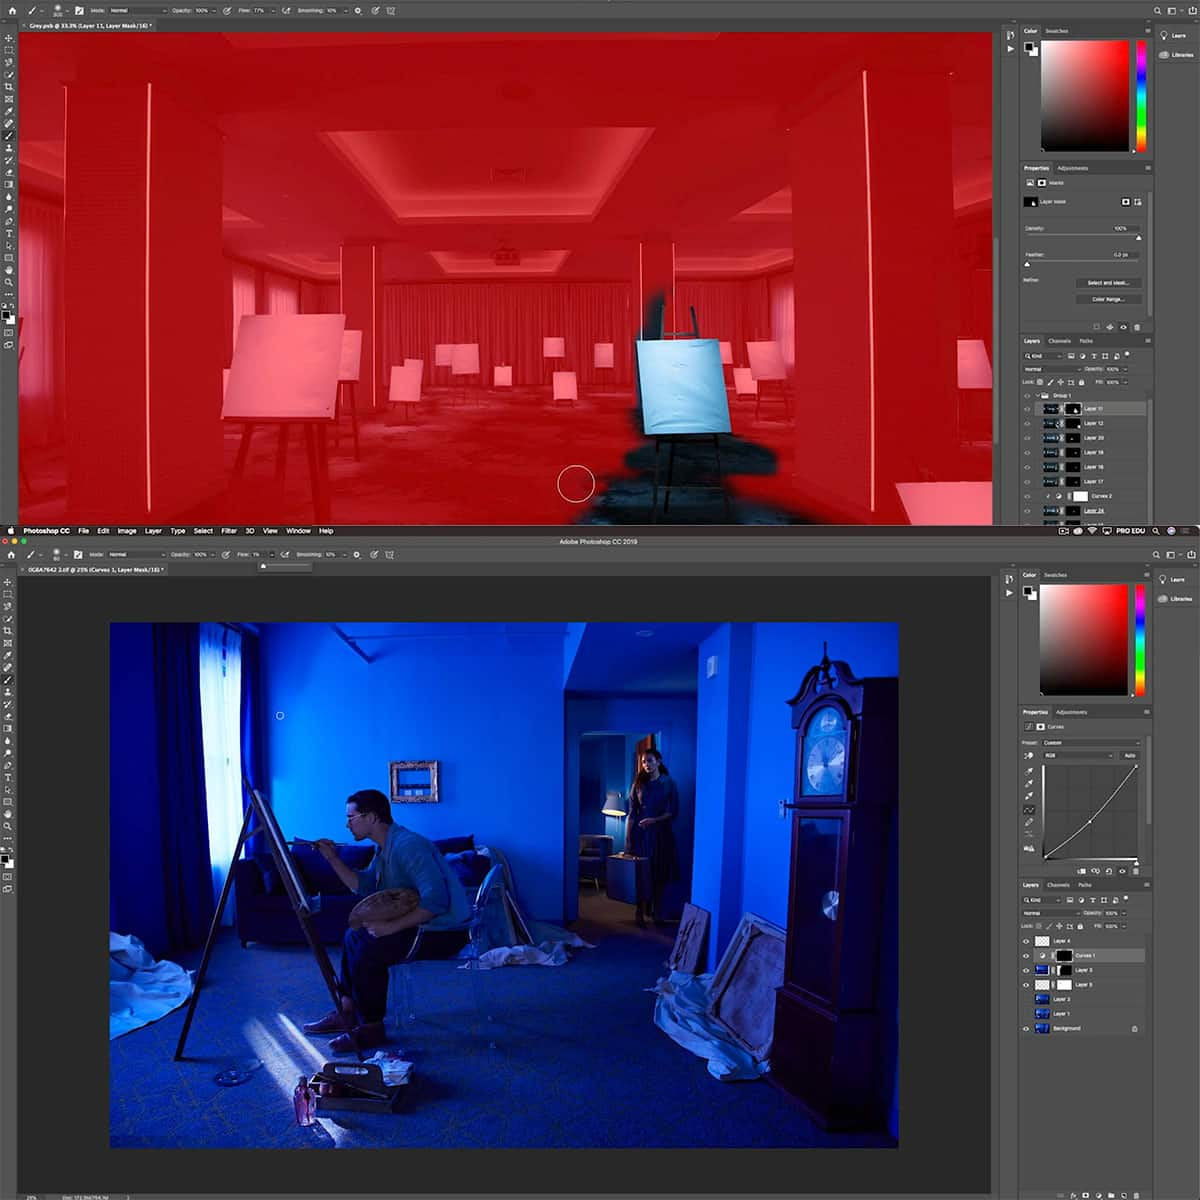
One of the techniques we often employ is to use curves or levels adjustments in our editing software. By manipulating these settings, we can fine-tune the contrast and bring out the depth in our images.
Achieving Pure Blacks and Whites
Pure black and pure white are essential elements in achieving a full tonal range. When we aim for pure blacks and whites, we create the foundation for a balanced and visually striking photograph. To accomplish this, we can focus on adjusting luminance values in the post-processing stage.
In our editing software, we often work with black, shadows, mid-tones, highlights, and whites to control the tonal range effectively 5 luminance values. By pushing the darker areas towards pure black and the brighter regions towards pure white, we create images with strong contrast and tonal balance. This sets the stage for a compelling final result that captures the essence of our subject matter and conveys a powerful visual narrative.
Advanced Tonal Range Concepts
The Human Eye vs The Camera Sensor
Our human eyes have an exceptional ability to adapt to various light situations. However, the camera sensor's response to light is somewhat different. The camera can capture a limited tonal range compared to the eye, and it is essential to understand this limitation in digital photography.
Camera Sensors
| Type | Description |
|---|---|
| Dynamic Range | The range of light (from darkest to lightest) a sensor can capture |
| Bit Depth | The number of distinct gray levels the sensor can reproduce |
One critical factor in a camera sensor's performance is its dynamic range. A camera with a high dynamic range can capture more tonal values, resulting in images with better details in both shadows and highlights. Another factor is bit depth, which determines the number of gray levels the sensor can reproduce. Higher bit depth, such as 16-bit, delivers smoother tonal transitions and richer color details.
Understanding Midtones
Midtones play a vital role in digital photography, as they represent the middle range of tones between the darkest shadows and the brightest highlights. In tonal range, midtones have a value around 128 (Middle Grey) and help to establish the overall balance and contrast of an image.
Advantages of using midtones:
- Achieving a balanced exposure with natural results
- Enhancing the perceived contrast in an image
- Revealing subtle details and textures in the subject
By strategically capturing and adjusting midtones, we can create well-balanced images with a pleasing aesthetic and accurate representation. It's essential to master the manipulation of midtones to achieve the desired results in our digital photography.
Frequently Asked Questions
What affects the tonal range in a photograph?
The tonal range in a photograph is influenced by factors such as lighting conditions, camera settings, and the subject's reflectivity. Additionally, the time and place of the photograph, as well as any post-processing adjustments made, can affect the tonal range in an image.
How can you improve tonal range in an image?
Improving tonal range begins with capturing the best possible exposure in-camera by properly adjusting aperture, shutter speed, and ISO settings. Further enhancements can be carried out through post-processing techniques, such as adjusting contrast, brightness, and color temperature. Advanced Photography, Photoshop, AI, CGI Courses for Artists can also be beneficial for learning ways to optimize tonal range in your images.
What is the relationship between tonal range and dynamic range?
Tonal range refers to the difference between the lightest and darkest parts of a photograph, while dynamic range is the camera sensor's ability to capture that range of tones. Essentially, the dynamic range defines the maximum possible tonal range that a camera can produce in a single exposure.
How do different file formats impact tonal range?
File formats such as RAW and JPEG can impact the tonal range of a photograph. RAW files are known to preserve a greater tonal range, as they contain more data from the camera sensor. On the other hand, JPEG files are compressed, which may result in a loss of tonal detail.
What role do histograms play in evaluating tonal range?
Histograms are graphical representations of the tonal distribution in a photograph. They help photographers to visually analyze the image's tonal range, including the presence of shadows, midtones, and highlights. By examining a histogram, we can identify potential issues, such as overexposure or underexposure, and make necessary adjustments.
How can post-processing techniques enhance tonal range?
Post-processing techniques, such as dodging and burning, can help to enhance the tonal range in an image by selectively brightening or darkening specific areas. Other methods, like using curves and levels adjustments, can also bring out more detail and produce a more visually appealing photograph with a balanced tonal range.


