
Understanding Post-Processing in Photography: A Beginner's Guide to Enhancing Images
Post-processing is a crucial aspect of photography that can elevate your images to a whole new level. For beginner photographers, understanding how to utilize post-processing tools effectively can greatly enhance the final result and polish your raw captures. In this beginner's guide, we aim to introduce you to the essentials of post-processing in photography and how it can help your images stand out.
We will explore various tools and software used in post-processing, as well as discuss essential techniques and workflows that you can incorporate into your post-processing routine. From adjusting color and light to implementing advanced techniques, there's a lot to learn but the outcome will be worth the effort you put in.
Key Takeaways
- Develop a solid understanding of post-processing in photography for beginners
- Learn about essential tools, software, and techniques used to enhance your images
- Discover how to create efficient workflows and implement advanced techniques to further refine your photographs
Understanding Post-Processing
When it comes to photography, post-processing is an essential step in achieving the best possible results. By editing and making adjustments to our images, we can enhance colors, improve sharpness, and correct any imperfections. The use of post-processing tools allows us to unleash our creativity and refine our photographs to meet our artistic vision.
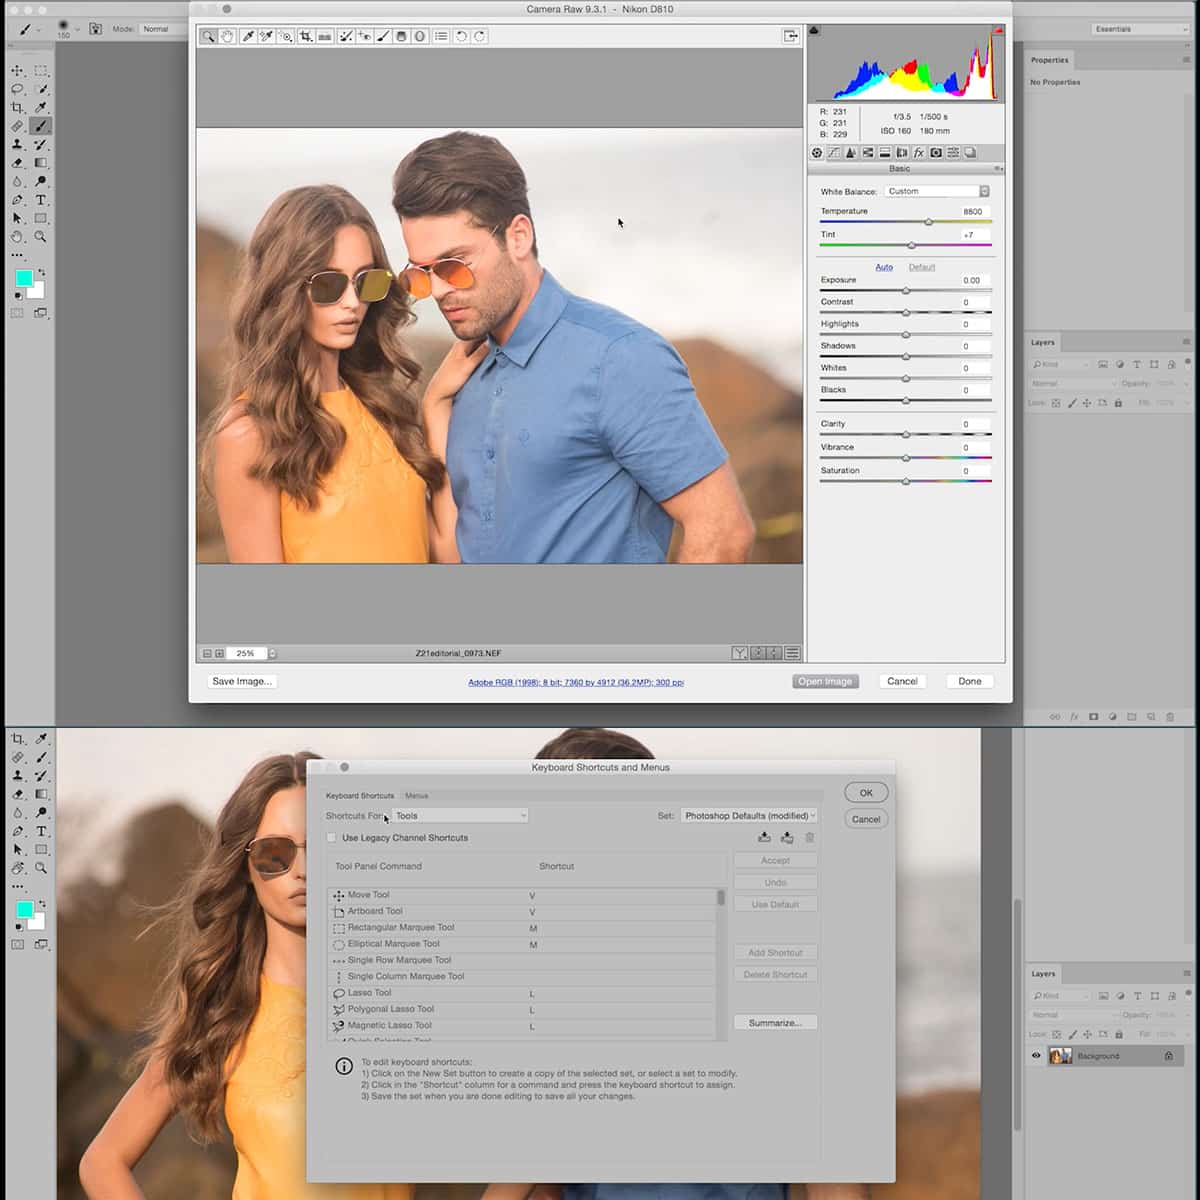
One common aspect of post-processing is working with images in RAW format. This format captures all the data from our camera sensor and provides us with greater flexibility when editing. We can make more significant adjustments to exposure, white balance, and other elements without losing image quality.
There are various post-processing tools available, such as Adobe Lightroom and Photoshop. These tools provide a wide range of adjustments and features, allowing us to fine-tune our images to achieve the desired look. Some essential adjustments include exposure, contrast, highlights, shadows, and saturation.
In conclusion, post-processing is a crucial aspect of photography that allows us to make the necessary adjustments to improve our images' overall quality. Utilizing RAW format and the appropriate post-processing tools, we can transform our photographs to meet our artistic vision and produce professional results.
Key Tools and Software for Post-Processing
Understanding Adobe Photoshop
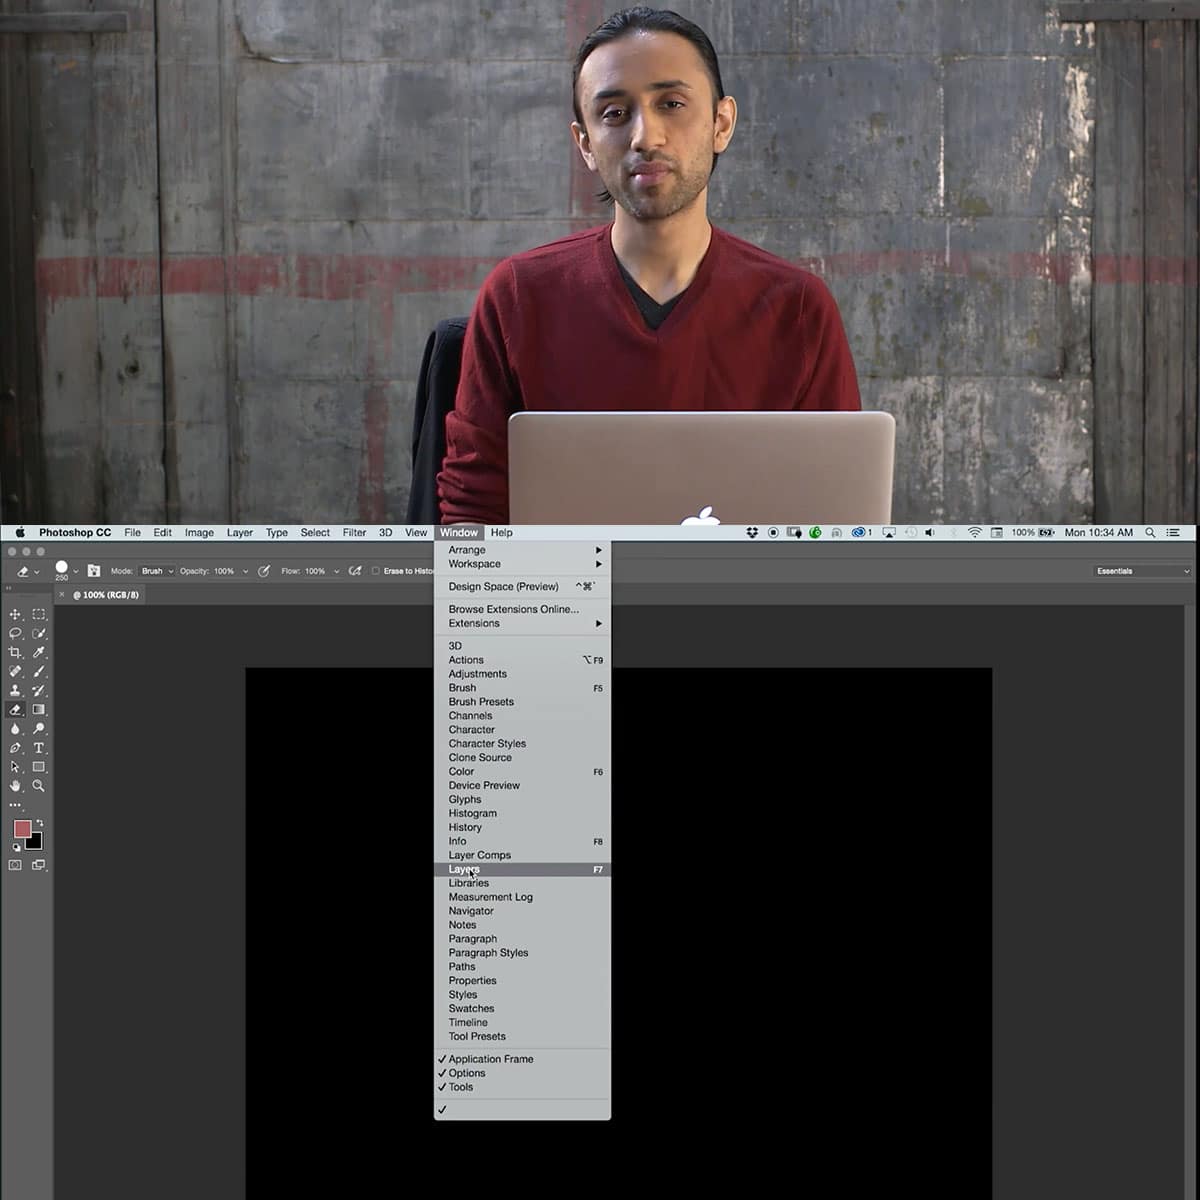
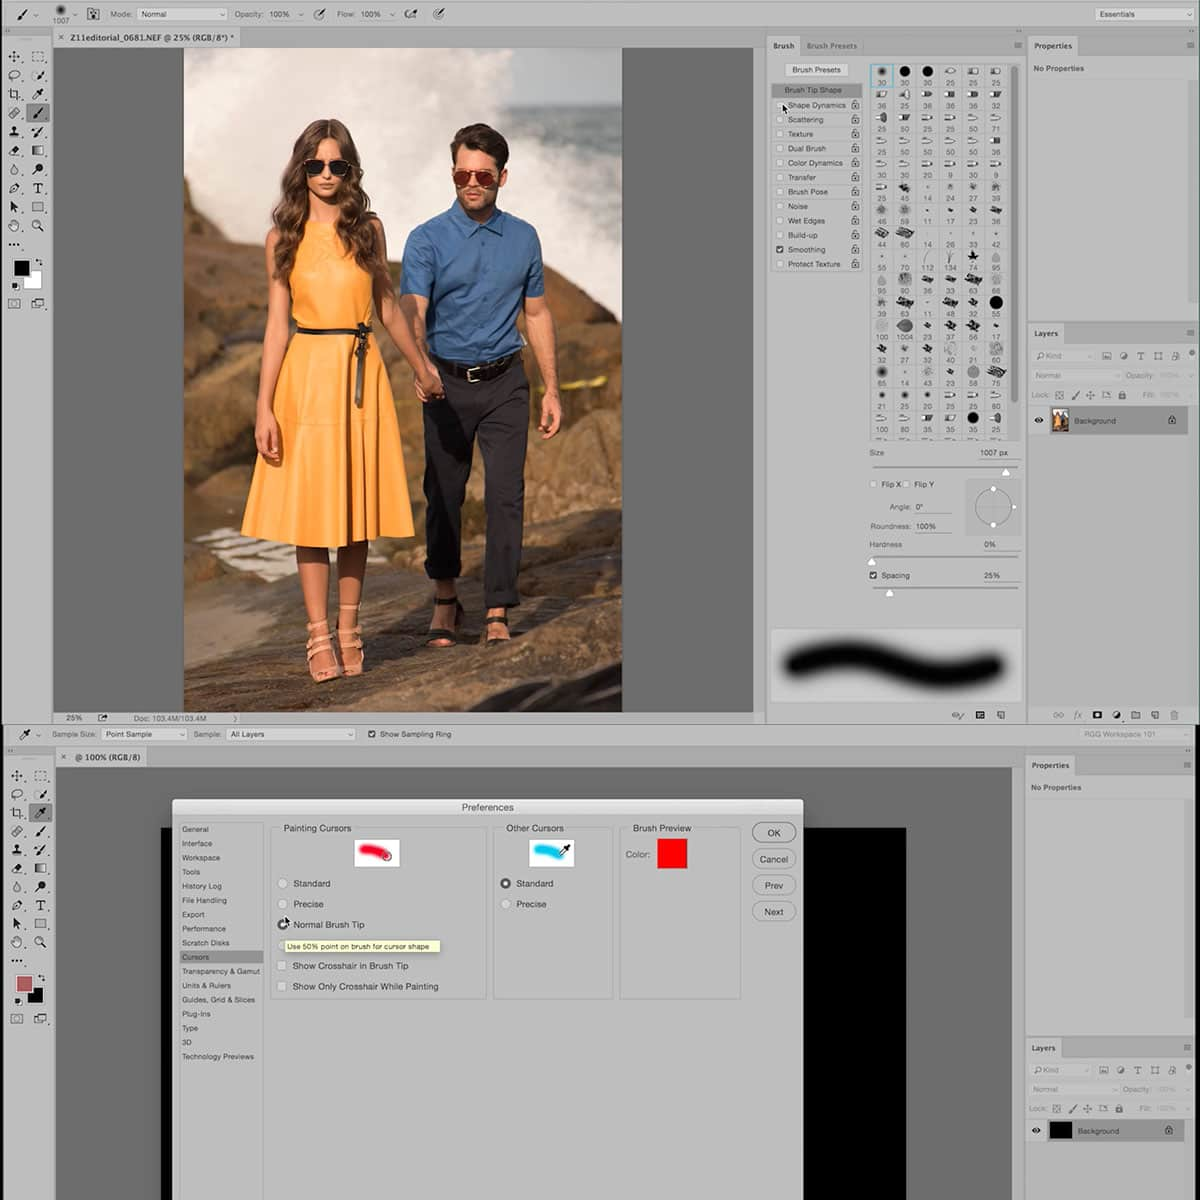
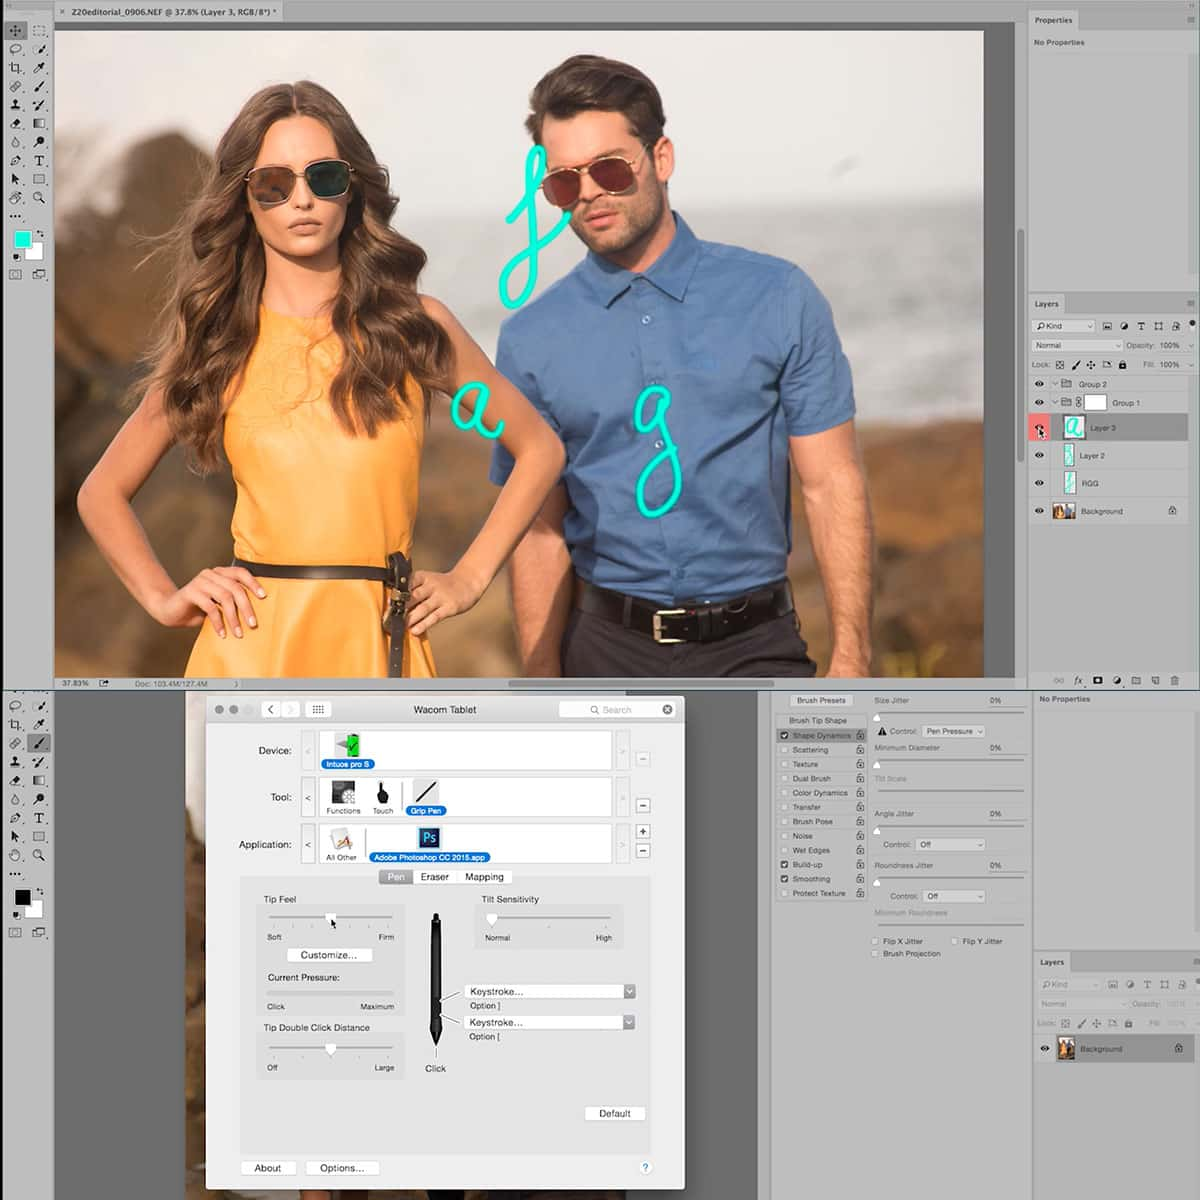
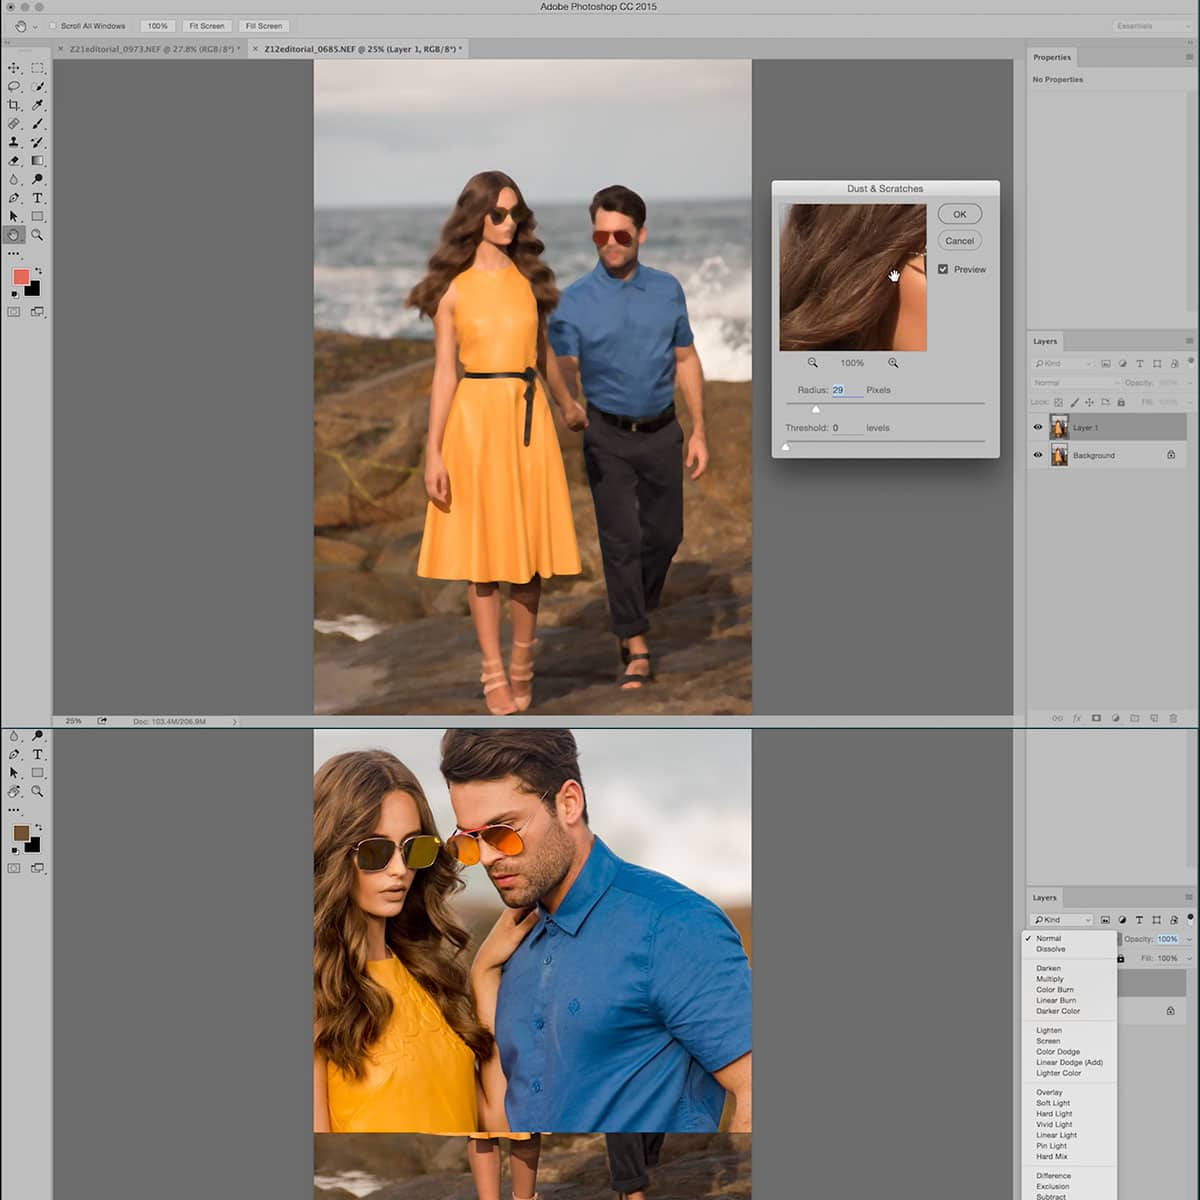
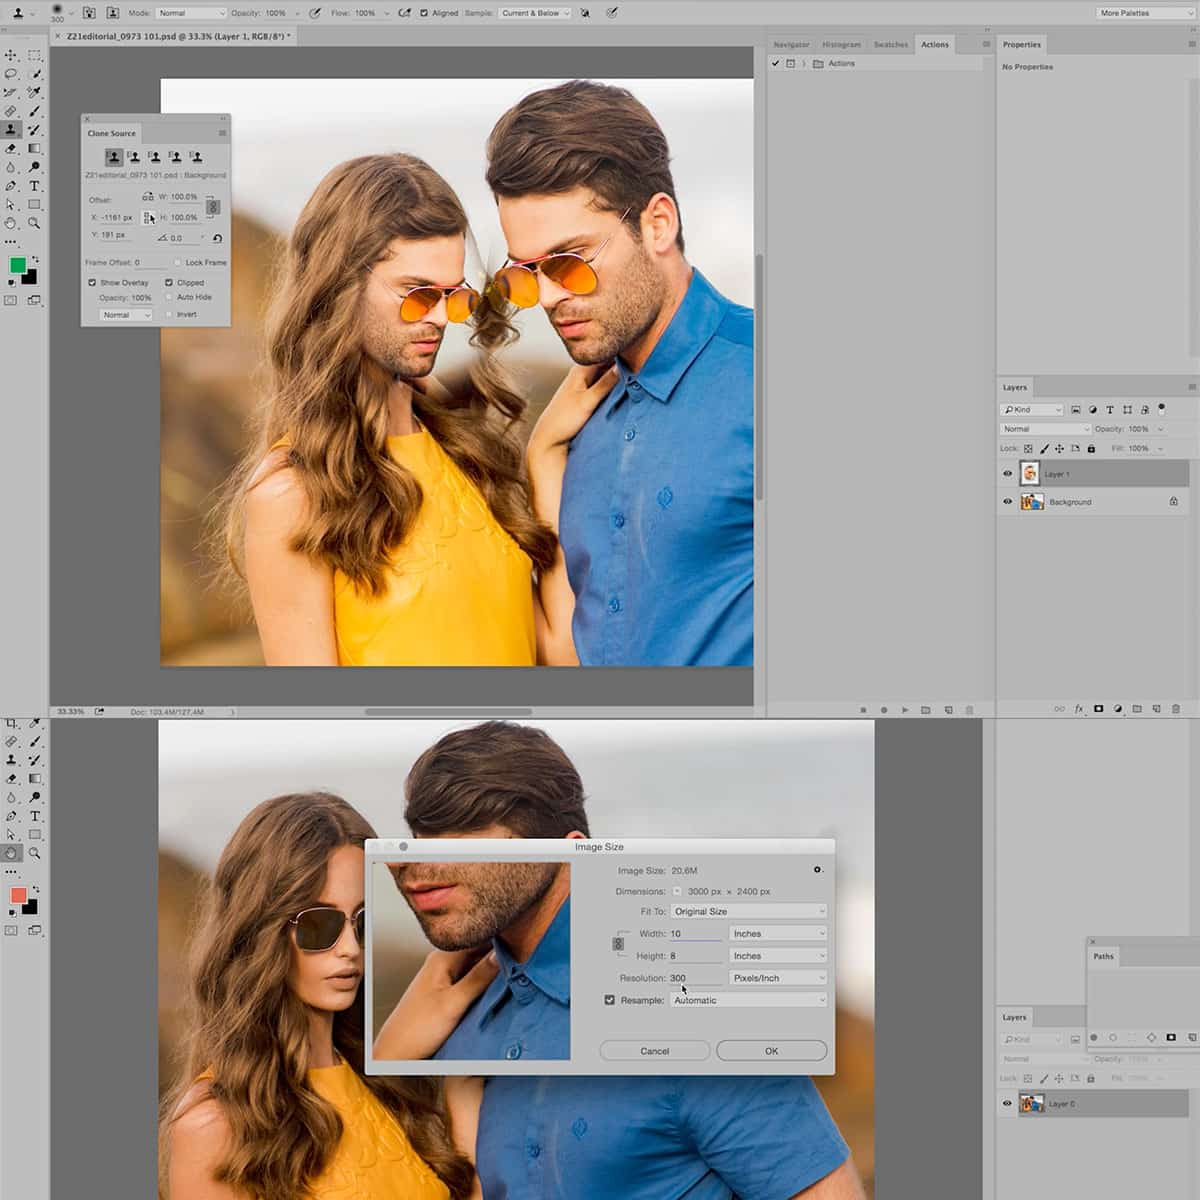
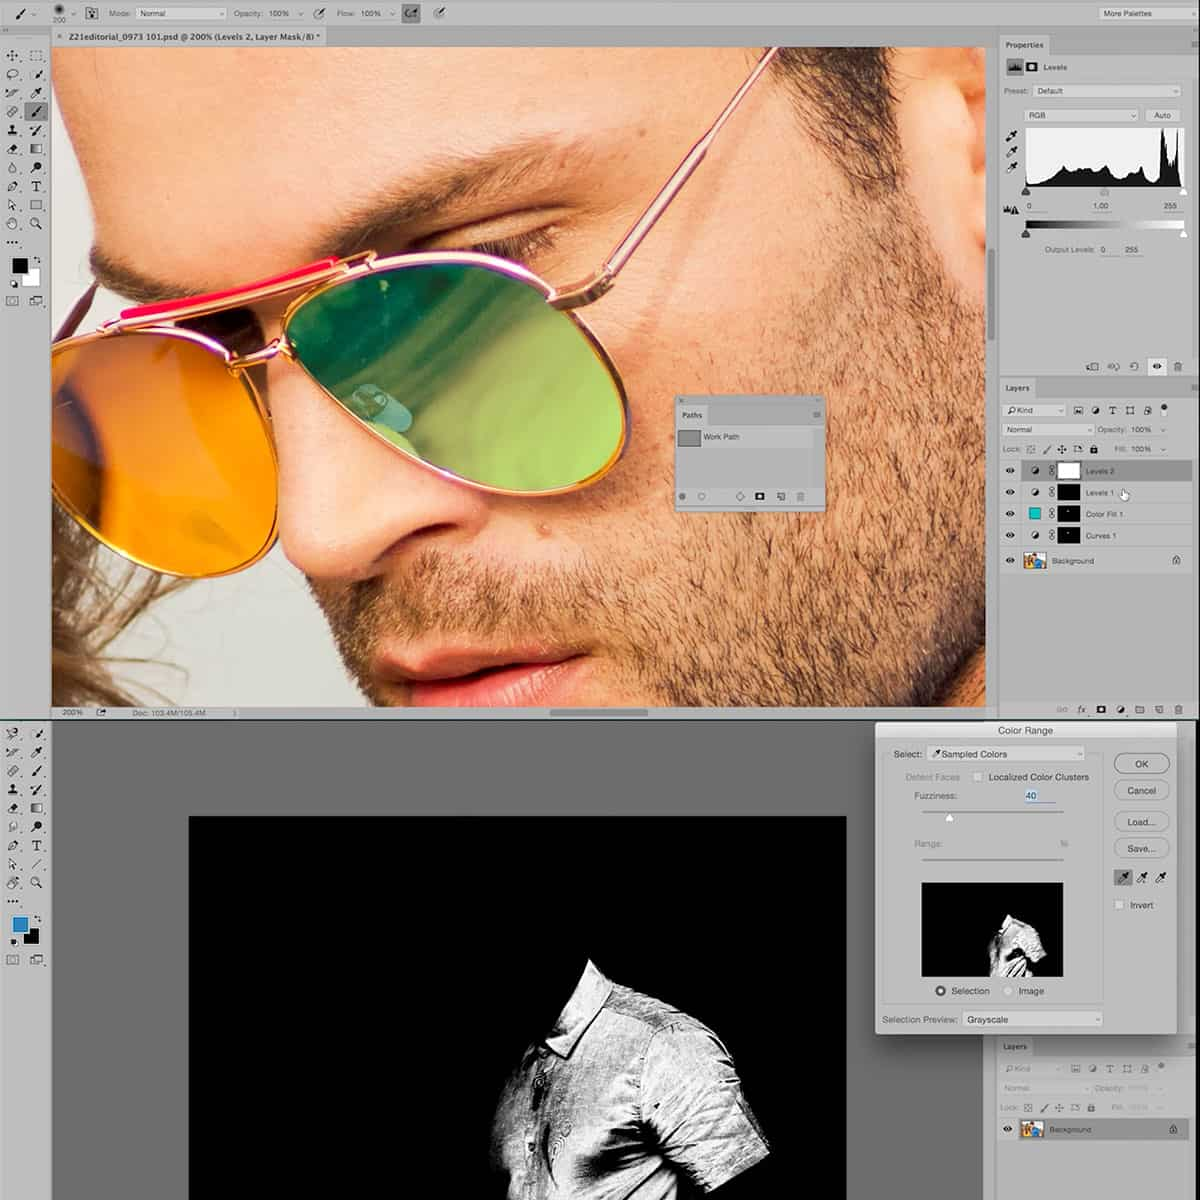
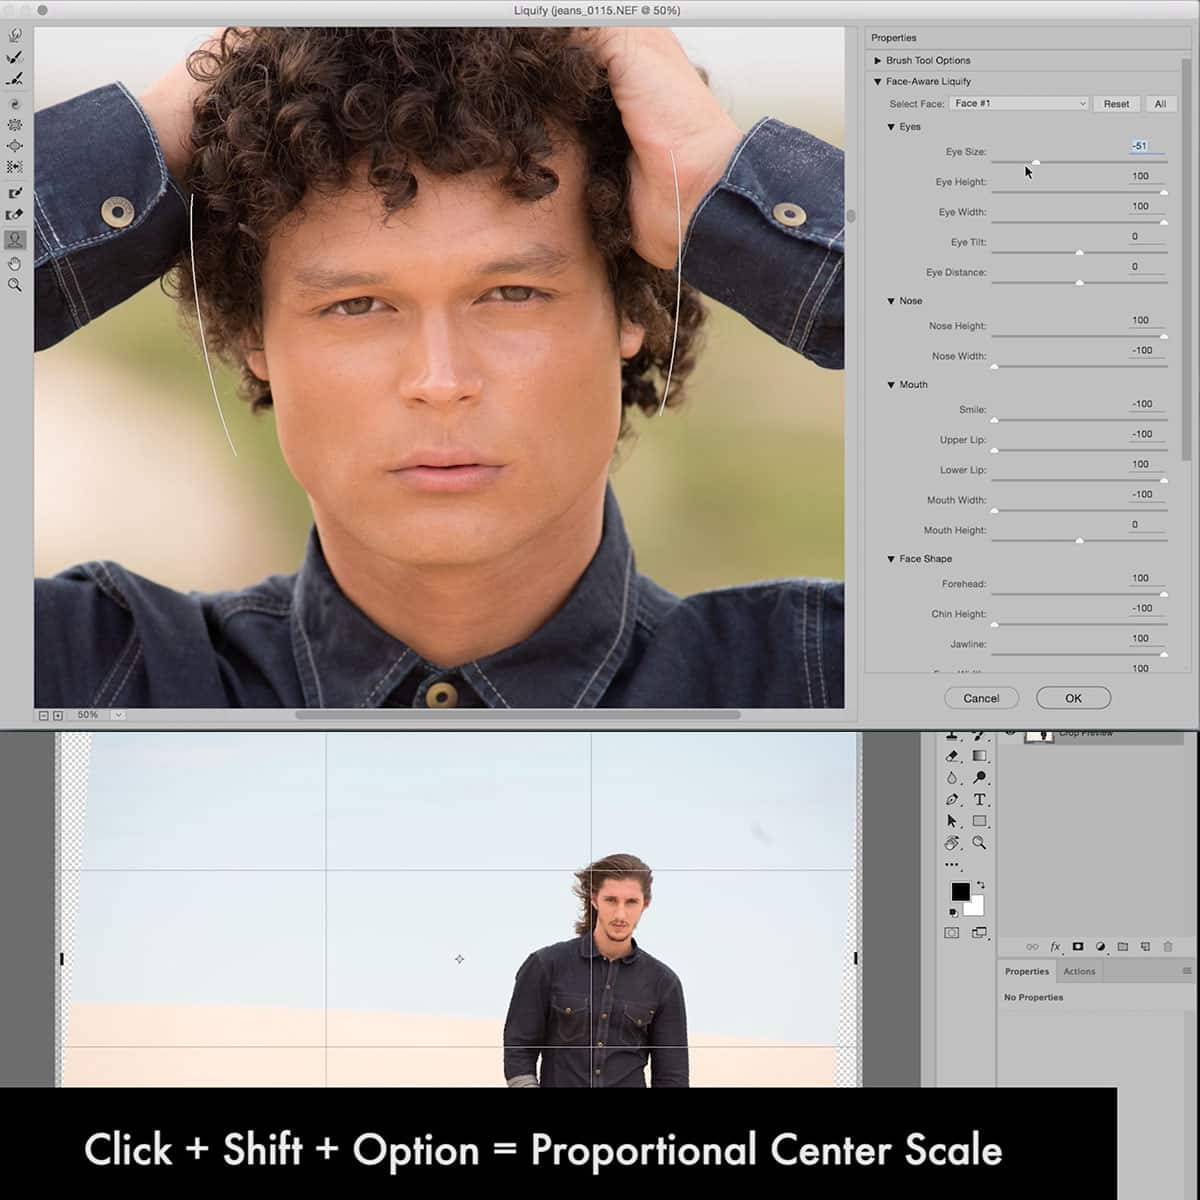
Adobe Photoshop is a powerful post-processing software widely used in the photography industry. In Photoshop, you can work with layers, allowing you to edit and manage elements separately. Layers can be used for various purposes: text, layer masks, adjustment layers, and more. Some essential tools available in Photoshop include the Eraser tool, Brush tool, and Opacity settings. Advanced tools such as the Clone stamp, Healing brush, and Smart objects can be utilized for more complex editing tasks. Moreover, with blend modes, you can apply different effects to your images.
Understanding Adobe Lightroom
On the other hand, Adobe Lightroom is another popular post-processing tool, focused on providing a more streamlined workflow. In Lightroom, you will find sliders that help adjust various parameters like luminance and vibrance. The interface is more straightforward and user-friendly compared to Photoshop. Lightroom also has a built-in library management system, making it easy to organize your photos.
One significant difference between Lightroom and Photoshop is that Lightroom uses non-destructive editing, where adjustments are saved separately from the original image. This feature means you can easily undo any changes made to your image without losing the original file.
To further enhance your post-processing skills, you can explore advanced photography and Photoshop courses online. These tutorials and resources will provide you with in-depth knowledge of the tools and techniques available in post-processing software, helping you achieve professional-quality results.
Workflow in Post-Processing
Working with RAW Files
In photography, working with RAW files provides us with the most flexibility and control in editing our images. We strongly recommend shooting in RAW format, as it captures all the data from the camera sensor, allowing us to make more significant adjustments to exposure, color balance, and other settings without degrading image quality.
RAW files can be opened using specialized programs like Adobe Lightroom or Capture One. These applications offer a non-destructive workflow, meaning any changes we make are saved as metadata, preserving the original image data.
Layer and Mask Basics
We often use layers and layer masks in image editing software such as Adobe Photoshop. Layers enable us to apply edits, adjustments, and effects to specific parts of an image without affecting the entire image. Layer masks help us control the visibility of a layer and make selective changes.
Utilizing layers and masks is essential to maintaining a non-destructive workflow, as they allow us to experiment with different ideas without permanently altering the original image. Layers can be easily adjusted, turned on/off, or deleted without losing any previous work.
Applying Local Adjustments
Local adjustments are specific edits applied to targeted areas of an image. For example, adjusting exposure, contrast, or color saturation on a particular section of the photo without affecting the rest. Tools like brush tool and gradient filters in Adobe Lightroom or Photoshop facilitate these adjustments.
The appropriate use of local adjustments can greatly enhance our images by drawing attention to essential subjects, fixing exposure issues, and emphasizing desired elements. By incorporating our knowledge of RAW files, layers, masks, and local adjustments, we can create a streamlined and efficient workflow in post-processing that will set our photography apart.
Adjusting Color and Light
Manipulating Exposure and Contrast
In the process of editing our photography, adjusting exposure and contrast is crucial. Exposure determines how bright or dark our image is, while contrast affects the difference between light and dark areas. We can use tools, such as exposure sliders and exposure compensation, to manipulate these aspects with precision.
When working with exposure compensation, keep in mind that increasing it will brighten the entire image, while decreasing it will darken it. On the other hand, increasing contrast accentuates differences between light and dark areas, while reducing it smooths out these differences.
Controlling Hue, Saturation, and Luminance
Next, let's focus on the elements of hue, saturation, and luminance. Hue refers to the colors in our image; saturation is the intensity of each color, and luminance represents the brightness of those colors. Different adjustment sliders can be employed to manage these aspects.
For example, if we want to make green colors more vibrant in our picture, we can increase the green saturation slider. Similarly, adjusting the hue and luminance sliders will influence the appearance and brightness of specific colors in the image.
Understanding White Balance
White balance plays a significant role in the overall color temperature of our photographs. By setting the correct white balance, we can eliminate undesirable color casts and ensure that colors are accurately represented. Many editing tools, such as Adobe Lightroom, offer white balance presets or sliders to help us achieve the desired effect.
When adjusting white balance, take note of how the changes impact the entire image. If we find our picture too warm or too cool, adjusting the white balance sliders can help us counterbalance the color temperature, resulting in a more natural-looking photograph.
Advanced Techniques in Post-Processing
The Art of Dodging and Burning
Dodging and burning are advanced techniques used to enhance the exposure and contrast in images. Using a DSLR or mirrorless camera, we can capture raw images that provide flexibility during post-processing. Dodging involves lightening specific areas in your image, while burning is the process of darkening them.
These techniques can be performed in photo editing software like Adobe Lightroom or Photoshop. By controlling the shadows, mid-tones, and highlights, we can create a more dynamic and visually appealing image.
Repairing and Cloning Images
In photography, there will always be instances where we encounter unwanted elements in our images. Tools like the Clone Stamp or the Healing Brush can help us repair and clone areas in the photograph to improve its appearance. The Clone Stamp is generally recommended for duplicating and merging details from one part of the image to another. On the other hand, the Healing Brush is used to remove imperfections while preserving texture and pattern. Both tools can be found in Adobe Photoshop.
Noise Reduction Techniques
Noise in photographs is often the result of low light or high ISO settings on our camera. This can result in grainy images that lack clarity and sharpness. Noise reduction techniques help reduce this digital noise, improving the overall quality of our images.
In Lightroom, we can use the detail panel's noise reduction sliders to correct luminance and color noise. For more advanced control over noise reduction, we can use Photoshop or dedicated noise reduction software like Topaz Denoise AI. By limiting noise while preserving details, we can create cleaner photographs that stand out.
Frequently Asked Questions
What are the key steps involved in post-processing?
Post-processing involves several steps, such as cropping, adjusting exposure, color-correcting, and sharpening. These steps help transform a good picture into a great one. Proper editing is essential for enhancing your images source.
How essential is post-processing for photographers?
Post-processing is vital for photographers, as it has been an essential step in photography ever since the first darkroom. Editing a photo allows photographers to refine their images and add their unique artistic touch source.
Which software is recommended for post-processing?
Adobe Lightroom and Photoshop are two popular and powerful softwares for post-processing. Both applications offer a wide range of functions and tools to enhance your photos and streamline your workflow source.
What are some popular post-processing techniques?
Popular post-processing techniques include adjusting exposure, color correction, contrast enhancement, noise reduction, and sharpening. These methods can be learned through tutorials and guides, helping you achieve the desired effects in your images source.
How can you improve photos using post-processing?
You can improve photos through post-processing by correcting exposure errors, enhancing colors, reducing noise, and sharpening image details. However, it is important to start with a solid image; fixing a poorly executed photograph is difficult, even with post-processing source.
How can one get started with Lightroom for post-processing?
To get started with Lightroom, we recommend taking an online course or reading some tutorials. Familiarize yourself with the software's interface and tools, and practice using adjustment sliders for exposure, contrast, and colors. With time and patience, you'll feel confident editing your photos in Lightroom source.


