Understanding Clipping in Photography: Tips for Prevention and Better Images
Clipping in photography refers to areas within an image that have lost all detail due to extreme overexposure or underexposure. This phenomenon can occur in both highlights and shadows, depending on the lighting and scene being captured. Understanding how it occurs and how to avoid it can significantly improve the overall quality of the images produced in various lighting conditions.
The process of identifying and minimizing clipping in the final image requires photographers to pay close attention to their camera settings, image formats, and the overall lighting conditions. Certain post-processing techniques and practical tips can be effectively employed to further mitigate the risk of clipping in images.
Key Takeaways
- Clipping in photography results from extreme overexposure or underexposure, causing loss of detail in highlights or shadows.
- Being mindful of camera settings, image formats, and lighting conditions can help prevent clipping.
- Post-processing techniques and practical tips can further minimize the risk of clipping in photos.
Understanding Clipping in Photography
In photography, clipping refers to the loss of detail in an image's overexposed or underexposed areas. This occurs when the highlights (bright areas) or shadows (dark areas) are pushed beyond the limits of what your camera's sensor can capture. Clipping can result in either clipped highlights or clipped shadows, depending on the situation.
Clipped highlights manifest as completely white or blown-out areas, while clipped shadows appear as solid black regions with no detail. Both cases signal a lack of tonal range, meaning that the brightest or darkest parts of a scene are beyond the camera's dynamic range. In other words, these areas are either too bright or too dark for the camera to reproduce accurately.
To avoid clipping, we can employ various techniques, such as using the histogram and exposure warning, or exposing an image correctly. Additionally, photographers can:
- Use bracketing, which involves taking multiple shots at different exposures and later combining them in post-processing.
- Utilize graduated neutral density filters to balance exposures in scenes with high contrast lighting.
- Shoot in RAW format for better control over editing and recovering clipped areas.
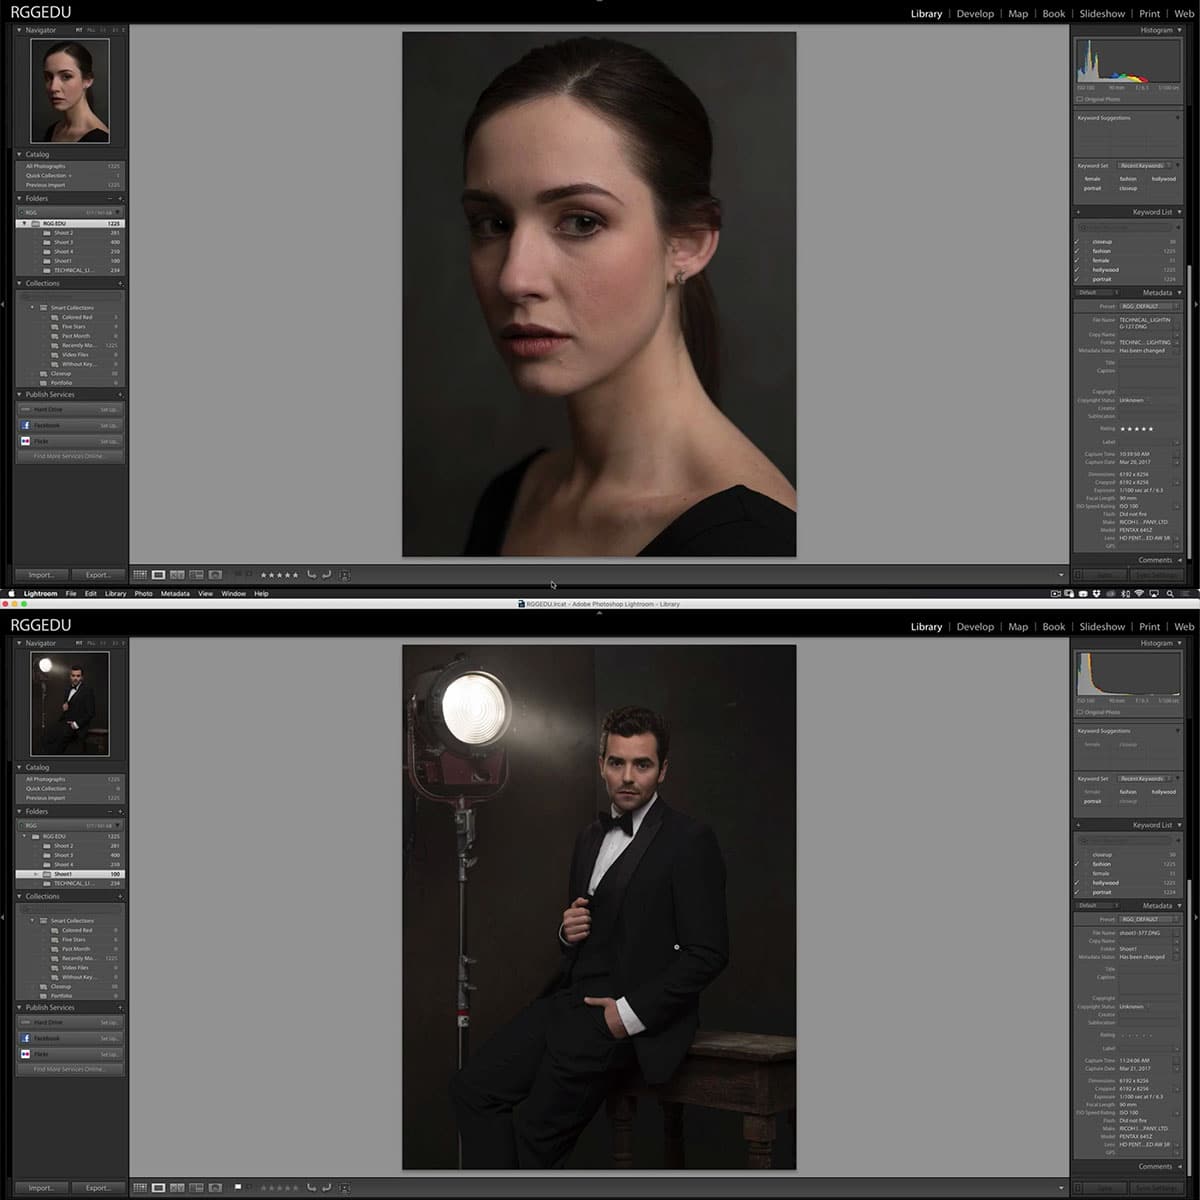
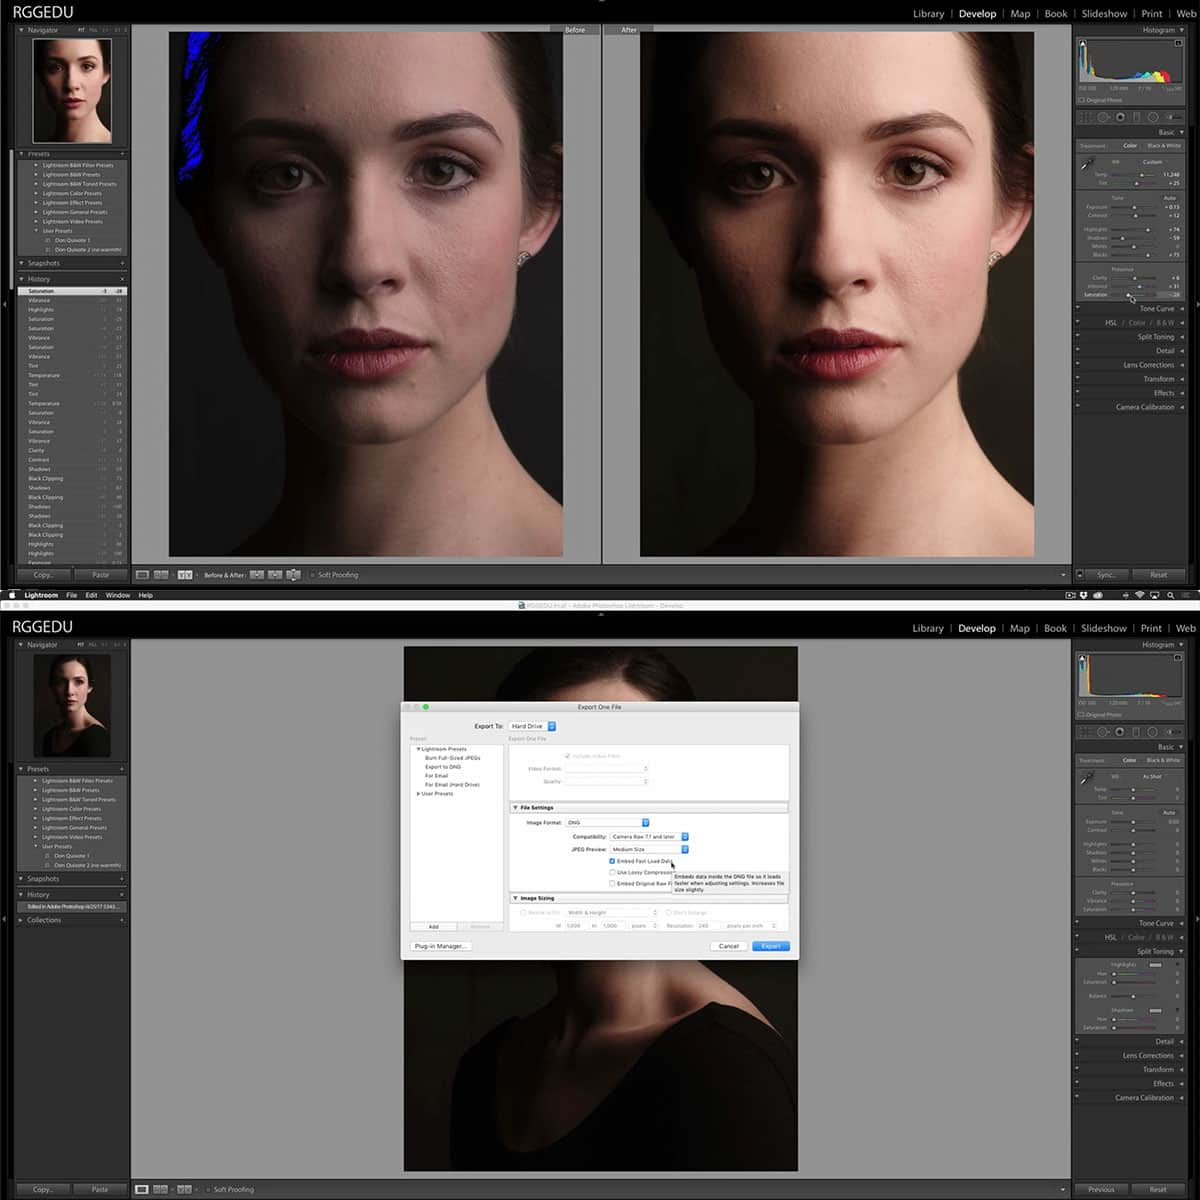
When post-processing, tools like Adobe Lightroom can help us fix clipped highlights and shadows by adjusting the highlights, exposure, whites, and blacks sliders. Regularly monitoring and utilizing these techniques can significantly reduce the occurrence of clipping and enhance the final image quality.
Causes and Indicators of Clipping
Light Meter and Camera Settings
When taking photos, the exposure is affected by the camera settings. An incorrect exposure can result in clipping, which occurs when the highlights are overexposed or the shadows are underexposed, causing a loss of detail. To avoid clipping, we need to understand how the light meter in our camera works and adjust the settings accordingly.
The light meter measures the light reflecting off the subject to determine the appropriate exposure. To get a well-balanced image, we can adjust the aperture, shutter speed, and ISO. However, sometimes the light meter can be fooled by extremely bright or dark areas, leading to overexposed or underexposed photos. Hence, it's essential to keep an eye on these settings to prevent clipping.
Histograms in Photography
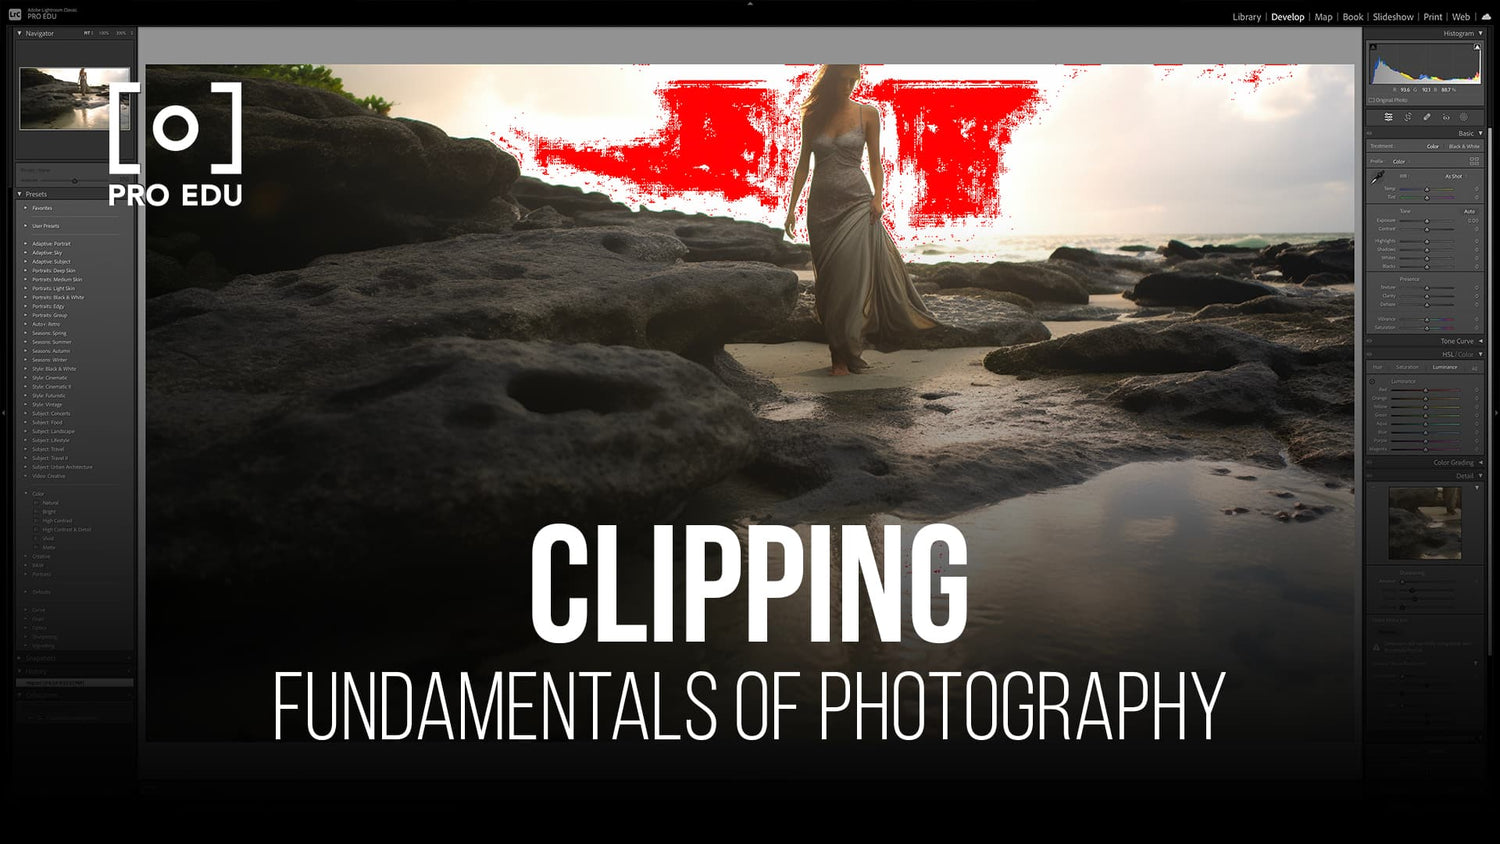
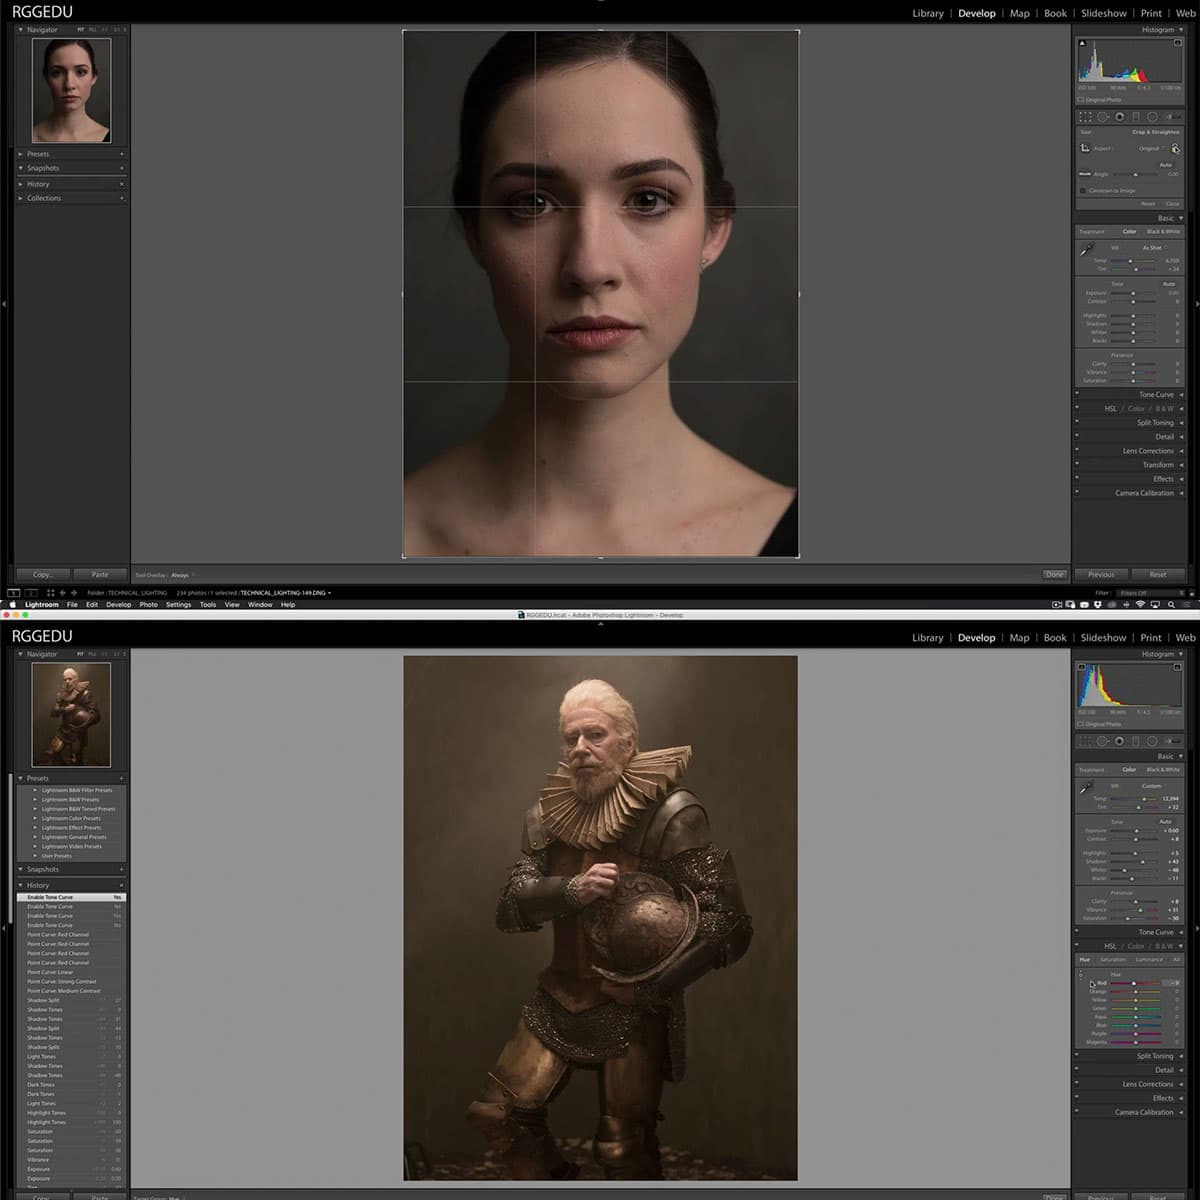
Another helpful tool for identifying and avoiding clipping is the histogram. It is a graphical representation of the tonal range in an image, from pure black to pure white. Broadly, the left side of the histogram represents shadows, the middle represents midtones, and the right side represents highlights.
A well-exposed image typically has a balanced histogram, with data distributed across the entire graph. If the histogram is skewed towards the left or right, it indicates underexposed or overexposed areas, respectively. In cases of severe underexposure or overexposure, the histogram will show spikes at the edges, which is a clear sign of clipping.
To avoid clipping, we can use the histogram to monitor the tonal distribution and adjust the camera settings accordingly. This might involve changing the aperture, shutter speed, or ISO, based on the lighting conditions and the desired outcome. By keeping an eye on the histogram and understanding how to interpret it, we can ensure that our images are well-exposed and free of clipped highlights or shadows.
Understanding Clipping in Photography and How to Avoid It
How Image Formats Influence Clipping
When working with digital photography, the image format we choose to capture and store our photos can significantly impact the occurrence of clipping. Clipping occurs when the intensity of certain areas in an image falls outside the minimum and maximum intensity that can be represented, leading to a loss of detail in overexposed or underexposed regions.
Raw versus JPEG
The two most common image formats in digital photography are RAW and JPEG. When comparing these formats, we find that RAW files retain a higher level of information and detail than JPEG files. This is because RAW files capture all the data from a camera's sensor without any compression or processing, allowing for greater flexibility in post-processing. You can find more information on the differences between RAW and JPEG formats in this Wikipedia article.
Some key points to consider when choosing between RAW and JPEG image formats are:
- Dynamic Range: RAW files typically have a higher dynamic range, which means they can capture a wider range of tones and colors, reducing the likelihood of clipping.
- Editing Flexibility: RAW files offer more latitude for adjustments during post-processing, allowing you to correct exposure and contrast issues without introducing artifacts.
- File Size: JPEG files are smaller than RAW files, making them more suitable for sharing and storage; however, the tradeoff is a loss of image information and detail.
In conclusion, selecting the appropriate image format when capturing your photographs can play a crucial role in minimizing clipping and preserving detail. By understanding the differences between RAW and JPEG formats, we can make informed decisions and improve our photography skills.
Post-Processing Techniques to Handle Clipping
Editing Software
There are various post-processing techniques that can help handle clipping in photography. Using the right editing software is crucial in this process, as it allows for a higher level of control and precision when adjusting images. Some of the popular choices include Adobe Lightroom and other tools such as Adobe Photoshop or Capture One.
Lightroom and Its Tools
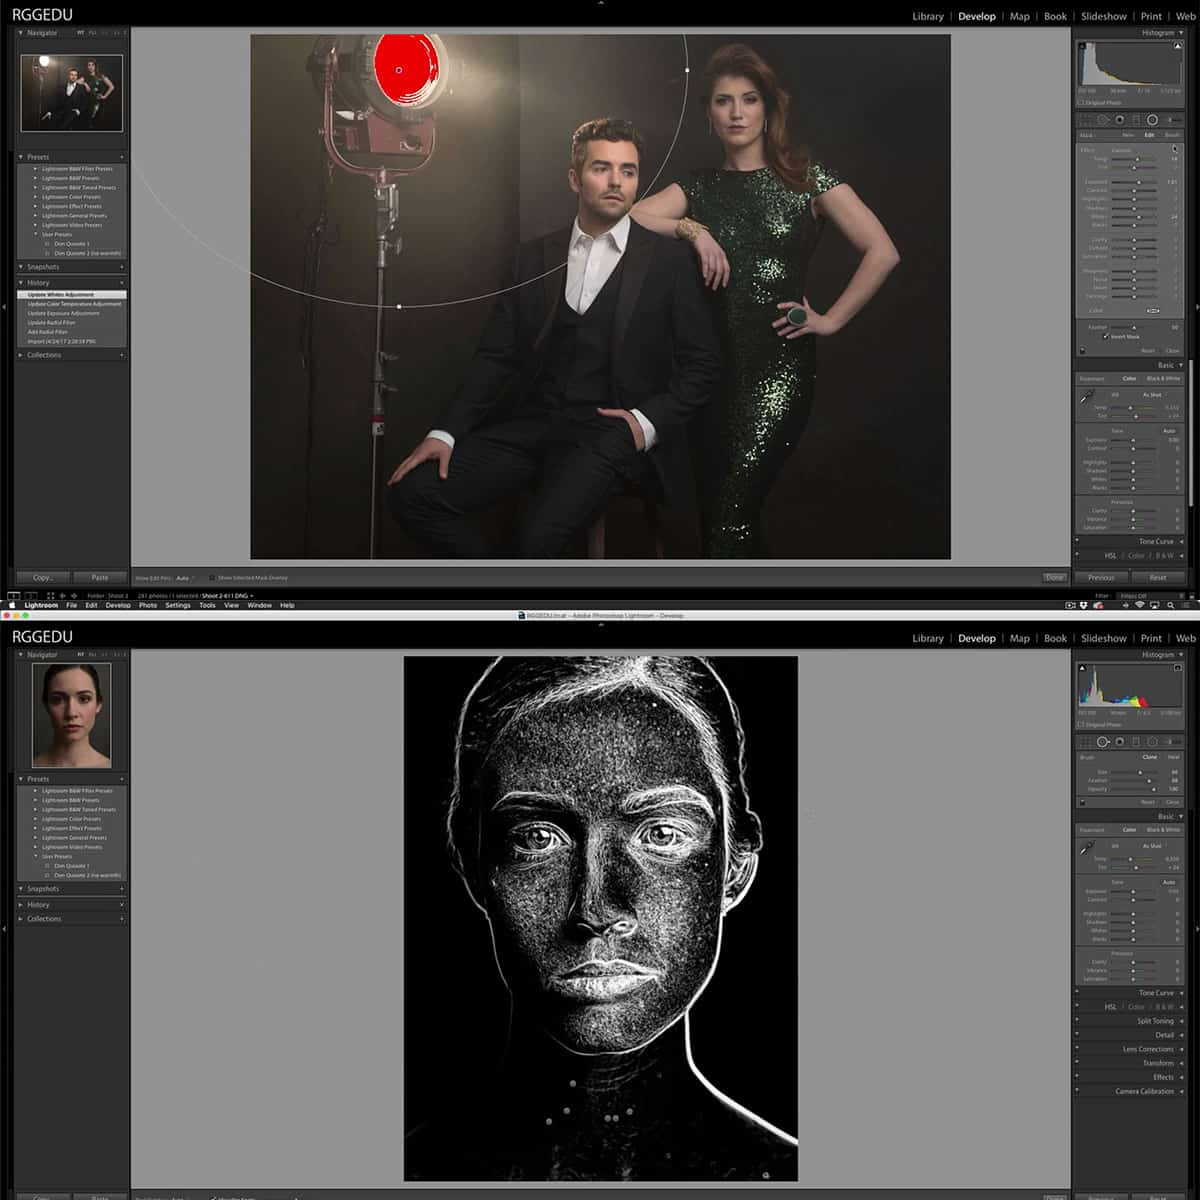
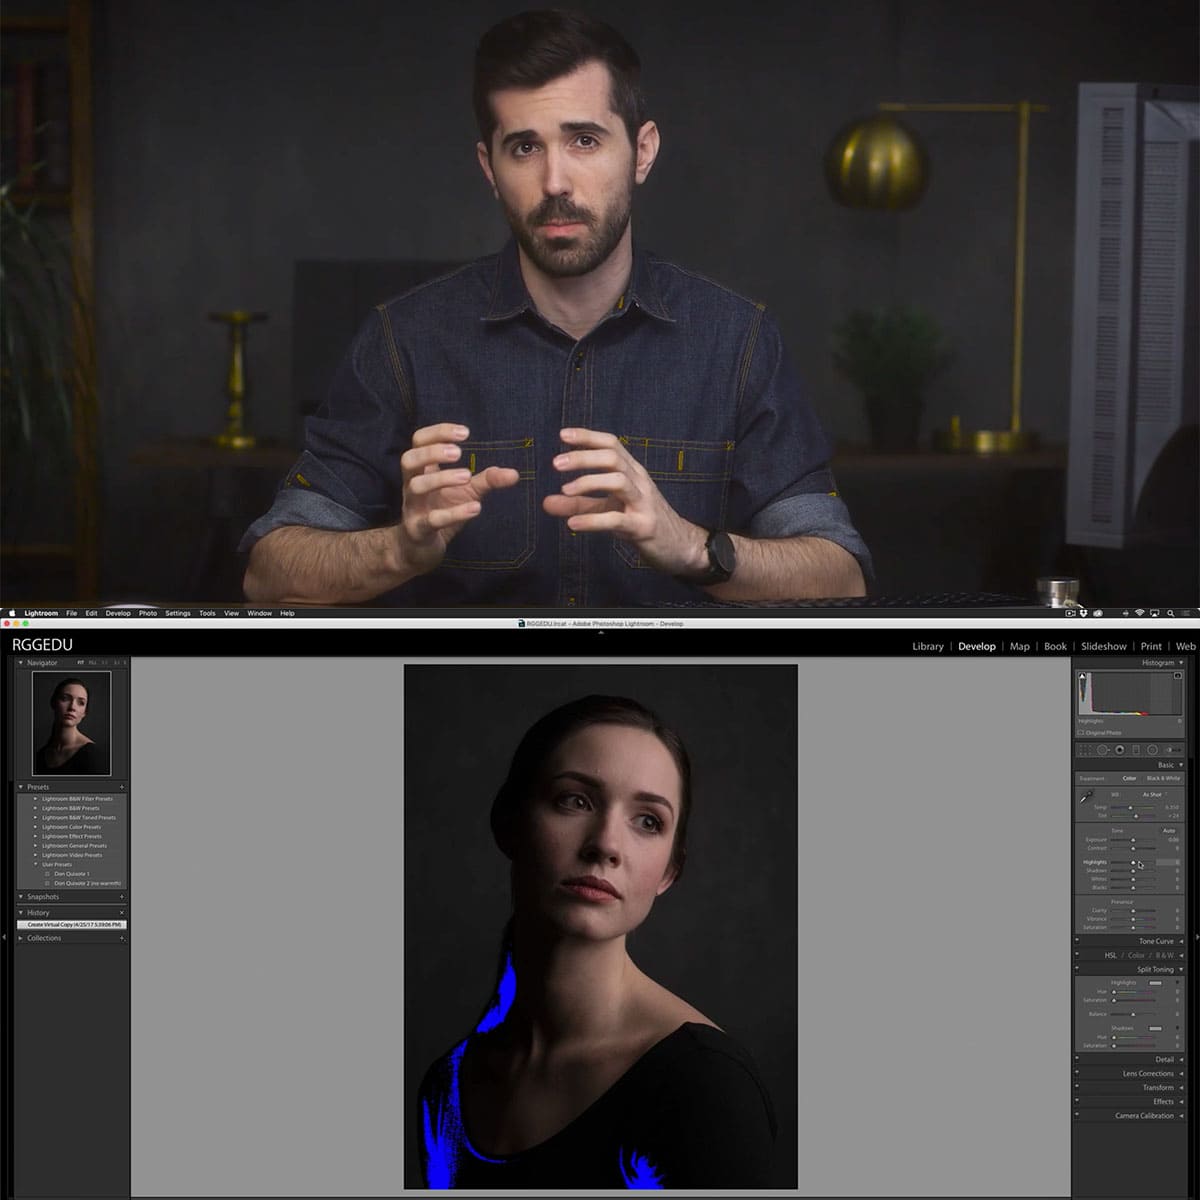
Adobe Lightroom, in particular, offers an extensive range of tools that can help address and prevent clipping issues. Using Lightroom's masking tools, we can selectively apply adjustments to specific areas of an image, effectively protecting clipped highlights and shadows.
The highlights and shadows sliders in Lightroom play a crucial role in managing clipping. By carefully adjusting these sliders, we can recover lost details in the clipped areas, while maintaining the overall brightness and contrast of our image. Additionally, Lightroom's Histogram and Exposure Warning features aid in identifying and avoiding clipping during the editing process.
When working with images in RAW format, we have a higher degree of flexibility in post-processing. RAW files contain more dynamic range, enabling us to minimize clipping and retain more details in the highlights and shadows.
In summary, mastering post-processing techniques, and utilizing powerful editing software like Adobe Lightroom, can greatly improve our ability to handle and prevent clipping in photography.
Practical Tips to Avoid Clipping
Utilizing various techniques can help us effectively avoid clipping in our photographs. First, we recommend using a Histogram and Exposure Warning to monitor the exposure levels. This visual representation aids us in identifying areas prone to overexposure or underexposure before taking the shot.
Next, it's essential to expose our images correctly. One method to achieve this is bracketing. It involves capturing multiple images at different exposure levels. It's especially helpful when photographing landscapes with high dynamic range. Furthermore, using a graduated neutral density filter can balance the exposure in scenes with a significant difference in lighting.
Another recommendation is to shoot in RAW format. RAW files allow for more considerable post-processing flexibility. They help us recover details in overexposed or underexposed areas during editing. Additionally, using exposure compensation enables us to adjust a camera's automatic exposure settings while retaining control over the final output.
When capturing images with varying lighting conditions, we recommend using fill flash to light up darker areas or to balance harsh sunlight. And speaking of harsh lighting conditions, it's best to avoid shooting under direct sunlight, as this increases the risk of overexposure and distracting highlights.
Finally, don't forget the importance of post-processing tools, such as Adobe Lightroom or Photoshop. They can significantly assist in correcting clipped highlights or shadows and improving the overall quality of our photographs.
Frequently Asked Questions
What causes clipping in photographs?
Clipping in photographs occurs when areas of the image are severely overexposed or underexposed, leading to a loss of detail in highlights or shadows. This can happen due to incorrect exposure settings or challenging lighting conditions, such as harsh sunlights or deep shadows.
How can I prevent clipped images?
To prevent clipped images, we recommend using tools like the histogram and exposure warning on your camera. Ensure correct exposure by using techniques such as exposure bracketing, shooting in RAW format, and using exposure compensation. In challenging lighting conditions, consider using a graduated neutral density filter or fill flash to balance exposure and minimize clipping, as explained here.
What is the impact of clipping on image exposure?
Clipping affects the overall quality of your image by reducing the dynamic range and causing areas to be solid black or white, without detail. This can make your photos look unnatural and unbalanced. Proper exposure ensures that both shadows and highlights maintain sufficient detail for a balanced and visually appealing image.
Are there any tools to identify clipping in photos?
Yes, most digital cameras and editing software offer tools to help identify and manage clipping in photos. Using the histogram and exposure warnings on your camera is an excellent way to monitor potential clipping while capturing an image. During post-processing, visual indicators like Lightroom's highlight and shadow clipping warnings can help you detect and correct clipped areas.
How can I fix clipped highlights and shadows?
Fixing clipped highlights and shadows often requires adjusting the exposure settings in post-processing software like Adobe Lightroom or Photoshop. To fix clipped areas, try reducing highlights and increasing shadow detail by using sliders, curves, or masks. Keep in mind that shooting in RAW format provides more flexibility and preserves more image data for easier clipping adjustment during editing.
Is it always necessary to avoid clipping in photography?
While it is generally recommended to avoid clipping for the best image quality, there are situations where some degree of clipping may be acceptable or even intentional. In high contrast scenes or when aiming for a specific creative look, clipping can be used as an artistic choice to emphasize certain elements or create a dramatic effect. It's essential to understand the impact of clipping on your image and make conscious decisions when to allow or prevent it.


