Stopping Down in Photography: Mastering Depth of Field and Exposure Control
In photography, controlling depth of field and exposure are crucial for capturing visually striking images. One technique that photographers often utilize to achieve this is stopping down. By adjusting the aperture size, you can influence both depth of field and exposure, allowing for greater creative control and versatility.
Stopping down involves reducing the aperture size by increasing the f-stop number, which consequently limits the amount of light entering the camera. This technique is particularly useful in situations where you need to bring more elements in the scene into focus or manage the overall exposure. Understanding and mastering stopping down can have a significant impact on the quality of your photography.
Key Takeaways
- Stopping down helps control depth of field and exposure by adjusting aperture size
- Mastering this technique can significantly enhance the quality of your photographs
- Stopping down is applicable in various photography situations to achieve desired results
Understanding Aperture and Exposure
In photography, aperture and exposure are essential elements that work together to create a well-balanced image. The aperture controls the amount of light entering the camera through the lens, while exposure refers to the brightness or darkness of an image. By adjusting these settings, we can control depth of field and overall exposure.
Aperture is measured in f-stops (f-number), which indicates the size of the lens opening. Lower f-numbers (e.g., f/1.8) correspond to larger apertures, allowing more light to enter the camera. Higher f-numbers (e.g., f/16) represent smaller apertures and restrict the amount of light entering. This directly affects the depth of field. Larger apertures produce a shallow depth of field, while smaller apertures result in a greater depth of field, which is ideal for landscape photography.
Exposure is determined by a combination of aperture, shutter speed, and ISO setting, known as the exposure triangle. Shutter speed affects the amount of time the sensor is exposed to light, with faster speeds freezing motion and slower speeds allowing for more light and potential motion blur.
ISO plays a key role as well, as it measures the camera sensor's sensitivity to light. A higher ISO can compensate for low light situations but may introduce noise to the image. Balancing these three elements allows us to achieve proper exposure for different shooting conditions and creative effects.
In summary, understanding aperture and exposure helps us control not only depth of field but also overall image brightness. By mastering these concepts and adjusting aperture, shutter speed, and ISO accordingly, we can create professional looking images in various shooting environments.
Stopping Down and Depth of Field
Stopping down in photography refers to the process of reducing the aperture size by increasing the f-stop number. This technique serves a dual purpose: controlling the depth of field and adjusting the exposure. In this section, we explore how stopping down impacts the depth of field.
When we stop down, the depth of field increases, making more of the scene in focus. For instance, landscape photography often benefits from a deeper depth of field. By stopping down to a higher f-stop, like f/16 or f/22, we can achieve a greater range of focused areas in the image.
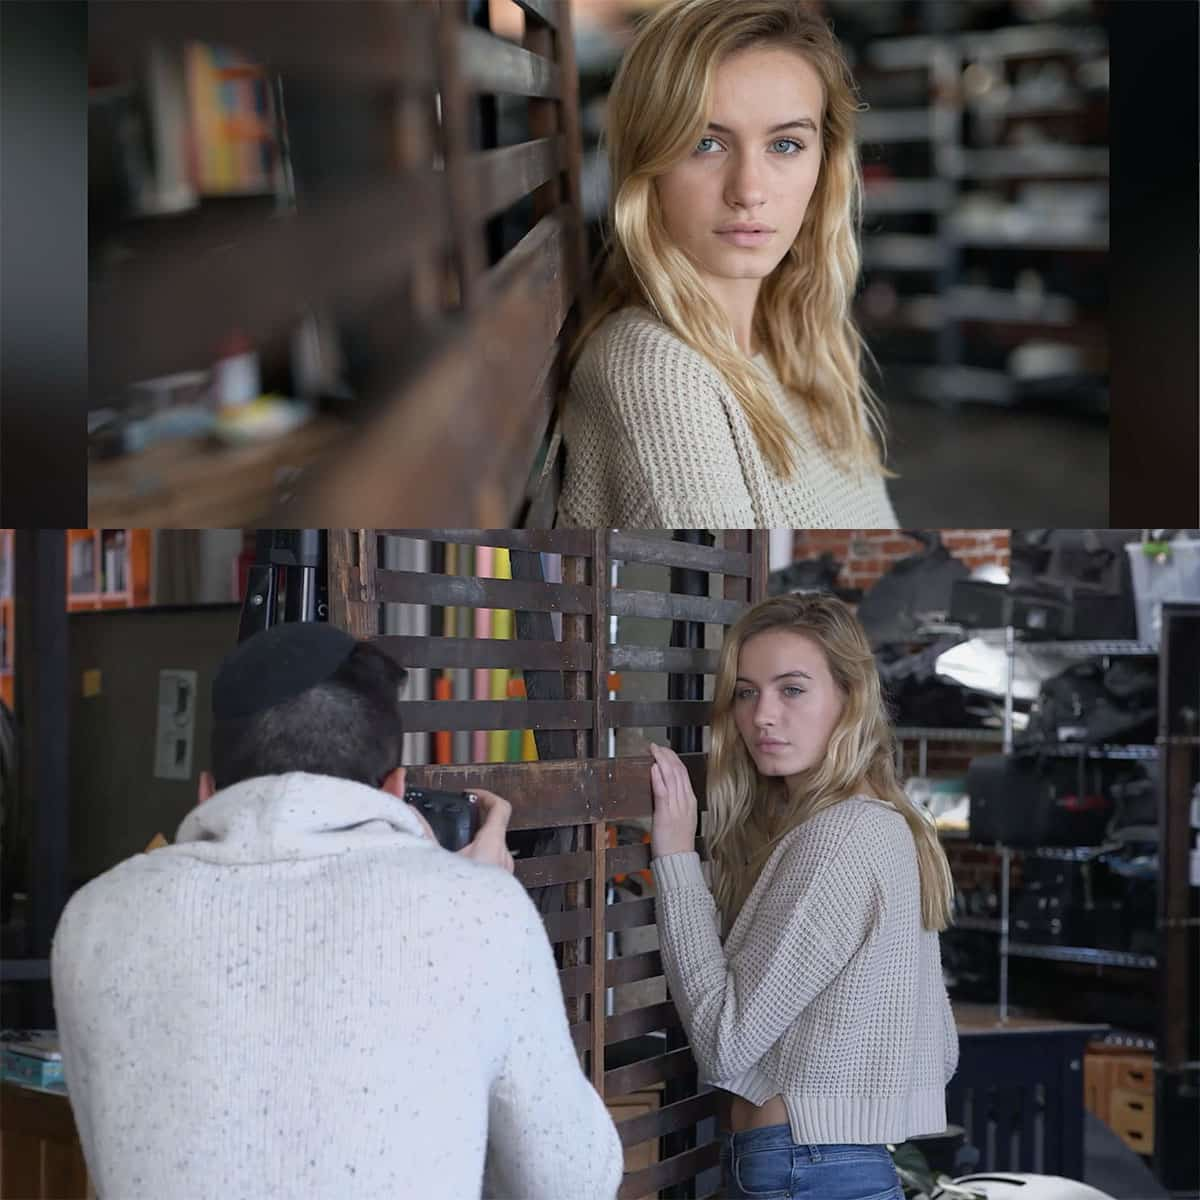
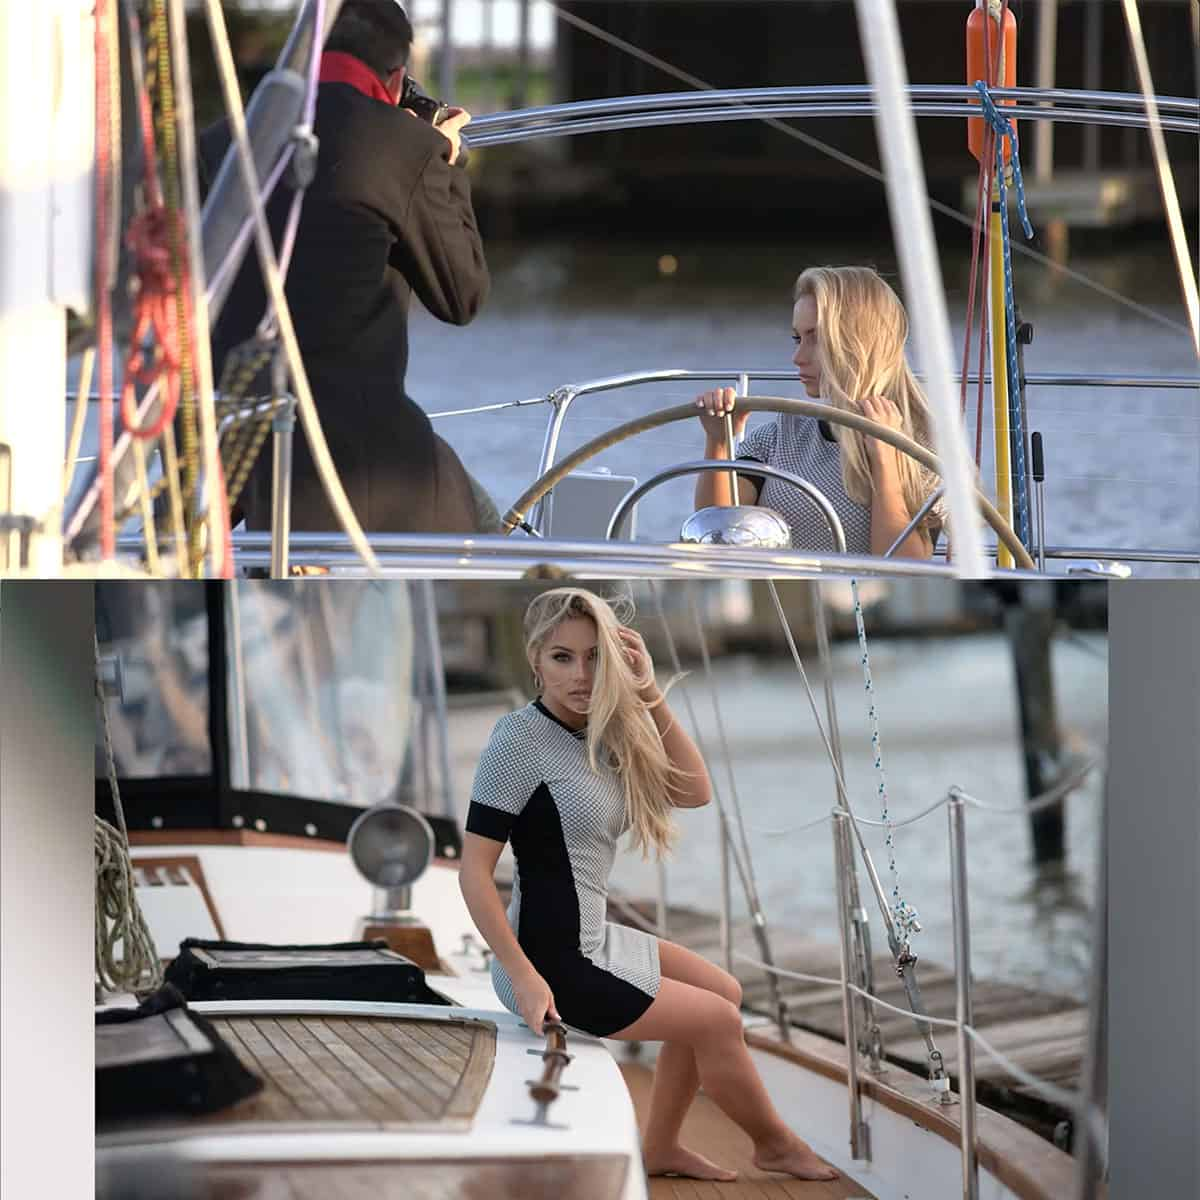
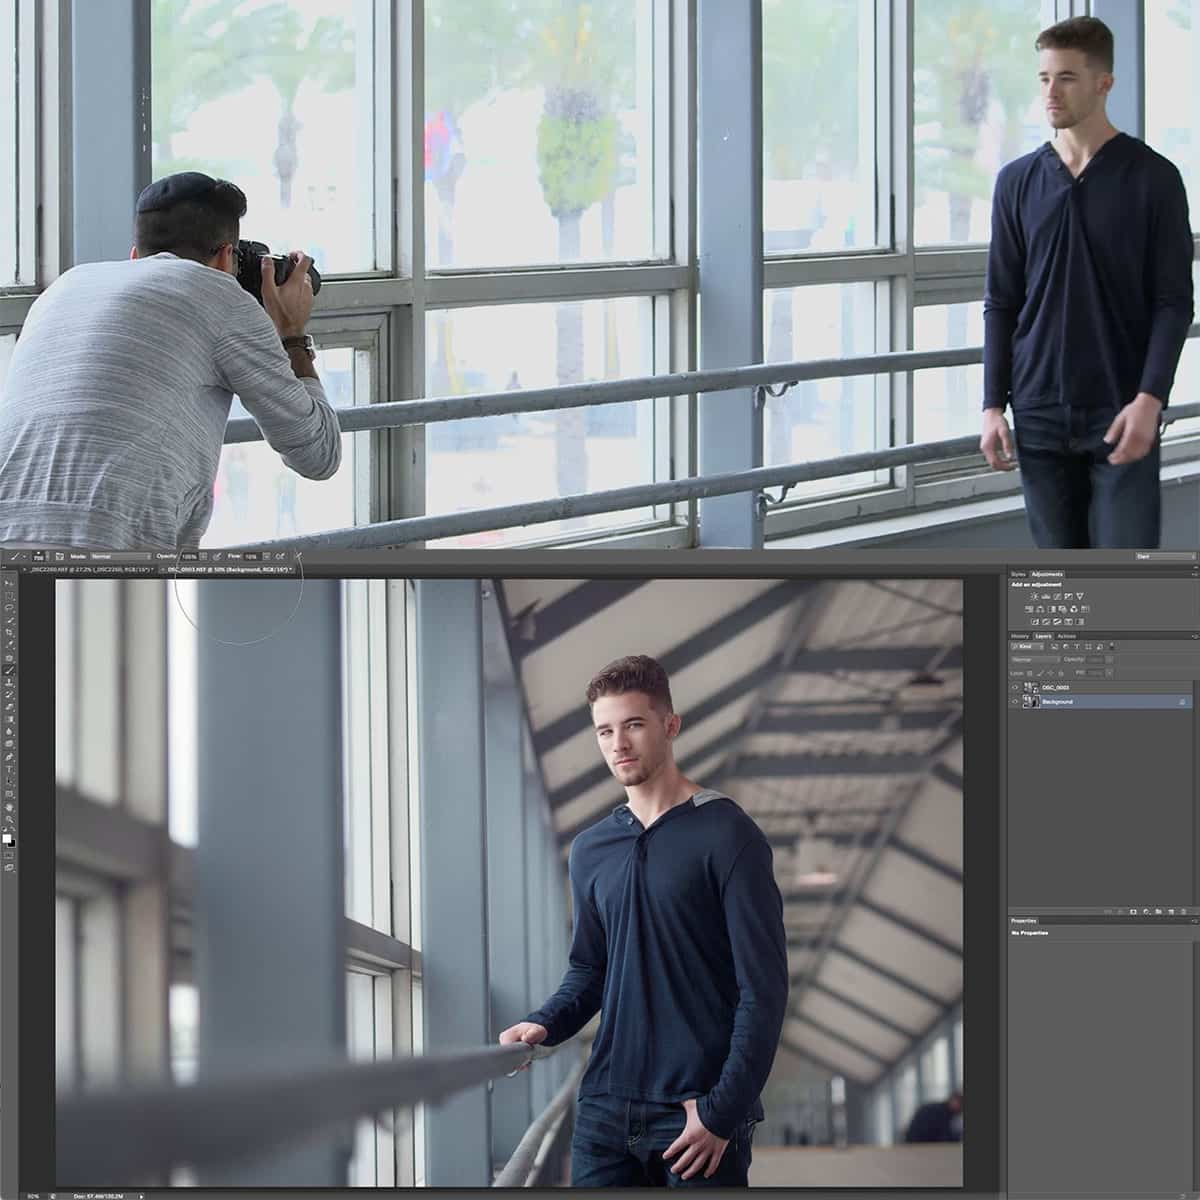
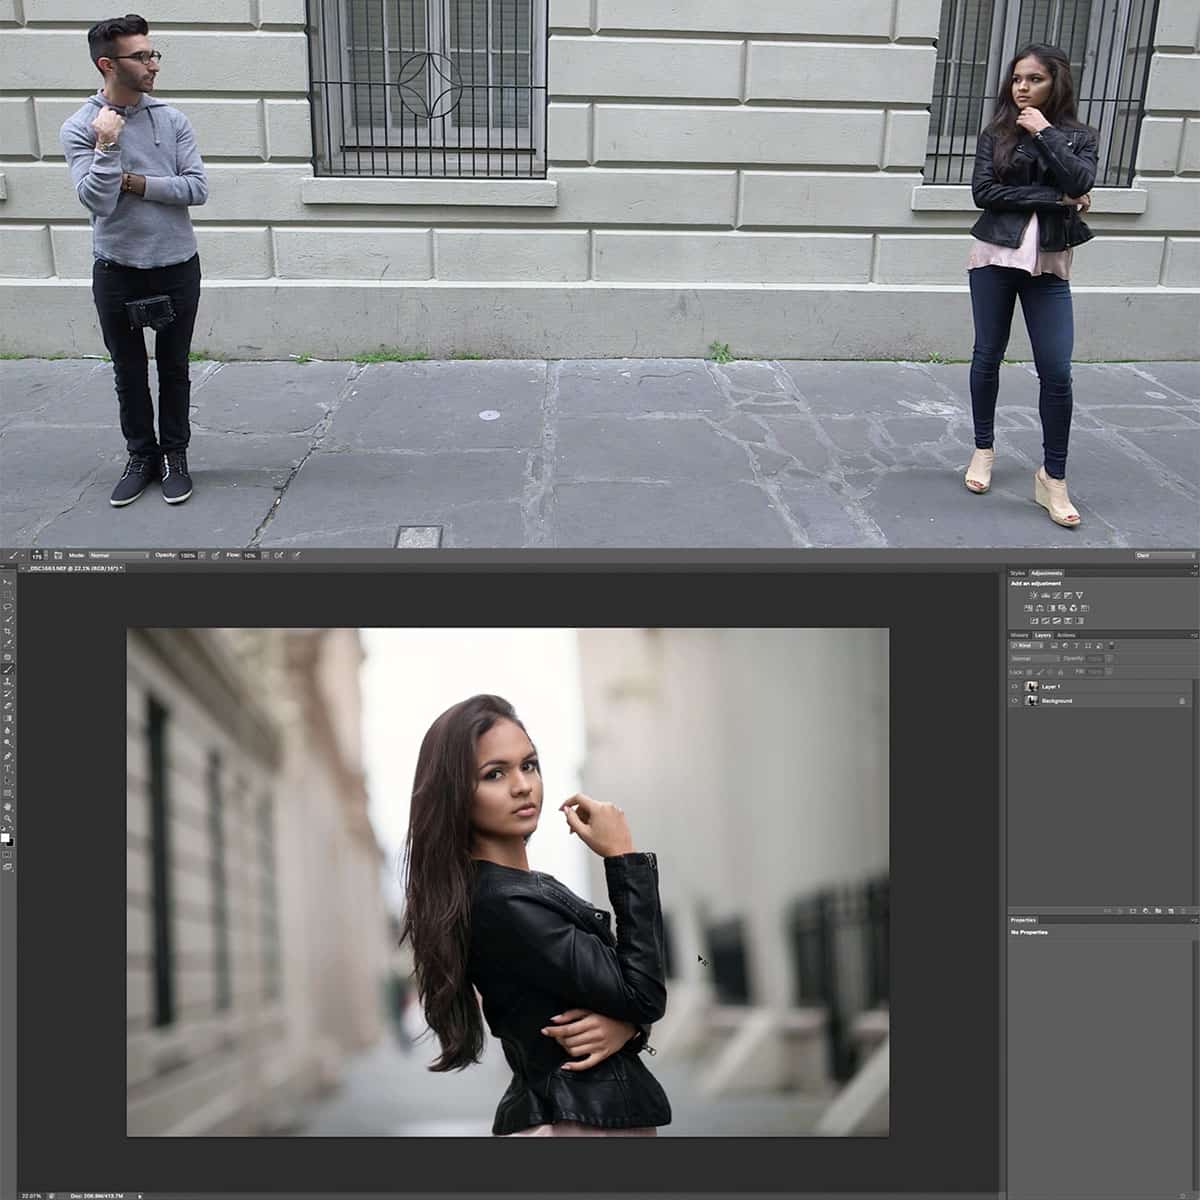
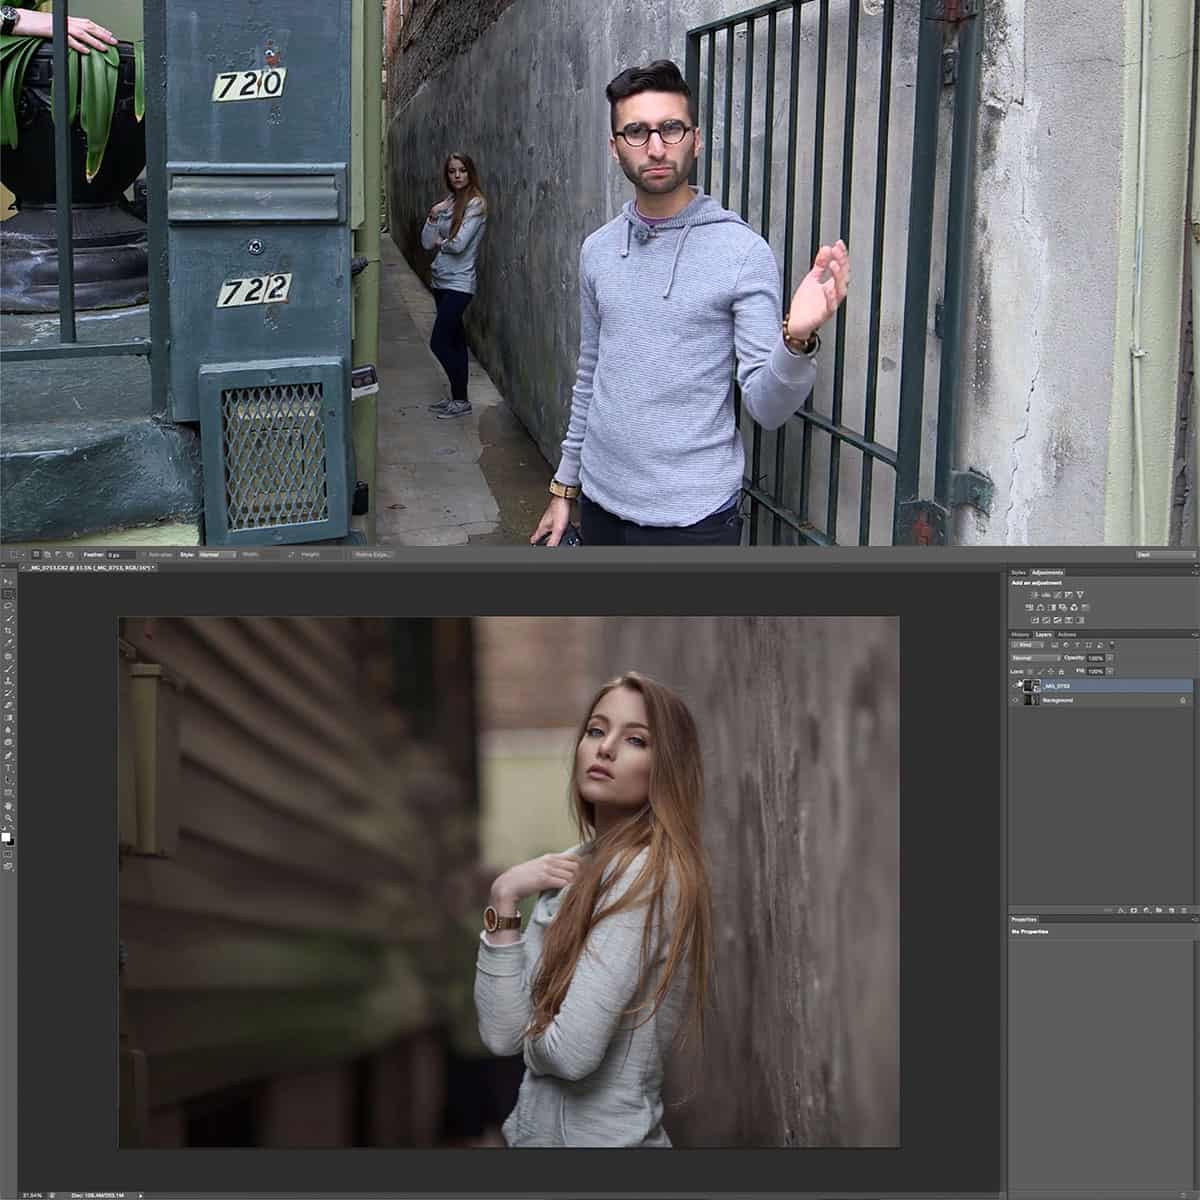
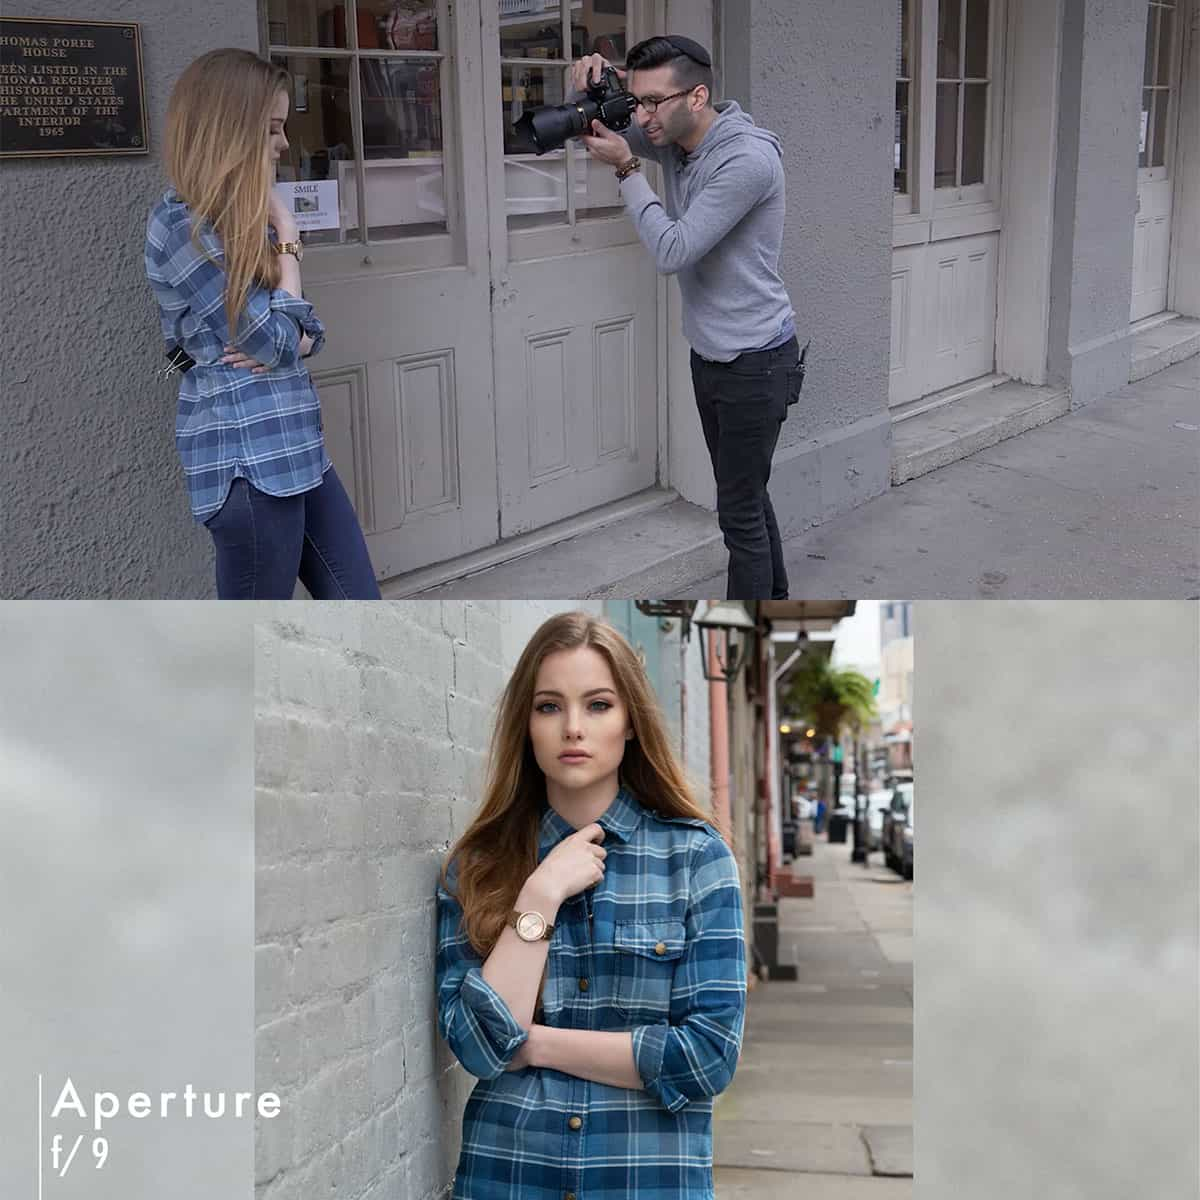
Conversely, if we want a shallower depth of field, which results in a blurred background and a subject that stands out, we need to use wider apertures, such as f/1.4 or f/2. A shallow depth of field is popular for portrait photography, where the subject should be the focus, and the background should not distract from the main subject.
However, it is important to remember that stopping down is not the only factor influencing depth of field. The focal length and the distance to the subject also play crucial roles in shaping the final image. Experimenting with these factors and stopping down in various ways will help us understand and achieve the perfect balance of depth of field and exposure in our photographs.
Practical Techniques to Master Stopping Down
One of the best ways to grasp stopping down in photography is through consistent practice. As we experiment with various aperture settings and observe their impact on the depth of field (DoF) and exposure, we can better understand and control our images. A valuable exercise would be using the camera's aperture priority mode, which allows us to focus mainly on the aperture settings while the camera automatically adjusts shutter speed.
In addition to practice, using a tripod is essential in stabilizing our shots, especially when working with slower shutter speeds due to smaller apertures. This ensures that our images remain sharp and that we capture our desired DoF.
Another helpful technique is using our camera's DoF preview button. By pressing this button, we can preview the final image's depth of field before taking the shot, allowing us to adjust the aperture settings accordingly. It's a useful tool for determining the ideal balance between a sharp subject and a blurry background.
Lastly, don't be afraid of experimentation. As we explore different combinations of aperture settings, focal lengths, and subject distances, we will develop an intuitive understanding of stopping down. Feel free to make mistakes and learn from them.
Remember, mastering stopping down is all about gaining hands-on experience and refining our skills over time. By using practical techniques like practice, tripod usage, DoF preview, and experimentation, we will become confident photographers capable of controlling depth of field and exposure.
Effect of Stopping Down on Different Types of Photography
In landscape photography, stopping down is particularly useful for achieving greater depth of field and sharper images. By increasing the f-stop number, we can ensure that objects both near and far are in focus in our photos.
For portrait photography, stopping down can help control the background blur and emphasize the subject. By carefully selecting our aperture setting, we can create a balance between subject sharpness and background separation.
When working with different focal lengths, stopping down may affect each lens differently. Wider-angle lenses generally produce greater depth of field at an equivalent f-stop compared to longer lenses, so stopping down with a wide lens will yield more dramatic results than with a telephoto lens.
Using a DSLR will require us to make use of the camera's manual settings to effectively stop down our lens. While most modern lenses are electronically controlled, we can still adjust our camera's aperture settings directly to achieve the desired depth of field and exposure.
In macro photography, stopping down is critical for gaining in-focus, sharp images of small subjects. Due to the extremely shallow depth of field produced at close shooting distances, stopping down may be necessary to ensure that our subject is entirely in focus.
When considering portraiture, it's important to remember that stopping down can have a significant impact on not just depth of field, but also overall exposure. We must consider the balance between our aperture and shutter speed settings to ensure we achieve a well-exposed image without sacrificing our artistic intent.
Technical Aspects of Aperture in Photography
The aperture is an adjustable opening in a camera lens that controls the amount of light entering the camera. By adjusting its size, we can influence two important aspects of our images: exposure and depth of field. The size of the aperture is measured in f-stops, with lower f-stops corresponding to larger openings and higher f-stops indicating smaller openings.
When we stop down the aperture, we increase the f-stop number, resulting in a smaller opening. This allows less light to enter the camera, which can help create a greater depth of field. A higher depth of field means that more objects in our scene will be in focus. Conversely, when we open up the aperture, we decrease the f-stop number for a wider opening. This allows more light into the camera but results in a shallower depth of field, with fewer objects in our image being in focus.
However, stopping down the aperture too much can also lead to a phenomenon known as diffraction. This is an optical effect that occurs when light waves pass through a small opening, causing them to spread out and potentially reduce image sharpness.
Another critical factor to consider when stopping down is the quality of the lens you are using. Some lenses can produce noticeable vignetting or reduced sharpness when used at their smallest apertures. It's essential to find an optimal balance between the desired depth of field and the aperture that performs best for the specific lens you're using.
Whether you're using a digital sensor or shooting with film, stopping down will impact your images in various ways. For digital sensors, too high an f-stop can introduce noise into your image due to diffraction. On the other hand, with film, you may face challenges with exposure, as the less sensitive emulsion will need more light to produce a properly exposed image.
In summary, understanding the technical aspects of aperture is crucial to controlling depth of field and exposure while maintaining image sharpness. By finding a balance between your desired creative outcome and the limitations of your camera lens and sensor, you can achieve stunning photographs with just the right amount of focus.
Overcoming Challenges While Stopping Down
Stopping down your camera's aperture can offer essential control over depth of field and exposure. However, there are challenges that we may encounter when implementing this technique. In this section, we will discuss ways to overcome these challenges to help you achieve the desired results in your photography.
A common challenge when stopping down is getting a darker image, as less light enters the lens. To compensate for this disadvantage, we can increase the ISO or extend the shutter speed. Both options will allow more light to be captured, but remember that higher ISO values can introduce noise, while longer shutter speeds may result in motion blur.
Another potential issue is encountering lens flare when stopping down. This is due to light scattered internally within the lens, which can add unwanted artifacts to your photo. To reduce the chance of flare, we can utilize a lens hood or change the angle from which we're shooting; this will help block stray light and minimize flare.
Stopping down to extreme levels can also introduce diffraction, which can degrade image sharpness. We can avoid this by staying within the lens's sweet spot, often between f/5.6 and f/11. By understanding your lens' optimal aperture range, you can preserve image sharpness while still achieving the desired depth of field.
Here are a few additional quick tips to master stopping down:
- Practice using manual mode or aperture priority mode to have more control over the aperture setting
- Use a tripod when using slower shutter speeds for added stability
- Learn the proper use of exposure compensation to balance your image brightness
By considering these factors and applying the right adjustments, we can overcome the challenges of stopping down and ultimately improve our control over depth of field and exposure in our photography.
Frequently Asked Questions
How does stopping down the aperture affect depth of field and exposure?
When stopping down the aperture, it reduces the size of the aperture, or the opening that lets light into the camera. This results in an increased depth of field, making more of your image sharp and in focus. As a result, less light reaches the sensor, leading to a darker exposure.
What are the factors influencing the depth of field in photography?
There are three main factors that influence depth of field: aperture, focal length, and distance from the subject. Changing the aperture affects the size of the opening that lets light in, which controls the depth of field. Focal length, or the distance between the lens and the sensor, also plays a role. Lastly, the distance from your subject impacts the depth of field, with closer subjects having a shallower depth of field.
How can you achieve a shallow depth of field in your photographs?
To achieve a shallow depth of field, use a larger aperture (lower f-stop number). This will create a smaller area of acceptable focus. Additionally, using longer focal lengths and getting closer to your subject will help enhance the shallow depth of field effect.
What role do focal length and aperture play in controlling depth of field?
Focal length and aperture work together to control depth of field. Larger apertures (lower f-stop numbers) result in a shallower depth of field, while smaller apertures (higher f-stop numbers) increase it. Focal length also has an impact - longer focal lengths create a shallower depth of field, while shorter focal lengths produce a deeper depth of field.
How can you balance exposure and depth of field for a well-lit photograph?
Balancing exposure and depth of field requires adjusting your camera's settings, including aperture, shutter speed, and ISO. If you need to stop down the aperture for a deeper depth of field, you may need to increase the shutter speed or ISO to maintain a properly exposed image.
What techniques can be used to maximize depth of field in landscape photography?
To maximize depth of field in landscape photography, use a smaller aperture (higher f-stop number). This will result in a larger area of your image being sharp and in focus. Also, use a shorter focal length lens and position the camera at an appropriate distance from your subject to ensure greater focus throughout. Additionally, focusing on the hyperfocal distance can help enhance depth of field in landscape shots.


