
Noise Reduction Techniques in Photography: A Beginner's Guide to Crisp Images
Noise reduction in photography is critical for capturing clearer, more visually appealing images. As a beginner, understanding the causes of digital noise and learning how to reduce or eliminate it using various techniques can make all the difference. In this guide, we will introduce you to the different tools and techniques available to reduce noise in your photographs and help you produce high-quality images.
Although noise is sometimes inevitable, especially when shooting in low-light situations, using the right camera settings and post-processing techniques can significantly reduce its presence. Additionally, there are various noise reduction tools available that help photographers remove or minimize unwanted grain or speckles, creating cleaner and more detailed images.
Key Takeaways
- Understanding noise in photography is essential for capturing clearer images.
- Choosing the right camera settings and using noise reduction tools can improve your photography.
- Advanced techniques and knowledge of special cases in noise reduction can further enhance your skills.
Understanding Noise in Photography
In photography, noise is the random variation of brightness, color, or any unwanted artifact that appears grainy and reduces the overall image quality. Noise is often more noticeable in images taken at higher ISO settings. When we shoot at high ISO, the sensor amplifies the signal to capture more light, increasing the potential for digital noise to appear.
There are two primary types of noise we encounter in photography: luminance noise and chrominance noise. Luminance noise consists of variations in brightness, creating a grainy appearance, while chrominance noise exhibits color splotches and artifacts. Both types of noise adversely affect the detail and overall quality of our images.
Several factors cause noise in digital photography, including the camera's sensor and ISO settings. Smaller sensors tend to produce more noise than larger sensors; this is because smaller sensor pixels capture less light, forcing us to rely on higher ISO settings to compensate for low-light conditions. Additionally, shooting at high ISO values can cause a decrease in image quality by amplifying the sensor's output signal, resulting in more noise.
To minimize noise in our photography, we can employ various techniques. These include:
- Using a lower ISO setting, which can reduce digital noise
- Shooting in RAW format, allowing for better post-processing noise reduction
- Utilizing a tripod for longer exposures, avoiding the need for high ISO values
- Experimenting with camera noise reduction settings
- Employing post-processing software for further noise reduction
By understanding the causes and types of noise in photography, we can make informed decisions on how to optimize our camera settings and post-processing techniques to mitigate noise and improve image quality. Remember that finding the right balance between ISO, sensor size, and shooting conditions is key to reducing noise while preserving detail in our photographs.
Noise Reduction Tools and Techniques
In photography, we often encounter noise due to low lighting conditions or high ISO settings. To tackle this issue, we can employ various noise reduction techniques. Some of these techniques include in-camera noise reduction, post-processing, and specialized software.
For in-camera noise reduction, modern cameras have built-in features to reduce noise, such as long exposure noise reduction for long exposures and high ISO noise reduction for high ISO settings. We recommend using these features when possible to minimize noise during the shooting process.
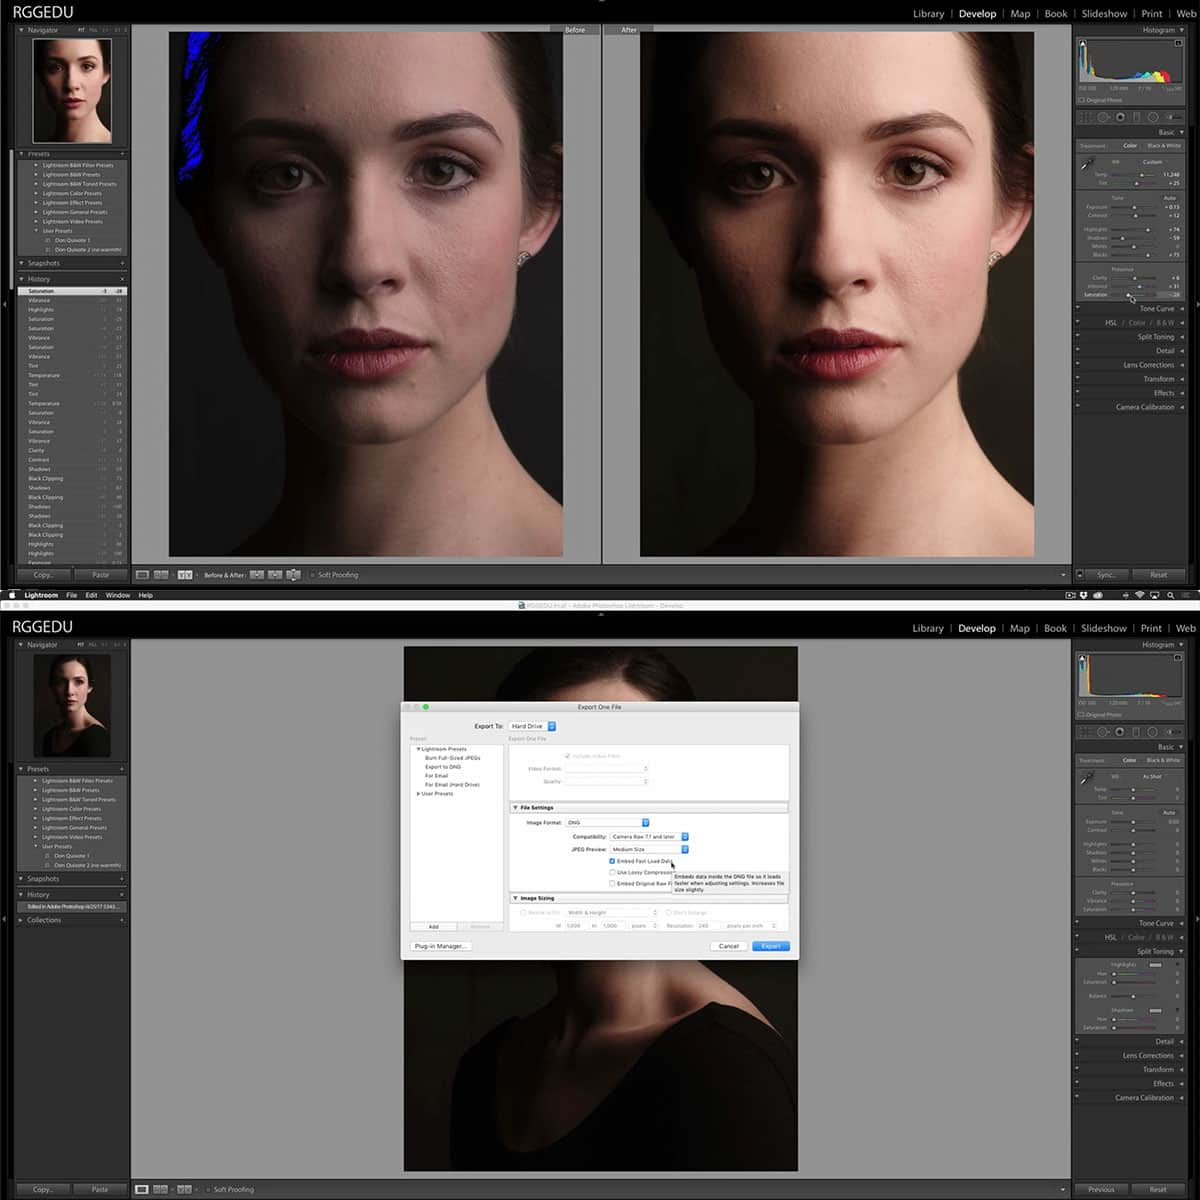
In post-processing, we can turn to tools like Adobe Photoshop or Lightroom to reduce noise. With these tools, we can use layers and masks to selectively apply noise reduction to areas of the image that require it without affecting the overall sharpness.
Another option is utilizing specialized noise reduction software such as Topaz DeNoise AI or DXO PureRAW 2, which use advanced algorithms to effectively remove noise from your images while preserving details. These programs can offer superior results compared to the built-in features in editing software like Photoshop and Lightroom.
Keep in mind that it's essential to find a balance between noise reduction and image sharpness. Overdoing noise reduction may lead to a loss of details. By combining the right tools and techniques, we can effectively reduce noise in our photos while maintaining the quality and integrity of the image.
Camera Settings and Effects on Noise
When it comes to noise reduction in photography, understanding the camera settings and their influence on noise is crucial. In this section, we will discuss various settings that can affect the amount of noise in your images.
Aperture and Shutter Speed: These two settings are part of the exposure triangle that also includes ISO. Aperture, measured in f-stops, controls the amount of light entering the camera. Wider apertures (low f-stop numbers) allow more light, while narrow apertures (high f-stop numbers) allow less light. Shutter speed controls the duration of the exposure. Faster shutter speeds (such as 1/500s) can lead to underexposed images, while slower speeds (like 30s) can allow more light to reach the sensor. Balancing the exposure triangle is essential to reduce image noise.
ISO settings: In digital photography, ISO settings regulate your camera's sensitivity to light. Lower ISO values (e.g., ISO 100) result in less sensitivity, while higher values (e.g., ISO 3200) increase it. Using higher ISO values can lead to increased noise, especially in low-light situations. To reduce image noise, try to keep ISO settings as low as possible.
RAW format: Shooting in RAW format allows you to preserve more image data than in JPEG. This extra data makes it possible to edit your images in post-processing with less loss of quality and greater noise reduction capabilities.
Camera settings: Capturing properly exposed images is essential for reducing noise. Learning to use manual settings on your camera can help you achieve better exposure and control the factors contributing to noise. PenaltyStepThrough trial and error with different combinations of aperture, shutter speed, and ISO, you can learn how each setting influences the final image and find the ideal setup for minimizing noise in various conditions.
Auto ISO: Although it can be convenient, using Auto ISO can sometimes lead to higher noise levels. The camera's algorithm might prioritize shutter speed or aperture and push the ISO higher than necessary. When possible, we recommend manually controlling the ISO to maintain control over the amount of noise in your images.
Advanced Techniques for Noise Reduction
In low light conditions, the use of a tripod and a remote shutter release can significantly reduce noise. A tripod steadies the camera, allowing for longer exposures, while a remote shutter release or cable release eliminates any vibration caused by pressing the shutter button. This results in cleaner, sharper images with less noise.
Sometimes, using additional light sources, such as flashes or light painting, can help reduce noise. Flashes provide a burst of light to illuminate the subject, while light painting involves moving a light source around the subject during a long exposure photograph. Both techniques help to increase the overall light in the scene, resulting in less noise.
Choosing the right gear can also make a difference in noise reduction. Full-frame cameras typically have larger sensors, which can capture more light and reduce noise. Likewise, a low-noise sensor and high-quality lenses can contribute to a cleaner output. As a rule of thumb, in challenging lighting conditions, using a fast lens with a wide aperture will allow more light into the camera, reducing the need for high ISO settings.
Camera settings play a crucial role in noise reduction. Shooting in Camera RAW format preserves more detail and makes it easier to reduce noise during post-processing. Additionally, controlling the ISO settings manually, rather than relying on auto mode, can help you find the sweet spot between ISO sensitivity and acceptable noise levels. In situations where noise is unavoidable, a well-calibrated noise reduction filter, like Denoise AI or DXOPureRAW2, can help you to mitigate noise in post-processing. You can learn more about these tools in the Best Digital Noise Reduction Techniques for Photographers in 2023 article.
Finally, utilizing proper exposure techniques, such as balancing ambient light with flash exposure, can help optimize your images' overall quality. This includes choosing an appropriate depth of field to match your subject and lighting conditions, as well as adjusting the camera's auto white balance and autofocus settings for optimal results. Remember to experiment with different techniques and find what works best for you in various lighting scenarios.
Special Cases in Noise Reduction
When tackling noise reduction, it's important to consider some special cases that may require unique approaches. In astrophotography, dealing with noise can be particularly challenging, as high ISO settings are often necessary to capture faint celestial objects. One way to counter this is by taking multiple shots and stacking them, which can reduce noise without sacrificing detail.
In wildlife photography, you might encounter situations where lighting conditions are poor, making it difficult to balance noise and exposure. Modern cameras typically have better low light performance, allowing you to maintain image quality while keeping noise to a minimum. When shooting in such conditions, using a RAW format is crucial, as it provides greater flexibility in post-processing noise reduction.
Low-light photography and artificial light scenarios present their own challenges. To maintain optimal image quality, you should familiarize yourself with manual settings on your DSLR or mirrorless camera. Experiment with lower ISO settings, slower shutter speeds, and wider apertures to minimize noise while capturing well-exposed images. Image stabilization technology can further assist in reducing camera shake-related noise.
In any photography situation, understanding your camera's histogram is key. The histogram displays an image's tonal range and can quickly help you identify areas of noise or clipping. By adjusting your camera settings to achieve a balanced histogram, you can ensure a proper exposure and minimize noise while capturing your artistic vision.
Lastly, always remember that the best way to prevent noise is to get the exposure right in the first place. Mastering manual focus and image stabilization will help you capture sharp and noise-free images. Engaging in continuous education and practice will undoubtedly refine your photography skills, resulting in cleaner, higher-quality images that truly capture your subject matter.
Frequently Asked Questions
What are the basic noise reduction techniques in photography?
In photography, some basic noise reduction techniques include shooting at lower ISO settings, using a tripod for stability, and selecting a suitable shutter speed and aperture. Experimenting with these settings can help you find the right balance between minimizing noise and preserving image quality.
How can I maintain image sharpness while reducing noise?
Maintaining image sharpness while reducing noise requires a careful balance between noise reduction and detail retention. Adjusting the detail slider in editing software like Lightroom can help you control the threshold at which noise reduction starts to affect image sharpness source.
What camera settings help minimize noise in low light conditions?
In low light conditions, shoot at the lowest possible ISO setting while maintaining a fast enough shutter speed to prevent motion blur. Utilizing your camera's built-in noise reduction feature, if available, can also help minimize noise under such conditions.
Which software tools can effectively reduce noise in photos?
There are various software tools available for noise reduction in photos, such as Adobe Lightroom, Photoshop, and other specialized noise reduction tools. These tools offer various levels of control and complexity depending on the user's skills and needs.
How does ISO selection impact noise levels in images?
ISO selection has a direct impact on noise levels in images. As a general rule, the higher the ISO, the more noise you might encounter in your photos. Shooting at lower ISO settings can help reduce noise, but it might also require slower shutter speeds or larger apertures to maintain proper exposure.
What role does AI play in reducing noise in photography?
Artificial intelligence (AI) technologies have been developed to help analyze and automatically reduce noise in photos. By identifying patterns of noise and applying advanced algorithms, AI can effectively remove noise while maintaining detail, resulting in higher-quality images with less manual intervention.


