Long Exposure Photography: Capturing Time in a Frame - Mastering the Art of Stillness
Long Exposure Photography is a creative technique that captures the essence of time in a single frame, allowing photographers to experiment with composition and focus. By using slow shutter speeds, we can render moving subjects as beautiful blurs while keeping stationary subjects tack-sharp. This photography technique is perfect for highlighting the contrast between motion and stillness, opening the doors to endless possibilities.
As we delve deeper into understanding long exposure photography, we'll cover essential tools and equipment, techniques, and settings for capturing stunning images in various sceneries. Furthermore, we'll explore the post-processing of long exposure shots, creative projects, advanced techniques, and address some frequently asked questions to help refine your skills in this art form.
Key Takeaways
- Master the art of long exposure photography to create visually stunning images with a unique sense of time.
- Learn essential tools, techniques, and settings to achieve the desired effects in various scenes and conditions.
- Explore creative projects and expand your photographic skill set, while also understanding the intricacies of post-processing for the perfect final image.
Understanding Long Exposure Photography
Basics and Benefits
Long exposure photography is a technique where we capture a single image over an extended period of time. By using slower shutter speeds, we can blur moving elements while keeping stationary subjects sharp. This technique can create remarkable artistic effects, such as smoothing water or creating light trails in a bustling city scene.
Utilizing long exposure photography, we can emphasize the passage of time, express motion, and produce unique images. It can also help us achieve better low-light performance, as it allows more light to enter the sensor during the extended exposure.
Essentials of Camera Settings
When it comes to camera settings for long exposure photography, the exposure triangle becomes critical. We need to understand and adjust the three main components: shutter speed, aperture, and ISO.
Shutter Speed: The crux of this technique lies in selecting the appropriate shutter speed. Slower speeds, such as 1s or even 10s, can create the desired blurring effect, while the bulb mode on DSLRs and mirrorless cameras lets us fine-tune the length of exposures.
Aperture: The aperture determines the depth of field and the amount of light entering the camera. Wider apertures like f/1.4 or f/2.8 capture more light, which is advantageous for night photography. It's essential to find the sweet spot for your lens to balance depth of field and light intake.
ISO: Lower ISO values are recommended for long exposure photography to minimize noise. However, it's necessary to balance ISO with the other elements of the exposure triangle to achieve the desired exposure value.
ND Filters: Neutral Density filters can be crucial for daytime long exposure photography as they reduce the amount of light entering the lens, allowing for slower shutter speeds without overexposing the image.
Manual Mode: Setting the camera to manual mode gives us complete control over the settings, which is vital for mastering long exposure photography techniques. It allows us to adjust the shutter speed, aperture, and ISO independently, enabling us to capture the perfect shot.
By understanding and mastering the exposure triangle and camera settings, we can create striking long exposure images and showcase the beauty of time and motion in our photography.
Required Tools and Equipment
Gears and Accessories
When venturing into long exposure photography, it's essential to have the right gear and accessories. The primary tool we need is a sturdy tripod to ensure a stable platform for capturing images over an extended period. A shaky tripod can compromise the sharpness of our stationary subjects.
Another invaluable tool is a shutter release cable or a remote shutter release. This little accessory can prevent camera shake when opening and closing the shutter for extended periods. In addition to these fundamental tools, we should also consider investing in neutral density filters (ND filters) and a light meter. ND filters effectively reduce incoming light to our sensor, while light meters help make precise exposure calculations.
Optimal Camera and Lenses
When it comes to selecting a camera for long exposure photography, a DSLR or mirrorless camera would be our top choices. Both options provide us with manual control over exposure settings, allowing us to make fine adjustments necessary for capturing those stunning long exposure images. It is also important to choose a camera that has a Bulb mode, which will enable us to keep the shutter open for as long as needed.
Regarding lenses, it depends on the specific subject and type of long exposure photography we plan on shooting. Generally, for night photography, we should consider lenses with wider apertures (such as f/1.4 or f/2.8). These lenses enable our camera to collect more light, resulting in better image quality. On the other hand, for daytime long exposure photography, using the sweet spot of our lens, usually around f/8 to f/11, guarantees the sharpest results.
Techniques and Settings for Various Sceneries
Landscape and Water Photography
When capturing landscape and water features with long exposure, it's essential to have a tripod and neutral density (ND) filters to stabilize the camera and reduce light intake. For a dreamy effect in moving elements like clouds or water, slow shutter speed is crucial. We recommend using shutter speeds between 1-30 seconds, depending on the scene.
Select a low ISO to minimize noise and choose an appropriate aperture based on the desired depth of field in the landscape. For best results, consider shooting during the golden hour (sunrise or sunset) to enhance the scenery's colors and shadows. Use a wide-angle lens if you want to capture a wide vista.
Night and Astro Photography
Night and astrophotography involve capturing motion blur, light painting, or celestial objects such as the Milky Way and star trails. In this scenario, image stabilization and manual focus play an essential role, so a tripod is a must. Use a wide aperture (f/1.4 or f/2.8) to capture more light as the scenery is dark, and experiment with slower shutter speeds ranging from 10 seconds to several minutes, depending on the subject.
Set ISO values between 1600 and 6400 for proper illumination and use a wide-angle lens for a larger field of view. Shooting during the darkest hours away from city lights ensures minimal light pollution for astrophotography. Lastly, don't forget post-processing techniques to bring out the true beauty of your night sky photos!
Here's a concise summary of settings for your reference:
| Scenario | Shutter Speed | Aperture | ISO | Lens | Tripod | ND Filters |
|---|---|---|---|---|---|---|
| Landscape & Water | 1-30s | f/8-f/16 | 50-200 | Wide-angle | Yes | Yes |
| Night & Astro | 10s - several minutes | f/1.4 - f/2.8 | 1600-6400 | Wide-angle | Yes | No |
Post Processing of Long Exposure Shots
In long exposure photography, post-processing is an essential step to achieve desired results. When working with RAW files, we have more flexibility in adjusting settings and correcting any exposure errors. It's important to be familiar with tools like the histogram to help evaluate exposure value and guide our adjustments.
Using neutral density (ND) filters can greatly enhance the outcome of our long exposure shots. ND filters help in reducing the amount of light entering the lens, allowing us to use longer exposure times without overexposing the image. When choosing the right ND filter, consider the f-stop values and adjust accordingly.
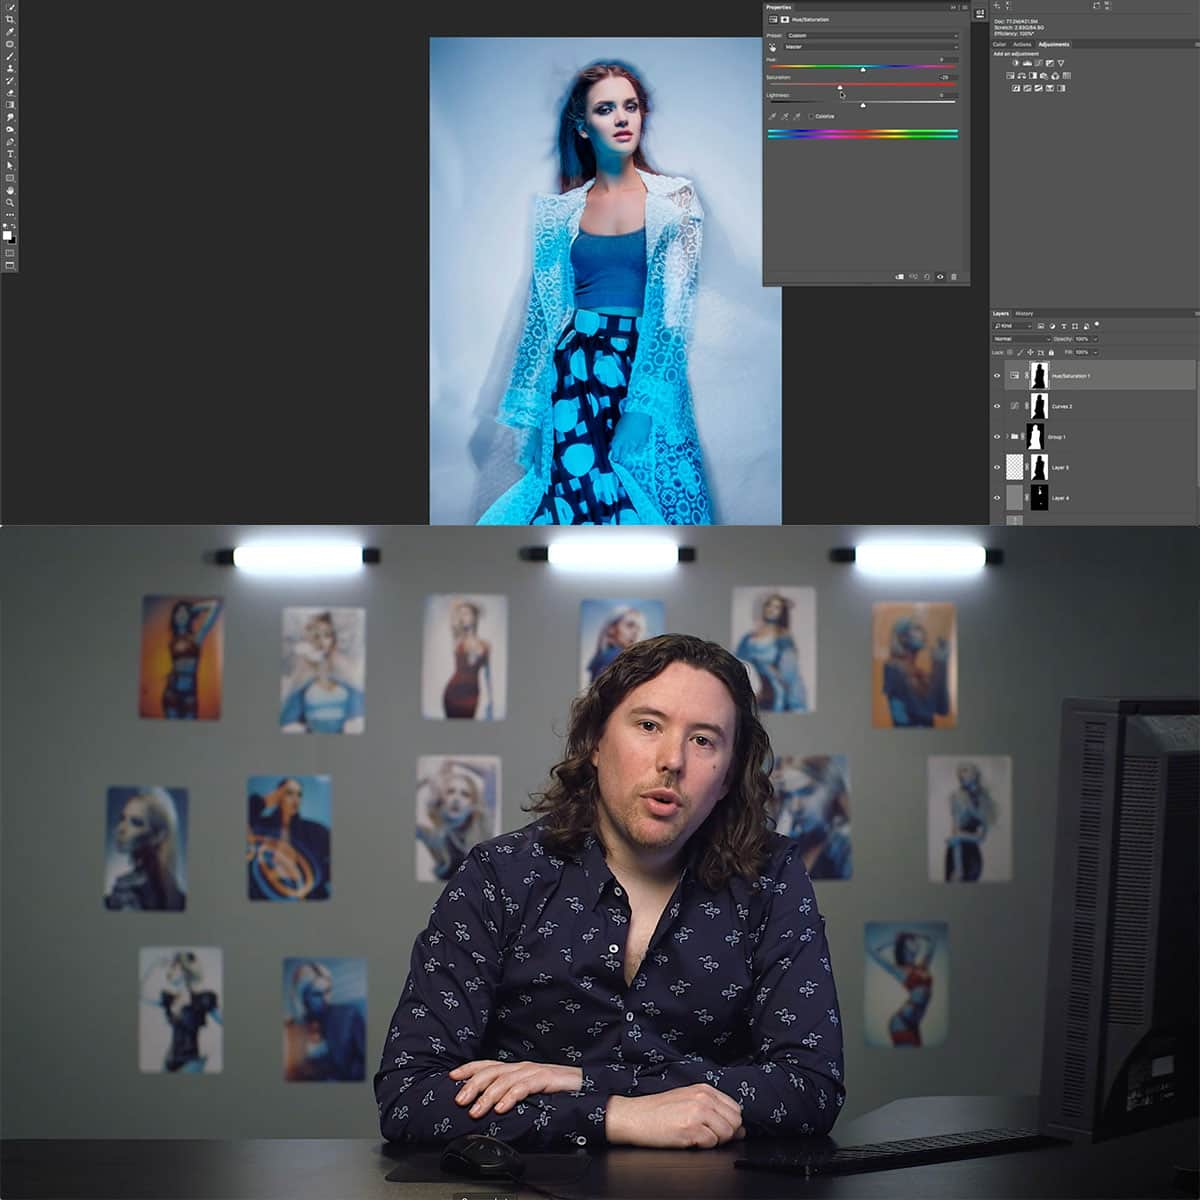
During the post-processing stage, adjustments such as color balance, contrast, and sharpening will be required. One technique is to convert our images to black and white to emphasize contrast and bring out details like blur in water or clouds. Keep an eye on the metering mode to ensure proper exposure levels, especially when using these filters.
After correcting basic settings, consider utilizing specialized tools and software like PhotoPills for planning and editing long exposure shots. This will help us improve our skills and achieve professional results. Don't forget to apply some final touches, such as cropping and lens correction, to enhance the overall aesthetics of our creation.
Creative Projects and Advanced Techniques
Capturing Light Trails
One popular technique in long exposure photography is capturing light trails. By using a slow shutter speed and a steady tripod, we can create magical trails of light from moving subjects like cars or pedestrians. To achieve this, set your camera to manual mode, select a slow shutter speed, and use a remote release to minimize camera shake. Don't forget to use our aperture's sweet spot and manual focus to ensure sharp images.
Experimenting in the golden hour or at nighttime can produce stunning results, especially when city lights or traffic are involved. Keep in mind that the exposure triangle (aperture, shutter speed, and ISO) plays a significant role in your final image; trial and error is essential.
Black and White Long Exposure
Black and white long exposure photography adds a sense of timelessness and contrast to your images. By utilizing neutral density filters, we can control the exposure value and achieve smooth, flowing motion in moving subjects like water or clouds. A helpful tool is the PhotoPills Long Exposure calculator, which can assist in calculating exposure time when using lens filters.
Manual mode is crucial, as is selecting the appropriate metering mode for the scene. Being creative with your settings and planning ahead will result in captivating black and white photographs.
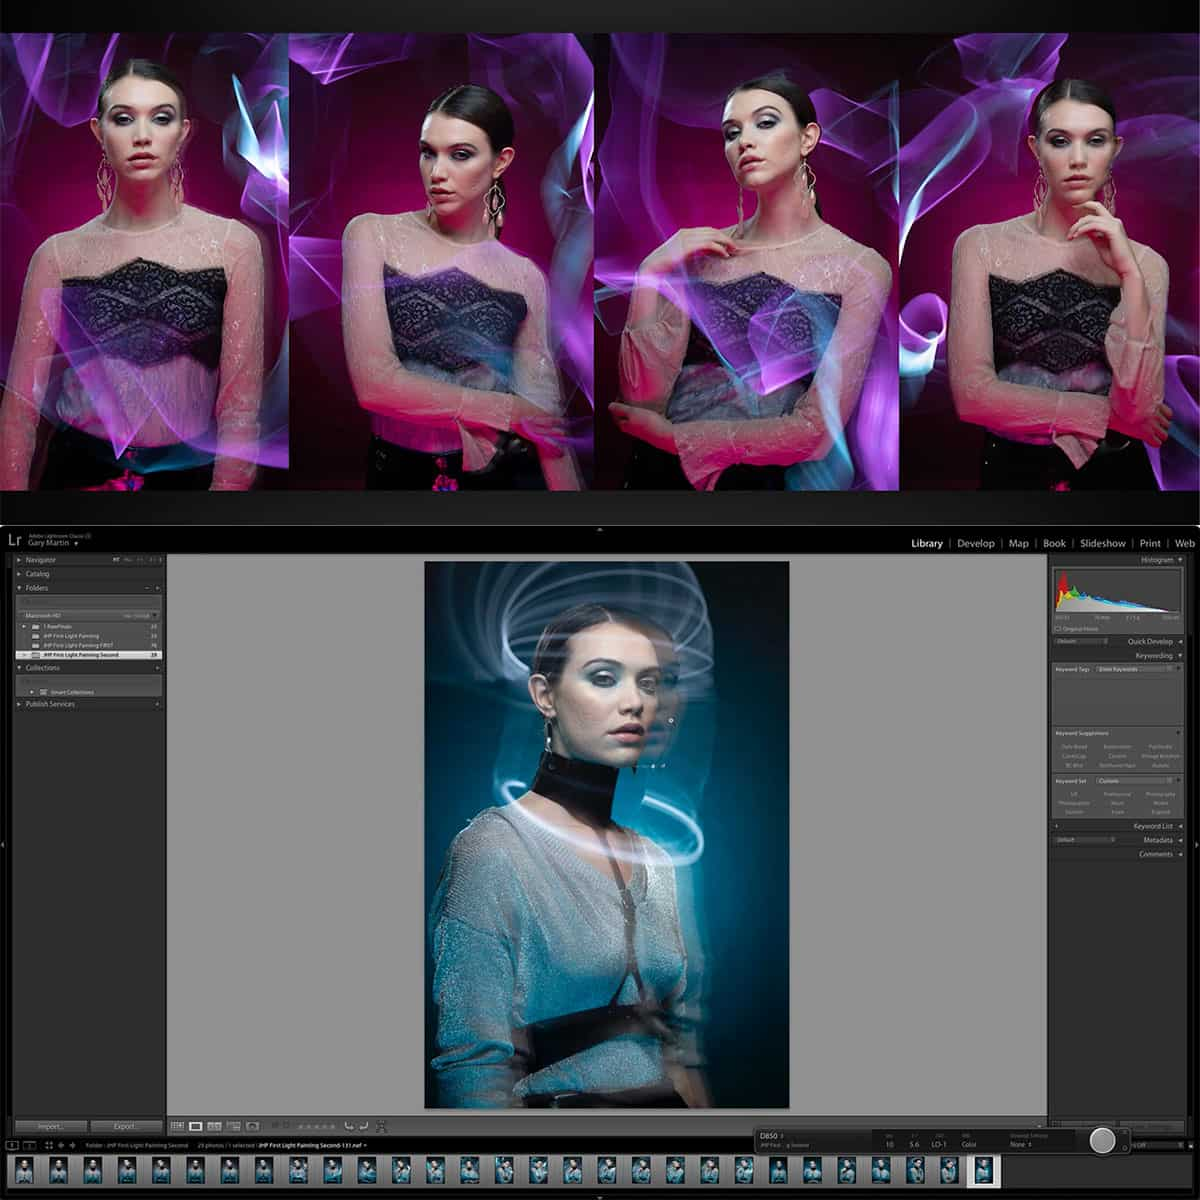
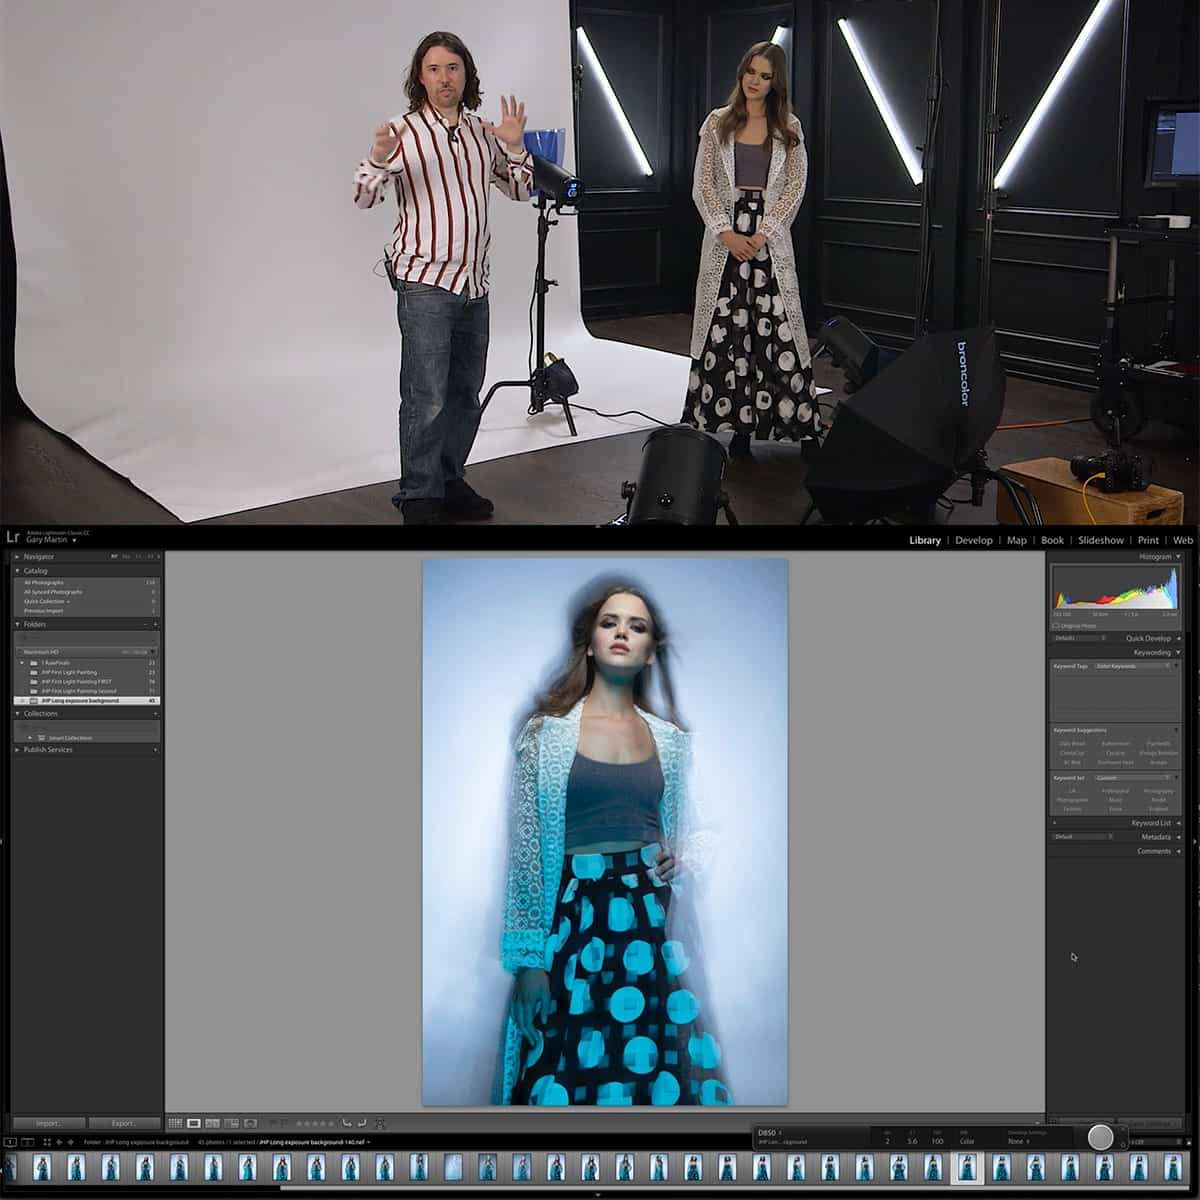
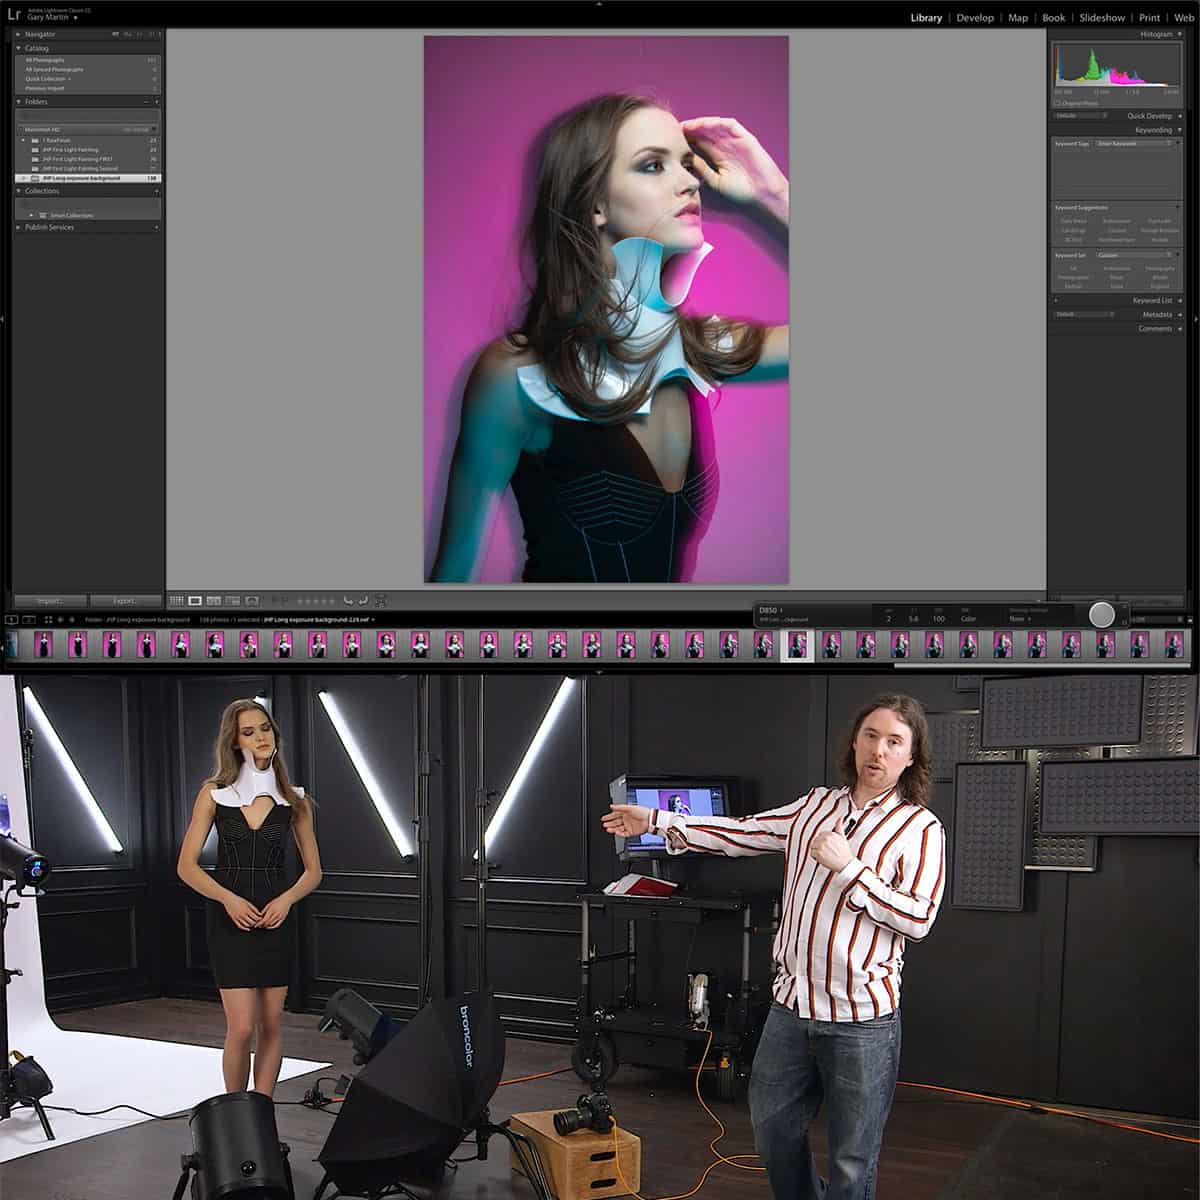
With long exposure photography, the possibilities are endless. Explore various settings and techniques, such as light painting or capturing a sense of movement in portraits. By using a combination of creativity, correct settings, and proper planning, we can create stunning and unique images that truly capture motion and time within the frame.
Frequently Asked Questions
What are the essential equipment for long exposure photography?
To achieve successful long exposure photography, you will need a sturdy tripod to keep your camera steady, a camera with manual mode to control aperture and shutter speed, and sometimes Neutral Density (ND) filters to reduce the amount of light entering the lens.
How can I achieve sharpness in long exposure photos?
To achieve sharpness in long exposure photos, use a tripod for stabilization, focus carefully on your subject, and employ a shutter release cable or your camera's built-in shutter delay feature to avoid camera shake during capture.
What are some creative ideas for long exposure photography?
Creative ideas for long exposure photography include capturing light trails of moving vehicles, smoothing out water surfaces, photographing star trails, and transforming busy cityscapes into serene scenes by blurring out the movement of people.
How do you capture the night sky using long exposure technique?
To capture the night sky using the long exposure technique, set your camera to a wide aperture (e.g., f/1.4 or f/2.8) to gather more light, and use a slower shutter speed to reveal details in the sky. Experiment with different settings based on your camera's capabilities and the specific conditions of the scene.
How can I create a long exposure effect in post-processing?
Though true long exposure effects are best achieved in-camera, you can simulate the effect in post-processing by blending multiple exposures or using software tools that mimic the long exposure look, such as Photoshop's Motion Blur or Radial Blur filters. Be mindful that these techniques might not always produce the same results as a true long exposure shot.
What are the optimal camera settings for waterfall long exposure shots?
For waterfall long exposure shots, set your camera to a semi-slow shutter speed (e.g., 0.4 seconds), a mid-range aperture (e.g., f/9), and a low ISO (e.g., 100) to achieve a smooth water flow while maintaining sharpness in the stationary elements of the scene. Be prepared to adjust settings based on the specific lighting conditions and desired effects.


