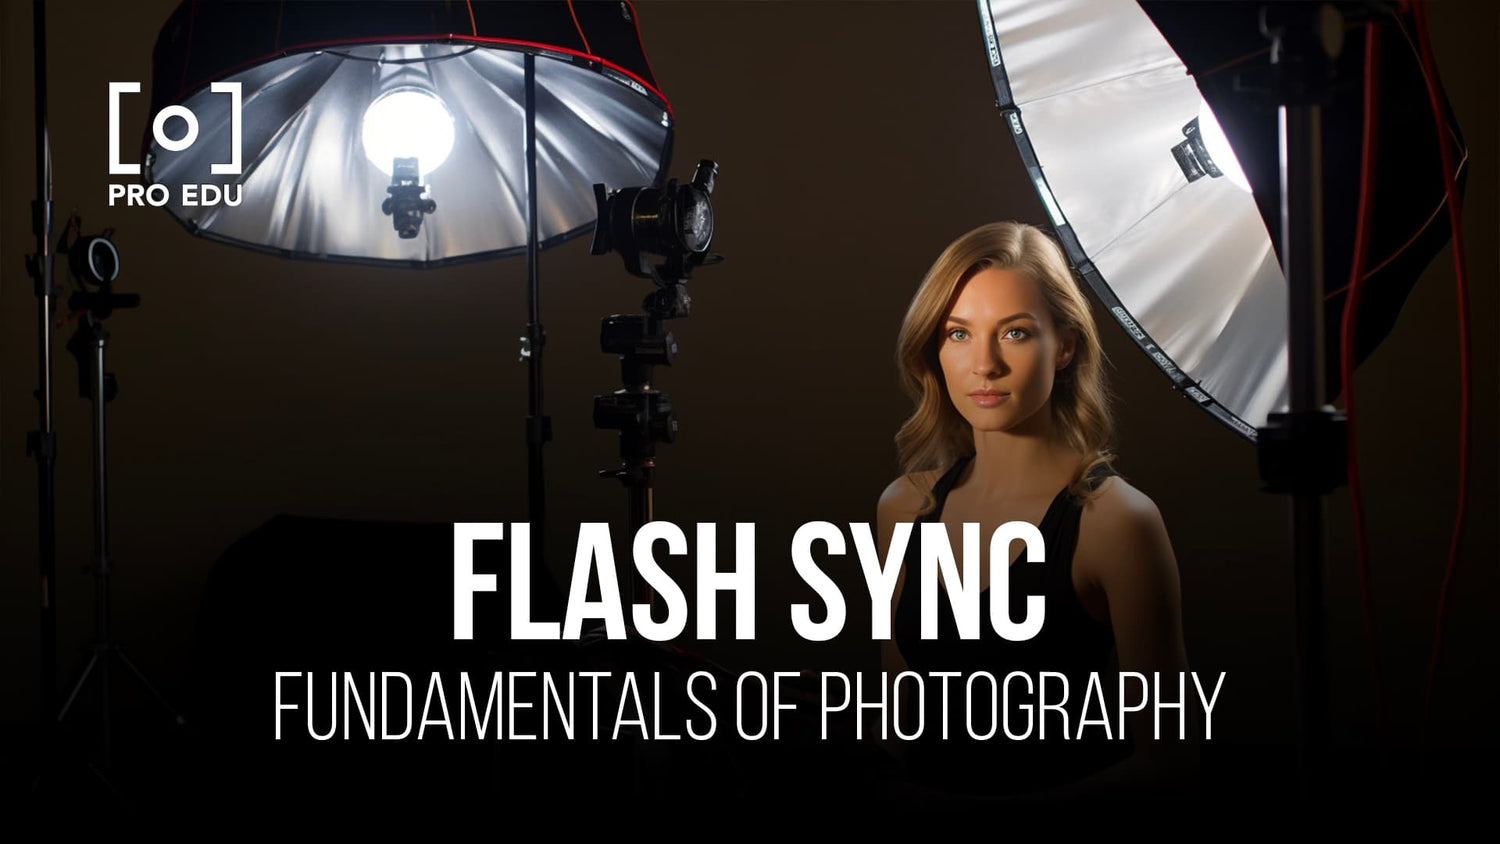
Flash Sync Simplified: Mastering Timing for Flawless Photos
Flash sync, while it might seem complicated at first, can be easily understood as the synchronization between your camera's shutter and the firing of the flash. Mastering this synchronization is essential to achieving well-lit, properly exposed photographs when using external or built-in flashes. By understanding the basics of flash sync, you will be better equipped to make the most of your camera's capabilities and create stunning images.
As a beginner in the world of flash photography, it's essential to familiarize yourself with your camera's shutter speed, flash modes, types, and settings, as well as the necessary equipment and tools needed for optimal flash performance. The more comfortable you become with these fundamentals, the better your application of flash sync will be in various photographic situations, leading to improved results in your images.
Key Takeaways
- Flash sync is the synchronization between your camera's shutter and the flash, crucial for properly exposed photos in flash photography.
- Understanding camera and flash basics, various settings, and necessary equipment is essential for mastering flash sync.
- With a solid grasp of flash sync, you can enhance your images by effectively applying flash in various photographic scenarios.
Understanding Camera and Flash Basics
Shutter and Aperture
When using a camera, it's essential to understand the basics of the shutter and aperture. The shutter is responsible for controlling the duration of light exposure on the camera sensor, while the aperture controls the amount of light entering the camera lens. Adjusting these settings allows for the manipulation of exposure and depth of field in your resulting photographs.
In both DSLR and mirrorless cameras, shutter speed is measured in fractions of a second. Faster shutter speeds like 1/2000s can freeze motion, while slower speeds like 1/30s can introduce blur or light trails. The aperture is represented by an "f-number" (e.g., f/1.4, f/4), with lower numbers indicating a larger opening and higher numbers indicating a smaller opening. A larger aperture lets more light in, creating a brighter image and shallower depth of field.
Camera Modes and Sensors
Modern cameras come with various camera modes to simplify the exposure settings and allow for more creative control. These modes include Aperture Priority, Shutter Priority, Program Auto, and Manual Mode. In Aperture Priority, the user sets the desired aperture, and the camera calculates the appropriate shutter speed. Similarly, in Shutter Priority, the user sets the shutter speed, and the camera calculates the aperture.
Camera sensors are responsible for capturing light and converting it into a digital image. Both DSLR and mirrorless cameras have a range of sensor sizes, including full-frame, APS-C, and Micro Four Thirds. Sensor size impacts various aspects of image quality such as resolution, low light performance, and dynamic range. A larger sensor typically allows for higher quality images and better low light performance, but it also requires larger lenses and may increase the overall camera size.
By understanding the importance of shutter, aperture, camera modes, and camera sensors, we can better utilize flash sync and adapt to different shooting scenarios. Remember, practice makes perfect, and experimenting with various settings can help you achieve optimal photos in any situation.
Getting to Know Flash Sync
Flash sync is a crucial aspect of photography that plays a role in determining the perfect balance between ambient light and your camera's flash. Essentially, it refers to the synchronization between the camera shutter and the flash output. In this section, we'll cover the basics on flash sync, sync speed, high-speed sync, and native sync speed.
Firstly, let's understand what sync speed is. Sync speed is the fastest shutter speed at which your camera can synchronize its flash with the shutter. If you exceed the sync speed, your camera's shutter will not open entirely when the flash fires, causing a black area to appear on your photo 1. Normally, sync speed is limited by a camera's native sync speed, which is typically around 1/200th to 1/250th of a second.
High-speed sync, on the other hand, is a feature found in some external flash units. This function allows your camera to synchronize the flash with shutter speeds faster than its native sync speed. By using high-speed sync, you can effectively reduce the motion blur in your photos and capture fast-moving subjects with greater precision 2.
Lastly, let's discuss flash sync speed. It is essential to maintain a proper flash sync speed to prevent unwanted artifacts from appearing in your photographs. Generally, faster flash sync speeds help to freeze motion, whereas slower sync speeds let ambient light in and contribute to a more balanced exposure 3.
With this knowledge of flash sync, mastering the perfect timing for your photographs will be within reach. A solid understanding of these concepts will greatly improve your ability to capture stunning images that incorporate a mix of ambient light and flash.
Flash Types and Settings
In flash photography, there are several types of flashes that can be used to achieve different results. One common type is the built-in flash, also known as the pop-up flash, which is found in most DSLR and mirrorless cameras. Although it's convenient, being on-camera, the small size of the pop-up flash often produces harsh light, limiting its effectiveness.
Another option is the off-camera flash, which is a separate, larger flash unit that can be attached to the camera or positioned away from it. This option provides better control over the light and allows for the use of modifiers like softboxes or umbrellas. The ring flash is another type of flash, designed primarily for macro photography, which produces a uniquely even and shadowless light due to its circular shape.
Modes of Flash
There are several modes you can use to control how the light from your flash impacts the exposure. In manual flash mode, you have full control over the flash's power output, allowing you to fine-tune the exposure. Alternatively, TTL mode (Through-The-Lens) lets the camera automatically determine the optimal flash output based on the light metering.
When dealing with moving subjects, it's important to consider the synchronization between your flash and camera shutter. One option is the rear curtain sync mode, where the flash fires just before the shutter closes. This allows for a well-exposed image with motion blur trailing behind the moving subject.
In conclusion, understanding the different flash types and settings is crucial to mastering flash photography. Whether using on-camera, off-camera, or specialized flashes like ring flashes, being familiar with the various modes will help you achieve the desired outcome for your photographs. Experiment with different settings to find the perfect balance of natural and artificial light to enhance your photography skills.
As a beginner, it's essential to be aware of the features and limitations of each flash type, as well as the available modes, to achieve the best results. By taking the time to learn about the available flash types and settings, you'll be on your way to perfecting your photography skills. Happy shooting!
Important Equipment and Tools
When venturing into flash photography, it's crucial to have the right equipment and tools. In this section, we'll discuss some essentials for achieving perfect flash sync and timing.
A sturdy tripod is necessary to ensure stability during the shoot. A reliable tripod will help reduce camera shake and unwanted motion blur.
High-quality flash heads are crucial for proper flash sync. Ensure the compatibility of your flash head with your camera's maximum flash sync speed before using it. Also, consider investing in flash heads with high-speed sync capabilities.
Softboxes are valuable for controlling the direction and quality of light. They help diffuse and soften the light, reducing harsh shadows and making your subject appear more natural.
Reflectors play a significant role in bouncing light back onto your subject, filling in shadows and adding depth to the scene. Grids, on the other hand, aid in directing and controlling light output, creating a focused beam for dramatic effects.
Lastly, ND filters (Neutral Density filters) allow the use of wider apertures in bright conditions. While not directly related to flash sync, they can be useful when trying to balance ambient and flash exposures.
By equipping ourselves with the right tools and understanding their purpose, we can ensure perfect flash sync and timing in our photography.
Practical Application of Flash Sync
In portrait photography, using flash sync helps us to avoid unnatural shadows and properly expose our subject. By understanding flash modes like High-Speed Sync, we can creatively control the background exposure while maintaining sharp focus on the subject.
Landscape photography also benefits from flash sync. Blending ambient light with flashed light creates depth and brings out textures in our foreground subjects. Slow Sync Flash, explained in detail here, is especially useful in capturing dynamic and visually appealing landscape shots.
We often encounter low-light situations in photography. Experimenting with flash sync can be the key to achieving balanced exposure. Combining ambient light and flash ensures our photos maintain a natural look while still illuminating important details.
Night photography presents unique challenges; flash sync assists us in tackling these. For example, when capturing moving subjects at night, such as cars, people, or animals, mastering techniques like rear-curtain sync allows us to freeze motion while maintaining a sense of movement in the captured image.
By practicing and incorporating flash sync into various photography styles, we can expand our creative potential and achieve more satisfying results across different shooting scenarios.
Frequently Asked Questions
What is the difference between high-speed sync and regular flash sync?
High-speed sync (HSS) allows your camera to use flash at faster shutter speeds than the camera's maximum flash sync speed. Regular flash sync is limited by the camera's maximum sync speed, typically around 1/200 to 1/250 seconds. HSS is useful for capturing fast-moving subjects and balancing ambient light with flash.
How does flash sync speed affect my photography?
Flash sync speed is crucial when using flash in your photography because it determines the highest shutter speed at which your camera can properly sync with the flash. If you exceed this speed, the flash may not illuminate the entire frame, causing issues like partial dark frames.
What factors should I consider when choosing shutter speed for flash sync?”
When choosing your shutter speed for flash sync, consider factors such as ambient light, subject movement, and desired depth of field. Fast shutter speeds help freeze motion, while slower speeds allow more ambient light to be captured. Additionally, longer exposures may be needed for maximum depth of field.
How does high-speed sync work with different camera brands like Canon, Nikon, and Sony?
High-speed sync is available on most modern camera systems, including Canon, Nikon, and Sony. However, the process and terminology may differ between brands. For example, Canon calls its system High-Speed Sync, while Nikon refers to it as Auto FP High-Speed Sync. Nonetheless, all these systems have the same goal of allowing successful flash photography at faster shutter speeds.
What are some common use cases for high-speed sync in sports photography?
High-speed sync is particularly useful in sports photography due to the fast motion of athletes. Some common use cases include freezing the action in bright outdoor settings, balancing flash with high-speed action, and creating more dramatic images by separating the subject from the background with the use of flash and fast shutter speeds.
How does ISO selection impact flash sync and exposure?
ISO selection can greatly impact both flash sync and overall exposure. Higher ISO values allow for faster shutter speeds and lower power requirements for your flash, making it easier to balance flash and ambient light. However, higher ISO settings can also introduce more noise in your images, so it's essential to find a balance that works well for your specific scenario and equipment.


