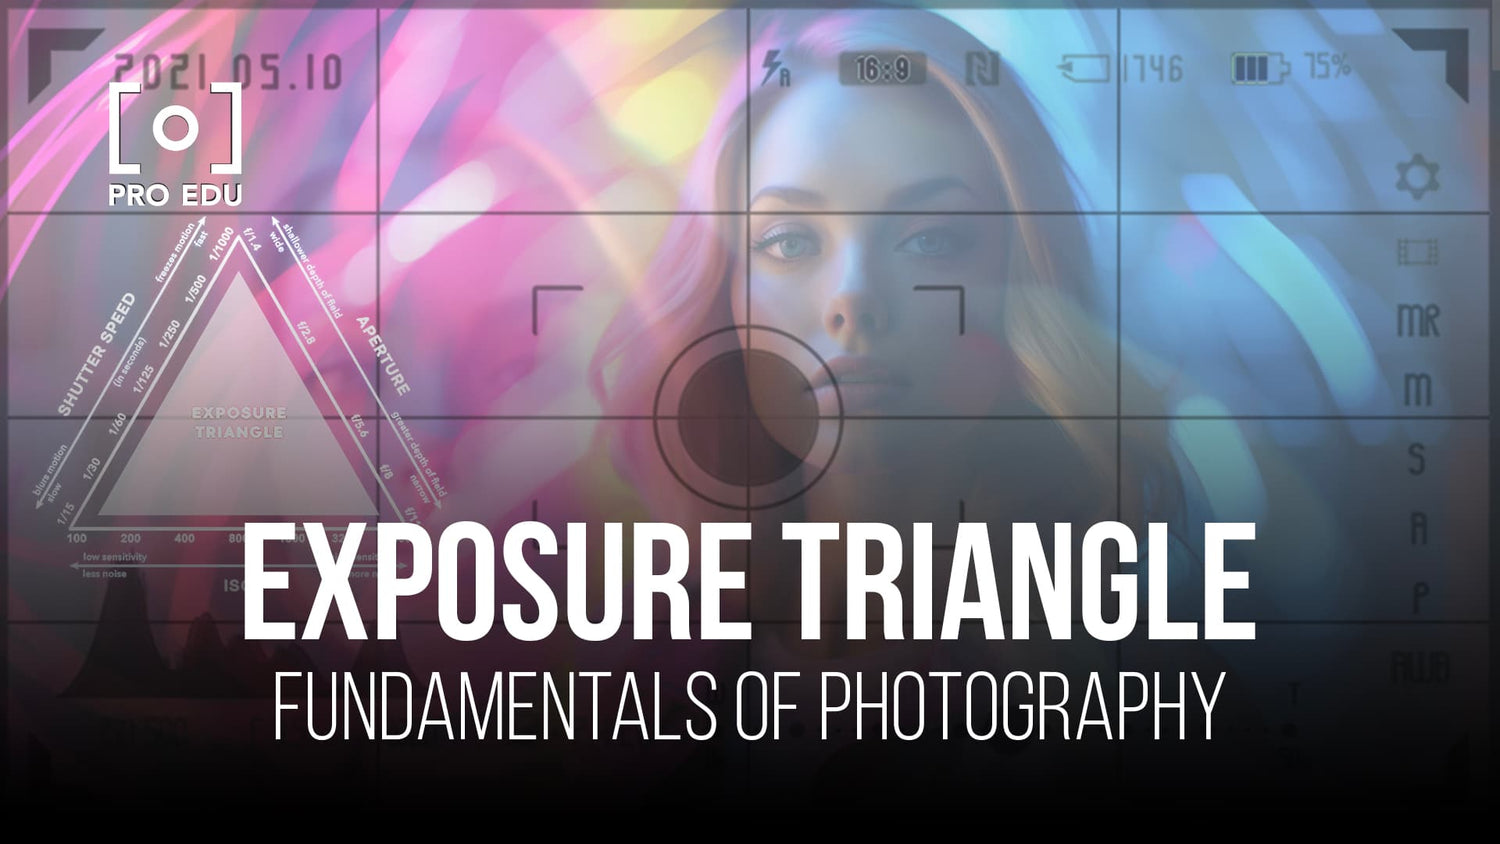
Decoding the Exposure Triangle for Beginners: Mastering Photography Basics
The exposure triangle is an essential concept for beginners in photography, as it lays the foundation for capturing well-exposed images. By understanding the three key elements - aperture, shutter speed, and ISO - and how they interact with one another, you can take full control of your camera and enhance your photography skills.
Aperture, often referred to as f-stop, controls the size of the camera lens opening, which affects the amount of light entering the sensor. Shutter speed, on the other hand, represents the duration for which the camera shutter remains open, again impacting the sensor's light intake. Lastly, ISO determines the camera sensor's sensitivity to light, thus affecting the overall image brightness.
Key Takeaways
- Exposure triangle is crucial for beginners to capture well-exposed images
- Mastering the interplay of aperture, shutter speed, and ISO leads to better photography skills
- Practice exercises are essential to understand the effects of exposure settings on image quality
Understanding Exposure
The Concept of Light and Photography
Photography is essentially the capturing of light on a sensor, so understanding light is crucial to achieving well-exposed images. The balance between the light that enters our camera and the sensor's sensitivity determines if the photos we capture are properly exposed.
The Idea of Exposure Triangle
The exposure triangle is a concept that helps photographers grasp the relationship between aperture, shutter speed, and ISO settings, which are integral to creating a well-exposed image. Knowing how to manipulate these three factors in harmony can make or break our photography.
The Nature of Aperture, Shutter Speed, and ISO
Aperture refers to the size of the opening in the lens that allows light to enter. A larger aperture lets in more light, while a smaller aperture restricts it. This affects the depth of field, which is the area that appears sharp in our image.
Shutter speed determines the amount of time the camera's sensor is exposed to light. Fast shutter speeds (e.g., 1/1000s) freeze motion, while slow shutter speeds (e.g., 1s) can create motion blur and require a steady camera or tripod.
ISO controls the sensitivity of our camera's sensor to light. A low ISO value, such as 100, results in less sensitivity and less noise. Higher ISO values, such as 1600, increase sensitivity and can introduce more noise and graininess.
Adjusting one of these parameters affects the others; for example, raising the ISO might require lowering the aperture or shutter speed to maintain proper exposure. The exposure triangle helps us visualize the balance needed between these three settings, so our photos are neither underexposed (too dark) nor overexposed (too bright). Knowing how to achieve this equilibrium ensures our photos turn out the way we envision them.
Adjusting the Parameters
Dependence on Lighting Conditions
In photography, the exposure triangle is made up of three elements: shutter speed, aperture, and ISO. These elements work together to control the amount of light that reaches the sensor, ensuring that our images are properly exposed. When we face different lighting situations, we may need to adjust one or more of these parameters to achieve a correctly exposed image.
For instance, in low light scenarios, we might use a slower shutter speed or a wider aperture to allow more light into the camera. Conversely, in bright conditions, we may need a faster shutter speed or a smaller aperture to avoid overexposing our shots. Another factor we can adjust is the ISO, which affects the sensitivity of our camera's sensor to light. The choice depends on the desired outcome and the specific condition we face.
How to Manipulate Stops
A stop is a term used in photography to describe a relative measure of light exposure. By understanding how to manipulate stops, we can fine-tune our images' exposure. One stop corresponds to a factor of two, either doubling or halving the amount of light reaching the sensor. In the exposure triangle, each parameter can be adjusted in stops, which makes balancing the exposure with these settings more accessible.
Here are some examples of how to adjust stops:
- Shutter Speed: If we want to increase the exposure by one stop, we can double the shutter speed (e.g., from 1/100s to 1/50s). To reduce the exposure by one stop, we can halve the shutter speed (e.g., from 1/100s to 1/200s).
- Aperture: To change the exposure by one stop, we can decrease or increase the aperture by a factor of √2 or about 1.4. For example, to increase the exposure by one stop, we can change the aperture from f/4 to f/2.8. To decrease the exposure by one stop, we would switch from f/4 to f/5.6.
- ISO: If we need an extra stop of light, we can double the ISO (e.g., from 200 to 400). To decrease the exposure by one stop, we can halve the ISO (e.g., from 200 to 100).
By adjusting the shutter speed, aperture, and ISO, we can effectively control the exposure in our images, ensuring that we capture beautiful and well-lit scenes, regardless of the lighting conditions we encounter.
Effects of Exposure Settings
The Role of Aperture in Depth of Field
Aperture, measured in f-stops, controls the size of the opening in a camera lens. A lower f-stop number represents a larger opening, allowing more light to enter the camera. Aperture not only affects the exposure but also depth of field. A larger opening, such as f/1.8, creates a shallow depth of field, making the subject stand out clearly, while the background appears blurred.
On the other hand, a smaller aperture, such as f/16, results in a greater depth of field, keeping both foreground and background in sharp focus. This is particularly useful for landscape photography, where you want the entire scene to be in focus.
Shutter Speed and Motion Blur
Shutter speed determines the length of time the camera's sensor is exposed to light. It is measured in seconds or fractions of a second, like 1/200s, 1/100s, or 1/60s. Faster shutter speeds, such as 1/200s, allow less light to hit the sensor and help freeze action in fast-moving subjects, eliminating motion blur.
Conversely, slow shutter speeds, such as 2s or even 30s, allow more light to enter and can cause motion blur. This might be desirable for artistic effect in certain situations, like photographing a waterfall or painting with light.
ISO and Noise
ISO refers to the sensitivity of your camera's sensor to light. Lower ISO values, such as 100, indicate lower sensitivity and result in cleaner images with less noise or grain. In low-light conditions, we might increase the ISO to 800 or higher to capture a properly exposed image.
However, increasing the ISO also increases noise. Noise appears as grainy texture, reducing image quality. Modern cameras have made significant improvements in noise reduction, but it remains a factor to consider when adjusting your exposure settings.
In summary, understanding the exposure triangle helps us manipulate aperture, shutter speed, and ISO to create the desired effect in our photos while maintaining proper exposure. Mastering these settings leads to more creative control and consistent, high-quality images.
Practical Exercises for Beginners
Understanding Brightness and Stops
One way to grasp the concept of the exposure triangle is by performing practical exercises. We can start with brightness and stops. Recall that a "stop" corresponds to doubling or halving the amount of light. In this exercise, find a scene with varying light levels, like a room with a window. First, set your camera's aperture, shutter speed, and ISO to auto. Then, adjust the exposure value (EV) by increments of +1 or -1 stop. Notice how the image becomes brighter or darker with each change.
To get a feel for manual exposure adjustments, switch your camera to manual mode. Experiment with different combinations of aperture, shutter speed, and ISO to achieve the same exposure as the auto mode. For example, if you increase the shutter speed by one stop (halving the time), you'll need to compensate by either opening the aperture (e.g., f/4 to f/2.8) or increasing the ISO (e.g., 100 to 200). Make note of the combinations that yielded correct exposure.
Analysing Resulting Images
Now that you've experimented with various exposure settings, it's time to examine the images. Pay attention to underexposed and overexposed areas, as well as motion blur and noise differences. Underexposed images will appear too dark, while overexposed images will have washed-out areas. Motion blur occurs when the shutter speed is too slow to freeze action, while noise (or grain) results from using a high ISO setting.
By studying these effects, you'll become familiar with how each component of the exposure triangle influences your photos. Analyzing the images can also help you understand the tradeoffs between different settings and when to prioritize one over the other. For instance, you may accept a bit of noise to freeze motion in sports photography or embrace motion blur for creative effects.
Using these exercises and insights will help you grow as a photographer. Remember, practice makes perfect when mastering the exposure triangle, so keep experimenting and experimenting.
Frequently Asked Questions
What are the main components of the exposure triangle?
The exposure triangle consists of three primary elements: aperture, shutter speed, and ISO. These three components work together to determine the overall exposure or light captured to create an image. Balancing these elements is essential for producing well-exposed photographs.
How do aperture, shutter speed, and ISO affect exposure?
Aperture controls the size of the opening in the lens, allowing more or less light to reach the camera sensor. A wider aperture results in increased exposure, while a smaller aperture reduces it. Shutter speed refers to the amount of time the sensor is exposed to light, with slower shutter speeds allowing more light than faster ones. ISO pertains to the camera sensor's sensitivity to light: a higher ISO means the image will be brighter, but may also increase noise in the image.
Why is understanding the exposure triangle crucial for photography?
Comprehending the exposure triangle is essential for photographers as it enables them to manipulate the elements involved to achieve their desired outcomes. By understanding these core principles, photographers can be more precise when determining proper exposure levels, thereby avoiding overexposed or underexposed images, and creating photographs with the appropriate depth of field, motion blur, and noise levels.
How can I achieve correct exposure using the exposure triangle?
To achieve the correct exposure, it's crucial to balance the aperture, shutter speed, and ISO. Start by choosing the desired aperture setting based on creative requirements (depth of field), then decide on the shutter speed (motion blur), and finally adjust the ISO to obtain the correct brightness level. Continuously tweaking these settings and experimenting will lead to an improved understanding of the exposure triangle and better results in your photography.
What are some common exposure triangle scenarios for beginners?
Beginners can practice exposure triangle scenarios by working with different subjects and lighting conditions. For example, in a low-light situation, try using a wider aperture and slower shutter speed while keeping ISO at a minimum to retain image quality. In outdoor scenarios with ample light, opt for a smaller aperture and faster shutter speeds to capture sharp images with minimal noise. Practicing in these various conditions will help beginners learn how to adapt to different exposure settings effectively.
Are there tools or apps available to help simplify exposure triangle calculations?
Yes, numerous tools and apps can assist photographers with exposure triangle calculations. These applications often provide a user-friendly interface that allows you to input the desired settings and receive recommendations for optimal exposure. This can be particularly advantageous for beginners who are still learning the nuances of the exposure triangle. As you become more proficient in adjusting these components manually, these apps can serve as a useful reference or a starting point for exposure settings.


