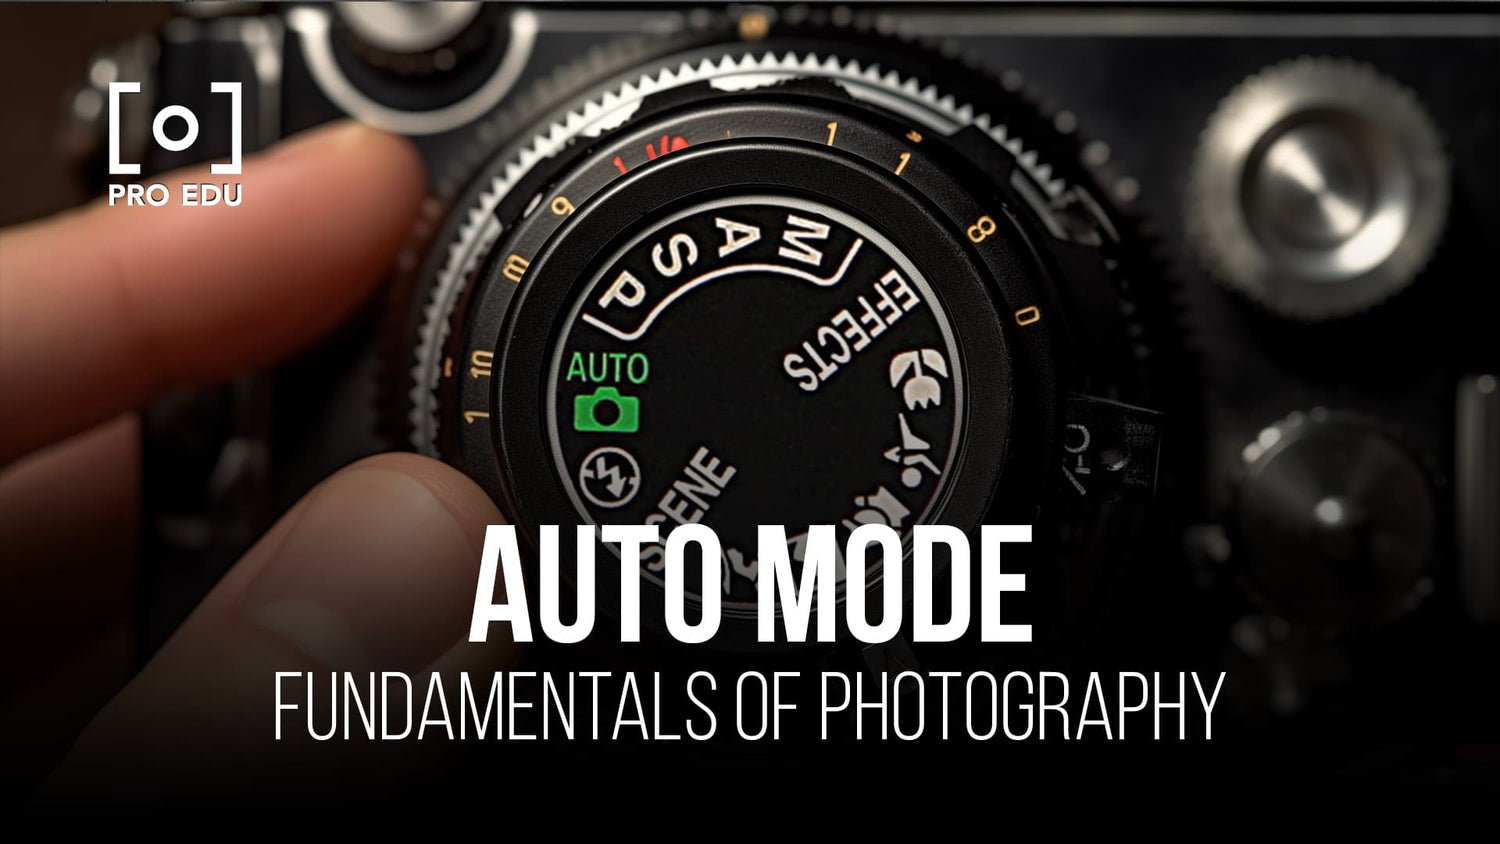
Decoding Auto Mode in Cameras: When to Use It for Best Results
In the world of photography, understanding your camera's settings is essential for capturing quality images. Auto mode is a popular setting on most DSLRs and digital cameras, as it provides an easy and convenient way to allow the camera to automatically adjust settings for you. While this can result in decent photos for beginners, it's important to learn when to use auto mode and when to explore other modes for better results.
As photographers gain experience, they often move beyond auto mode to embrace more control over their camera settings. However, there are still instances where auto mode can be beneficial and help you focus on other aspects of the shot, such as composition and timing. Knowing when to use auto mode can lead to improved images, and understanding its limitations enables you to choose the best mode for your shooting circumstances.
Key Takeaways
- Auto mode provides photographers with an easy way to let the camera handle settings automatically.
- It can be beneficial in certain circumstances, but understanding its limitations is important.
- Learning when to use alternative camera modes allows for greater control and improved images.
Understanding Auto Mode
Auto mode is a popular option among photography enthusiasts because it simplifies the process of capturing great photos. In auto mode, the camera automatically adjusts the shutter speed, aperture, and ISO settings to achieve the optimal exposure. This allows users to focus on composition and subject matter rather than technical settings.
One benefit of using auto mode is that it can quickly adapt to a variety of lighting conditions. However, it's important to note that auto mode is not perfect and may not always choose the best settings for your specific situation. For example, it may struggle in low light scenarios or when trying to capture fast-moving subjects.
If you're new to photography, auto mode is an excellent place to start. As you progress, you can experiment with other camera modes that give you more control over settings like manual mode. By understanding the advantages and limitations of auto mode, we can make informed decisions about when to use it and when to explore other shooting modes.
In conclusion, auto mode is a helpful tool for photographers of all skill levels. It simplifies the process of capturing well-exposed images, allowing users to focus on composition and subject matter. With practice, we can learn to recognize when auto mode is the best choice and when to consider othercamera modes for more creative control.
When to Use Auto Mode
Auto mode is a convenient feature for those moments when we need a quick, hassle-free shot. It's perfect for capturing life's spontaneous events, as the camera automatically adjusts settings like aperture, shutter speed, and ISO to ensure a well-exposed image. Auto mode can be particularly helpful when shooting sunrise or sunset scenes, where lighting conditions can change rapidly.
In addition to the standard auto mode, many cameras offer specialized scene modes that cater to specific subjects or situations. For instance, portrait mode optimizes settings for capturing sharp images of people with a pleasingly blurred background. Similarly, sports mode is designed to freeze fast-moving objects by using a higher shutter speed and continuous autofocus.
When photographing spacious landscapes, landscape mode often sets the camera to a smaller aperture and longer depth of field, ensuring both the foreground and background are in focus. On the other hand, macro mode is perfect for close-up photography, as it adjusts the focus distance and depth of field to capture intricate details of smaller subjects.
In conclusion, auto mode and its variations make it easier for photographers to capture high-quality images in a range of situations. While more experienced photographers may prefer manual controls, utilizing auto modes can be beneficial for beginners or for those moments when time is of the essence.
Limitations of Auto Mode
While Auto Mode can be convenient, it has some limitations. It often sacrifices creative control over the elements that contribute to a great photograph. Let's explore the drawbacks of relying on Auto Mode.
Manual mode gives us more control over the exposure and focus settings, allowing us to capture shots that reflect our true artistic vision. As photographers, we may want to control the depth of field or motion blur to achieve a specific aesthetic. Auto Mode, on the other hand, calculates an average exposure which may not always be optimal.
When shooting in low light situations, Auto Mode might increase the ISO to compensate for the lack of light. This can result in unwanted noise in our images. By switching to Manual mode, we can adjust the ISO, aperture, and shutter speed to capture well-exposed images with minimal noise.
In many cases, we may want to control the depth of field, which is the range of focus from the foreground to the background in our images. Auto Mode often chooses an aperture that results in a deeper depth of field, potentially decreasing the subject isolation. Manual mode allows us to make adjustments to achieve the desired depth of field.
Finally, capturing fast-moving subjects can be challenging in Auto Mode, as it may not select the ideal shutter speed to freeze motion. This could result in motion blur or soft images. By utilizing Manual mode, we can increase the shutter speed to prevent motion blur while still maintaining proper exposure.
Alternative Modes and Their Advantages
In this section, let's discuss some alternative camera modes and their advantages over Auto Mode. These modes include Manual Mode, Aperture Priority Mode, Shutter Priority Mode, and Program Mode.
Manual Mode gives us complete control over the camera settings, allowing for more creative photography. By adjusting the aperture, shutter speed, and ISO, we can achieve unique effects that may be impossible to replicate in Auto Mode. For experienced photographers, this provides an avenue to fully express their artistic vision. Learn more about the benefits of manual mode.
Aperture Priority Mode allows us to control the aperture while the camera automatically sets the shutter speed. This mode is particularly useful when we wish to control depth of field to isolate a subject or achieve a desired level of background blur. Find more information about aperture priority mode and its uses.
In contrast, Shutter Priority Mode lets us set the shutter speed while the camera adjusts the aperture. We recommend using this mode for capturing motion, whether to freeze fast-moving subjects or intentionally blur movements. An informative example on when to use shutter priority mode can guide you further.
Finally, Program Mode serves as a bridge between Auto and semi-automatic modes - it offers greater control than Auto Mode without the complexity of Manual Mode. The camera still sets the aperture and shutter speed, but we can modify other settings such as ISO, white balance, and focus points to tailor the final result. Check out the benefits of using Program Mode for an enhanced understanding.
Exploring these alternative modes will enhance our photography skills and allow us to better adapt to various shooting scenarios.
Transition from Auto to Manual Mode
When starting in photography, most of us rely on Auto mode for capturing images. Auto mode adjusts settings like aperture, shutter speed, and ISO based on the lighting conditions. However, it's essential to transition from Auto to Manual mode to unleash your camera's full potential and gain more control over your photographs.
The first step in this transition is understanding how to adjust the focus. In Manual mode, you can choose between manual or autofocus to achieve sharp images. Autofocus is helpful when capturing moving subjects, while manual focus allows precise control for static compositions.
Another crucial aspect of Manual mode is the white balance. In Auto mode, the camera sets white balance based on the scene. Manual mode lets you control this setting to match the light source or create a specific color cast for creative purposes.
The built-in flash in cameras can sometimes produce harsh lighting, leading to overexposed images. In Manual mode, you can control the flash settings, experiment with off-camera flashes, or utilize techniques like bouncing the flash off surfaces to reduce harshness.
Image stabilization is an essential feature to ensure sharp images in challenging conditions. While it may automatically be enabled in Auto mode, Manual mode allows you to adjust image stabilization settings to match your needs, especially when using longer focal length lenses or when shooting in low-light.
Using a tripod can significantly enhance your photographic results by providing stability. In Manual mode, you can combine the use of a tripod with long exposure settings to capture stunning landscapes or night sky images. A tripod also helps in achieving sharper images while using image stabilization.
Lastly, exposure compensation is a valuable feature in Manual mode, allowing you to fine-tune the camera's automatic exposure decisions. This function lets you adjust the brightness of your images without manually changing the aperture, shutter speed, or ISO settings.
As you can see, transitioning from Auto to Manual mode opens up new photographic possibilities. By mastering these basic concepts, you'll have greater control over your camera and ultimately, improve the quality of your photographs.
Implementing Auto Mode Tips from Professionals
Professional photographers often use auto mode for specific scenarios where it saves time and still delivers excellent results. We've gathered some helpful tips on using auto mode efficiently:
-
Autofocus: Auto mode utilizes your camera's autofocus system to achieve a sharp focus on the subject. Ensure your autofocus points are set correctly, especially when capturing moving objects or portraits. This way, we can rely on the camera's autofocus to do its job effectively. Learn more about autofocus systems here.
-
Built-in flash: In auto mode, the camera automatically decides when to use the built-in flash. However, it can sometimes produce harsh lighting. We can try diffusing the flash or adjusting its intensity when possible, for better results.
-
Scene mode: Many cameras offer different scene modes in auto settings. These modes optimize the camera for specific situations, such as landscapes, portraits, or low light conditions. Select the appropriate scene mode for your subject to make the most out of auto mode.
-
Metering mode: The camera's metering mode determines how it measures light and sets exposure values. In auto mode, the camera often defaults to matrix or evaluative metering, which considers the entire frame. However, for some subjects, center-weighted or spot metering may produce better results. Familiarize ourselves with our camera's metering options and choose wisely.
By incorporating these professional tips into our photography, we can make the most of our camera's auto mode and capture stunning images with ease.
Frequently Asked Questions
What are the advantages of using Decoding Auto Mode?
In Auto Mode, the camera automatically adjusts all exposure settings, making it an excellent choice for beginners. This mode allows you to focus on framing the shot, with the camera handling aperture, shutter speed, and ISO for optimal results Urth Magazine.
When should I switch from Auto Mode to other camera modes?
Switching to other camera modes is recommended as you become more experienced and want to gain more control over your photographs. As you learn about various settings and techniques, you can experiment with Manual mode, Aperture Priority mode, and Shutter Priority mode, among others Bokeh Bob.
How do Aperture and Shutter Priority Modes differ from Auto Mode?
Aperture Priority mode allows you to control the aperture while the camera adjusts the shutter speed and ISO automatically. This mode is useful for controlling depth of field in a photo. Conversely, Shutter Priority mode lets you control the shutter speed, impacting the level of motion blur or freeze in a photograph. In this mode, the camera adjusts aperture and ISO Sleeklens.
Can Auto Mode limit creative control in photography?
Yes, relying solely on Auto Mode can limit your creative control since the camera makes all decisions regarding exposure settings. This may result in less-than-ideal outcomes for specific shots where manual adjustments are necessary. Experimenting with other modes can help you achieve desired looks and effects Photofocus.
Why do some professionals avoid using Auto Mode?
Many professionals avoid Auto Mode because it offers limited control over the final image. They prefer Manual Mode and other advanced settings that allow them to fine-tune exposure, focus, and depth of field to create their desired images.
What are the common issues faced in Auto Mode?
Common issues encountered in Auto Mode may include overexposed or underexposed images, inaccurate white balance, and imprecise focus. These issues result from the camera making all exposure decisions, which might not always match the creative vision of the photographer. Using other modes can help mitigate these problems and enhance your photographic skills Digital Camera HQ.


