Darkroom Techniques: The Art of Traditional Photography Unveiled
Traditional photography has always been a fine art that involves a deep understanding and skillful execution of various techniques. The darkroom, an almost completely dark space where photographers develop their prints, is at the heart of this art form. As photographic processes have evolved, the darkroom has remained a crucial component of traditional photography, allowing artists to manipulate their images through physical methods.
Darkroom techniques date back to the birth of the photographic medium, with early artists employing a range of hands-on methods to alter their images. Some of these techniques, such as dodging, burning, and masking, continue to be used today, providing photographers with an array of artistic possibilities. The importance of mastering darkroom manipulation cannot be understated, as it can help photographers improve the contrast, brightness, color, and overall aesthetic of their work.
One of the main reasons the darkroom process has endured throughout photography's history is the reliance on chemical reactions to develop prints. The chemistry behind darkroom photography includes a variety of developer solutions and fixer agents, contributing to the unique charm of traditional processes and the resulting images. By understanding and carefully controlling this chemistry, photographers can create exceptional prints that often carry an unparalleled artistic quality.
Key Takeaways
- Darkroom techniques are essential to the art of traditional photography
- Hands-on processes, such as dodging and burning, offer unique artistic possibilities
- Understanding the chemistry behind darkroom photography is vital to achieving exceptional prints
To further develop your photography skills and knowledge, you may find advanced photography courses helpful.
Evolution of Darkroom Techniques
19th Century Photographic Processes
In the early days of photography, various processes and techniques were developed. One well-known method was the collodion process, which allowed for faster and more affordable image creation. Another popular 19th-century process was the tintype method, known for producing one-of-a-kind, durable images.
The artistic side of photography also began to flourish, as seen in the Royal Photographic Society formation in 1853. Photographers back then experimented with different techniques to create unique artistic effects and express their creative vision.
Emergence of Film Photography
As technology evolved, so did darkroom techniques. Film photography replaced earlier processes, offering a more practical solution for photographers. During this time, various methods, such as dodging, burning, and masking, became essential parts of darkroom workflow.
Symbolic of this era was the introduction of enlargers, which played a crucial role in transforming image processing. Enlargers allowed for greater control over image exposure and development times, which in turn led to more opportunities for artistic expression and experimentation.
Advent of Digital Photography
The emergence of digital photography revolutionized the industry, shifting the focus away from traditional darkroom techniques. However, some of the concepts and principles used in historical darkroom practices continue to live on in digital form. For example, burning and dodging techniques have transitioned into the realm of digital editing software.
Despite the widespread adoption of digital technology, the allure of traditional darkroom techniques remains. Art forms like the bromoil process continue to attract photographers interested in exploring the origins of the medium. In conclusion, the evolution of darkroom techniques reflects the continuous development and progress of photography as an art form.
Fundamentals of Darkroom Processing
Understanding the Darkroom
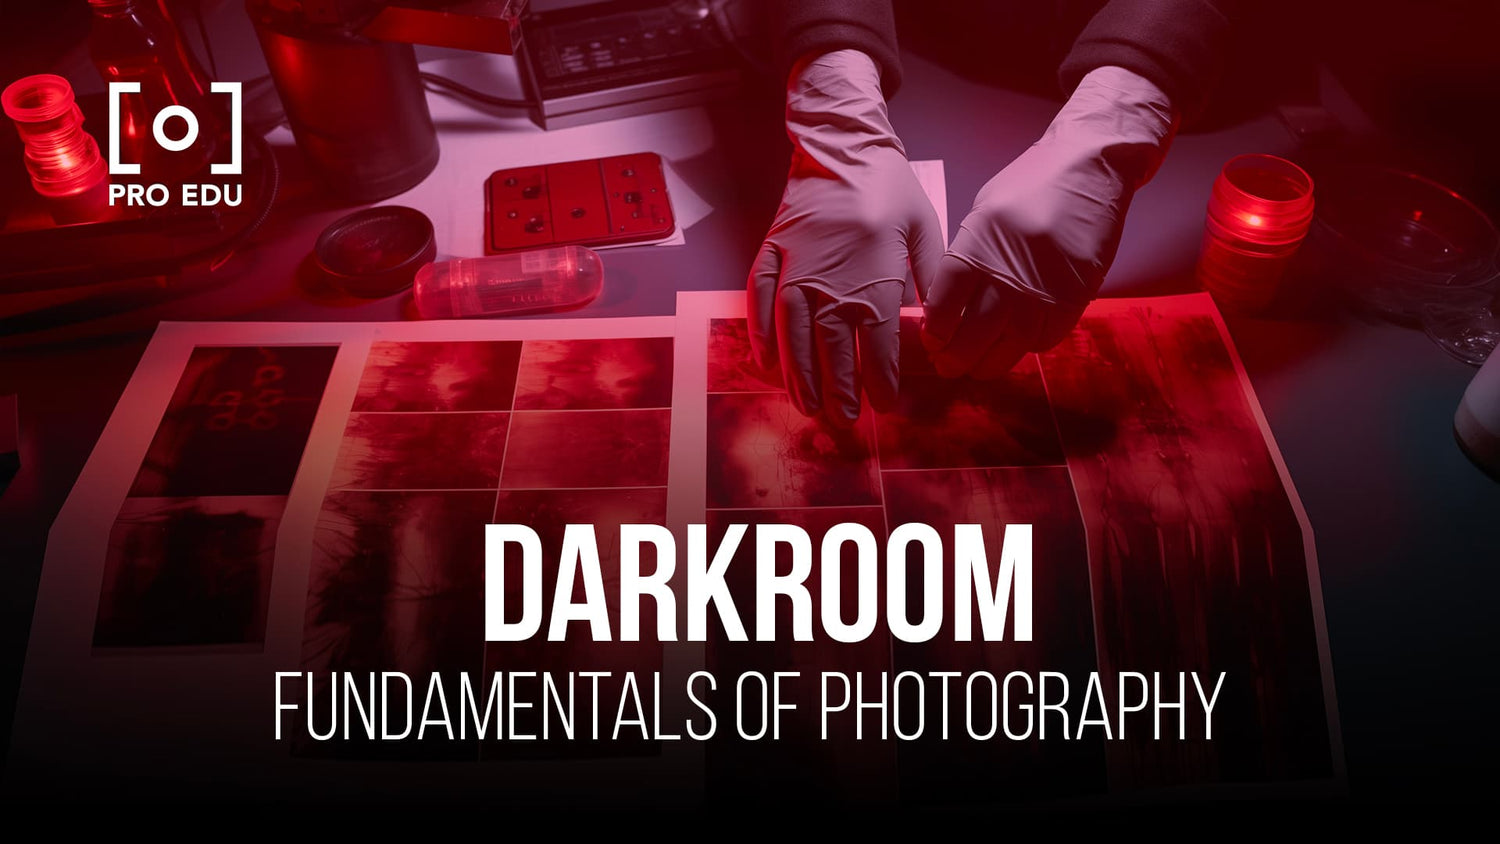
In a traditional darkroom, we can process photographs without using computers. The darkroom is essential because it is almost entirely dark, except for a red light called a safe light. This light allows us to handle light-sensitive materials without exposing them to light that would ruin the images.
Working with Negatives
When working with negatives, we need to focus on two different types: black and white, and color. Black and white negatives are processed differently than color negatives. During the development process, we immerse the negatives in different chemical solutions, which result in the final image. To create prints from these negatives, we use an enlarger, which projects the negative image onto photographic paper, creating a positive image.
Use of Darkroom Equipment
There are several pieces of essential darkroom equipment for processing photographs. The enlarger is a vital tool used to project the negative onto photographic paper. Additionally, we use trays to hold the various developer, stop bath, and fixer chemicals needed during the printing process. It is crucial to understand the proper use of this equipment to achieve the best results in our prints.
To ensure accurate results, we need to be precise with our timing and temperature control. When processing black and white negatives, consistency is vital to achieve optimal contrast and tonality. For color negatives, temperature control becomes even more critical, as slight variations can lead to color shifts in the final print. Using a thermometer and timer helps maintain accuracy throughout the process.
Chemistry of Darkroom Photography
Understanding Photographic Film
Photographic film is made of a light-sensitive emulsion coated onto a flexible base. This emulsion consists of small light-sensitive grains, called silver halides, which are responsible for capturing the image when the film is exposed to light. The size and distribution of these silver halides directly affect the film's overall sensitivity, contrast, and resolution.
To create an image with sharp details and fine grain, we use films with smaller silver halide grains. However, these films are less sensitive to light, requiring longer exposure times. In contrast, films with larger grains offer greater light sensitivity and faster exposure times, at the cost of reduced image quality.
Role of Chemistry in Development
After exposing the film, we begin the development process by immersing the film in a chemical mixture called the developer. The developer reacts with the exposed silver halides to create metallic silver, which forms the image's visible shapes and shades. The unexposed silver halides remain unaffected during this process.
Some important chemicals in the developer solution include:
- Developer: Converts the exposed silver halides into metallic silver.
- Stop bath: An acidic solution, neutralizes the developer on the film and stops the development process.
- Fixer: Removes the remaining unexposed silver halides, making the film stable and permanent.
Printing in the Darkroom
Printing in the darkroom is the process of creating a positive image on light-sensitive paper from the film negative. This is achieved by projecting the film negative onto photographic paper, thereby forming a positive image that corresponds to the original scene. The exposed paper is then developed with paper developer, stop bath, and fixer, just like the film negative.
Various darkroom printing techniques allow us to control the contrast and tonality of the final print. For instance, dodging involves shielding specific areas of the paper from light to make them lighter, while burning exposes certain regions longer to make them darker. This creative control allows us to fine-tune our prints to achieve the desired visual impact.
Artistic Techniques in Darkroom Photography
Control and Exposure
In darkroom photography, control and exposure are crucial aspects for obtaining high-quality prints. By understanding how to manipulate exposure times and aperture settings, we're able to achieve the desired tonal range and detail in our photographs. Among the techniques used is masking, which encompasses physical alterations rather than digital, to remove unwanted areas or change image backgrounds.
Dodging and Burning
Dodging and burning are two essential darkroom techniques that help us manipulate the exposure of specific portions of an image. Dodging involves reducing the exposure to an area, thus lightening it, while burning entails increasing the exposure, resulting in darker regions. Both techniques can effectively enhance details and adjust the overall contrast in photographs. The traditional method involves using tools, such as paddles, and careful timing during the exposure of photographic paper.
Toning and Other Techniques
Toning is another creative method we employ in darkroom photography to alter the mood and atmosphere of an image. This technique involves using various chemicals to change the color of the silver in a photographic print, resulting in a range of hues and effects. Some popular toners include:
- Selenium: Enhances the print's durability and deepens the blacks
- Gold: Produces soft, reddish-brown tones
- Sepia: Creates a warm, antique appearance
In addition to these techniques, there are several other manipulations and processes that allow us to create unique effects and fine-tune our final prints, demonstrating the versatility and artistic potential of traditional darkroom photography.
Frequently Asked Questions
What is the darkroom process in photography?
The darkroom process in photography involves developing, processing, and printing film negatives in an environment with controlled lighting conditions. This is typically done in a dedicated space called a "darkroom" to avoid exposure to light, which can damage or destroy the film. Darkroom techniques play a crucial role in creating high-quality prints from film negatives.
What are the 3 essential darkroom chemicals?
The three essential darkroom chemicals are the developer, stop bath, and fixer. The developer chemically reduces the exposed silver halide particles in the film, creating a visible image. The stop bath halts the development process to prevent overdevelopment. The fixer removes any unexposed silver halide particles, making the image permanent and light-resistant.
What are the main steps in developing film in a darkroom?
The main steps in developing film in a darkroom include: 1) loading the exposed film onto a reel and placing it into a light-tight developing tank; 2) pouring the developer into the tank and agitating it for a specific period; 3) draining the developer and adding the stop bath, followed by draining and adding the fixer; and 4) rinsing the film with water to remove residual chemicals. After the processing is complete, the film is hung to dry before being printed or scanned.
Why are darkroom safelights red or amber?
Darkroom safelights are usually red or amber because photographic materials, such as film and paper, are less sensitive to these colors. These low-intensity lights provide adequate illumination for working in the darkroom without fogging or exposing the light-sensitive materials.
Which traditional techniques can enhance photographs in a darkroom?
Some traditional darkroom techniques that can enhance photographs include dodging, burning, and solarization. Dodging involves selectively blocking light during printing to lighten specific areas of the image, while burning exposes specific areas to more light, darkening them. Solarization creates a partially reversed image, with some areas appearing as negative and others as positive. These techniques allow photographers to manipulate and fine-tune the appearance of their prints.
What basic equipment is required for a darkroom setup?
The basic equipment required for a darkroom setup includes enlargers, easels, trays, tongs, and safelights. An enlarger projects the negative onto photo-sensitive paper, while easels help hold the paper flat during printing. Trays and tongs are used for handling chemicals as the paper undergoes development, stop bath, and fixing processes. Lastly, safelights ensure that the darkroom is adequately lit without exposing film or paper to light that could damage or fog the materials. Additional items like timers, thermometers, and measuring cylinders may also be needed for precise control of the darkroom process.


