Bracketing in Photography: Maximizing Dynamic Range Efficiently and Creatively
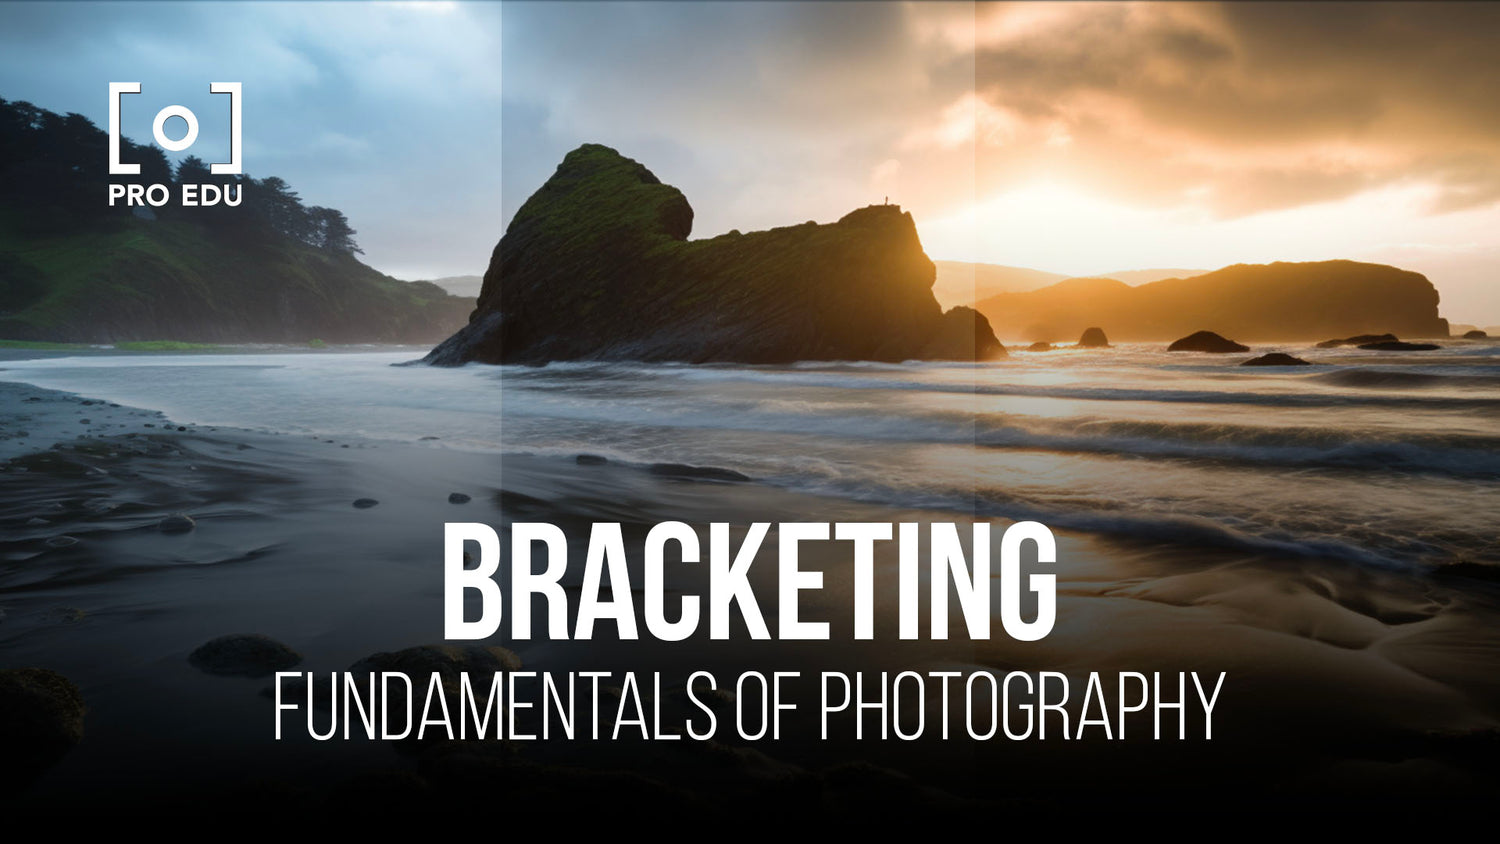
In the world of photography, capturing the perfect shot can often be a complex task, especially when it comes to handling challenging lighting conditions. One effective technique to tackle this issue is bracketing, which involves capturing multiple images at different exposure settings. This approach allows photographers to maximize the dynamic range of their images while ensuring details in the brightest highlights and darkest shadows are preserved.
By understanding the concept of bracketing, you can significantly improve the quality of your photos and create stunning images that showcase the full breadth of a scene's details. Mastering exposure bracketing and familiarizing yourself with your camera's settings and equipment is crucial for effectively utilizing this technique.
Once you have taken your bracketed photos, post-processing plays an essential role in enhancing these images and bringing out the best in them. Advanced bracketing techniques, as well as being able to address common questions and concerns, will also come in handy in taking your photography skills to the next level.
Key Takeaways
- Bracketing in photography is a technique used to maximize dynamic range by capturing multiple images at varying exposure settings.
- Familiarization with exposure bracketing and camera settings is crucial for effectively utilizing this technique.
- Post-processing and advanced bracketing techniques are essential in creating the final stunning images from your bracketed shots.
Understanding Bracketing in Photography
Impact on Dynamic Range
Bracketing in photography allows us to capture images with a wide range of exposures. This technique helps us maximize the dynamic range of our photos, which is the difference between the lightest and darkest areas in a scene. By taking multiple shots at varying exposures, we can ensure that we capture the entire dynamic range of a scene, from highlights to shadows.
Different Bracketing Techniques
There are several bracketing techniques that can be used in photography. Some common ones include exposure bracketing, focus bracketing, and white balance bracketing. Exposure bracketing involves capturing a series of images at different exposure levels - one at the camera's recommended setting, one underexposed, and one overexposed. Focus bracketing involves taking several shots at different focal points, which can be useful in macro photography or when trying to capture a specific depth of field. White balance bracketing helps us capture the most accurate colors and tones in our images by taking multiple shots with different white balance settings.
Role in High Dynamic Range (HDR) Photography
High Dynamic Range (HDR) photography is a technique used to create images with a greater dynamic range than a single exposure can capture. By combining multiple images with different exposure levels taken using bracketing, we can create a final image with more detail in both the highlights and shadows than a single exposure would allow. This is particularly useful in scenes with challenging lighting conditions, such as landscapes with bright skies and dark foregrounds, or interior spaces with bright windows and dimly lit areas. Our photography can greatly benefit from understanding and using both bracketing and HDR techniques, as they help us to capture stunning images that showcase the true beauty of a scene.
To learn more about bracketing and HDR photography, check out some professional photography tutorials that can guide us through the process and improve our skills in capturing breathtaking images.
Mastering Exposure Bracketing
Exposure bracketing is a technique used in photography to capture a range of exposures for a single scene, helping us achieve a final image with a greater dynamic range. By taking multiple photos at different exposure levels, we can combine them in post-processing to create a high-quality image that represents the full tonality of the scene. Let's explore the key aspects of mastering exposure bracketing.
Understanding Stops and Exposure Value (EV): In photography, a stop refers to a change in exposure by a factor of two. Doubling or halving the exposure is equivalent to an increase or decrease of one stop. The exposure value (EV) represents a combination of aperture, shutter speed, and ISO settings that determine the overall exposure of an image. When bracketing, we typically make adjustments in EV to capture a range of exposures.
- Automatic Bracketing: Many cameras offer an automatic exposure bracketing (AEB) feature that allows us to capture a series of images with varying exposures automatically. This can save time and ensure consistency between shots. By selecting the desired number of brackets, and the EV difference between each shot, our camera will take care of the rest.
Adjusting Exposure Compensation: Exposure compensation is a setting that allows us to override the camera's metering system, applying a specified amount of under or overexposure to our images. When using exposure bracketing, it's essential to understand how to adjust exposure compensation to fine-tune the exposure range. For example, if we want to capture three brackets with -1, 0, and +1 EV, we would adjust the exposure compensation accordingly.
To master exposure bracketing, it's vital to practice with various scenes and lighting conditions. Experimenting with different bracketing settings, such as the number of brackets and EV increments, will help us learn what works best for different situations. By combining bracketed images in post-processing software like Photoshop or Lightroom, we can create stunning, dynamic images that showcase the full tonality of our subjects.
The Technicals: Camera Settings and Equipment
To maximize dynamic range in photography, it's crucial to understand the necessary camera settings and equipment. In this section, we'll briefly discuss how to set up your camera and the gear you might need.
Camera Settings: For optimal bracketing results, use either Aperture Priority, Shutter Priority, or Manual mode. These modes offer the most control over your exposure settings. Utilize ISO bracketing or Automatic Exposure Bracketing (AEB) to take multiple photos with varying exposures. AEB automates the process, while in ISO bracketing, you manually change the ISO settings. It's essential to experiment with different settings depending on your subject and lighting conditions.
For a diverse range of options, you can also look into focusing bracketing and white balance bracketing, which alter focus and white balance settings, respectively, to capture various results in a single scene.
Equipment: A sturdy tripod is indispensable when working with bracketing in photography. It ensures that your camera remains stationary, minimizing the risk of misalignments and camera shake. The stability afforded by using a tripod will help you merge bracketed shots seamlessly in post-production when creating HDR images.
Lastly, consider adding a remote shutter release or intervalometer to your gear. These accessories can prevent camera shake when pressing the shutter button, leading to sharper, more consistent images.
By fine-tuning your camera settings and using the appropriate equipment, you can effectively maximize the dynamic range in your photographs, capturing stunningly detailed and well-exposed images in various lighting conditions.
Post-Processing: Enhancing your Bracketed Images
After capturing your bracketed images, it's time to enhance them through post-processing. Utilizing powerful software like Photoshop and Lightroom is key to achieving the best possible results.
First, we need to blend our bracketed images into a single high dynamic range (HDR) photo. This can be achieved using the HDR blending feature available in both Photoshop and Lightroom. HDR blending takes the best-exposed pixels from each bracketed shot, combining them into a seamlessly exposed image.
Once our HDR image is created, we might want to fine-tune certain areas of the photo, such as highlights and shadows. To do this, luminosity masks come in handy. Luminosity masks are layer masks that target specific tonal ranges in a photo, allowing us to selectively adjust exposure, contrast, and color balance in those areas.
Next, we'll focus on tone mapping. Tone mapping is a technique used to compress the dynamic range of an HDR image into a more visually pleasing and displayable format. It ensures that details in both bright and dark areas of the image are well-preserved and visible. Many editing tools offer tone mapping options, with both manual and automatic adjustments available.
In summary, enhancing bracketed images through post-processing involves using software like Photoshop or Lightroom, blending HDR images, adjusting them with luminosity masks, and applying tone mapping techniques. By following these steps, we can maximize dynamic range and achieve stunning shots in various light conditions.
Advanced Bracketing Techniques
In order to achieve high-quality high dynamic range photos, we can utilize different advanced bracketing techniques. These methods help us capture all the details in both the highlights and shadows of a scene, especially in challenging conditions such as landscape photography.
One essential technique is the use of a camera's bracketing mode. It allows the automation of capturing multiple exposures easily, covering various settings with just a single click. It is especially beneficial for HDR photography when merging these exposures later during post-processing.
Another useful bracketing technique is focus bracketing, where we capture a series of photos while adjusting the focus point for each shot. Utilizing this method is beneficial for creating an image with an extended depth of field, ensuring that all the elements in the scene are sharp and in focus.
White balance bracketing is another invaluable technique, particularly when faced with complex or mixed lighting situations. By capturing photos with varying white balance settings, we can obtain the most accurate color balance that represents the scene authentically.
To summarize, these advanced bracketing techniques – utilizing bracketing mode, focus bracketing, and white balance bracketing – are instrumental in maximizing the dynamic range and capturing stunning HDR images. By experimenting and combining these techniques, we can creatively enhance our photography, capturing the finest details in every scene.
Frequently Asked Questions
What is the purpose of exposure bracketing in photography?
Exposure bracketing is a technique used in photography to capture multiple shots with different exposure levels. This helps photographers handle high dynamic range (HDR) scenes, where there is a significant difference between the lightest and darkest areas. By combining these bracketed shots, we can create an image with the best elements of each exposure, resulting in a well-balanced final photo Digital Photography School.
How can ISO bracketing affect dynamic range?
ISO bracketing, unlike exposure bracketing, involves capturing images at different ISO settings. It's important to note that increasing ISO can result in more image noise, which can affect dynamic range. Therefore, while ISO bracketing can help in achieving a desired exposure, it may not always improve dynamic range, and might sometimes decrease it due to increased noise.
What are the optimal settings for exposure bracketing?
Optimal settings for exposure bracketing can vary depending on factors such as the scene's dynamic range, your camera's capabilities, and personal preferences. Generally, a common starting point is to take three bracketed shots at -2EV, 0EV, and +2EV. However, you may need to adjust the number of shots and exposure increments to best capture the scene's dynamic range TechRadar.
Can bracketing improve image quality in RAW files?
Yes, when bracketing is used in conjunction with RAW files, image quality can be improved. Combining multiple shots with different exposures helps to retain details in both shadows and highlights when creating a final image from the bracketed RAW files. Working with RAW files also provides greater flexibility for adjustments during post-processing Shotkit.
Does using an HDR bracketing app help in maximizing dynamic range?
An HDR bracketing app can help in maximizing dynamic range by automating the process of taking bracketed exposures and combining them into a single HDR image. These apps usually provide user-friendly interfaces, simplifying the process for photographers. However, it is still important to have a basic understanding of bracketing principles and experiment with various settings for the best results Imaginated.
When is it unnecessary to use bracketing for exposure in photography?
Using exposure bracketing may not be necessary in situations with low dynamic range or well-balanced lighting. If the camera's built-in metering system can handle the scene's exposure without losing details in shadows or highlights, bracketing might not be required. Additionally, subjects in motion may not benefit from bracketing, as combining multiple shots might result in ghosting or artifacts.


