What Is TIFF in Photoshop: A Comprehensive Guide for Users
TIFF, or Tag Image File Format, is a widely used file format in Adobe Photoshop for storing raster graphics and image information. It is a favorite among photographers and graphic designers, as it provides a handy way to store high-quality images before editing, allowing users to avoid lossy file formats. TIFF files typically have a .tiff or .tif extension.
In Photoshop, TIFF files offer advanced features and options that make them ideal for preserving image quality while editing. They support various bit depths, color modes, and even layers, which means you can work non-destructively and keep your original image intact. Additionally, TIFF files can offer better compression and faster read/write times compared to other formats.
Key Takeaways
- TIFF files are widely used in Photoshop for storing high-quality images and preserving image data during editing.
- This file format offers advanced features like various bit depths, color modes, and support for layers.
- Using TIFF files in Photoshop ensures better compression and faster read/write times than some other file formats.
Core Concepts of TIFF in Photoshop
TIFF, short for Tagged Image File Format, is a popular image file format widely used by photographers and graphic professionals. With the file extensions .tiff or .tif, this format is supported by Adobe Photoshop for both reading and writing purposes.
TIFF files are known for storing raster graphics and image data without compromising on quality. They can be saved in a lossless manner, which means no image quality is lost upon saving. This feature makes it a preferred file format when working with high-quality images that require editing, as it helps avoid the issues with lossy file formats.
In Adobe Photoshop, working with TIFF files offers several benefits. For instance, it supports multiple compression methods, such as LZW, RLE, and ZIP, which are all non-destructive, according to Adobe Support Community. Thus, users can choose between different compression options based on their requirements for file size and performance.
When saving TIFF files in Photoshop, users can choose between two channels data organization: interleaved or by plane. The Planar order option theoretically provides faster reading and writing speeds, along with slightly better compression than its interleaved counterpart. Importantly, these channel orders are backward compatible and can be opened in earlier versions of Photoshop.
In conclusion, TIFF format is a versatile and high-quality image file format that integrates seamlessly with Adobe Photoshop. It addresses the needs of both photographers and graphic designers who work with raster graphics and demand non-destructive editing capabilities.
Comparing TIFF with Other Formats
When working with images in Photoshop, it's important to choose the appropriate file format for your needs. Let's compare TIFF with other popular formats like JPEG, PNG, PSD, and RAW.
JPEG is a widely-used, lossy compression format known for its small file size and decent quality. However, each time a JPEG is edited and saved, quality loss occurs, making it unsuitable for professional editing. On the other hand, TIFF utilizes lossless compression preserving image quality throughout the editing process.
PNG is another lossless format primarily used for web images that require transparency, such as logos. While it maintains high-quality like TIFF, it typically produces larger file sizes that may not be practical for print or heavy editing. In this case, TIFF holds an advantage due to its compatibility with both web and print purposes.
PSD is Photoshop's native file format, specifically designed for storing and handling Photoshop's unique features, like layers and masks. Though both TIFF and PSD support these features, TIFF works across a wider range of software and allows embedding multiple JPEG files, making it a more versatile choice.
Lastly, RAW is a format produced by digital cameras that preserves all the original image data, allowing greater flexibility during editing. While TIFF and RAW both offer high-quality images, TIFF files are typically used for retouching and post-processing, while RAW is preferred for the initial import and editing stages.
To summarize, TIFF stands out for its lossless compression, large file size handling, and versatility across platforms. Each format, however, has its specific use cases and advantages in various scenarios.
How to Use TIFF in Photoshop
Creating or opening a TIFF file in Photoshop is simple. To create a new file, choose File > New, and select the appropriate settings for your project. If you have an existing TIFF file, open it by selecting File > Open, and locating the file on your computer.
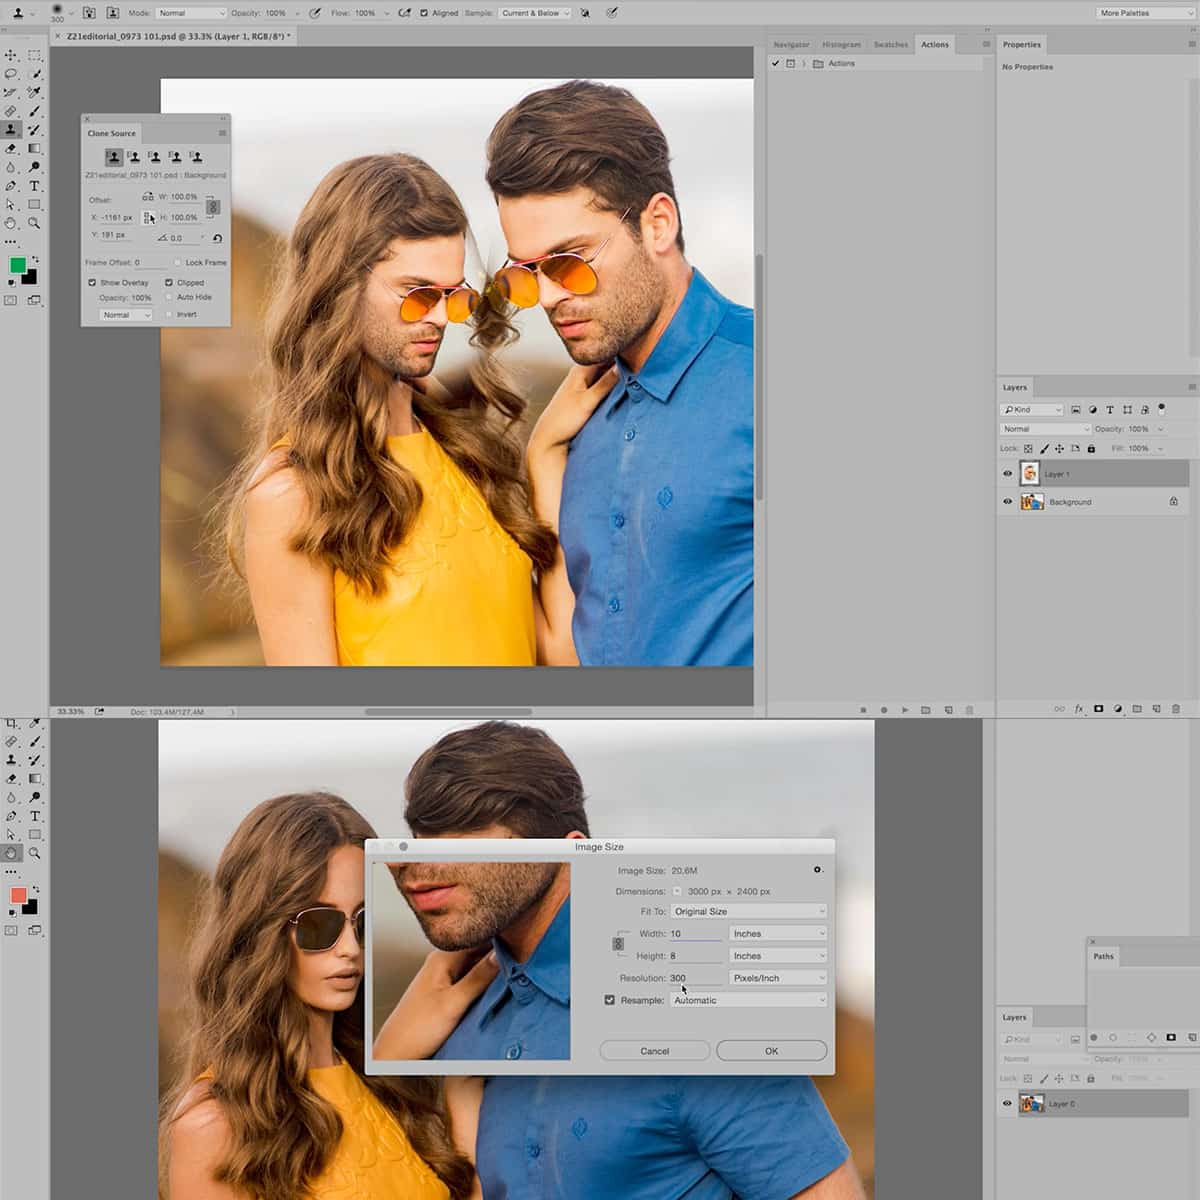
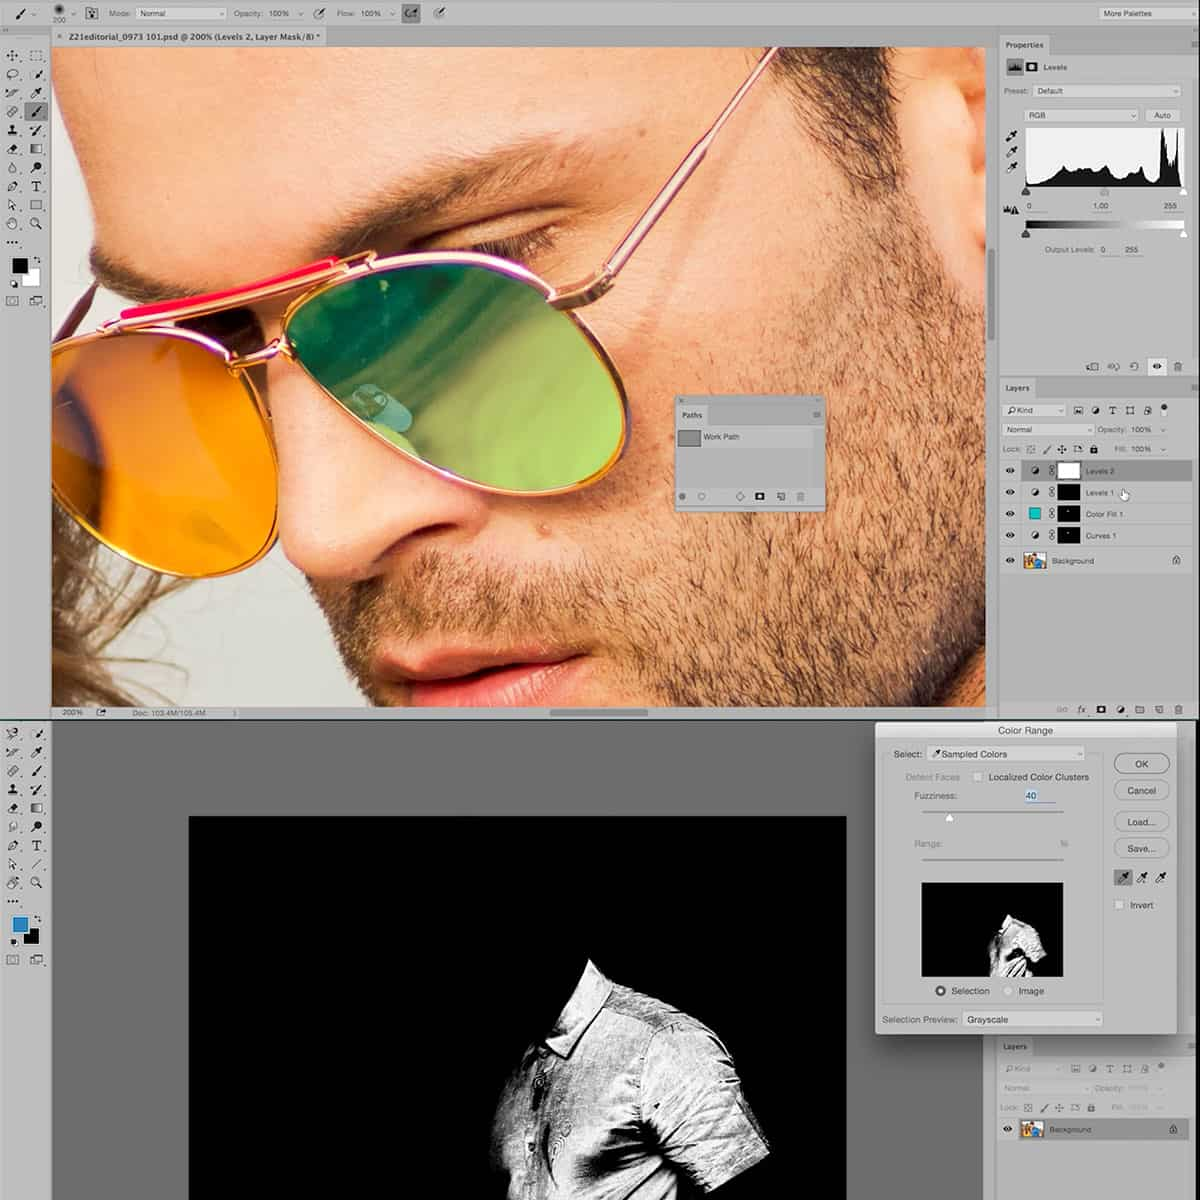
When working with TIFF files in Photoshop, you have access to all the standard editing tools, including layers, adjustment layers, and transform operations. For example, we can create a new adjustment layer to modify the colors of the image non-destructively.
Selections are a crucial part of editing in Photoshop. Using the marquee tools, lasso tools, or quick mask, we can create specific selections to isolate areas for further editing. In addition, we can create paths for complex selections and precise control over the shape of our selection.
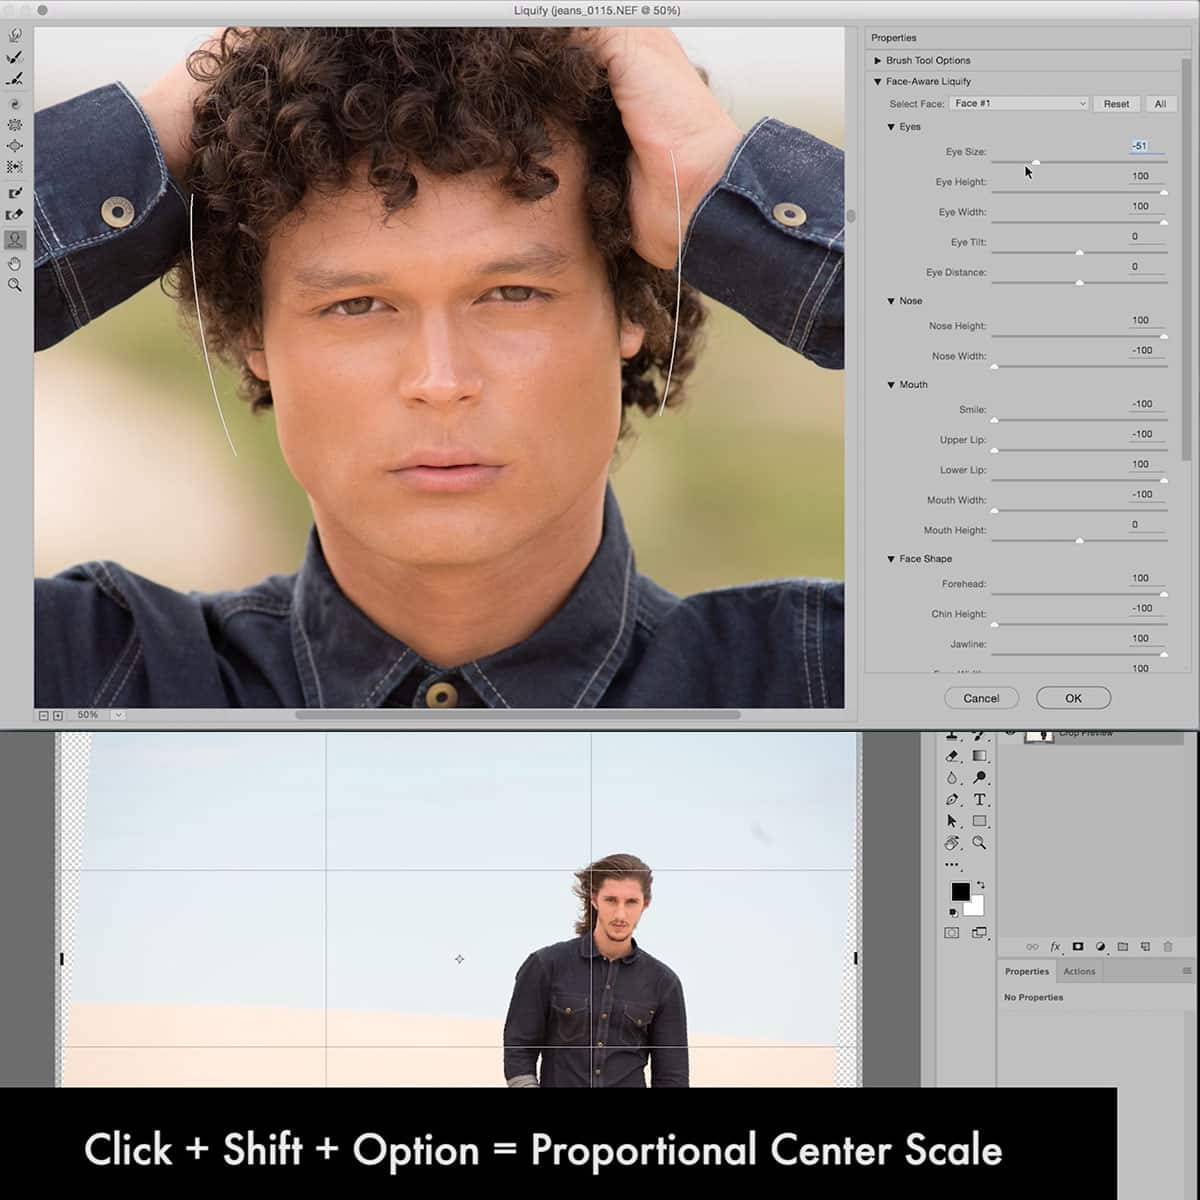
To perform transform operations on a TIFF file, select the layer or object you want to modify, and choose Edit > Transform to access resizing, rotating, and other transformation options. We recommend using Smart Objects when possible, as they allow you to perform non-destructive transforms.
Once your edits are complete, it's time to export the TIFF file. Choose File > Save As, and from the Format menu, select TIFF. The TIFF Options window will appear, offering different compression methods such as LZW, RLE, or ZIP1. Pick the one that best suits your needs, keeping in mind that all proposed compression methods are non-destructive2.
Advanced Features and TIFF
TIFF (Tagged Image File Format) is a versatile file format used in Photoshop, especially for projects that require high-quality images, such as graphic design and photography work. One of the key features that make TIFF desirable is its compatibility with advanced Photoshop features. Let's explore some of these features and how TIFF supports them.
Smart Objects and Smart Filters work seamlessly with TIFF files, allowing us to non-destructively edit images while maintaining the original image quality. With TIFF files, we can easily apply adjustments using smart filters and smart objects, making it an excellent choice for projects that require multiple iterations.
Some of the advanced layer functions, like Layer Comps, Clipping Masks, Vector Masks, and Layer Effects work well with TIFF file format as well. These features help us to create complex compositions and streamline our workflows within various projects. TIFF's compatibility with such advanced functionalities makes it an ideal choice for professional design work.
Photoshop's powerful tools like Perspective Warp, Content-Aware Fill, Content-Aware Patch and Move also work effectively with TIFF files. The non-destructive and high-quality nature of TIFF makes it an ideal format to utilize these tools and easily modify or repair images without compromising quality.
Additionally, TIFF files are compatible with Camera Raw system and its Enhanced Spot Removal Tool, making it easy for us to process and retouch photographs. By choosing the TIFF format, we can take full advantage of Photoshop's powerful tools and features while maintaining the highest image quality possible.
TIFF and Other Adobe Services
We often use TIFF format in various Adobe products and services. It's a versatile and high-quality image format, which makes it an excellent choice for professional photographers and editors. In this section, we will explore how TIFF is used in some of Adobe's popular products like Lightroom, Adobe Camera Raw, Illustrator, InDesign, and others.
With Adobe Lightroom and Adobe Camera Raw, we can store and edit high-quality images in the TIFF format, allowing us to retain impressively detailed image data. This is particularly useful when working with high-quality photographs. Importing and exporting TIFF files in Lightroom and Camera Raw is seamless, ensuring minimal loss of image quality.
Adobe Illustrator is great for creating vector artwork, but we can also import and export TIFF files for raster image elements within a design. Similarly, InDesign allows us to incorporate and export TIFF images within our layouts, making them suitable for print or digital media. The compatibility between these Adobe applications ensures smooth workflows when working with TIFF files.
Using TIFF format in Substance 3D Materials lets us maintain the highest quality textures and detail for 3D renderings. The lossless compression that TIFF offers helps in preserving texture information that is essential for realistic 3D materials.
Adobe Capture supports the TIFF format, allowing us to create and transform raster graphics into vector illustrations or patterns for use in other Adobe applications. We can also extend our workspace to include iPad by using the Capture In-App extension to create and edit TIFF files on the go.
In conclusion, TIFF is an important format across various Adobe products and services, ensuring high-quality and versatile images that complement our creative workflows.
Role of TIFF in Different Operating Systems
As graphic designers, photographers, and other art professionals, we often work across multiple operating systems such as Windows and Mac. TIFF is a versatile and widely supported file format, which makes it an ideal choice for handling high-quality images in various operating systems.
In Windows, the built-in apps like Windows Photo Viewer and Paint natively support TIFF files, allowing us to easily view and edit them without needing to install additional software. Additionally, TIFF files stored on a Windows drive can be indexed for search, making them easy to locate and manage.
On the other hand, Mac users can also seamlessly work with TIFF files, as macOS supports TIFF files through its default apps such as Preview and Photos. This facilitates the ease of use and accessibility for macOS users as well.
Furthermore, TIFF files maintain compatibility with most major software suites like Adobe Photoshop and GIMP in both operating systems. This gives us the flexibility to work on a TIFF file in one OS and transfer it to another without encountering compatibility issues or loss of image quality.
The widespread support of TIFF across different operating systems ensures that we can consistently maintain the quality and integrity of our images while working in various environments.
Frequently Asked Questions
How to save an image as TIFF in Photoshop?
To save an image as TIFF in Photoshop, open the image and go to File > Save As. In the Save As dialog box, choose TIFF from the Format dropdown menu and click Save. You can then customize the TIFF options as needed before clicking OK.
What are the best TIFF options for print in Photoshop?
For the best print quality in Photoshop, we recommend using the following TIFF options: set the compression to LZW or ZIP to reduce file size without losing quality, choose the correct color profile (e.g., Adobe RGB), and ensure the resolution is set to 300 DPI, which is ideal for print output.
How to open a TIFF file in Photoshop?
To open a TIFF file in Photoshop, go to File > Open, locate the desired .tif or .tiff file, select it, and click Open. The file will open in a new window or tab, allowing you to edit and work with the image as needed.
What are the key differences between TIFF and JPEG?
TIFF is a lossless file format, retaining image quality and is often larger in size, while JPEG is a lossy format and compresses the image, resulting in a smaller file size but sacrificing some quality. TIFF supports multiple layers, making it preferred by graphic designers, whereas JPEG doesn't support layer information.
When is it more suitable to use TIFF over other formats?
It is more suitable to use TIFF when working with high-quality images that require lossless compression and when the ability to include additional information, like layers and metadata, is essential. It is ideal for professional photography, print, and graphic design projects where image quality is a top priority.
How to convert an image to TIFF format in Photoshop?
To convert an image to TIFF format in Photoshop, open the image file, then go to File > Save As. Choose TIFF from the Format dropdown menu, click Save, and customize the TIFF options as needed. Once satisfied with the settings, click OK to complete the conversion process.


