Time-Lapse Photography: Capturing the Essence of Time in Stunning Visuals
Time-lapse photography is a powerful technique that allows photographers to capture the essence of time in a unique way. By taking multiple images over a set period and combining them into a single video, we can create fast-paced footage showcasing dramatic changes in a subject or scene that happen over time.
As with any art form, mastering time-lapse photography requires the right equipment, techniques, and editing skills. It is important to invest in quality gear, such as a stable tripod and an intervalometer, and learn how to select the ideal settings for your camera. But beyond the technical aspects, the true beauty of time-lapse lies in the ability to tell a captivating visual story.
Key Takeaways
- Time-lapse photography captures the passage of time through a sequence of images combined into a video.
- Essential equipment like a tripod and an intervalometer ensures stability and precise timing during shooting.
- Mastering techniques, editing, and storytelling allows for a captivating time-lapse experience.
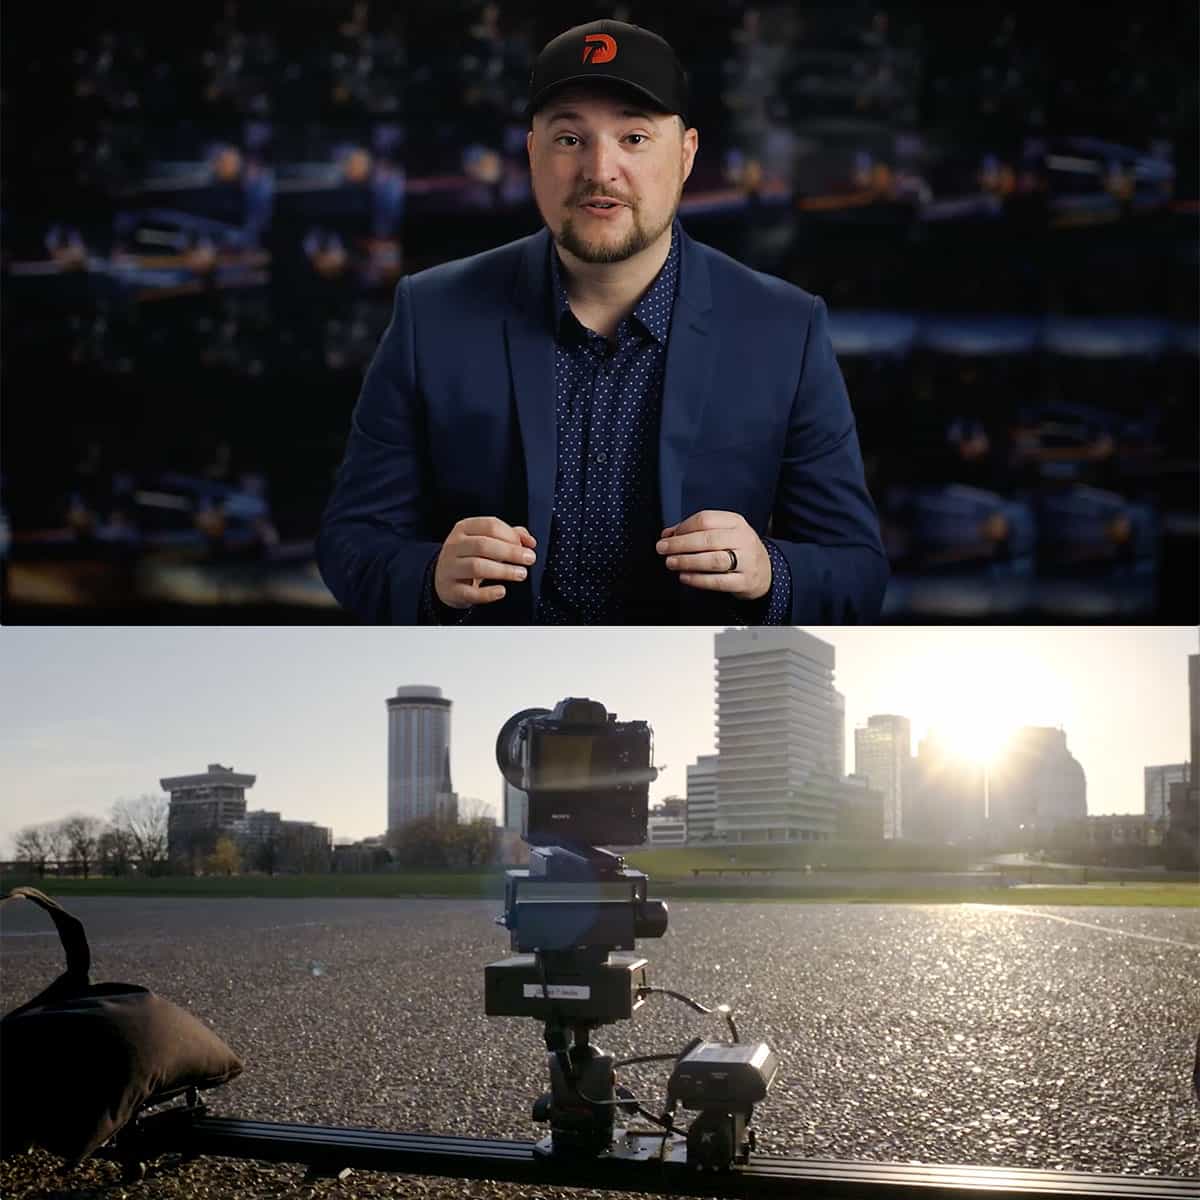
Essential Equipment for Time-Lapse Photography
Understanding Your DSLR
First and foremost, a suitable camera is necessary for time-lapse photography. We recommend using a DSLR, as it provides better quality and easier control. When selecting a DSLR camera, it's important to consider factors such as sensor size, resolution, and compatibility with various lenses.
Of course, having a reliable memory card is also essential to store the numerous photos that will comprise your time-lapse. Choose a memory card with high capacity and fast transfer speeds to ensure smooth performance.
Choosing the Right Lens
The lens you select for your time-lapse photography will depend on your specific project and the desired outcome. Wide-angle lenses are popular choices for capturing vast landscapes, while telephoto lenses help bring distant subjects closer. It's essential that you select a high-quality lens that provides sharp, detailed images for the best results.
Some popular options for time-lapse photography include the 16-35mm wide-angle lens or a 70-200mm telephoto lens. Consider factors such as aperture, focal length, and stabilization when selecting your lens.
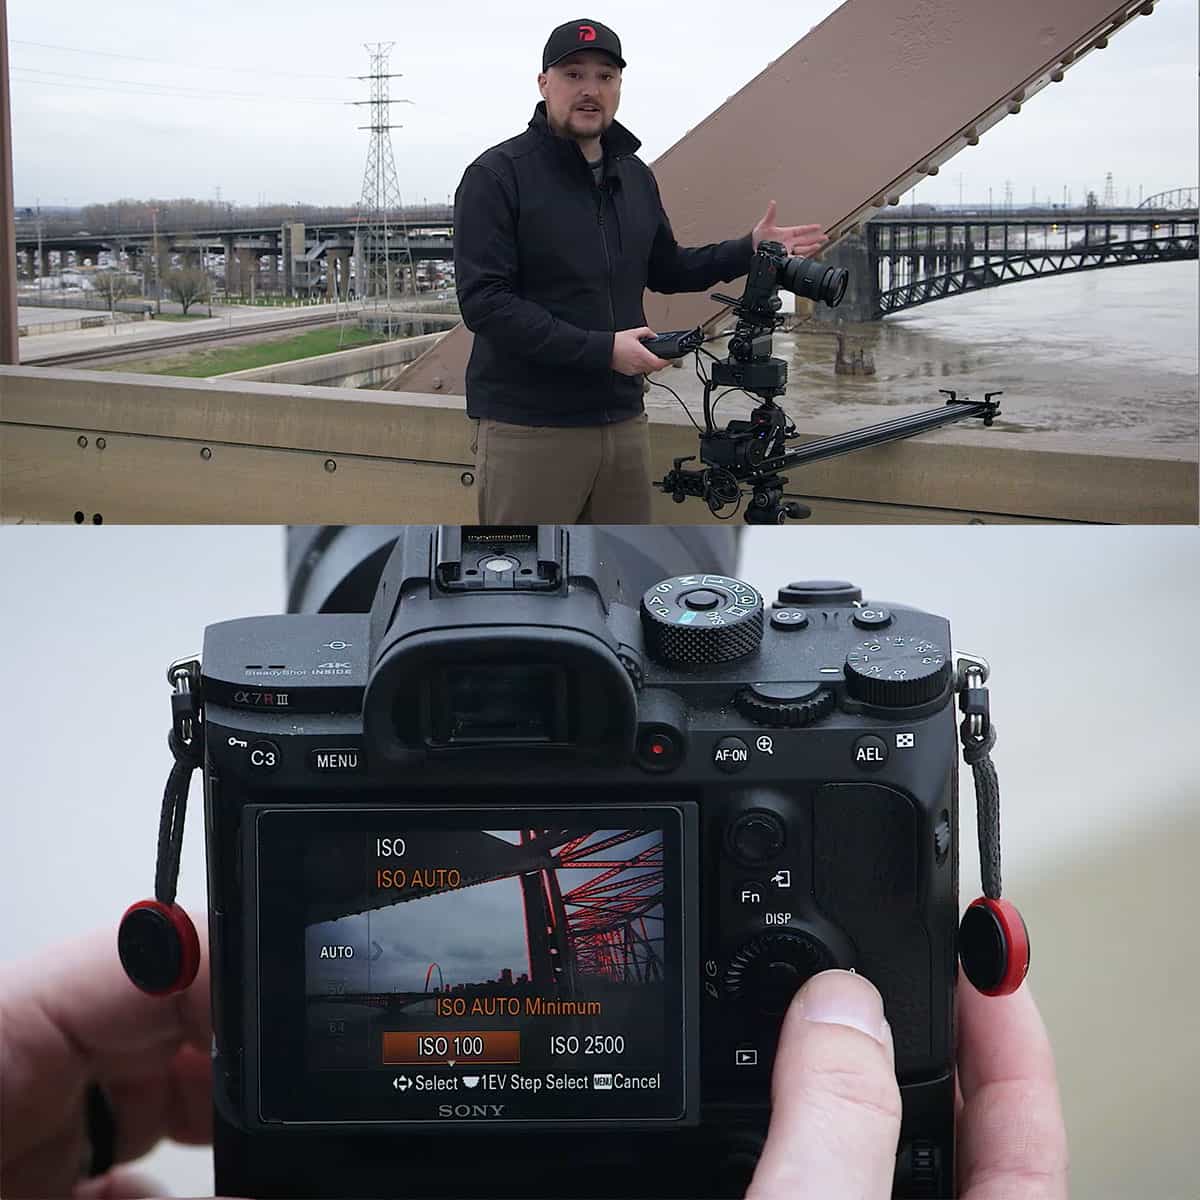
Basics of Camera Settings
During time-lapse photography, stable camera settings are crucial for creating a consistent final product. Set your DSLR to manual mode to control key aspects like aperture, shutter speed, and ISO. This ensures that your camera won't make any automatic adjustments that could create inconsistencies in your time-lapse.
To avoid overexposure or underexposure, it's important to use the correct settings for your specific scene. For example, if you're capturing a day-to-night transition, you may need to adjust your settings as the light changes. Additionally, using the interval timer or an external intervalometer is necessary to take photos at consistent intervals throughout your time-lapse project.
By preparing the right equipment and understanding the essentials of time-lapse photography, we can effectively capture the essence of time and create stunning visuals.
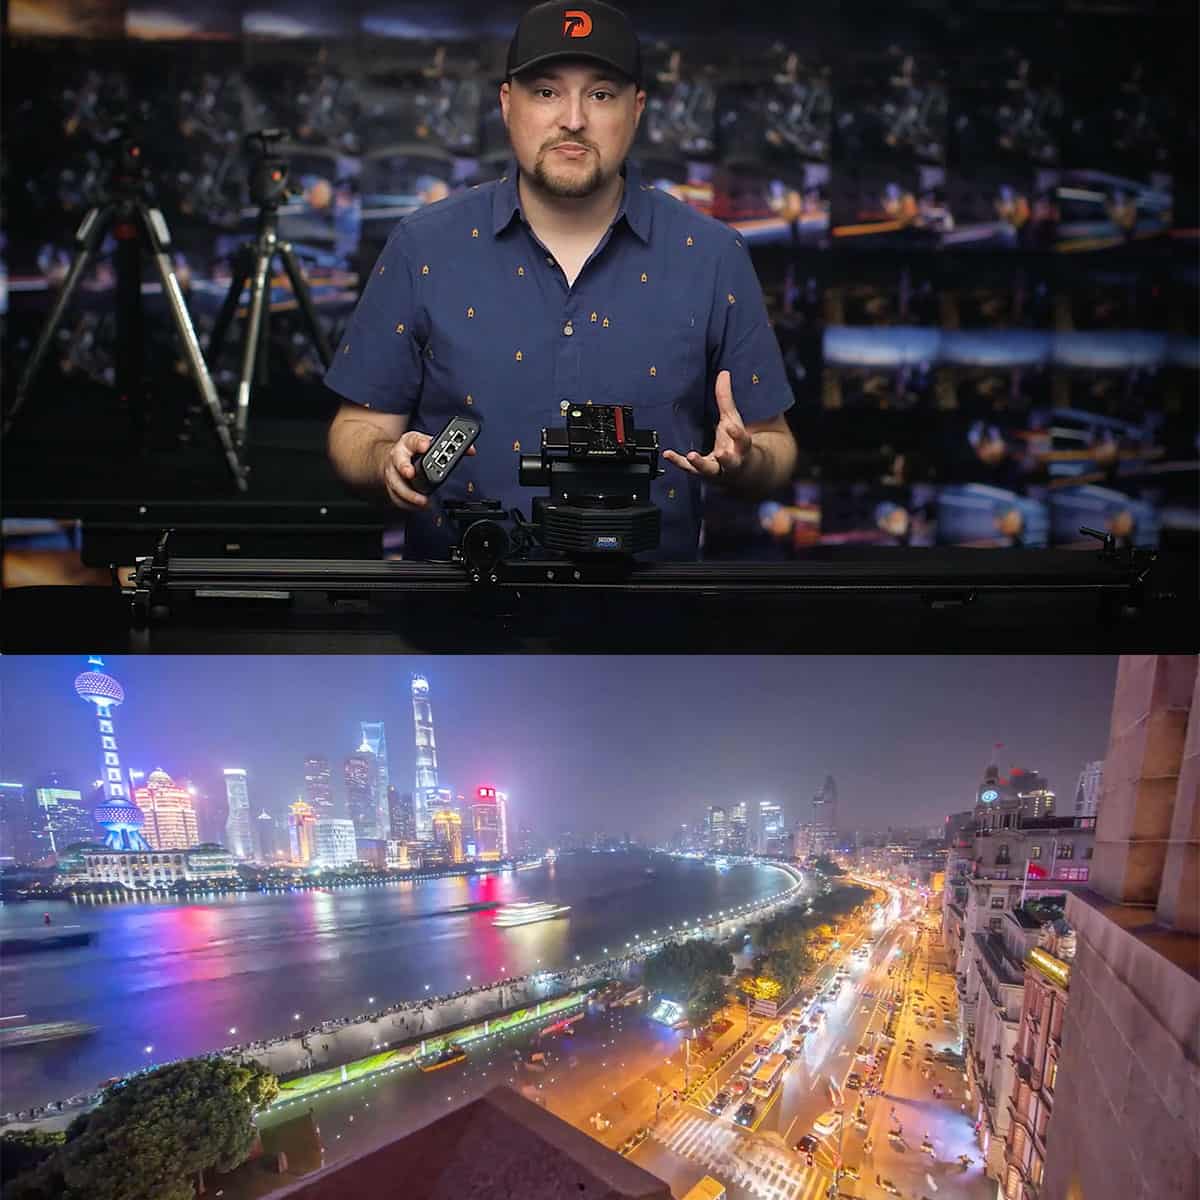
Techniques and Tips for Time-Lapse Photography
Mastering the Settings
When starting with time-lapse photography, it's essential to understand and master the settings of your camera. We recommend using a digital camera, such as a DSLR or mirrorless camera, as mentioned in this ultimate guide. Familiarize yourself with the exposure settings, ensuring you have the right balance of ISO, aperture, and shutter speed to get the best results.
An important tool for time-lapse photography is the intervalometer. It automates the process of taking multiple photos at consistent time intervals. You can either use an external intervalometer or one that's built into your camera, as discussed in this complete guide.
Capturing the Perfect Sequence
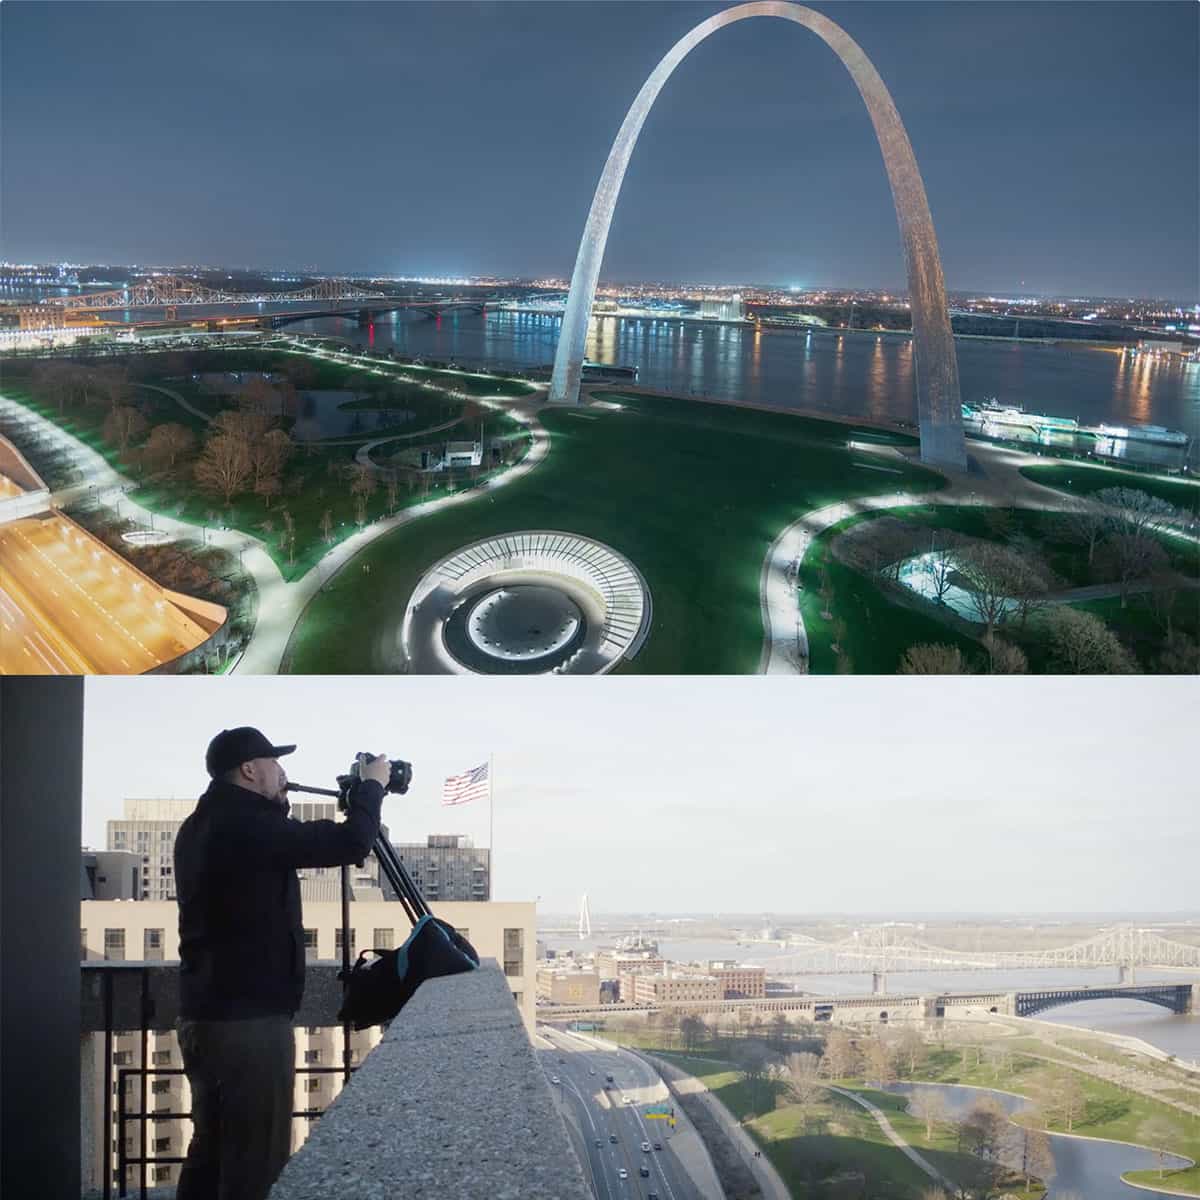
To achieve a visually stunning time-lapse sequence, selecting the ideal subjects and framing them correctly is crucial. The best subjects for time lapses are typically static, such as landscapes, inanimate objects, or the night sky, as stated by Camera Harmony's guide.
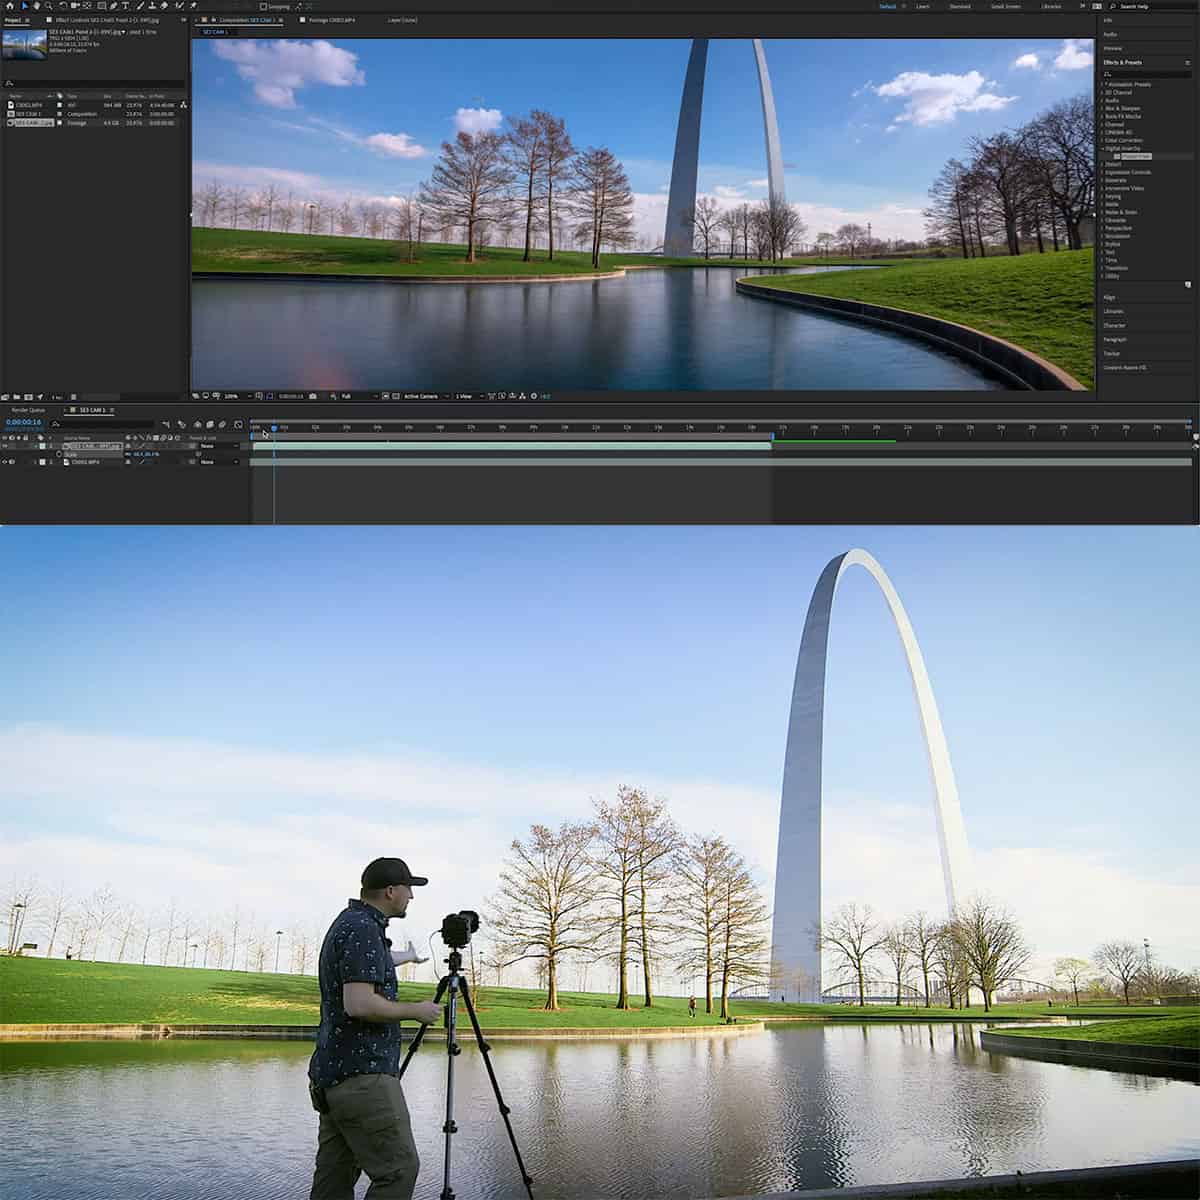
Plan your shots before starting, and set up a stable tripod to keep the camera perfectly still throughout the process. Experiment with different compositions and angles to find the most effective storytelling through your sequences.
Managing Environmental Factors
Environmental factors play a significant role in time-lapse photography. Factors such as natural light changes, weather, and potential interruptions should be considered while planning and shooting a time-lapse.
Keep an eye on the sky and try to anticipate any sudden shifts in weather or lighting conditions. In case of strong winds, ensure your tripod is stable and well-anchored. Remember that capturing beautiful time lapses is a combination of creativity, technical mastery, and the ability to work with the unique challenges presented by the environment.
The Art of Editing Time-Lapse Photography
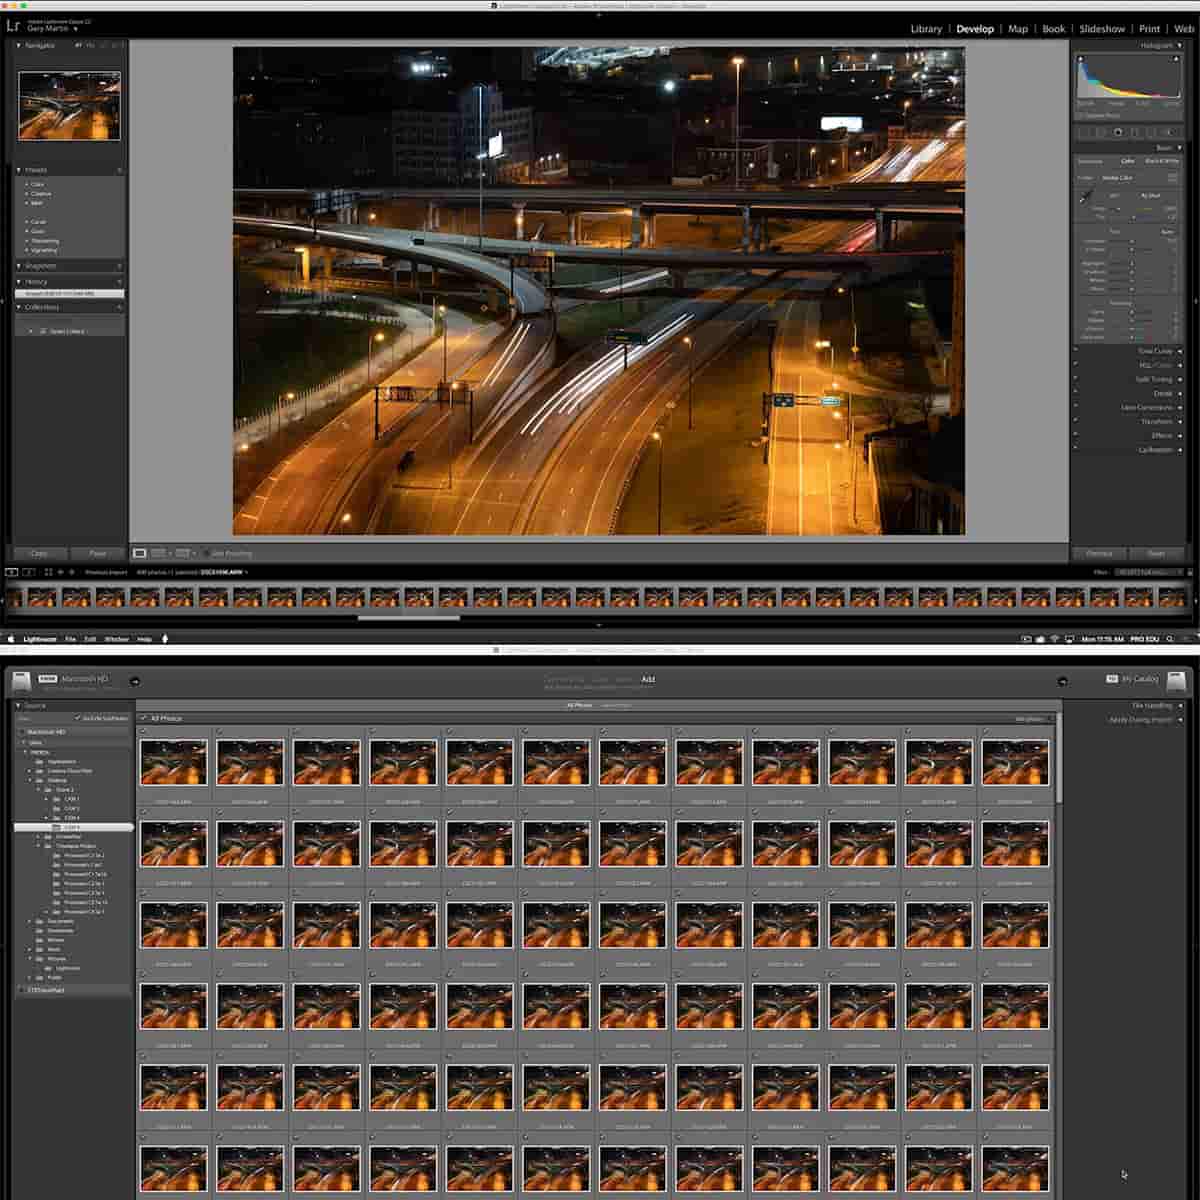
Understanding the Editing Software
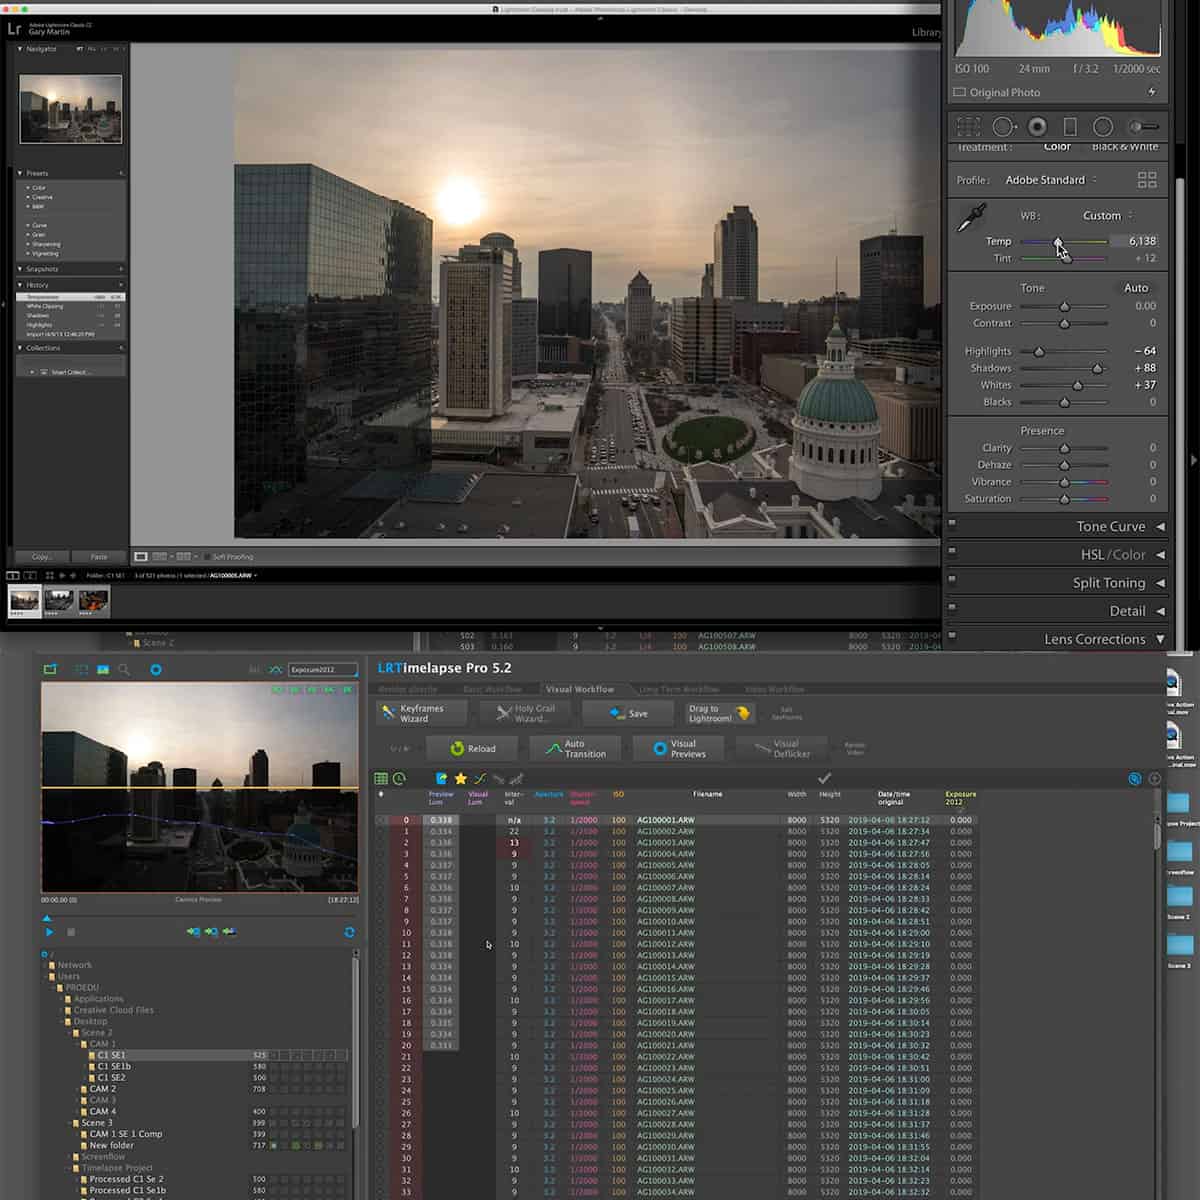
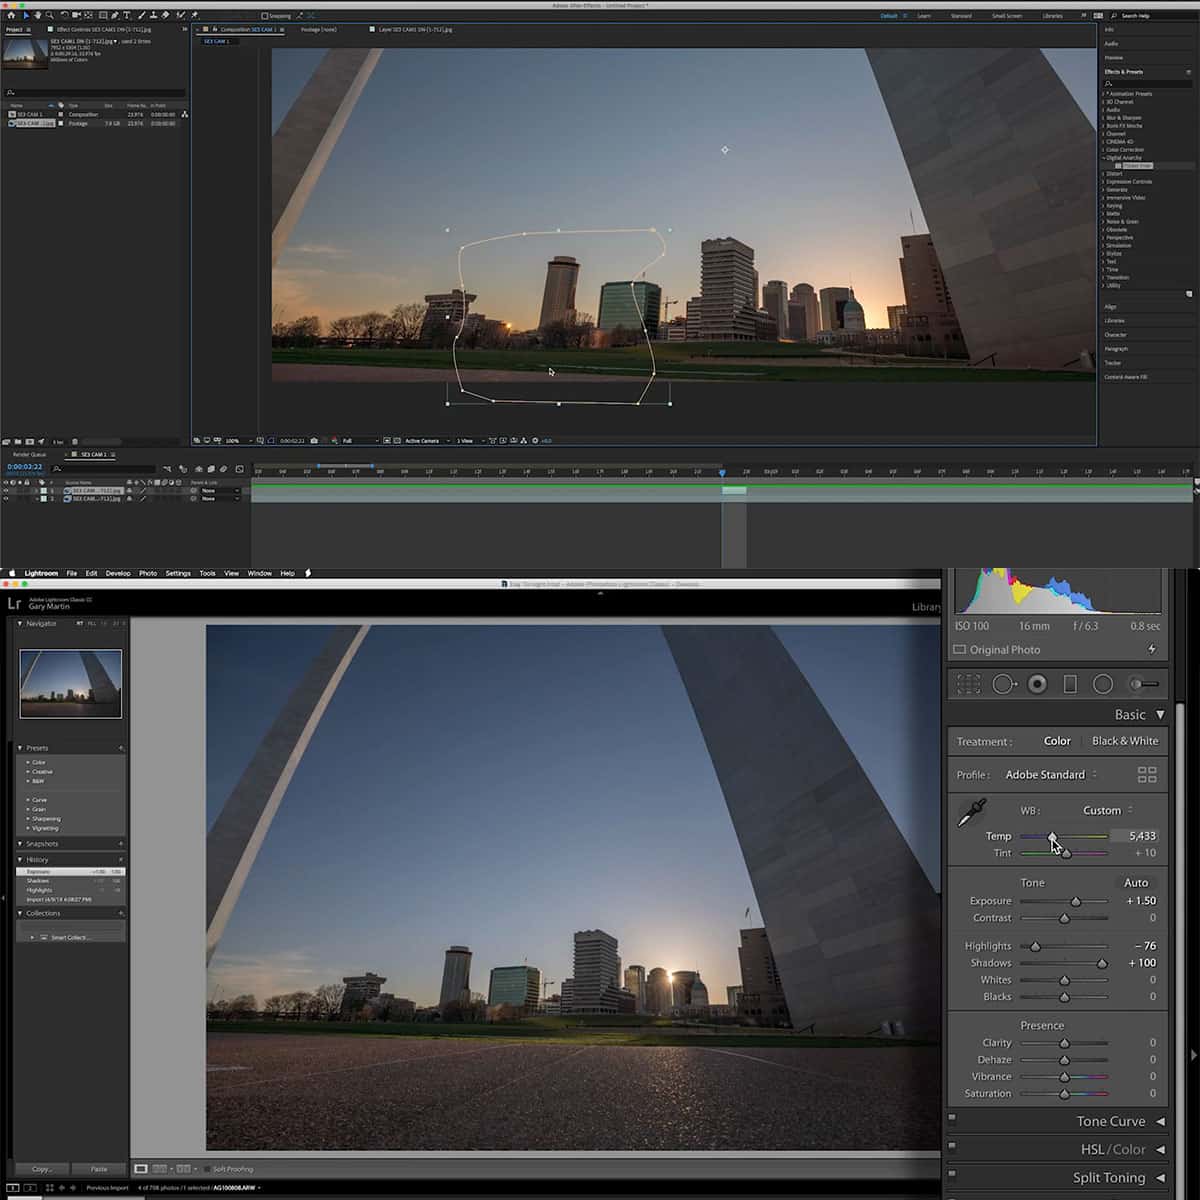
When editing time-lapse photography, it's essential to select the right software for the job. The most popular choices are Adobe Lightroom and Photoshop, which offer various tools specifically designed for time-lapse editing. By mastering these tools, we can create a seamless, professional time-lapse video.
Revealing the Story Through Editing
The beauty of time-lapse photography lies in its ability to condense a lengthy period into a few minutes, allowing us to witness the subtle, gradual changes in a scene that would otherwise go unnoticed. In order to achieve this, it's crucial that we carefully edit our time-lapse sequences to reveal the story behind each frame. By adjusting elements such as exposure and motion blur, we can create a captivating visual experience that transports the viewer through time.
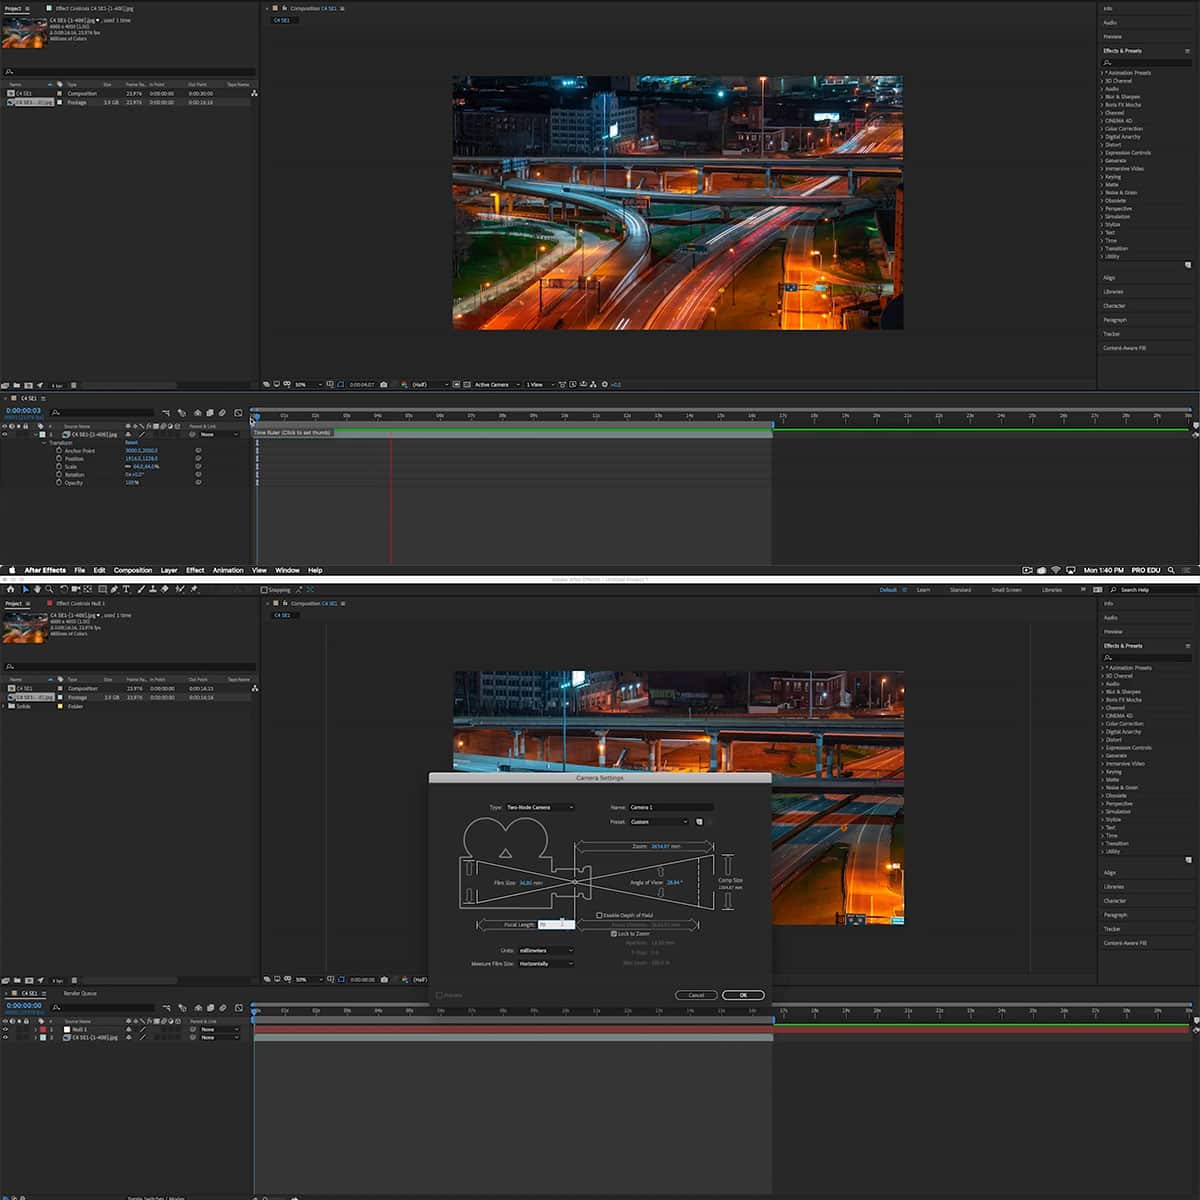
Perfecting the Final Render
Once we have chosen the right editing software and made necessary adjustments to our time-lapse, it's time to perfect the final render. This involves carefully organizing our edited frames into a smooth, uninterrupted sequence. It's also a good idea to ensure that the final video meets the desired output format and resolution.
In addition, we highly recommend enrolling in advanced photography and Photoshop courses that focus on time-lapse photography. These programs can help us further refine our editing skills and create truly stunning time-lapse videos.
Troubleshooting Common Issues in Time-Lapse Photography
Dealing with Flicker
Flicker is a common issue in time-lapse photography, often caused by inconsistent lighting or aperture settings. To minimize flicker, ensure consistent lighting conditions throughout the shoot and avoid automatic mode. In post-processing, you can use software like LR Timelapse to deflicker the final video.
Correcting Focus Problems
Focus problems can occur in time-lapse photography due to camera movement, subject movement, or a combination of both. To fix this, use manual focus for static subjects and ensure your camera is stable on a tripod. For moving subjects, try using a narrower aperture to increase depth of field, or experiment with the focus tracking features available on some cameras.
Addressing Exposure Issues
Exposure issues can result from changes in lighting conditions or incorrect camera settings. To maintain consistent exposure, use manual mode and pre-determine the appropriate aperture, shutter speed, and ISO settings. If dealing with changing light, consider using exposure bracketing or an intervalometer to adjust settings automatically. Additionally, you can correct minor exposure inconsistencies in post-processing.
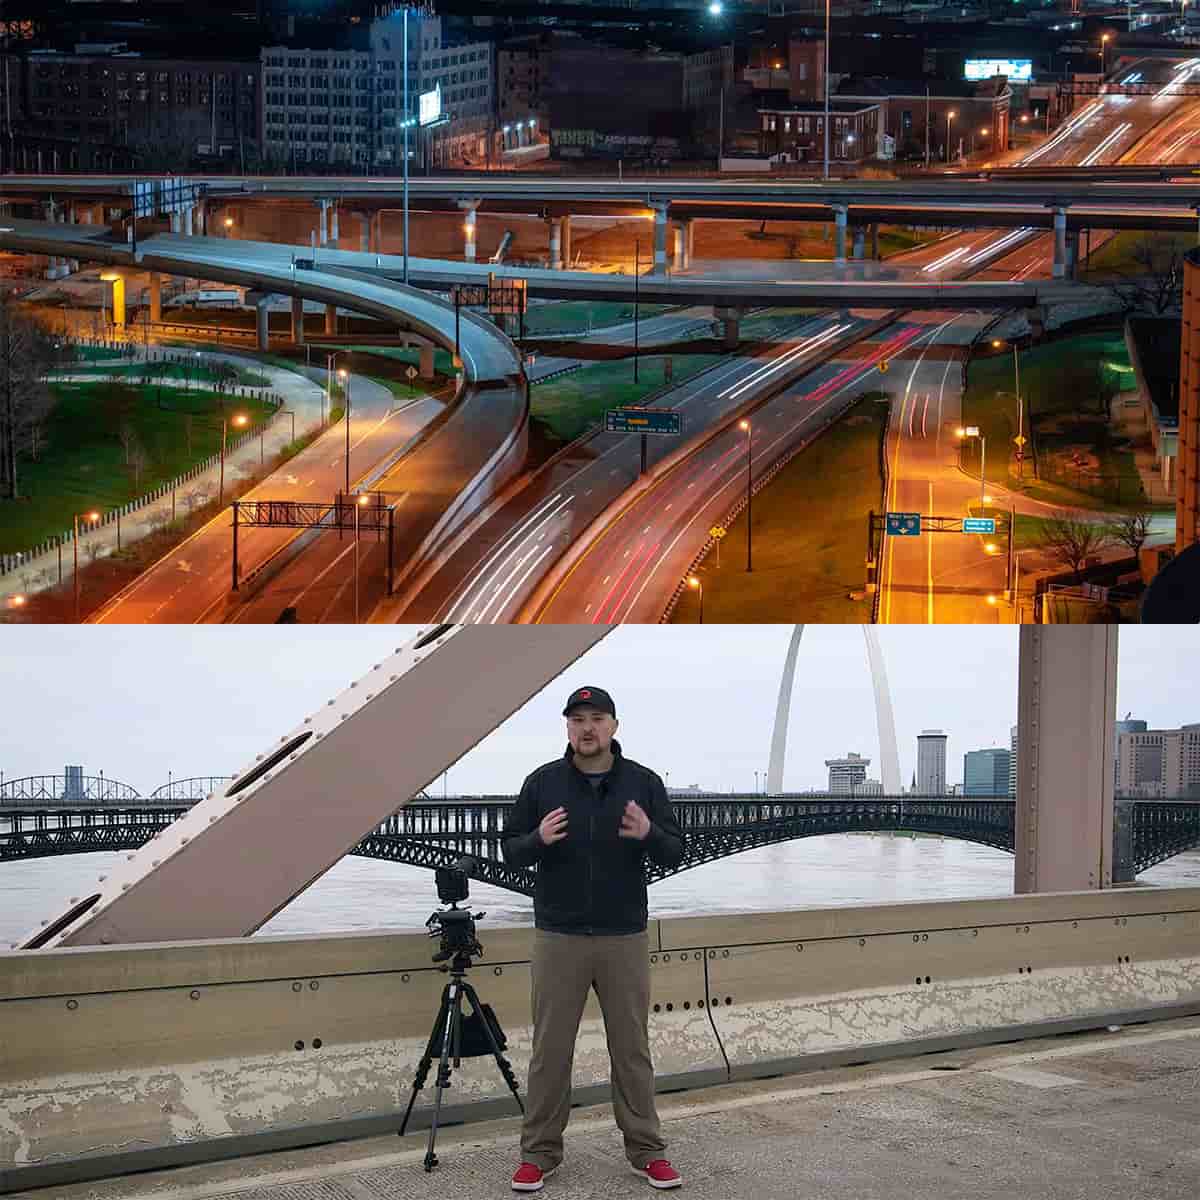
Time-Lapse Photography Beyond the Basics
Exciting Ways to Use Time-lapse
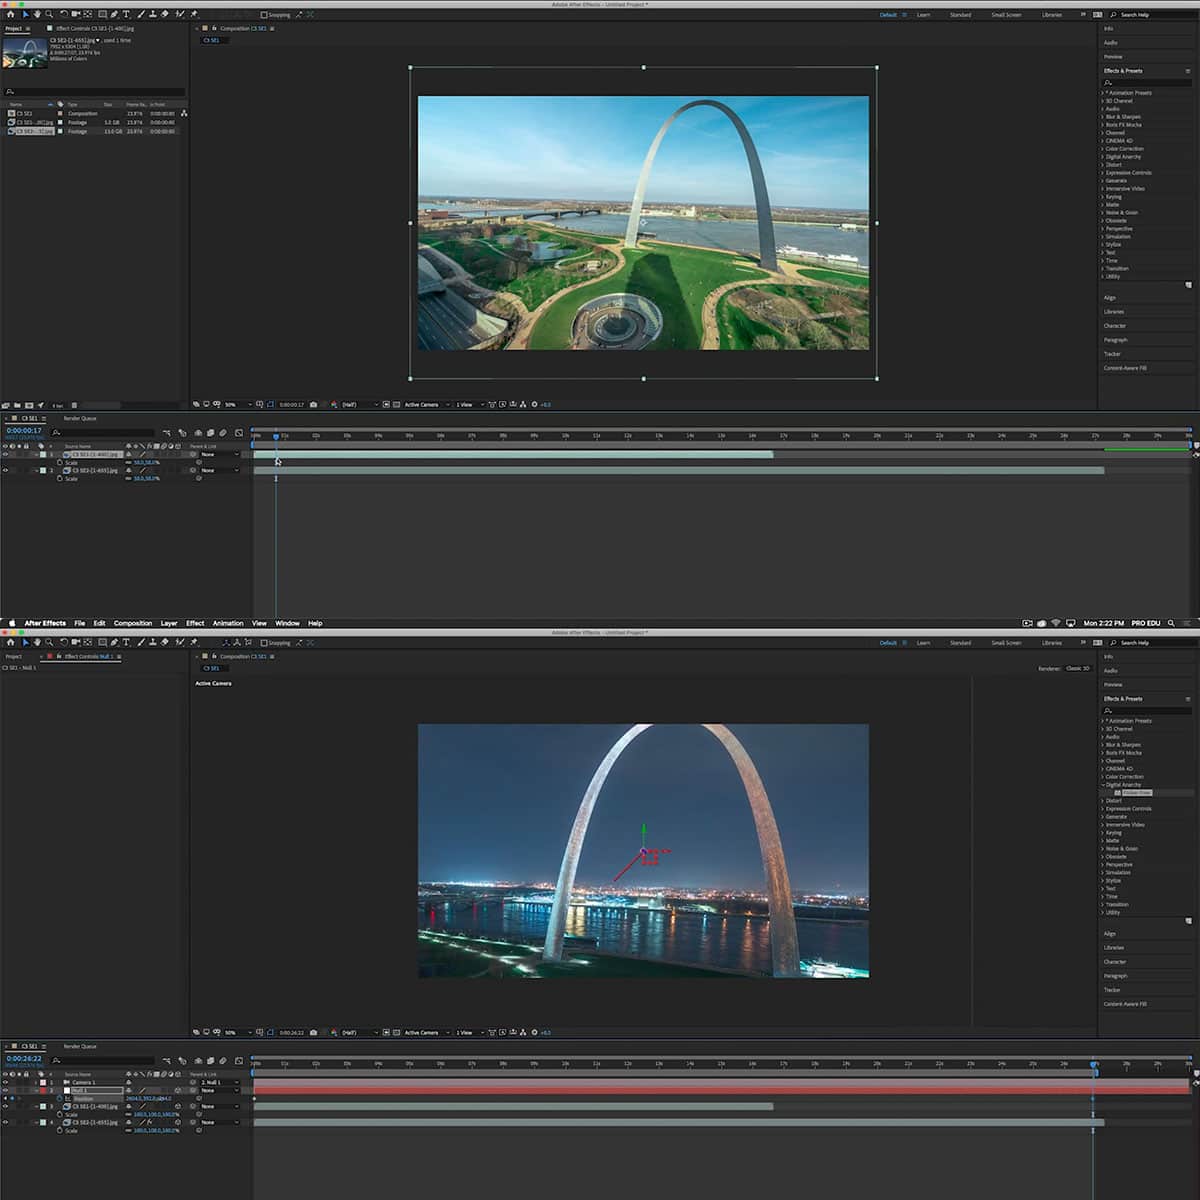
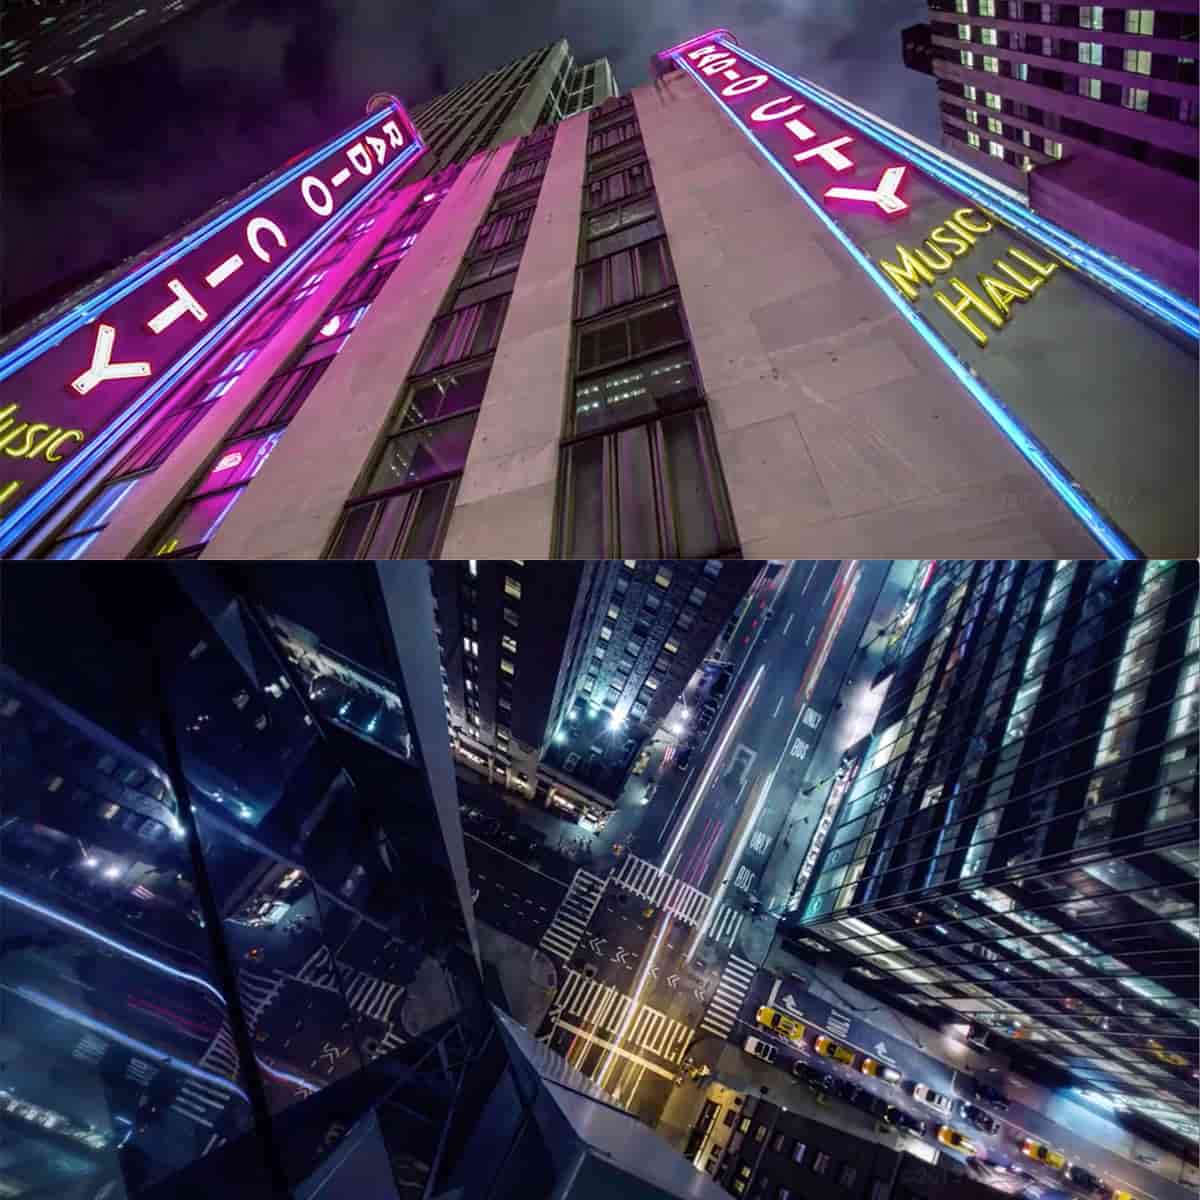
Time-lapse photography allows us to experience the world in new and unique ways. By capturing landscapes over extended periods, we can reveal the hidden wonders of nature. For instance, recording the blooming of flowers, showing the movement of stars, and exploring the growth of cities are all possible through time-lapse videos.
One creative technique to consider is the "hyperlapse." This method involves moving the camera between individual shots, which creates a dynamic and engaging effect. With the right planning, we can produce mesmerizing sequences showcasing beautiful scenes, such as busy city streets or natural landmarks.
Keeping Up with the Latest Trends
We should always stay updated on the latest time-lapse photography trends to improve our skills and creativity. One effective way to anticipate trends is through social media platforms, where photographers share their work, exchange ideas, and collaborate on projects.
Some current trends include:
- Astrophotography time-lapses: Capturing the movement of our celestial neighbors, such as planets, stars, or galaxies, is a popular trend that combines time-lapse with night sky photography.
- Construction progress time-lapses: Documenting the evolution of architectural projects helps visualize the intricate process of construction, from the ground up.
- Environmental awareness time-lapses: With the concerning state of our planet, environmental time-lapse videos have become critical tools to spread awareness about issues such as climate change and habitat destruction.
By incorporating these trends into our time-lapse projects, we can stay relevant and inspired while continually pushing our creative boundaries.
Frequently Asked Questions
What is the ideal interval between shots in time-lapse?
The interval between shots in time-lapse photography depends on the subject and the desired effect. Generally, a shorter interval (e.g., 1-3 seconds) works well for capturing fast-moving subjects, whereas a longer interval (e.g., 30 seconds to a few minutes) is suitable for slower scenes or landscapes. We recommend experimenting with different intervals to find the one that best captures the essence of your subject.
How to choose the right equipment for time-lapse photography?
Selecting the right equipment for time-lapse photography depends on your specific needs and budget. Firstly, a reliable camera with manual exposure controls and an intervalometer (either built-in or external) is essential. Additionally, consider investing in a sturdy tripod to ensure stability and reduce unwanted camera movements. Depending on your desired results, you may also want to look into suitable lenses, professional photography tutorials, and additional accessories.
What are some techniques to stabilize time-lapse shots?
Stabilizing time-lapse shots requires a combination of proper equipment setup and post-processing techniques. A sturdy tripod is crucial for maintaining stability during shooting. In post-processing, you can use software to stabilize your footage by tracking and aligning specific points in the sequence. Some programs also offer advanced stabilization options, such as warp stabilizers, which can further minimize any unwanted motion.
In what scenarios is time-lapse photography most impactful?
Time-lapse photography is particularly impactful when depicting subjects and scenes that undergo significant changes over time. Popular scenarios include changing weather patterns, urban landscapes, natural events (e.g., blooming flowers or ice melting), celestial movements, construction projects, and crowded locations. Time-lapse helps emphasize these transformations, allowing viewers to gain a unique perspective on the passage of time.
Which software is recommended for post-processing time-lapse videos?
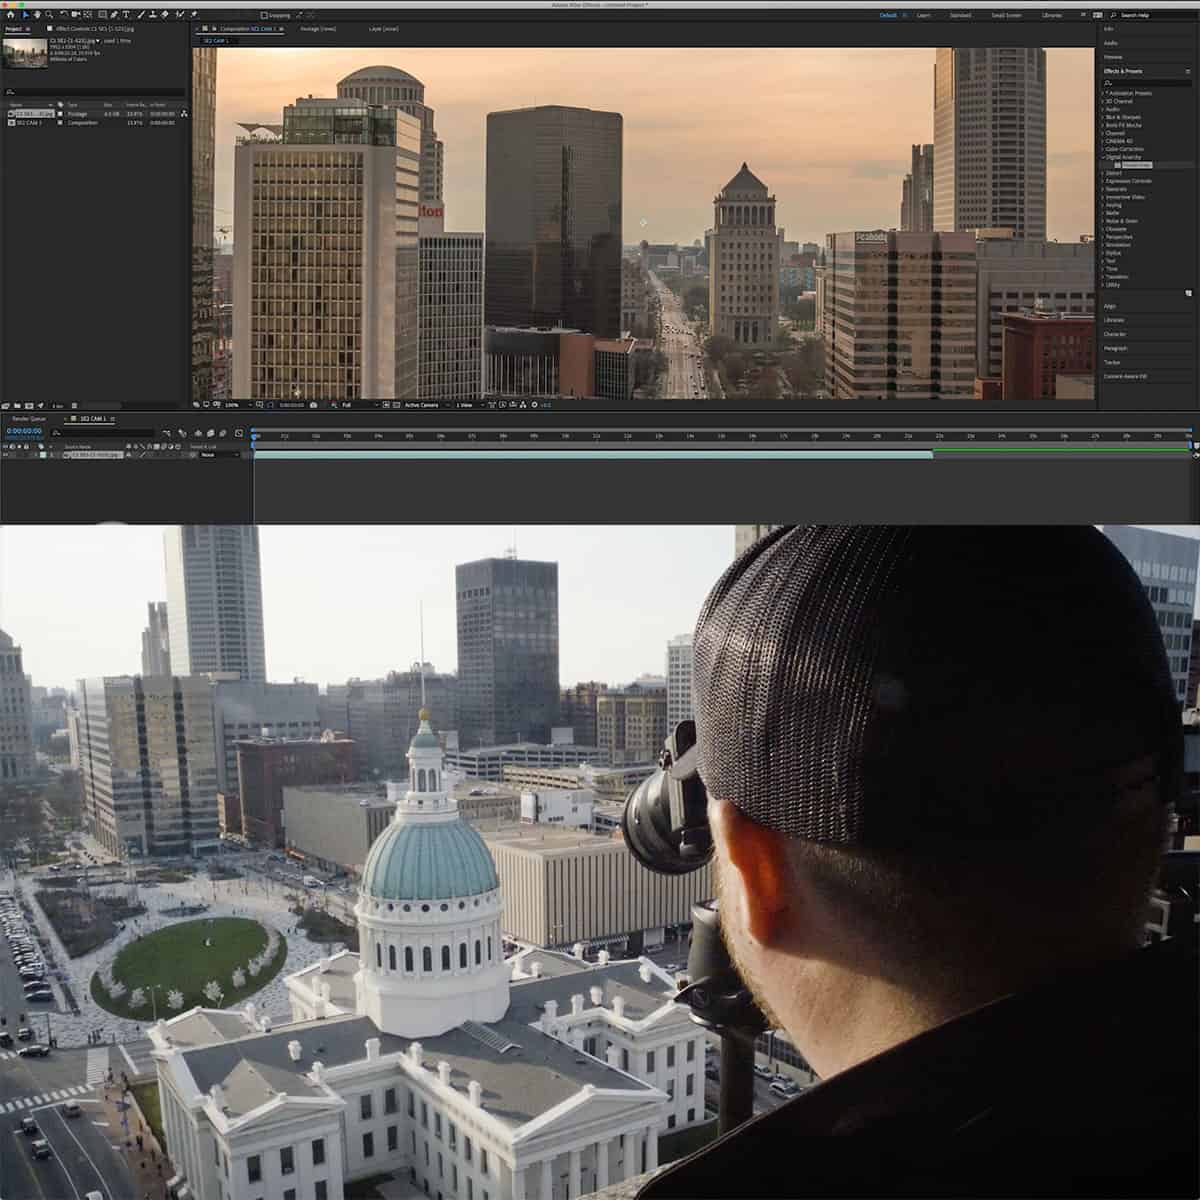
There are several software options available for post-processing time-lapse videos, depending on your requirements and skill level. Popular choices include Adobe After Effects, Adobe Premiere Pro, LRTimelapse, and Final Cut Pro X. These programs offer various features, such as image stabilization, color grading, and speed adjustments, to help you create professional-looking time-lapse videos.
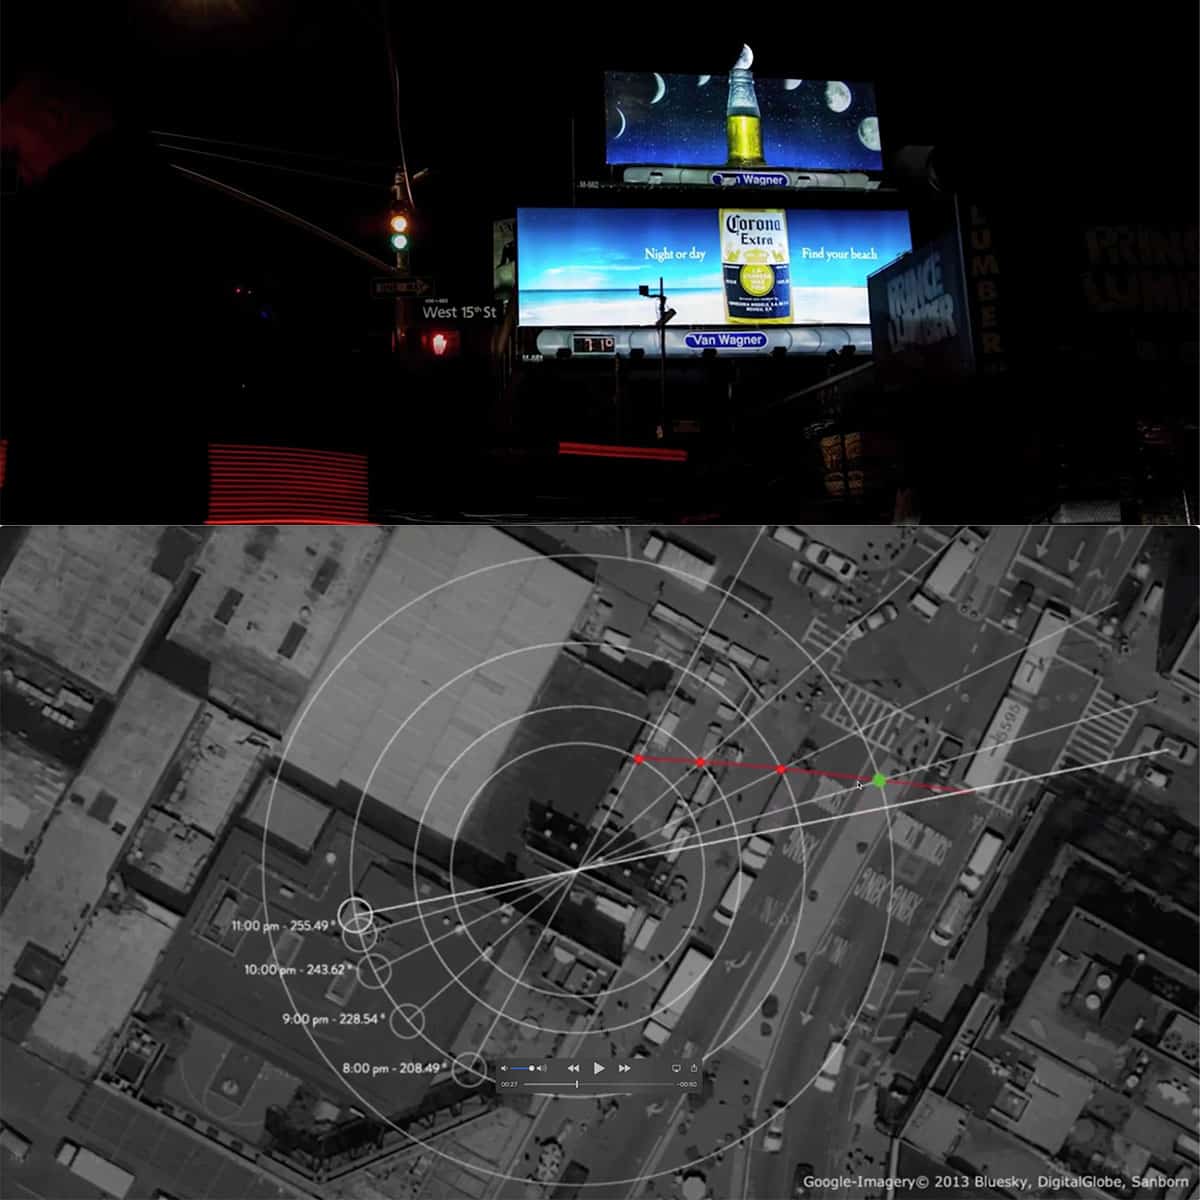
How to manage lighting transitions in time-lapse photography?
Managing lighting transitions in time-lapse photography can be challenging, especially when shooting scenes with fluctuating light conditions (e.g., sunrise or sunset). One approach is to use the camera's manual exposure settings, adjusting aperture, shutter speed, and ISO as needed during the shoot. Alternatively, the use of graduated neutral density filters can help balance exposure in scenes with significant light differences. In post-processing, you can fine-tune the exposure and color balance of individual frames for a smoother transition overall.


