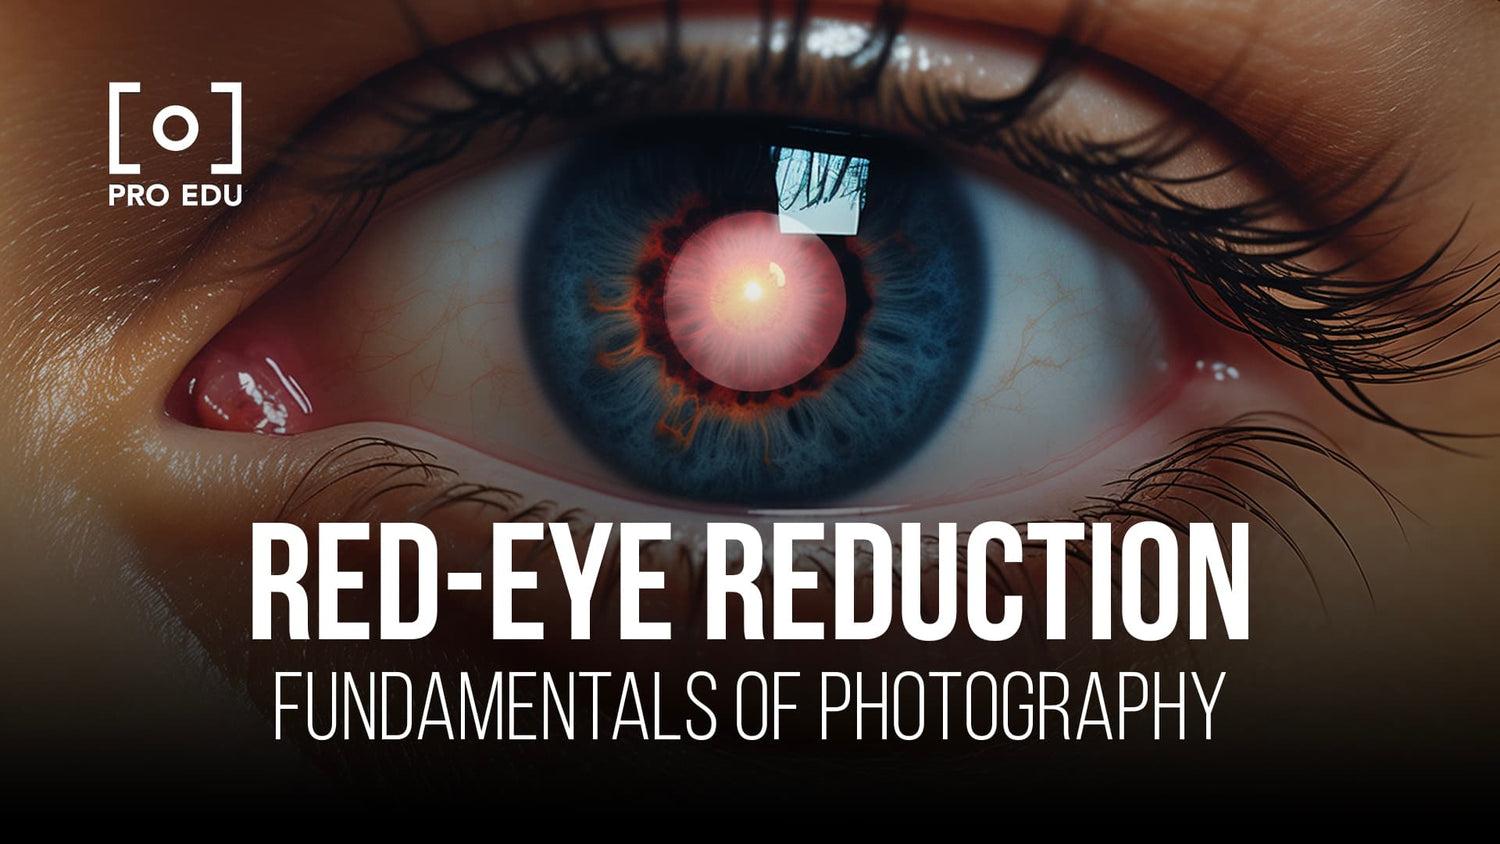
Reducing Red-Eye in Photography: Expert Methods for Flawless Photos
Red-eye in photography is a common issue faced by both amateur and professional photographers. It occurs when the flash reflects off the blood vessels in the subject's eyes, creating a red glare. This effect can be distracting and may ruin the overall aesthetics of a photograph.
Understanding the cause of the red-eye effect is the first step towards tackling it. By being aware of the factors that lead to red eyes in photographs and knowing some effective techniques to prevent and reduce it, we can improve the quality of our photos. In some cases, we may need to resort to post-production methods to remove red-eye if it still appears in our shots.
Key Takeaways
- Understanding the cause of red-eye can help improve photography techniques.
- Implementing practices to prevent and reduce red-eye can enhance photo quality.
- Post-production methods can be used to remove any remaining red-eye effect.
Understanding Red-Eye
Physiological Causes
Red-eye occurs when a camera's flash reflects off the retina in the back of the subject's eye. This reflection may cause the subject's pupils to appear red in a photograph. The retina contains blood vessels, and the choroid layer behind the retina is rich in blood vessels, which contributes to the red color. People with lighter-colored eyes, such as blue or green, usually have less melanin in their irises, making them more prone to red-eye effects in photos. Changing the direction of gaze can help reduce this effect.
Technical Causes
One of the main technical reasons for red-eye is using a camera flash in low light conditions. When ambient light is low, our pupils dilate to let more light in; this increases the chances of red-eye. The proximity of the flash to the camera lens also plays a significant role – the closer they are, the higher the likelihood of the red-eye effect. The camera settings you use, such as ISO and aperture, can contribute to red-eye as well. Adjusting these settings and improving lighting conditions can help prevent red-eye effects in photographs.
Medical Causes and Concerns
While red-eye is usually harmless, it can sometimes indicate an underlying medical condition. For instance, leukocoria is a white reflection in the pupil, which may signal an eye disease. Some conditions that may cause leukocoria include retinoblastoma (a type of eye cancer), cataract, strabismus (misaligned eyes), retinal detachment, Coats' disease, or eye infections. If you notice an unusual reflection in your child's eye or an adult's eye and it persists, it's essential to consult an eye doctor to rule out any potential health concerns.
Preventing and Reducing Red-Eye
Camera Techniques
Using your camera's red-eye reduction feature is an effective way to prevent the red-eye effect in photography. This setting often uses a pre-flash that constricts subjects' pupils, reducing the reflection of light. For better results, consider using an external flash instead of the built-in one, as this can help to bounce light off walls or ceilings and reduce direct light reflection into the lens.
In low-light conditions, increasing ambient lighting can be beneficial. This can be done by simply turning on more lights in the room, which will not only reduce red-eye but also improve the overall quality of your smartphone photos.
Positioning and Environment
When taking photos, especially in low-light conditions, consider the direction from which the light will hit the subjects. Encourage the subjects to position themselves at an angle to the light source, which can help in minimizing the chances of the red-eye appearing in the images.
In addition, you should be mindful of the direction of gaze. If possible, ask the subjects to look slightly away from the camera lens, as direct gazes can exacerbate the red-eye effect. This can be particularly important when capturing group photos, as multiple subjects with red-eye can be difficult to fix in post-processing.
Potential Risks and Considerations
While most red-eye cases are harmless and can be prevented or corrected with the techniques mentioned above, there are some instances where unusual occurrences in photos may signal a more serious issue. For example, if only one eye of a child appears red in photos, it could potentially indicate underlying eye conditions such as misaligned eyes or strabismus. In such cases, a consultation with an eye doctor is advised.
Consumption of alcohol can also affect the reaction time of pupils, which may increase the likelihood of red-eye in photographs. Therefore, it is crucial to take this into consideration while capturing images at events where alcohol is being consumed.
By employing these techniques and being aware of potential risks, we can work towards preventing and reducing red-eye in our photography endeavors.
Removing Red-Eye in Post-Production
Software Solutions
There are a variety of photo editing software options available for removing red-eye. Among them, popular choices include Adobe Lightroom and GIMP. Both solutions offer red-eye removal tools that are easy to use and can efficiently fix red-eye in digital photos.
For smartphone photos, many built-in gallery apps have auto-enhance tools, which can quickly remove red-eye effects. Using the drag and drop method, you can effortlessly apply these edits to all your photos, whether they're digital or printed.
Tips and Tricks
- Start by zooming in on the affected eyes in your photo for a more precise editing experience.
- Use the red-eye removal or auto-enhance tool offered by your preferred photo editing software.
- In some software, you may find dedicated tools like a Red-Eye Remover Pen for more accurate red-eye reduction.
- Once you are satisfied with the edits, save your digital photos in a format that preserves the image quality.
Keep in mind these tips as you edit your photos, and utilize the appropriate software to handle red-eye removal effectively.
Conclusion
In this article, we explored various techniques and tips to reduce Red-Eye in Photography. We discussed the importance of understanding the cause behind red eyes in photos to effectively prevent and correct this issue.
Preventing red eyes is often easier than post-processing fixes. Utilizing natural lighting instead of flash, adjusting camera settings, and changing the direction of your subject's gaze can greatly help in Preventing Red Eyes. This way, we ensure a higher quality of photographs without the need for extensive editing.
In cases where red eyes in photos are unavoidable, we have several Red-Eye Reduction tools at our disposal. Software like Adobe Lightroom allows for quick red eye removal by detecting the issue and making necessary adjustments. Remember to fine-tune the results using additional sliders for optimal image quality.
In conclusion, being aware of the various preventive measures and editing options is crucial for producing high-quality photographs without the distracting presence of red eyes. By implementing these techniques and tips, we can enhance our photography skills and deliver stunning images that are free of the red-eye effect.
Frequently Asked Questions
How can I minimize red eye when taking pictures?
To minimize red eye when taking pictures, you can increase the ambient light in the room, which helps to prevent the subject's pupils from dilating too much. Additionally, you can also position yourself farther from the subject and use a bounce flash technique to direct the flash's light away from the subject's eyes.
What settings should I use to avoid red eye in photos?
To avoid red eye in photos, you can use your camera's red-eye reduction feature, usually found in the settings menu. Also, adjusting the camera settings such as ISO and aperture value can help reduce red eye by allowing more natural light into the camera, reducing the need for using the flash.
Do red eye reduction features work on all cameras?
Red eye reduction features are available on many modern cameras, but their effectiveness may vary between different camera models and lighting conditions. Always refer to your camera's manual or consult with a knowledgeable photographer to understand how best to use the red eye reduction feature in your specific device.
Are there any effective apps for fixing red eye after the photo is taken?
Yes, there are several apps available that can help you fix red eye effects in photos after they are taken. Apps like Adobe Photoshop Express, Fotor, or Pixlr can help you edit and correct red eye with just a few taps or clicks, depending on whether you're using a smartphone, tablet, or computer.
What causes red eye effect in photos and how can it be prevented?
Red eye effect in photos is caused by light from the camera flash reflecting off the blood vessels in the subject's retina, creating a red glow. To prevent red eye, you can make the room brighter to minimize pupil dilation or use alternative lighting techniques, such as a diffuser or bounce flash.
How can I edit and correct red eye in post-processing software?
In post-processing software like Adobe Photoshop, Lightroom, or GIMP, you can use dedicated red eye correction tools to help you identify and correct red eye effects easily. These tools often allow you to select the affected area and automatically adjust the color and intensity of the red eye effect, blending it seamlessly with the rest of the image.


