Panning Photography: Mastering Speed and Elegance in Shots
Panning photography is a technique used to capture a sense of speed and movement in your images. By moving the camera along with a moving subject, you can produce dynamic shots that evoke the sensation of motion. This elegant method can bring life to action and sports photography, as well as add an artistic touch to everyday scenes.
Understanding the basics of panning is crucial for achieving success in this style of photography. Mastering the right camera settings, such as shutter speed, and learning how to steadily follow your subject are essential skills. With practice, you'll be able to capture stunning images that showcase speed with elegance.
Key Takeaways
- Panning photography enhances images by conveying a sense of motion and speed.
- Mastering camera settings and steady movements are essential for successful panning.
- Practice and experiment with different techniques to capture the perfect shot.
Understanding Panning in Photography
Types of Panning
In panning photography, it's essential to identify the subject and its motion to achieve desired results. There are two primary types of panning: linear and rotational. Linear panning involves moving the camera horizontally or vertically, parallel to the subject's movement. Rotational panning, on the other hand, requires photographers to pivot the camera around a central point while following a subject as it moves around them.
Components of Panning
-
Focus: Maintaining a sharp focus on the subject is crucial in panning photography. To ensure your subject remains in focus while capturing motion, consider using continuous autofocus or setting your camera to manual focus and pre-focusing on a particular spot.
-
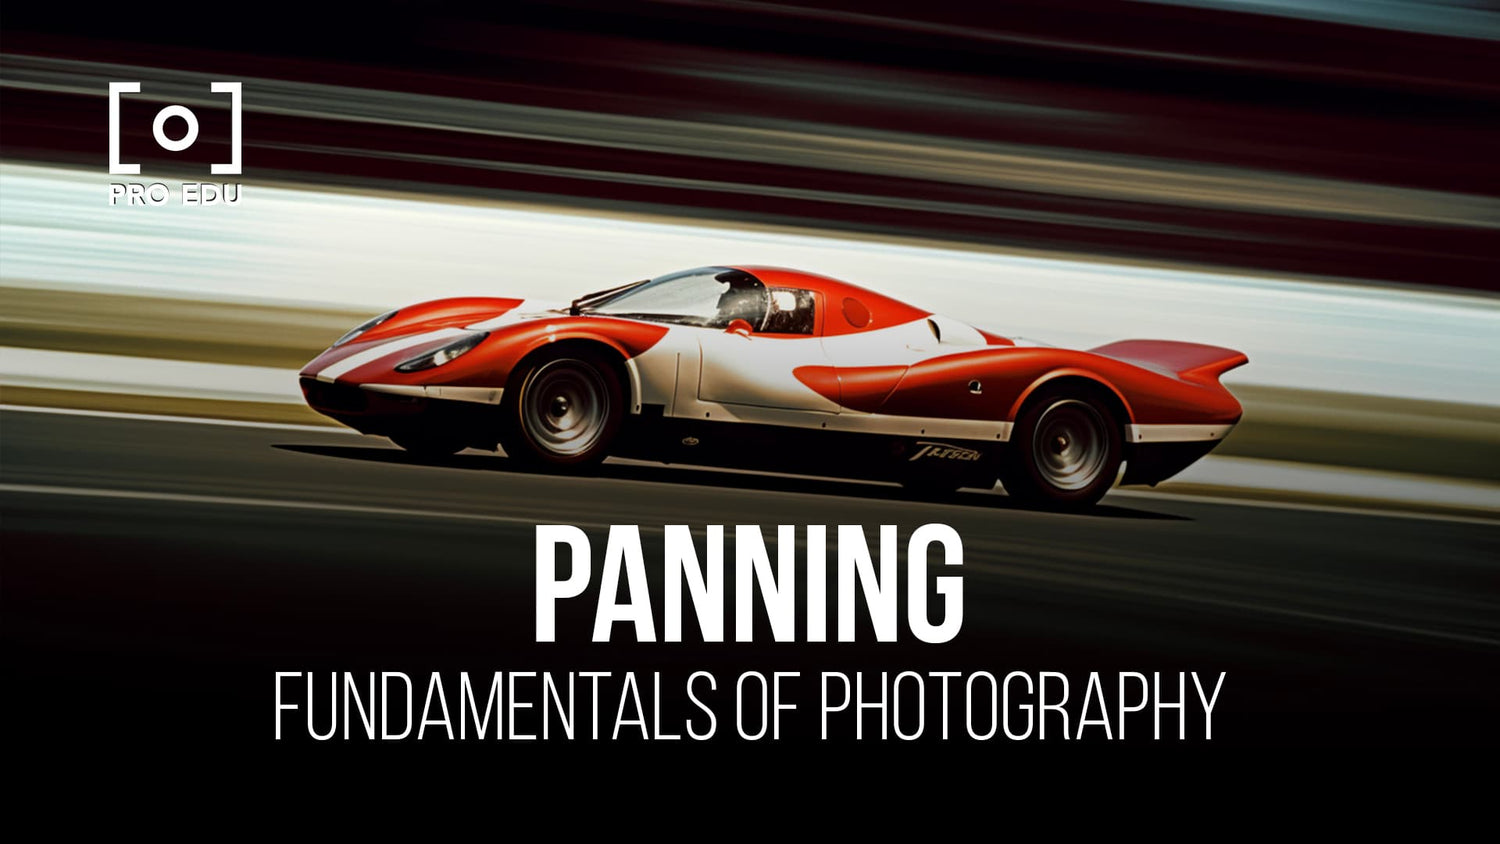
Motion blur: Conveying the sensation of speed, motion blur is an essential component of panning photography. This effect is achieved by using a slow shutter speed (around 1/30 to 1/80 of a second) while following the subject with your camera during the exposure. A slow shutter speed enables exposing the sensor to light longer, thus intensifying the blur.
-
Background: In panning photography, the background plays a vital role in emphasizing your subject's movement. By smoothly following your subject with the camera, you create a blurred background that contrasts with the sharp subject, adding depth and motion to your image.
-
Sharpness: As mentioned earlier, it's crucial to keep your subject sharp while creating a sense of speed and movement. Techniques like using the right shutter speed, fully understanding your camera's continuous autofocus settings, and steady panning can help to capture outstanding panning shots.
Techniques for Successful Panning
Setting Up the Camera
To begin with panning photography, it's crucial to set up your camera correctly. Choose a slow shutter speed, ideally between 1/30 and 1/80 of a second to capture motion. It is also suggested to set the camera to burst mode, which will help you capture multiple frames in succession.
- Shutter speed: 1/30 - 1/80
- Burst mode: Enabled
Manual vs Autofocus
Choosing between manual and autofocus can be challenging. Autofocus might seem like an easier option, but many photographers recommend using manual focus for panning. Manual focus allows for more precise control, but it requires practice. When using autofocus, select the correct autofocus setting for a better outcome.
- Manual focus: Better control
- Autofocus: Choose the right setting
Mastering Shutter Priority
Shutter priority is a valuable technique for capturing motion in panning photography. It enables you to determine the desired shutter speed, and the camera automatically adjusts the aperture for accurate exposure. By mastering shutter priority, we can seamlessly capture fast-moving subjects while maintaining the focus.
- Shutter priority: Control shutter speed
- Aperture: Automatically adjusted
By following the above techniques, we will undoubtedly enhance our ability to create stunning panning photographs, capturing speed with elegance.
Capturing the Perfect Shot
No matter your experience level, practice is essential to capturing the perfect panning shot. By experimenting with different techniques and settings, we can improve our panning skills and consistently produce compelling images.
When it comes to framing, be mindful of the subject and their background. Choose a focus point that creates visual interest and balance in the composition. Don't be afraid to play around with the angle and distance between your camera and the subject.
Proper position and stance are crucial for maintaining stability during the shot. Keep your feet shoulder-width apart, with one foot slightly in front of the other. Tuck your elbows into your body and hold the camera firmly but without applying excessive pressure.
Here are some key settings and techniques for panning photography:
- Shutter speed: Start with a range of 1/20 sec to 1/50 sec for most subjects
- Drive mode: Continuous shooting
- Focus mode: Manual
- Focal length: Wide-angle to midrange zoom (10-20mm or 24-70mm)
- Camera burst mode: Helpful for capturing continuous frames for a better chance at the perfect shot
Remember, these settings are only a starting point, so adjust them as necessary based on your subject and desired level of motion blur. As we continue to practice, experiment, and refine our skills, capturing the perfect panning shot will feel increasingly natural and rewarding.
Troubleshooting Common Panning Issues
Addressing Motion Blur
One common issue in panning photography is motion blur, which occurs when the camera and subject's movement are not perfectly synchronized. To address this, ensure that your shutter speed is appropriate for the subject's speed, keeping in mind that faster-moving subjects may require faster shutter speeds (source).
Practice your panning technique, focusing on keeping your camera steady and tracking the subject smoothly. It's essential to maintain a consistent speed as you pan, as sudden changes in camera movement can cause blur.
Lens and Aperture Adjustments
To achieve successful panning photos, securely use the appropriate lens and aperture settings. Wide-angle to midrange zoom lenses (10-20mm or 24-70mm) are typically effective for panning (source).
For aperture settings, consider using a narrower aperture (higher f-number) to increase the depth of field. This adjustment will help ensure that the subject remains in focus as it moves across the frame. However, be careful not to use an aperture so narrow that your shutter speed becomes too slow, thereby increasing the risk of motion blur.
ISO Challenges
Balancing ISO settings is crucial when capturing panned shots. A higher ISO can compensate for insufficient light, allowing you to use a faster shutter speed for sharper images. However, be cautious with high ISO values, as it may result in digital noise (source).
To find the ideal ISO setting for your specific situation, take test shots at various ISO values, and select the one that provides the best balance between sharpness and acceptable noise levels. Bear in mind that the optimal ISO setting may change depending on your environment and light conditions, so be prepared to adjust as needed.
Advanced Panning Techniques
Exploring Advanced Shutter Speeds
When experimenting with panning photography, it's essential to understand the role of shutter speeds. As we dive into advanced techniques, we'll push the boundaries of what can be achieved with slow shutter speeds. For instance, you can start with shutter speeds as slow as 1/15s and gradually work your way up to faster speeds like 1/100s. This range allows us to create a variety of motion effects.
Experimenting with various slow shutter speeds helps us discover the optimal level of motion blur for the desired effect. It is crucial to maintain a steady hand and gradually pan the camera during continuous shooting to ensure a cleaner and more appealing sense of motion in your images.
Using the Viewfinder
Utilizing the camera's viewfinder is an often overlooked but essential aspect of panning photography. When panning, we recommend looking through the viewfinder to accurately track the subject and ensure smooth camera movements. The viewfinder helps us maintain better control over our composition and avoid unintentional shots.
Additionally, the viewfinder offers a more stable grip on the camera, enabling more precise panning. It provides real-time feedback, allowing us to make adjustments on the fly if needed. We recommend practicing panning while using the viewfinder to develop a more intuitive and efficient technique.
Creating a Sense of Speed
The ultimate goal of panning photography is to create an unparalleled sense of speed. Mastering this technique involves practice, patience, experimentation, and honing our skills. As we've covered earlier, shutter speed settings are a crucial factor that influences the final motion effect. However, don't forget that panning technique and continuous shooting help capture the distinct speed sensation.
Keep in mind that the distance between the camera and the subject, and the background selection also plays a crucial role in illustrating speed. By using slower shutter speeds, moving parallel to the subject, and choosing visually interesting backgrounds, we can create dynamic images that represent the elegance of panning photography.
Frequently Asked Questions
What are the optimal camera settings for panning photography?
To achieve great panning shots, it's essential to use a slow shutter speed, ranging from 1/30 to 1/80 of a second. This exposes the sensor to light longer and allows the camera to capture motion. It's also important to set your camera to continuous shooting to keep the action going.
How to choose the right shutter speed for panning?
Selecting the right shutter speed depends on the speed of your subject. Faster subjects might require a faster shutter speed, while slower subjects might need longer exposure times. It's recommended to start with a shutter speed of 1/30 or 1/40 and adjust accordingly as you experiment with different subjects.
Which shooting mode works best for capturing speed?
Shutter Priority (S or Tv) mode is ideal for panning photography, as it allows you to control the shutter speed while the camera automatically adjusts the aperture. This ensures consistent shutter speeds throughout the pan and enables you to focus on nailing the technique.
What are some creative ideas for panning photography?
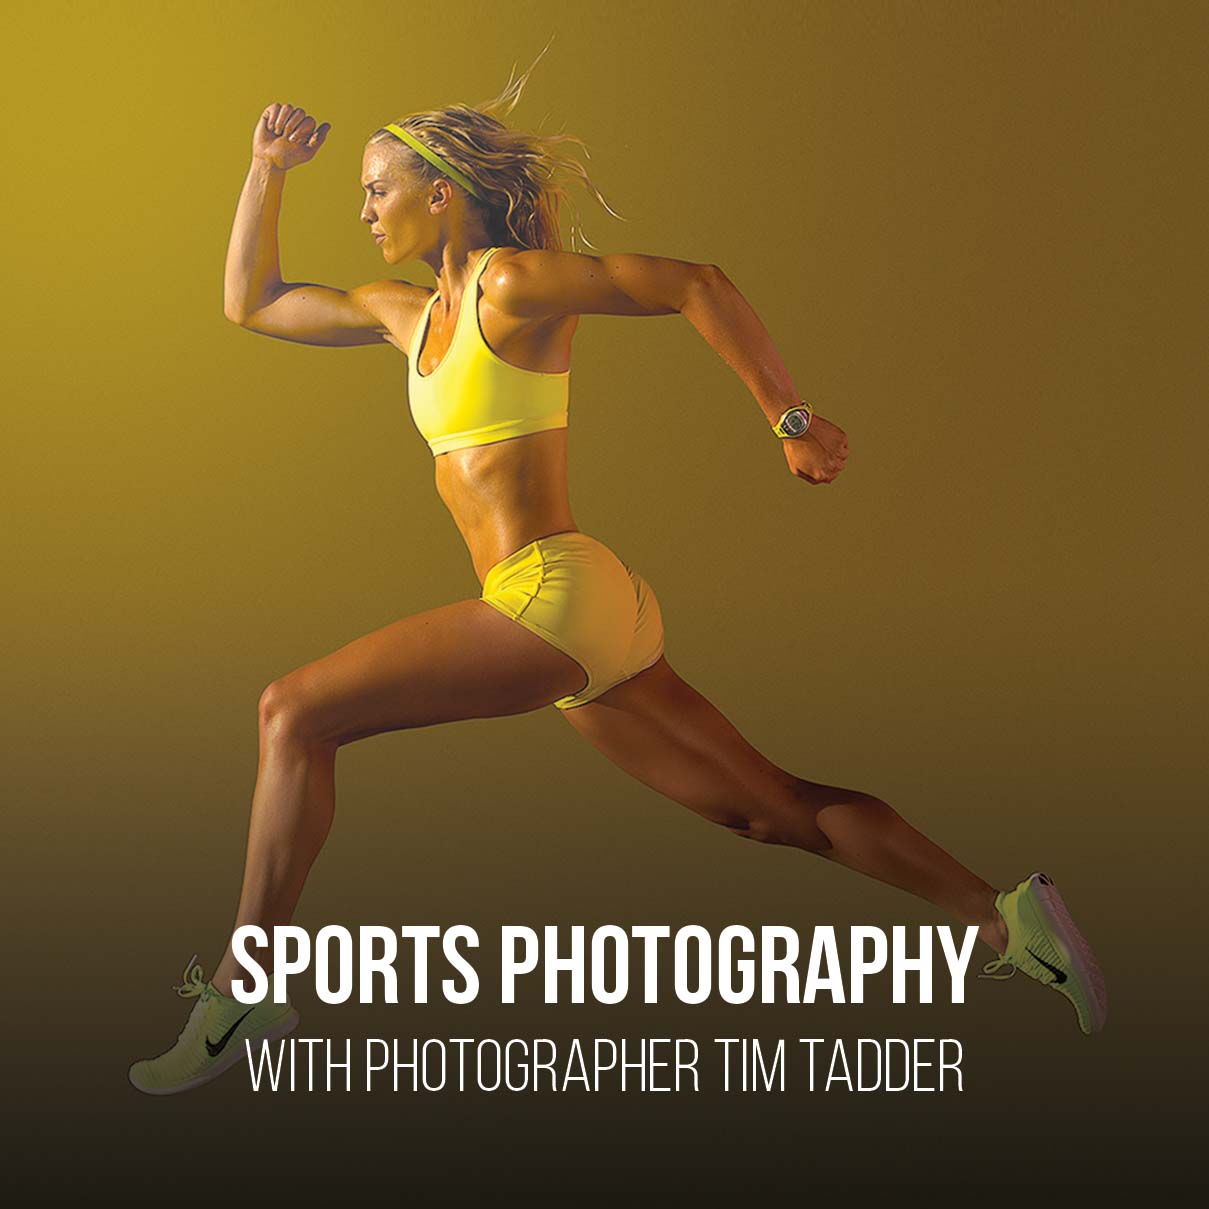
Panning photography is versatile and can be used in various settings and with different subjects. You can capture abstract effects by panning over colorful backgrounds, photograph athletes in action, or showcase the speed of vehicles on a busy street.
How can I improve my panning technique?
To master panning photography, practice is essential. Begin by finding a moving subject and follow its path while smoothly moving your camera. Use a tripod or monopod to stabilize your motion and experiment with different shutter speeds and focal lengths to refine your technique.
What is the difference between panning in photography and videography?
In photography, panning captures a singular moment of motion, creating a sharp subject against a motion-blurred background. In videography, panning refers to horizontally moving the camera on a fixed axis, creating a smooth and continuous shot. While both techniques involve movement, their applications and outcomes differ.


