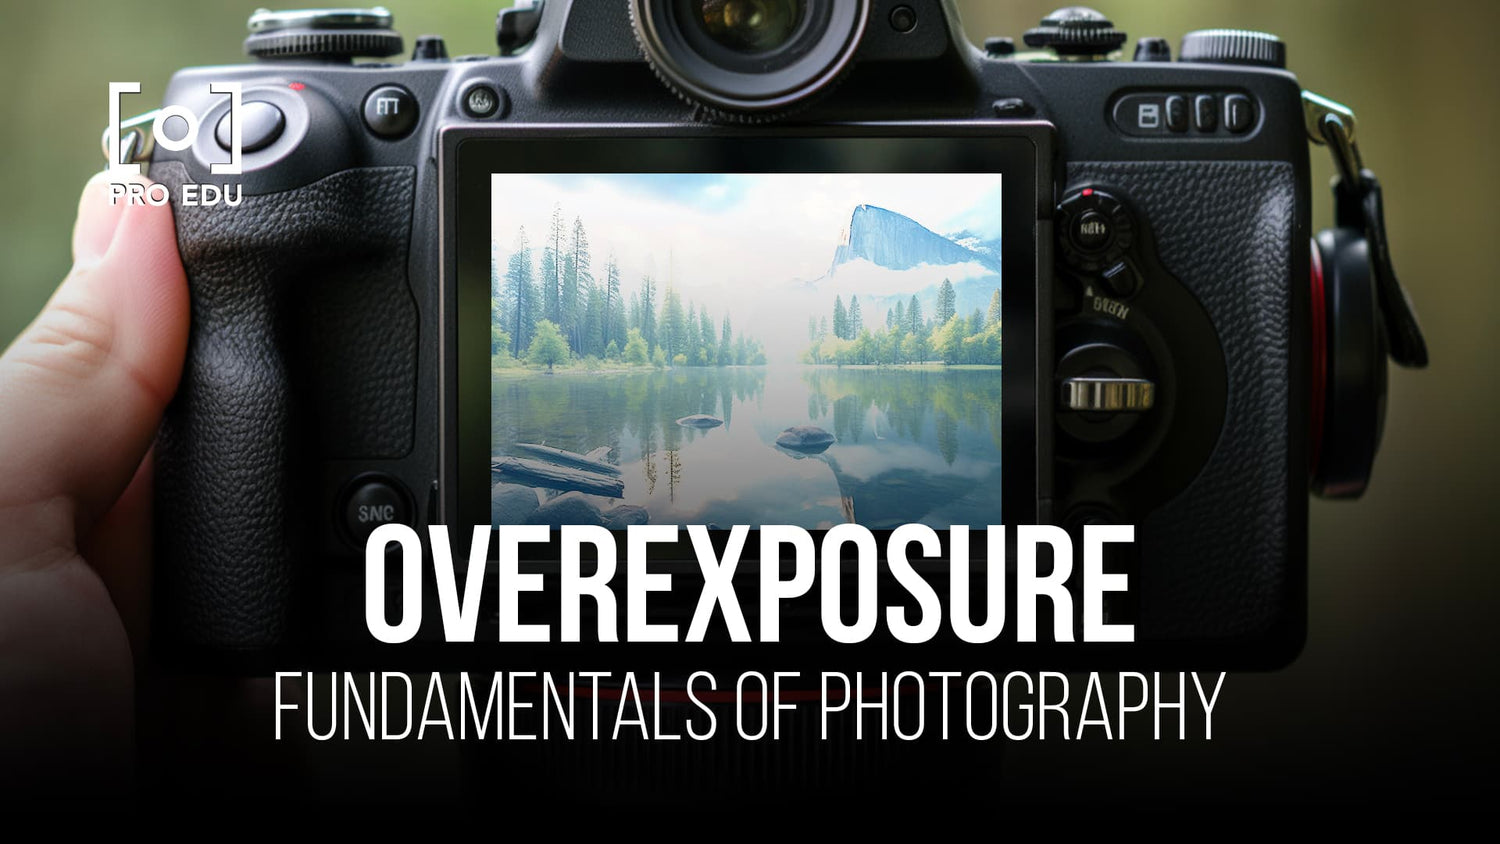
Overexposure in Photography: Expert Tips to Dodge the Trap
In the world of photography, achieving the perfect exposure is essential for capturing stunning images. Overexposure, a common pitfall, occurs when too much light enters the camera's sensor, resulting in a washed-out and overly bright image. By understanding the fundamentals of exposure, photographers can effectively avoid overexposure and enhance the quality of their photos.
The exposure triangle, comprising aperture, shutter speed, and ISO, governs the amount of light that enters the camera. By mastering these three settings, photographers can detect and manage overexposure before capturing the shot. Additionally, post-processing techniques and tools can further mitigate overexposure, ensuring the highest possible image quality.
Key Takeaways
- Overexposure causes images to appear washed out and overly bright, adversely affecting their quality.
- Mastering the exposure triangle (aperture, shutter speed, and ISO) helps photographers avoid overexposure.
- Utilizing post-processing techniques and tools can correct overexposed images, salvaging their quality.
The Exposure Triangle: Aperture, Shutter Speed, and ISO
The exposure triangle consists of three key elements: aperture, shutter speed, and ISO. These elements work together to determine the right amount of light that reaches the camera sensor, ensuring a properly exposed photograph. Let's take a closer look at each component.
Aperture refers to the opening of the camera lens that lets light into the camera. It is measured in f-stops (e.g., f/2.8, f/4, f/5.6). A lower f-stop value means a wider aperture, which lets in more light, while a higher f-stop value results in a narrower aperture, allowing less light.
Shutter speed is the duration for which the camera's shutter is open, allowing light to reach the sensor. Shutter speeds are usually expressed in fractions of a second (e.g., 1/60, 1/125, 1/250). A slow shutter speed allows more light to enter, resulting in a brighter image, while a faster shutter speed lets in less light, producing a darker image.
ISO stands for International Standards Organization and represents the camera sensor's sensitivity to light. A lower ISO value (e.g., 100, 200) means the sensor is less sensitive to light, while a higher value (e.g., 800, 1600) indicates greater sensitivity. Higher ISO values can result in brighter images but may also introduce more noise or graininess.
To avoid overexposure in photography, we need to balance these three components. A change in one setting often necessitates an adjustment in the others. For example, if we want to capture a scene using a faster shutter speed, we may need to increase the aperture or ISO to compensate for the reduced light. Remember that experimentation and practice are essential for mastering the exposure triangle and achieving well-balanced photographs.
Understanding and Detecting Overexposure
Overexposure occurs when an image appears brighter than it should be, resulting from too much light hitting the camera's sensor. This can limit the detail in the photo and reduce any opportunity for shadowing or distinguishable highlights in the image1. To better understand and detect overexposure, we need to be familiar with the concept of exposure, which is a measurement of how much light reaches the film or camera sensor when a picture is taken2.
When the film or camera sensor is exposed to more light, the image will appear brighter2. In photography, exposure is a delicate balance of light that determines the overall look of a captured image3. There are three factors that influence exposure: aperture, shutter speed, and ISO sensitivity4. Adjusting these settings on a camera can help prevent instances of overexposure.
To detect overexposure, pay close attention to the brightness and detail of an image, particularly in the highlights. Overexposed images often have blown-out highlights, where the bright areas appear as solid white with no detail5. A properly exposed image should have a good balance of brightness and shadow, with details visible in both the highlights and the shadows.
Using a camera's histogram is an effective way to confirm if an image is overexposed. A histogram shows the distribution of brightness levels in an image. If the histogram is skewed towards the right, it indicates overexposure5. To correct this issue, we can adjust the aforementioned camera settings to reduce the amount of light captured by the camera sensor.
In summary, understanding and detecting overexposure involves recognizing the signs of excessive brightness, blown-out highlights, and a skewed histogram. By adjusting the exposure settings on our camera, we can avoid this common pitfall and achieve well-balanced and visually appealing photographs.
Strategies to Avoid Overexposure
To avoid overexposure in photography, it's essential to understand and apply the correct camera settings. One fundamental aspect is the Exposure Triangle, which encompasses ISO, aperture, and shutter speed. By mastering their relationship, we can make better exposure-related decisions.
Here are some practical techniques we can implement to prevent overexposure:
- Shoot in RAW: This format allows for more flexibility in post-processing, making it easier to correct overexposed areas of the image.
- Use a low ISO: Maintaining a low ISO reduces noise and keeps your images crisp. It also means your camera sensor is less sensitive to light, reducing the chance of overexposure2(https://genemphotography.com/overexposed-sky-in-photography/).
- Opt for a faster shutter speed: A quicker shutter speed lets in less light, thus decreasing the likelihood of overexposing your image3(https://genemphotography.com/overexposed-sky-in-photography/).
- Narrow the aperture: Choosing a higher f-stop value allows less light to enter the camera, resulting in less overexposed photos5(https://genemphotography.com/overexposed-sky-in-photography/).
Another useful strategy to avoid overexposure is adjusting the angle and timing of our shot. For example, when photographing a subject in front of a bright sky, consider changing your shooting angle to minimize the sky's impact on the exposure. Additionally, avoid shooting during the harshest midday light, as this can often lead to overexposed images.
In conclusion, by adopting these techniques and being mindful of our camera settings and shooting conditions, we can effectively steer clear of overexposure pitfalls and capture more balanced photographs.
Effectively Utilizing Post-Processing for Overexposure
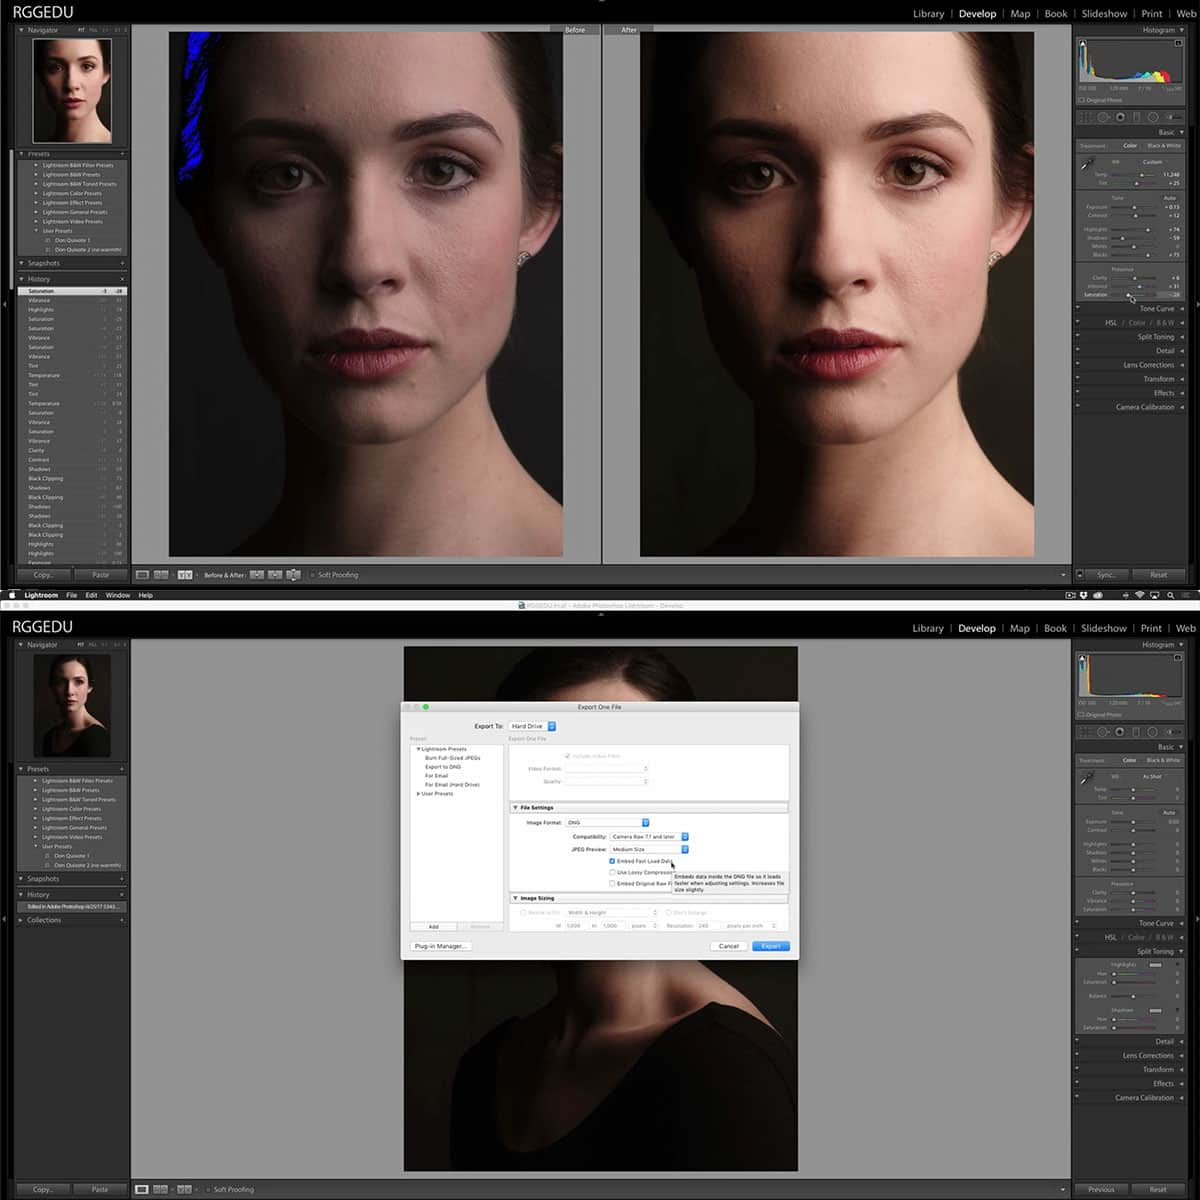
When dealing with overexposed images, post-processing tools such as Lightroom and Photoshop can come in handy. To begin, we recommend using Lightroom to easily make global adjustments. For instance, we can utilize the Highlights and Exposure sliders to recover some details in the overexposed areas.
If more precise control is needed, we can turn to Photoshop to perform localized adjustments. One such adjustment is the Levels Adjustment. By utilizing levels adjustment, we can correct the exposure for specific regions, removing unwanted bright spots and restoring lost detail. We may also apply masking, which allows us to target areas of the image without affecting the entire photo.
Another technique often used in Photoshop is compositing. It involves combining multiple exposures or using parts of different images to reconstruct the overexposed areas. This might be useful in cases when the sky is extremely overexposed and would benefit from the use of a well-exposed sky from another photograph.
During the post-processing workflow, it's essential not to overdo any adjustments. Keeping it subtle and natural is key to obtaining professional results. Adjusting the overexposed areas should always be part of a larger editing process that also involves correcting colors, contrast, and sharpening. This holistic approach will help us achieve a balanced and visually appealing final image.
Post-Shoot Adjustments: Fixing Overexposed Images
One common issue photographers face is overexposure, where the image appears too bright and some details are lost. Fortunately, there are post-shoot adjustments we can make to fix overexposed photos. We'll walk you through some crucial steps to improve your images and avoid the overexposure pitfall.
First, let's focus on making the image darker. One way to achieve this is by adjusting the exposure slider available in most photo editing programs. By moving the slider to the left, you can reduce the overall brightness of the image and bring back some lost details.
Another important aspect to consider is handling the highlights and whites. Adjusting the whites slider is an effective way of controlling the brightest areas of your image. Moving the whites slider to the left can recover lost details in overexposed highlights without affecting the overall contrast too much.
Now that we have addressed the brightness and highlights, let's move on to the levels adjustment layer. This powerful tool allows us to modify the input levels and output levels of an image independently. By adjusting the levels adjustment layer, we can further fine-tune the exposure, shadows, and highlights of our photo to produce a well-exposed final result.
In conclusion, post-shoot adjustments are an essential part of the photography process. Armed with the knowledge of how to fix overexposed images, we can enhance our photography and rescue potentially great shots. Always remember that practice makes perfect, so keep experimenting and refining your skills to become better at handling overexposure in your images.
Concluding Remarks
In the realm of photography, overexposure is a common pitfall that can lead to images appearing too bright or washed out. By understanding the factors that contribute to overexposure, we can avoid this issue and achieve better image quality in our photographs. It's essential to focus on the three main components of the exposure triangle: ISO, aperture, and shutter speed. Skillful manipulation of these settings can help prevent an overexposed image while preserving important details and depth.
An underexposed photo can be just as problematic, resulting in images that are too dark or lacking in detail. In order to adequately evaluate your camera settings and capture the desired composition, we highly recommend the practice of bracketing. With bracketing, you take multiple shots of the same subject at varying exposure levels, allowing you to compare and determine which shot best matches your creative vision.
In summary, both overexposure and underexposure can be detrimental to the final outcome of your photography. Using the appropriate camera settings and techniques, we can be better equipped to create well-balanced, captivating images. Always remember, practice is essential to improving our skills as photographers. So continue to experiment, learn from experience, and refine your craft.
Frequently Asked Questions
How can I prevent overexposure in my photos?
To prevent overexposure in your photos, we recommend familiarizing yourself with the exposure triangle, which consists of aperture, shutter speed, and ISO. By skillfully adjusting these parameters, we can regulate exposure and manage incoming light to create balanced images.
What are the signs of an overexposed photo?
An overexposed photo appears brighter than it should or lacks neutrality in exposure. Overexposure leads to limited details in the photo and reduces opportunities for distinguishable highlights and shadowing in the image.
How do I fix overexposed photos?
To fix overexposed photos, you can use post-processing software like Adobe Lightroom or Photoshop to adjust exposure, highlights, and shadows. Alternatively, you can also revisit the scene with better camera settings to reduce overexposure and retake the photo.
Which camera settings can reduce overexposure?
Reducing overexposure can be achieved by adjusting your camera's aperture, shutter speed, and ISO. By decreasing the aperture size (increasing the f-number), increasing the shutter speed, or lowering the ISO, you can limit the amount of light reaching the sensor, thus preventing overexposure.
How does shooting in RAW format help with overexposure?
Shooting in RAW format provides more flexibility in post-processing, as it captures more data than JPEG. With RAW files, we can more easily recover overexposed areas and correct the overall exposure in our images, allowing us to salvage potentially overexposed photographs.
What are common exposure problems in photography?
Common exposure problems in photography include overexposure (too much light), underexposure (too little light), and dealing with high-contrast scenes like bright sunny days. Managing these exposure issues is essential for creating well-balanced and visually pleasing images.
Footnotes
-
https://www.studiobinder.com/blog/what-is-overexposure-in-photography/ ↩
-
https://www.masterclass.com/articles/basic-photography-101-a-beginners-guide-to-understanding-overexposure-and-underexposure ↩ ↩2 ↩3
-
https://www.dannyburk.com/photographys-overexposure-understanding-the-pitfalls/ ↩ ↩2
-
https://photographylife.com/underexposure-and-overexposure-in-photography ↩


