Manual Mode Unveiled: Mastering Camera Control for Professional Results
In the world of photography, taking control of your camera opens up a myriad of creative possibilities. One powerful tool at your disposal is manual mode, which allows you to adjust settings like aperture, shutter speed, and ISO to create the perfect shot. By balancing these settings, you can obtain the precise exposure and artistic effects you desire.
Manual mode might seem intimidating for beginners, but with practice and an understanding of your camera's capabilities, it becomes second nature. Knowing your camera settings and how they interact is crucial to mastering manual mode. Whether you're capturing action-packed sports or artistic portraits, the flexibility offered by manual mode provides endless opportunities to explore and grow as a photographer.
Key Takeaways
- Mastering manual mode allows for precise control of camera settings, enabling creative freedom.
- A solid grasp of aperture, shutter speed, and ISO is essential for optimizing your shots.
- Manual mode accommodates various photography types, from action shots to portraits, expanding your skills.
Understanding Manual Mode
Manual mode allows us to take full control of our camera settings, unlike auto mode where the camera makes those decisions for us. By using manual mode, we can manipulate settings such as aperture, shutter speed, and ISO to produce the exact result we envision.
For instance, adjusting the ISO controls our camera's sensitivity to light. A higher ISO setting increases the camera's light sensitivity, which can result in a brighter image. This is useful when shooting in low light situations or at night.
When it comes to aperture, we can control the depth of field by adjusting the size of the aperture opening. A larger aperture (smaller f-number) creates a shallower depth of field, while a smaller aperture (larger f-number) results in a deeper depth of field. This can greatly influence the focus and mood of our images.
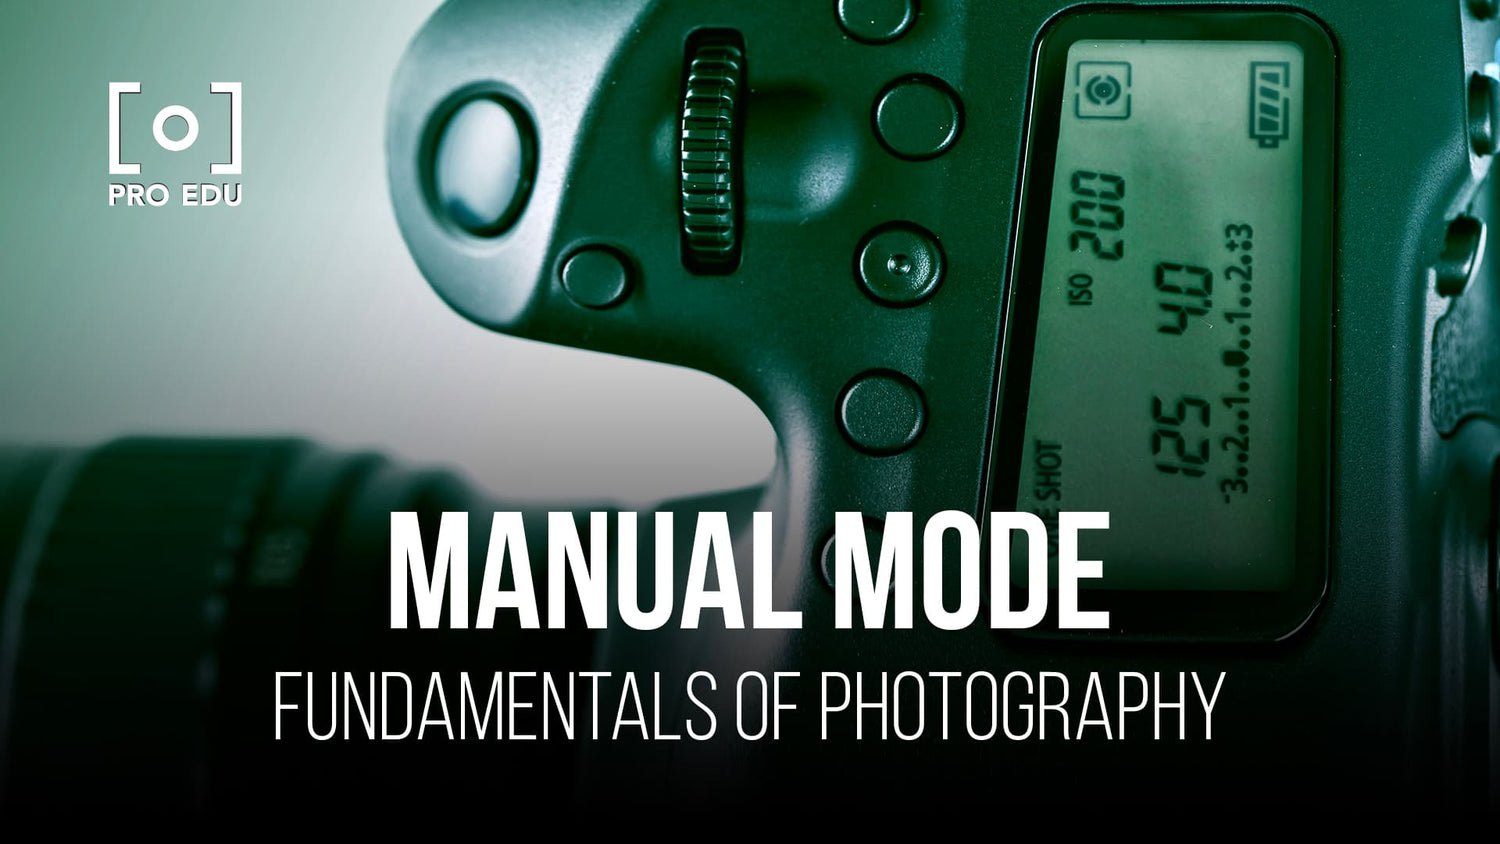
Shutter speed is another crucial aspect of manual mode. It determines the length of time the camera's sensor is exposed to light. By altering the shutter speed, we can control motion blur and freeze action in our photos. A faster shutter speed (e.g., 1/1000s) freezes motion, while a slower shutter speed (e.g., 1/15s) can create intentional blur for artistic effects.
Finally, we can monitor the light meter to ensure our exposure is balanced. Our camera's built-in light meter indicates whether the image will be underexposed, overexposed, or correctly exposed based on our chosen settings. With manual mode, it's essential to pay attention to the light meter to achieve optimal exposure in our images.
By mastering manual mode, we unlock a world of creative possibilities and gain greater control over our photography's outcome. This can be daunting at first, but with practice, we will become more confident and skilled in manipulating these settings to achieve our desired results.
Knowing Your Camera Settings
To make the most of manual mode, it's crucial to understand the key camera settings that influence your photos. We'll provide a concise overview of some of the most important settings that contribute to a well-exposed image.
ISO refers to how sensitive our camera sensor is to light. A higher ISO means the sensor is more sensitive to light, allowing us to capture images in darker conditions. However, this also increases the chance of image noise.
Aperture is the size of the opening in the camera lens (f-stop). A lower f-number indicates a larger aperture, which lets in more light and provides a shallow depth of field. Conversely, a higher f-number results in a smaller aperture, less light, and greater depth of field.
Shutter speed controls the length of time the camera sensor is exposed to light. Fast shutter speeds freeze motion and reduce blur, while slower speeds produce motion blur and require a steady hand or tripod. Manipulating shutter speed can also create various creative effects.
Our cameras have an EV (exposure value) scale on the light meter, which helps us assess the overall brightness of the image. The light meter reads the scene, and an EV of zero indicates a balanced exposure. We can adjust the ISO, aperture, and shutter speed to achieve the desired EV.
Aperture priority and shutter priority modes allow us to prioritize one setting (aperture or shutter speed) while the camera automatically adjusts the other for optimal exposure. In manual mode, we have complete control over both settings, as well as the ISO.
The mode dial on our camera provides easy access to different shooting modes, including manual mode, aperture priority, and shutter priority. Familiarizing ourselves with the mode dial can help us quickly switch between modes as needed.
Metering modes such as evaluative, spot, and center-weighted metering help the camera determine the appropriate exposure for the scene. Evaluative metering assesses the entire frame, while spot metering focuses on a specific point within the scene. Knowing how to switch between metering modes can be crucial for obtaining the desired exposure.
By understanding these camera settings, we'll be better equipped to take control of our cameras in manual mode and produce outstanding images that match our creative intentions.
Creating Desired Effects
Full manual mode offers great flexibility in photography, enabling photographers to achieve various desired effects. One such effect is controlling the depth of field, which affects the sharpness of the foreground and background. For instance, using a low f-stop creates a shallow depth of field, blurring the background, whereas a high f-stop keeps everything crisp and focused.
Photographers can experiment with motion blur by adjusting the shutter speed. By utilizing slower shutter speeds, subjects in motion create a sense of movement through the captured blur, whereas faster speeds freeze the action with sharp detail.
Manual mode also provides an opportunity to control noise in an image. By adjusting the ISO setting, photographers can balance between a properly exposed image and acceptable graininess. Lower ISO values produce less noise, yielding smoother textures, while higher ISO values can introduce more visible grain, which may result in a creative effect when used intentionally.
Another captivating effect that can be achieved through manual mode is light trails, often encountered in nighttime photography. Setting a long exposure time with a steady tripod creates continuous streams of light, capturing fast-moving objects like car headlights or fireworks. In contrast, a shorter exposure results in clear, still images.
By gaining a strong understanding of how to manipulate shutter speed, aperture, and ISO, photographers can take full advantage of manual mode to create stunning and unique imagery across a range of styles and subjects.
Choosing Subjects and Modes
When it comes to capturing various subjects, it's essential to select the appropriate camera mode to achieve the best results. Be it portrait, landscape, or sports photography, understanding the modes and settings in your camera enables us to create images that accurately portray the scene's essence.
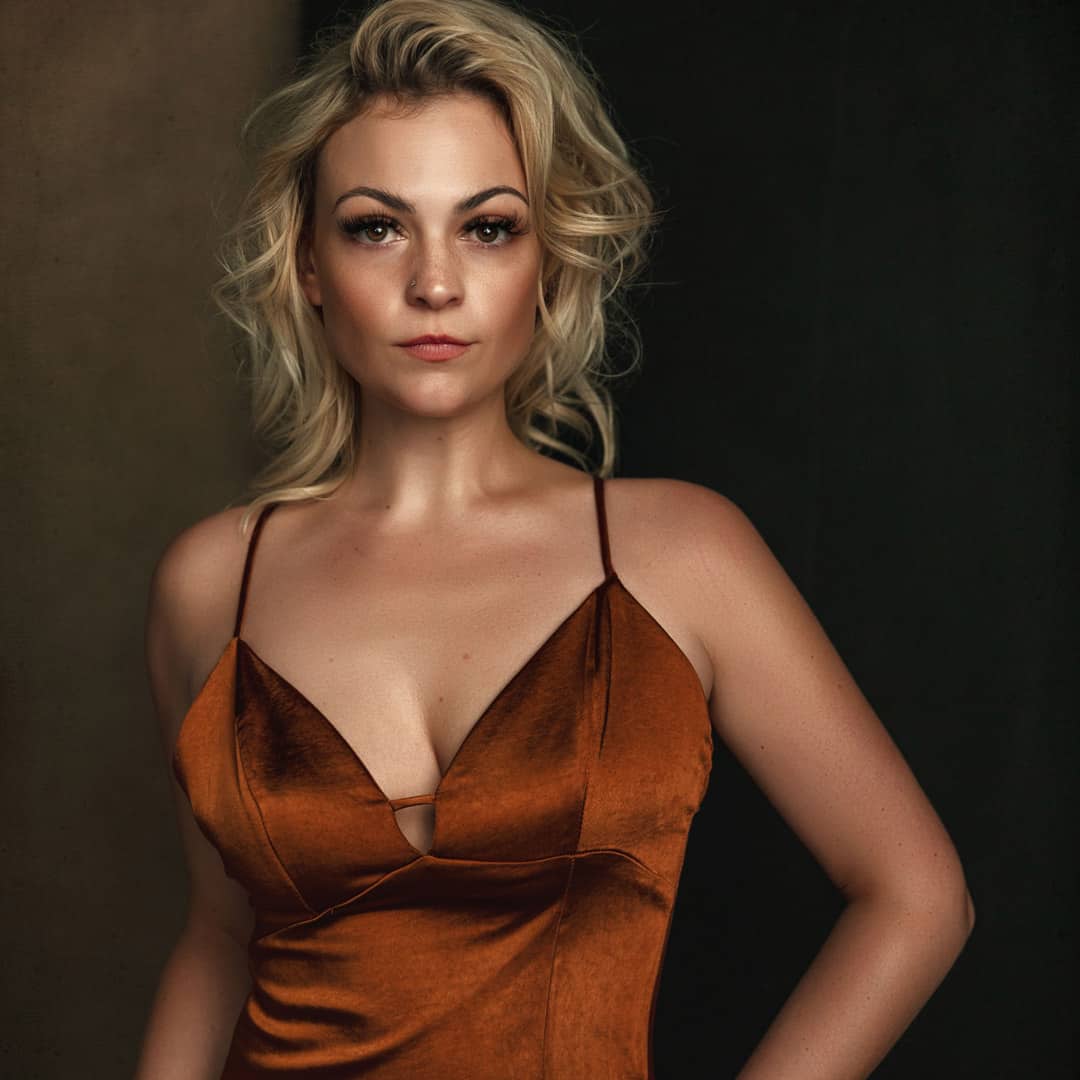
For portrait photography, we want to emphasize our subject while creating a soft, blurred background. To achieve this, we need to choose a wide aperture, which provides minimal depth of field and helps our subject stand out. It may also be beneficial to utilize your camera's aperture priority mode (if available) while setting a low ISO and appropriate shutter speed.
In contrast, for landscape photography, our goal is to maintain sharpness and detail throughout the scene. This requires us to use a narrower aperture, which increases the depth of field. In this case, a tripod may be helpful to avoid camera shake, especially at slower shutter speeds. We also recommend using a low ISO to minimize noise in the final image.
Macro photography presents its own unique set of challenges, often involving extreme close-ups of tiny subjects such as insects, plants, or inanimate objects. A well-defined focus is essential in these instances, so using manual focus or selective autofocus can greatly improve the final result. Additionally, because even slight camera shake can ruin a macro shot, we suggest using a tripod or other stabilization methods.
Finally, for capturing fast-moving subjects, such as during sports events or dynamic wildlife scenes, we need to prioritize shutter speed to freeze motion and avoid blurriness. Selecting a higher ISO can help us achieve faster shutter speeds without compromising exposure. Additionally, using burst mode or continuous shooting can increase our chances of getting a perfect shot, while tracking autofocus can help maintain focus on the subject as it moves through the frame.
In summary, understanding and selecting the right mode for different subjects is crucial to capturing the desired outcome. By familiarizing ourselves with aperture, shutter speed, ISO, and other camera settings, we can take control of our photography and create images that truly represent our vision.
Post-Shoot Editing and Final Touches
After capturing images using manual mode on our DSLR or mirrorless camera, it's essential to perform post-shoot editing to refine the final outcome. This process helps us perfect elements like white balance, color casts, and color rendition in our photographs.
We usually start by adjusting the white balance to remove any visible color casts that might be present in the image. Ensuring proper white balance settings helps achieve more accurate colors and natural-looking images. Our camera's DSLR or mirrorless system may have preset selections for white balance, but in manual mode, we can make these adjustments in post-processing.
To enhance the overall image quality, we focus on factors like contrast, brightness, saturation, and sharpness. We can use various editing tools to make these changes and improve the visual appeal of our photographs.
Editing our images can be executed quickly by using software that comes with the digital camera or third-party applications. It's important to remember that the editing process should always be done carefully and subtly to avoid altering the original intention of our photos.
Finally, the time spent on editing can range from a few seconds to several minutes, depending on the image's size and the level of corrections needed. With practice, we will find our editing workflow becoming more efficient, allowing us to create stunning photographs that truly showcase the benefits of shooting in manual mode with our DSLR or mirrorless camera.
Frequently Asked Questions
What are the key settings to adjust in manual mode?
In manual mode, there are three essential settings to adjust: shutter speed, aperture, and ISO. Shutter speed determines the length of time the camera's sensor is exposed to light, aperture affects the depth of field and the amount of light entering the camera, and ISO controls your camera's sensitivity to light.
How does manual mode improve photography skills?
Using manual mode encourages photographers to learn and understand how different camera settings affect the final image. This hands-on approach allows one to make creative decisions, leading to more artistic and professional-looking photos, as described by Shotkit.
What are the differences between manual and automatic mode?
In automatic mode, the camera determines the optimal settings for a given shooting environment, while in manual mode, the photographer has full control over settings like aperture, shutter speed, and ISO. Manual mode allows for more creative freedom and customization of settings, essential for specific styles and types of photography.
How can one master manual camera settings for various lighting conditions?
Mastering manual camera settings for different lighting conditions requires practice and experimentation. Begin by learning how each setting impacts the captured image and adjust them accordingly to achieve the desired results. Consistently working with manual mode will eventually lead to an intuitive understanding of how changes in settings will affect your photos, as recommended by PhotoWorkout.
Which cameras have the best manual mode features?
Many cameras on the market offer excellent manual mode features. While specific models and brands may vary, professional-level DSLRs and mirrorless cameras often provide the most comprehensive set of manual controls. When selecting a camera with manual mode, consider ease of use, the flexibility of settings, and available resources to learn the camera's functions.
Are there any recommended resources for learning manual mode?
Many resources can help you learn manual mode, including online tutorials, workshops, and courses. A popular choice is PRO EDU's range of advanced photography courses, covering different aspects of manual mode and various photography techniques for various skill levels.


