Lightroom Essentials: Streamlining Your Photo Editing for Efficient Workflow
The world of photography has changed significantly over the years, and one of the most essential tools in any photographer's toolbox today is Adobe Photoshop Lightroom. It provides a comprehensive range of photo editing tools, making it easier for both professionals and beginners to bring their creative vision to life. With features like streamlined photo management, advanced editing capabilities, and efficient workflows, Lightroom has become an indispensable part of any photographer's workflow.
Understanding the essentials of Lightroom can make a huge difference in the quality and efficiency of your photo editing. From the moment you import your images into Lightroom, it helps you stay organized, save time, and produce stunning results. So whether you're new to the world of photo editing or just looking to improve your skills, Lightroom is the perfect platform for you.
Key Takeaways
- Adobe Lightroom streamlines photo editing for professionals and beginners alike
- Mastering the Lightroom interface enhances organization and efficiency
- Familiarity with Lightroom workflow leads to better overall results from import to export
Understanding Lightroom Interface
Adobe Lightroom offers a user-friendly interface that makes navigating and editing photos more efficient for photographers of all skill levels [^1^]. The interface is organized into various panels and views, which can be accessed both on desktop and online versions of Lightroom [^2^].
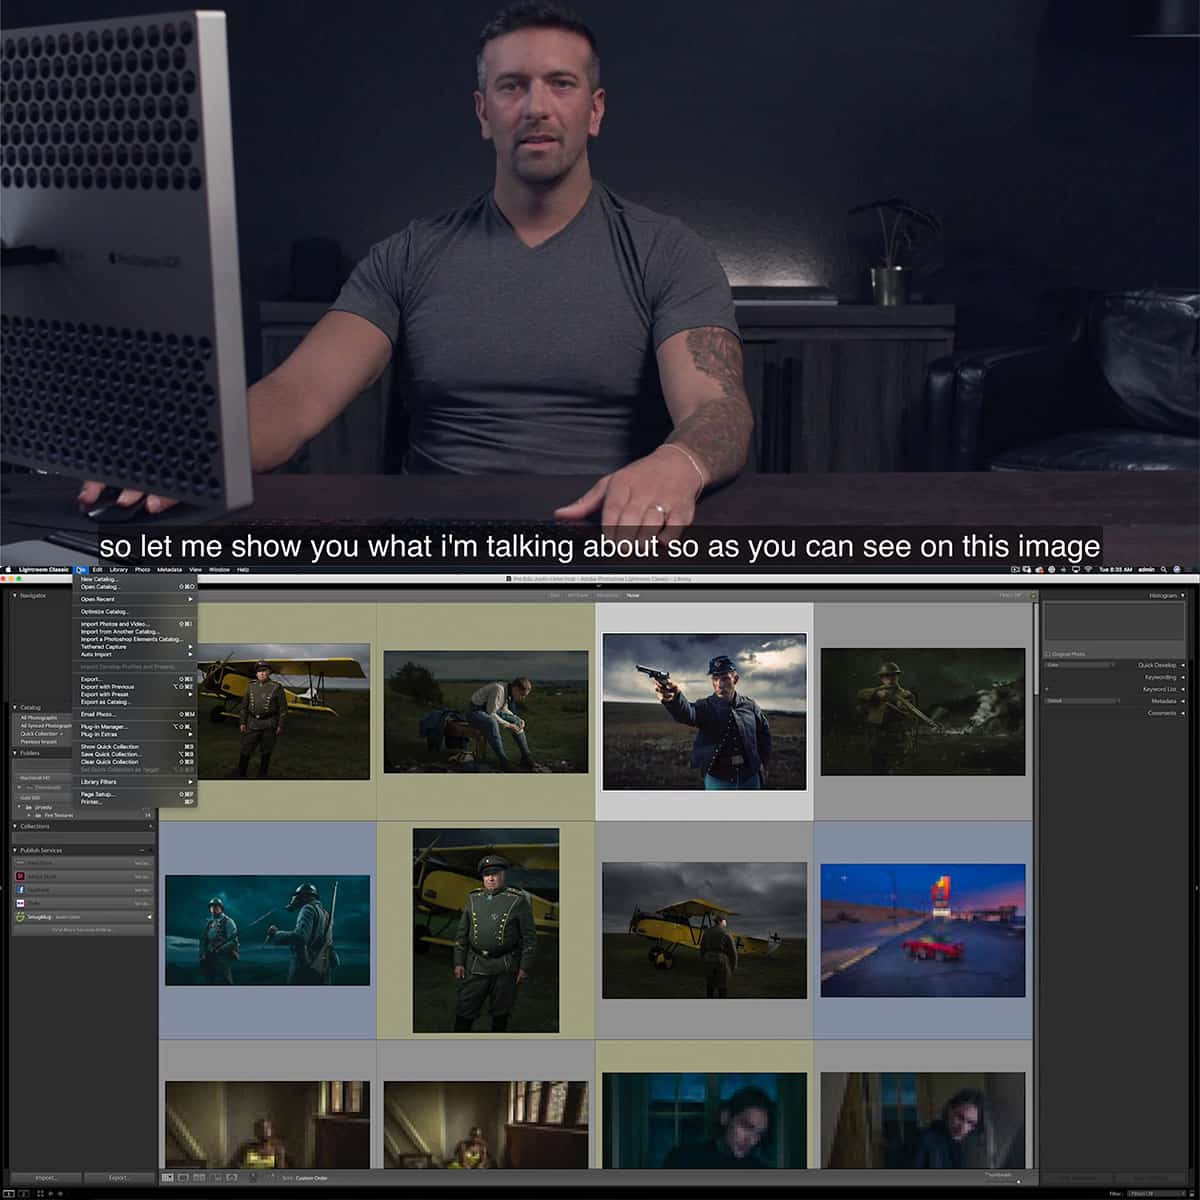
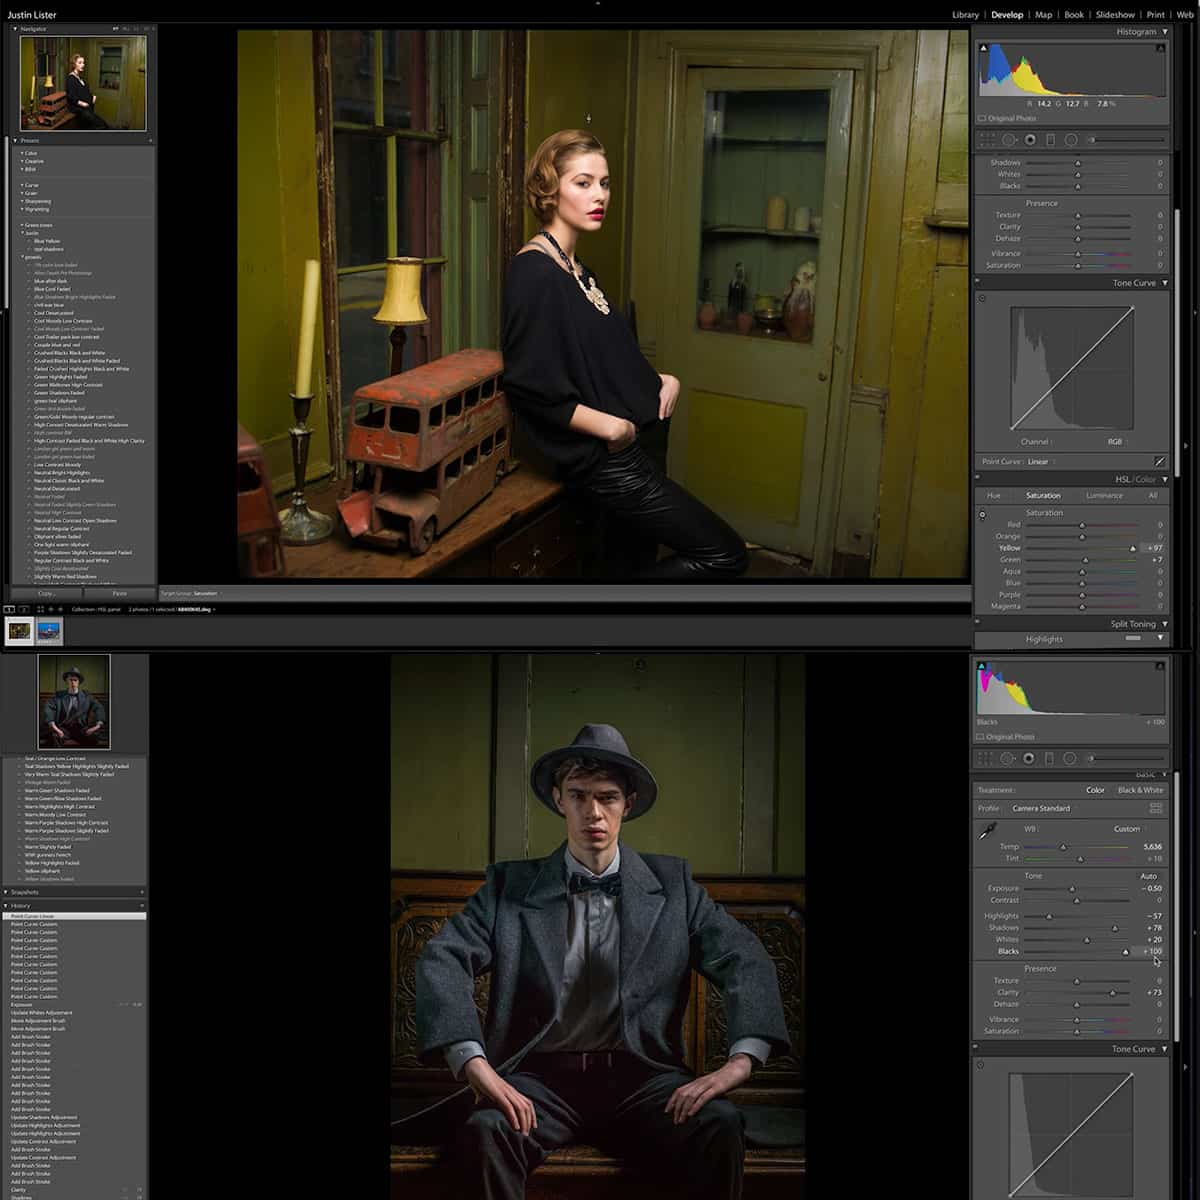
In Lightroom, we can find panels on the sides of the workspace, which provide different tools and options for managing and editing our images [^3^]. Some key panels include the Library, Develop, and Export panels, which allow us to organize our images, apply editing adjustments, and export our final work respectively.
The main views in Lightroom include Grid, Loupe, and Compare views, each designed to help us review and select our images efficiently [^4^]. In Grid View, we can evaluate and sort multiple images at once, whereas the Loupe View allows us to closely inspect a single image. When we want to compare two or more images side by side, the Compare View comes in handy.
Whether we're using the desktop or online version of Lightroom [^5^], the interface remains largely similar, offering us a consistent experience while we edit and organize our photographs. By understanding the Lightroom interface and its various components, we can effectively streamline our photo editing process.
Importance of Catalog and Library
The Lightroom Catalog is vital to the software, as it serves as a database to store, organize, and manage all your photos and their edits. It allows us to easily locate and modify any image in our library, regardless of its size. On the other hand, the Library Module is the main module for importing, organizing, filtering, and viewing our photos.
Utilizing keywords and collections simplifies the process of finding and grouping images. Keywords are tags we can add to our photos to describe their content, while collections are sets of photos grouped according to our preferences. These organization techniques can significantly improve our workflow.
When editing photos in Lightroom, we handle both RAW files and JPEG files. RAW files offer greater control during the editing process due to their high quality and uncompressed nature, while JPEGs are compressed, taking up less storage space and making for easier sharing.
In summary, understanding and utilizing catalogs and the library module in Lightroom allows us to streamline our photo editing process. By effectively organizing our images using keywords and collections, along with recognizing the differences between RAW files and JPEGs, we can significantly enhance our editing experience.
Basics of Editing with Lightroom
Adobe Lightroom offers a comprehensive range of tools for streamlining your photo editing workflow. In this section, we'll provide an overview of the basic edits, the Develop module, and the essential editing tools.
To begin, you'll want to understand basic edits in Lightroom. We'll cover the fundamental adjustments such as brightness and contrast to enhance the overall appearance of your photos. Using sliders and other controls, it's easy to modify the exposure, highlights, and shadows in your images.
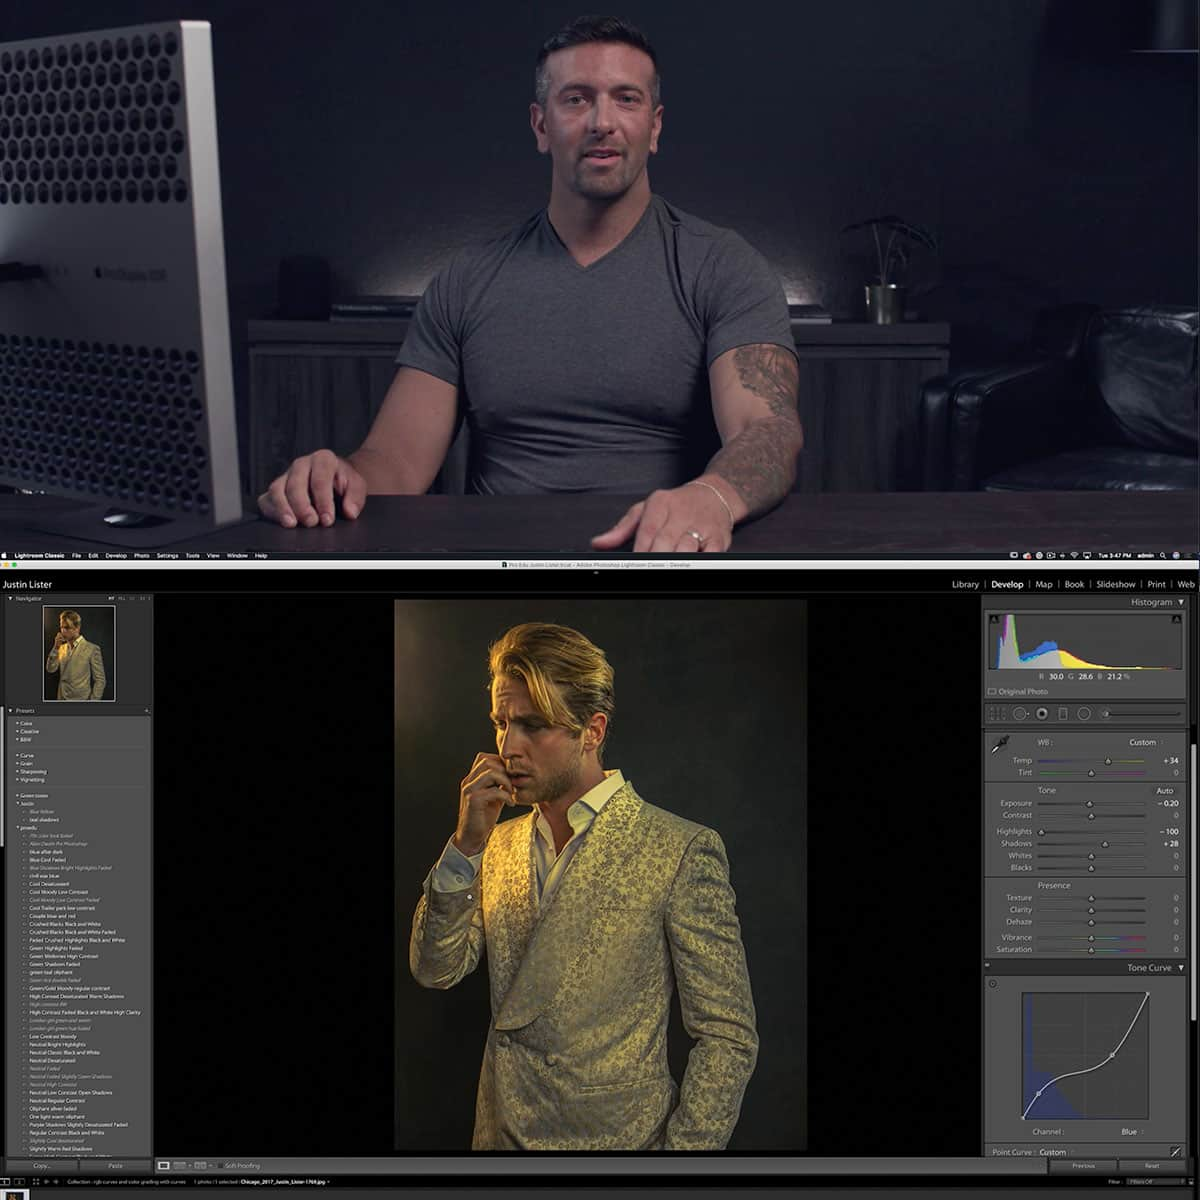
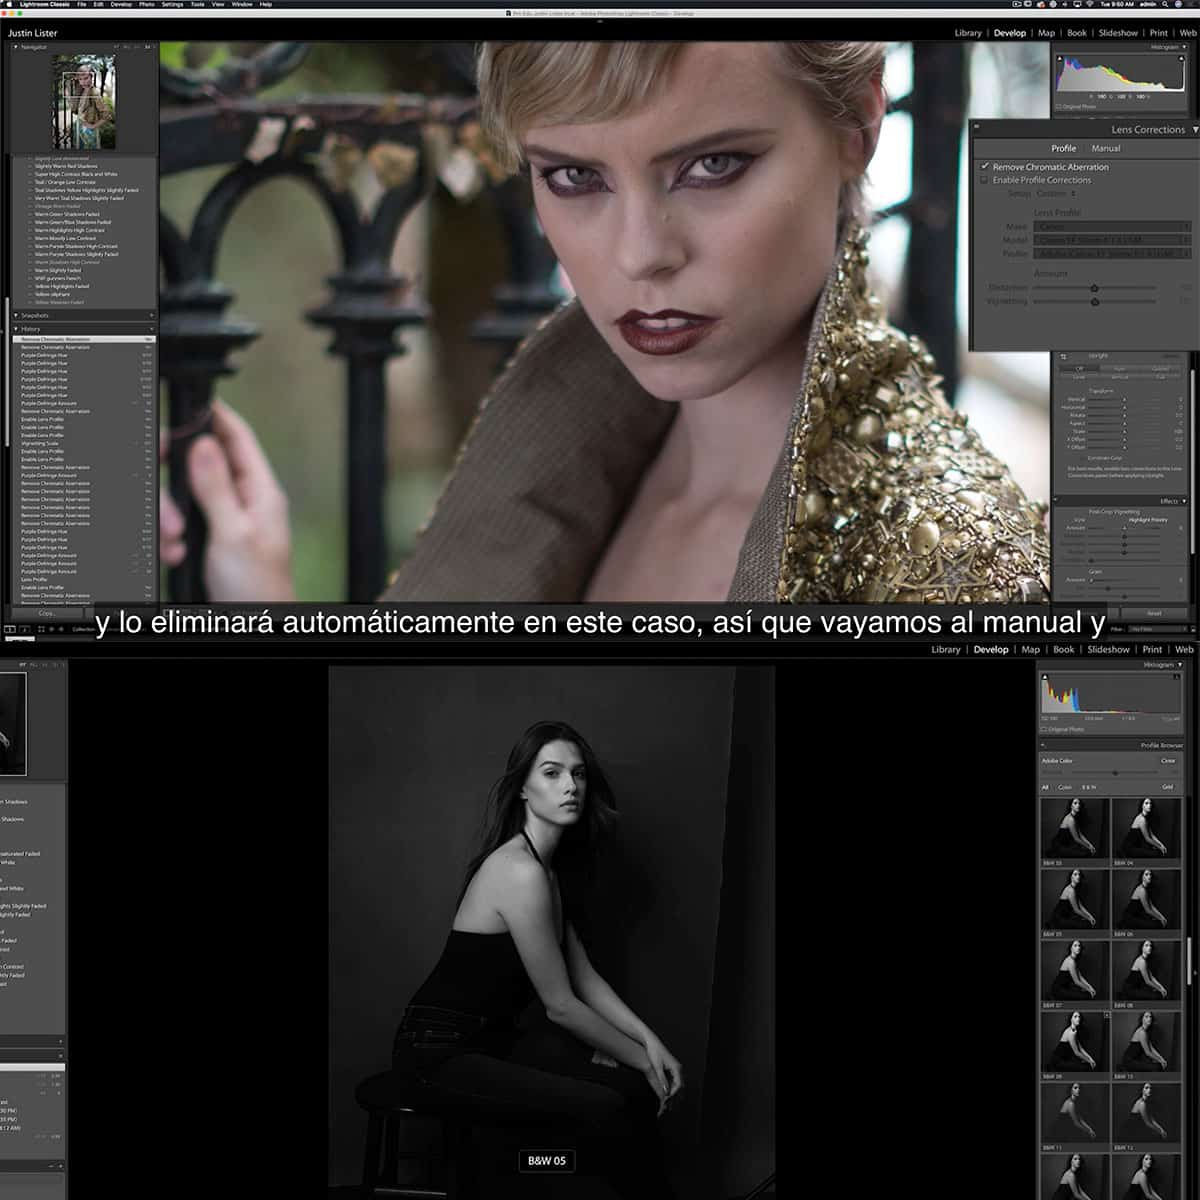
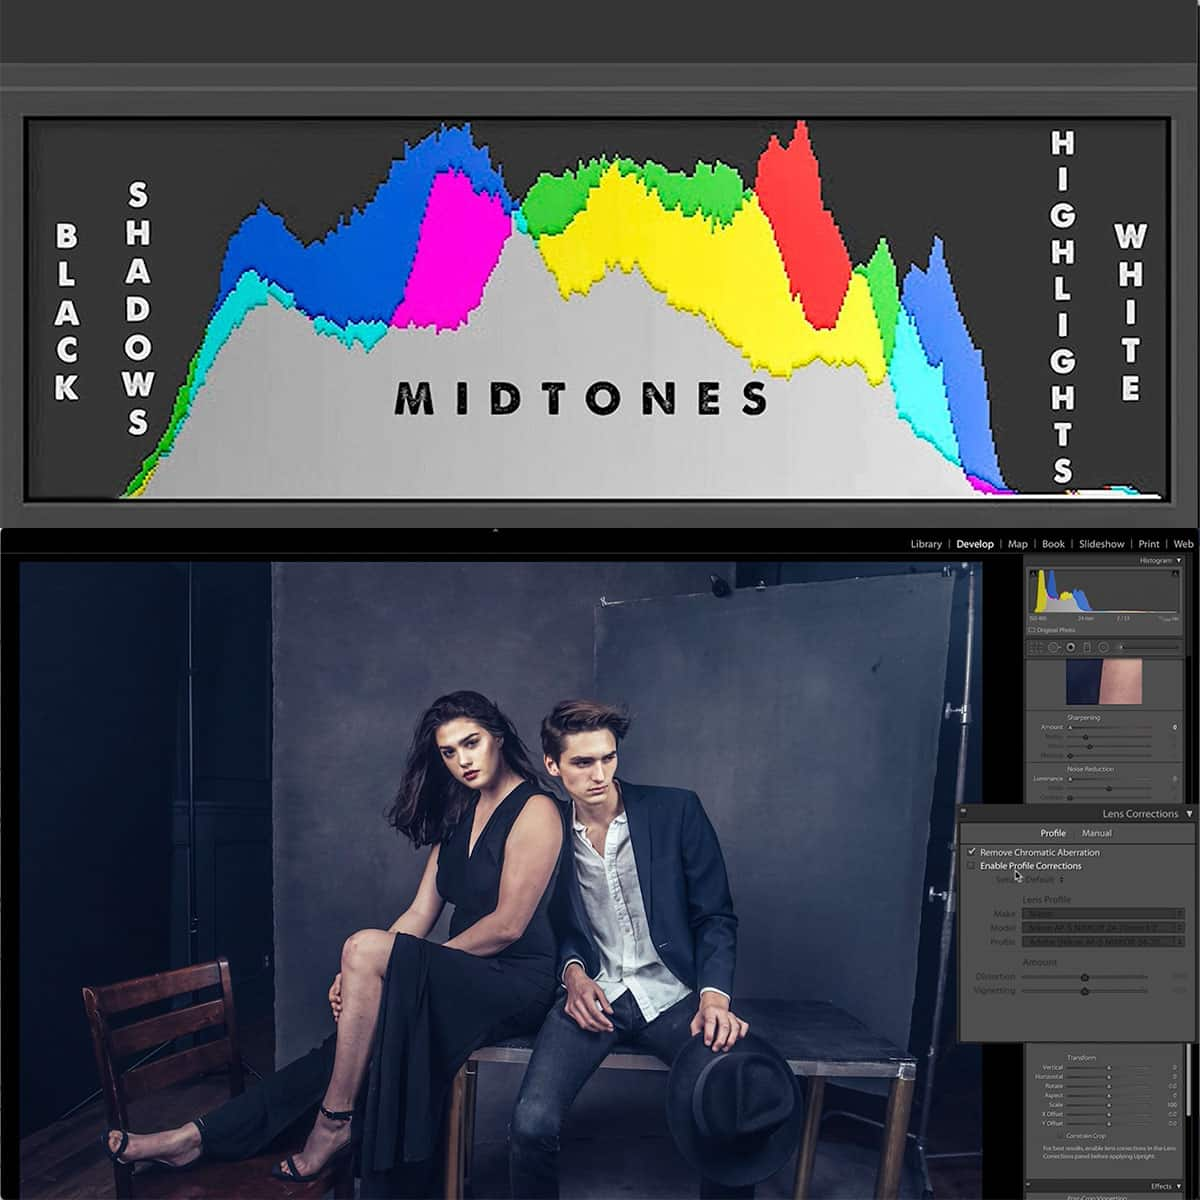
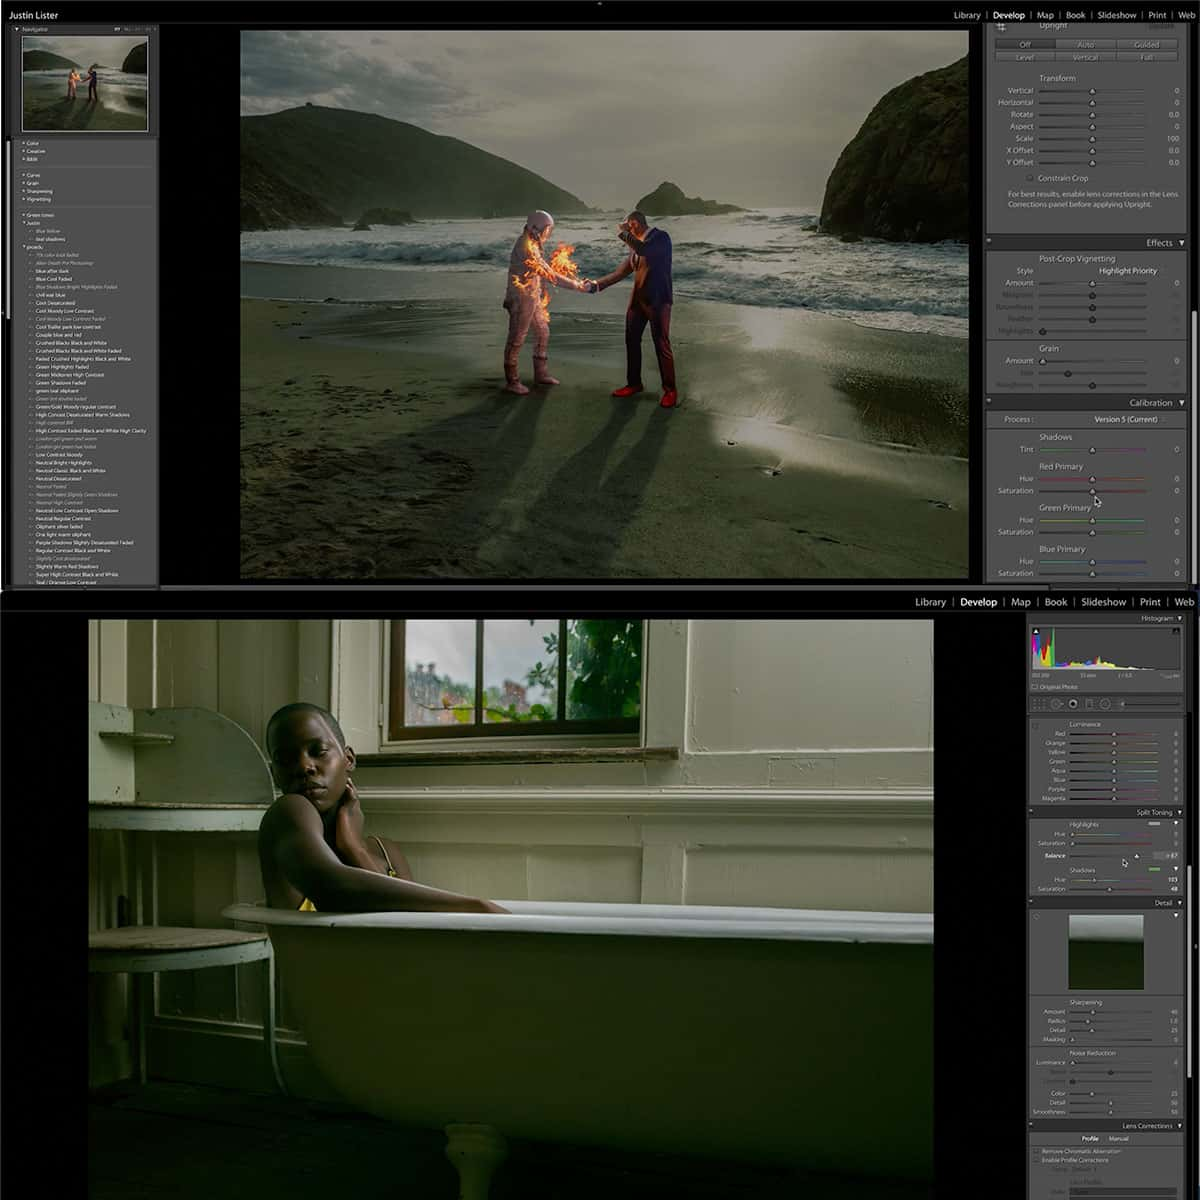
The heart of Lightroom's editing capabilities lies in the Develop module. This powerful area allows us to fine-tune our images using various panels, such as the Histogram, Tone Curve, and HSL/Color panel. We can explore these panels to adjust colors, correct lens distortion, and apply post-crop vignetting for a polished look.
Next, we'll introduce some essential editing tools that can help us refine our photos further. Tools such as the Crop and Straighten tool allow us to reframe our compositions, while the Spot Removal tool helps eliminate unwanted distractions like sensor dust or blemishes.
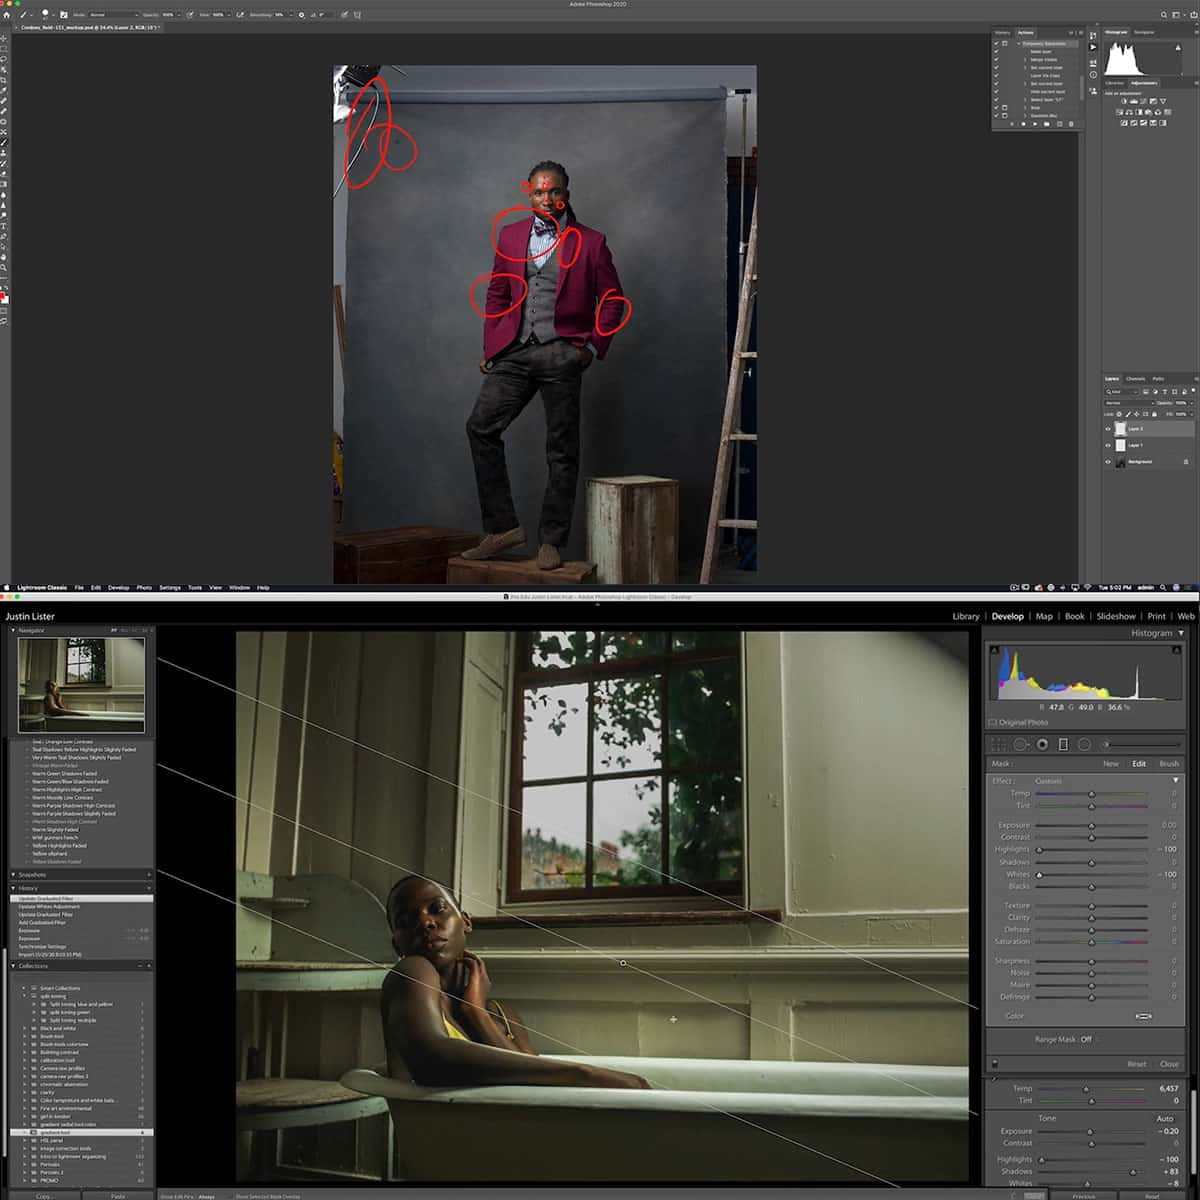
Finally, Lightroom provides us with powerful options to target specific areas of our images for more precise editing. The Adjustment Brush and Graduated Filter are excellent for making localized adjustments to parts of the photo without affecting the rest of the image. These essential tools enable us to polish our images to professional standards.
By understanding and utilizing these fundamentals, we can significantly streamline our photo editing process and achieve stunning results with Lightroom.
Advanced Features and Tools
https://www.youtube.com/watch?v=RTP586KIAxk&embed=true
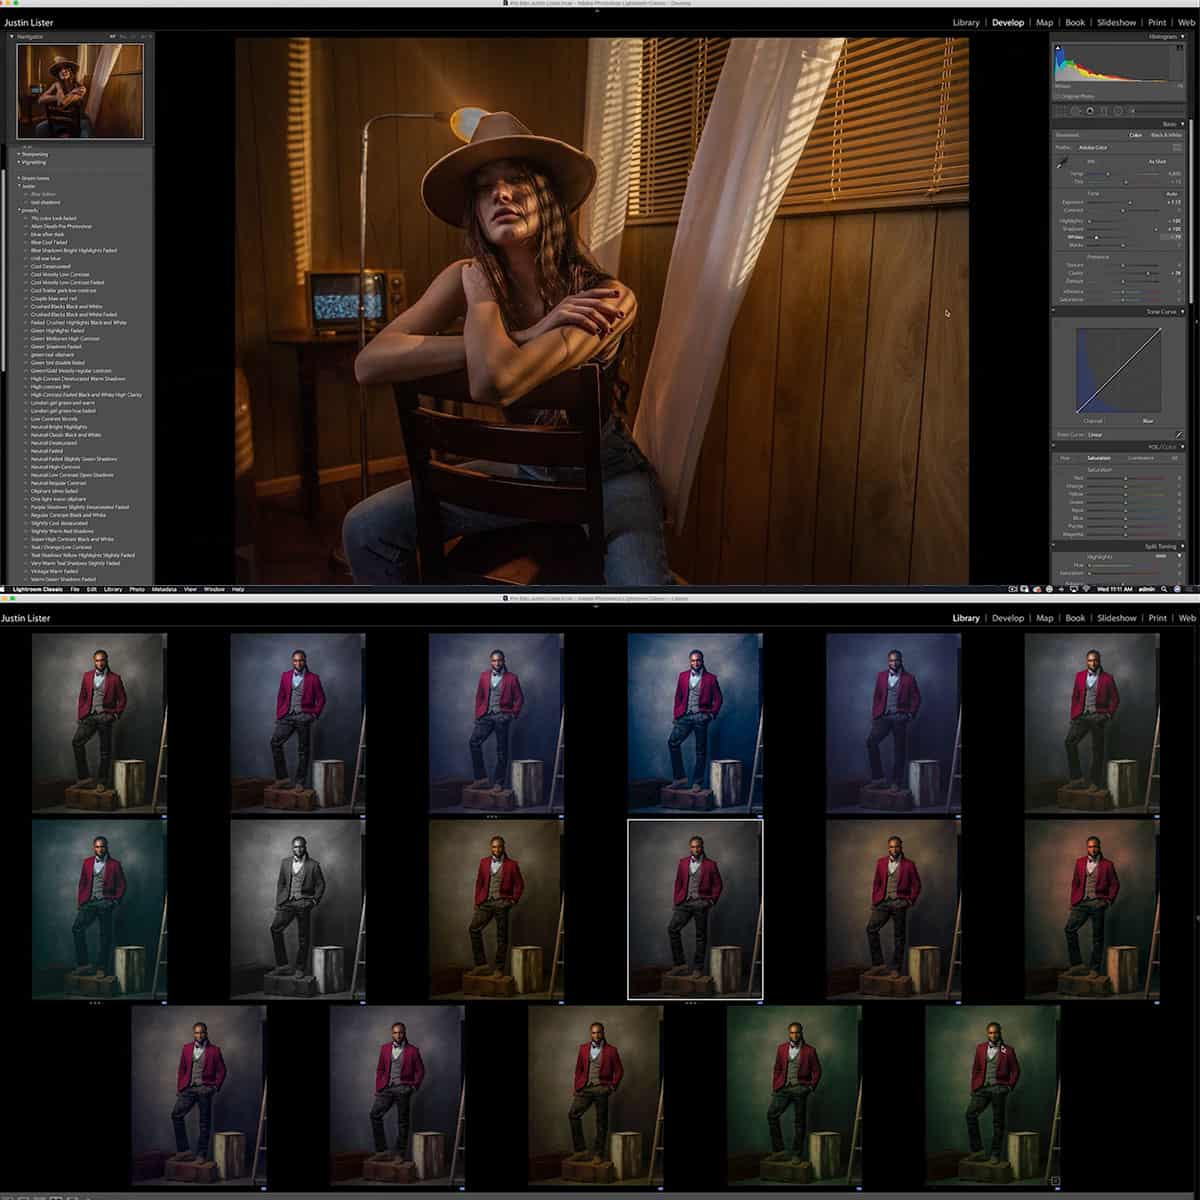
One of the most useful features in Lightroom is the ability to apply presets to our images. Presets, also known as Lightroom presets or develop presets, are predefined settings that can be applied to a photo with just one click. This can save us time and ensure consistency in our photo editing workflow.
In addition to presets, Lightroom offers a variety of filters to help us enhance our photos. For example, the Dehaze tool is a powerful feature that can help us emphasize or reduce atmospheric haze in our images. This tool can be particularly helpful when editing landscapes or outdoor portraits.
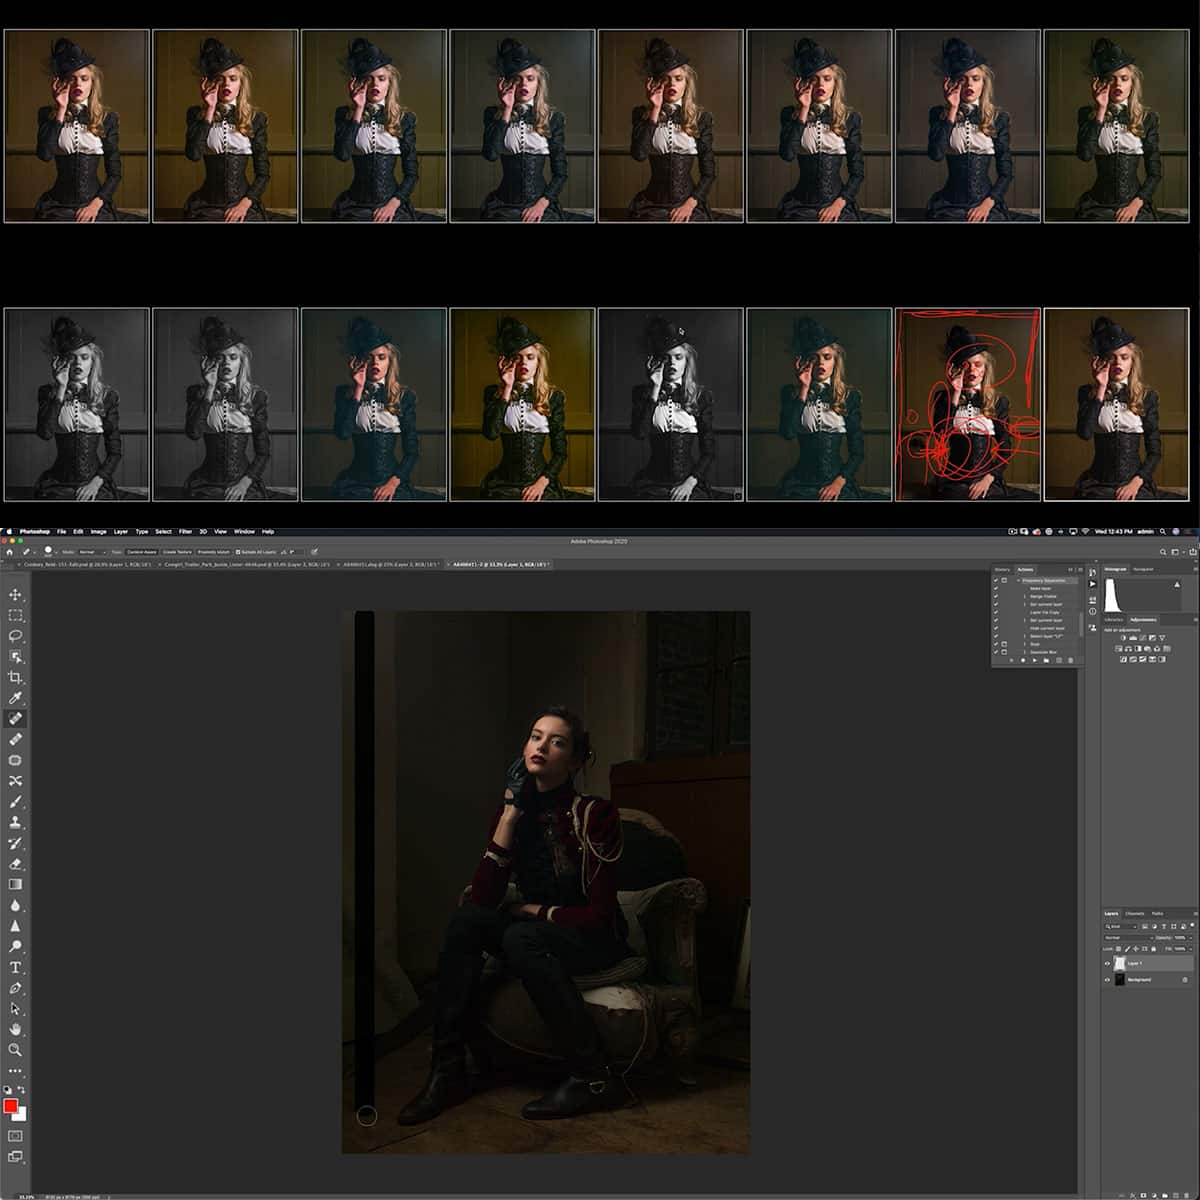
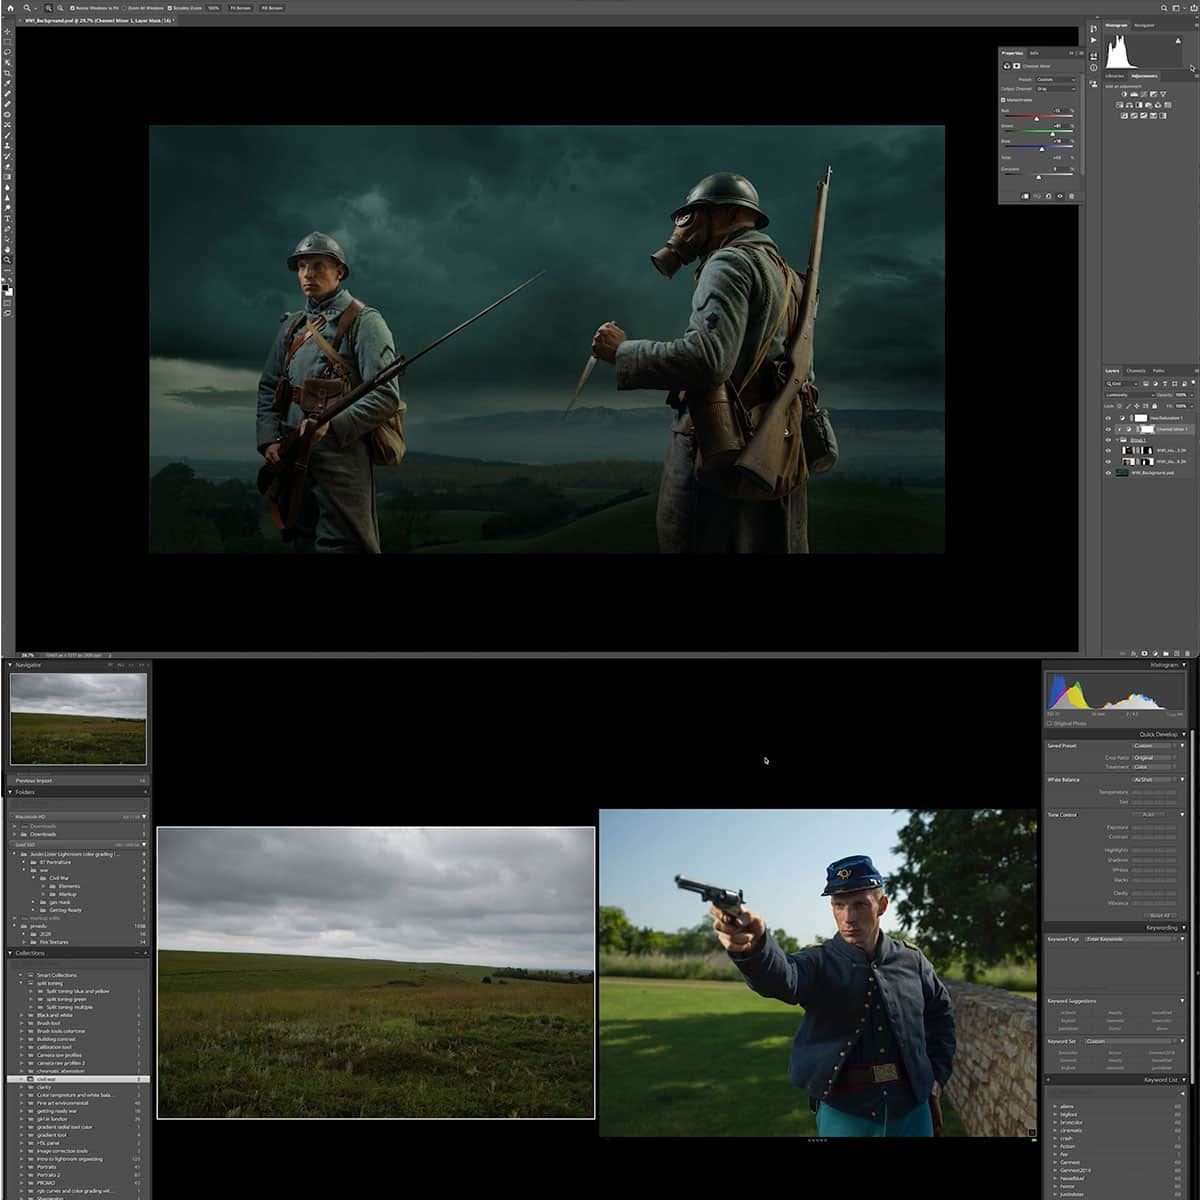
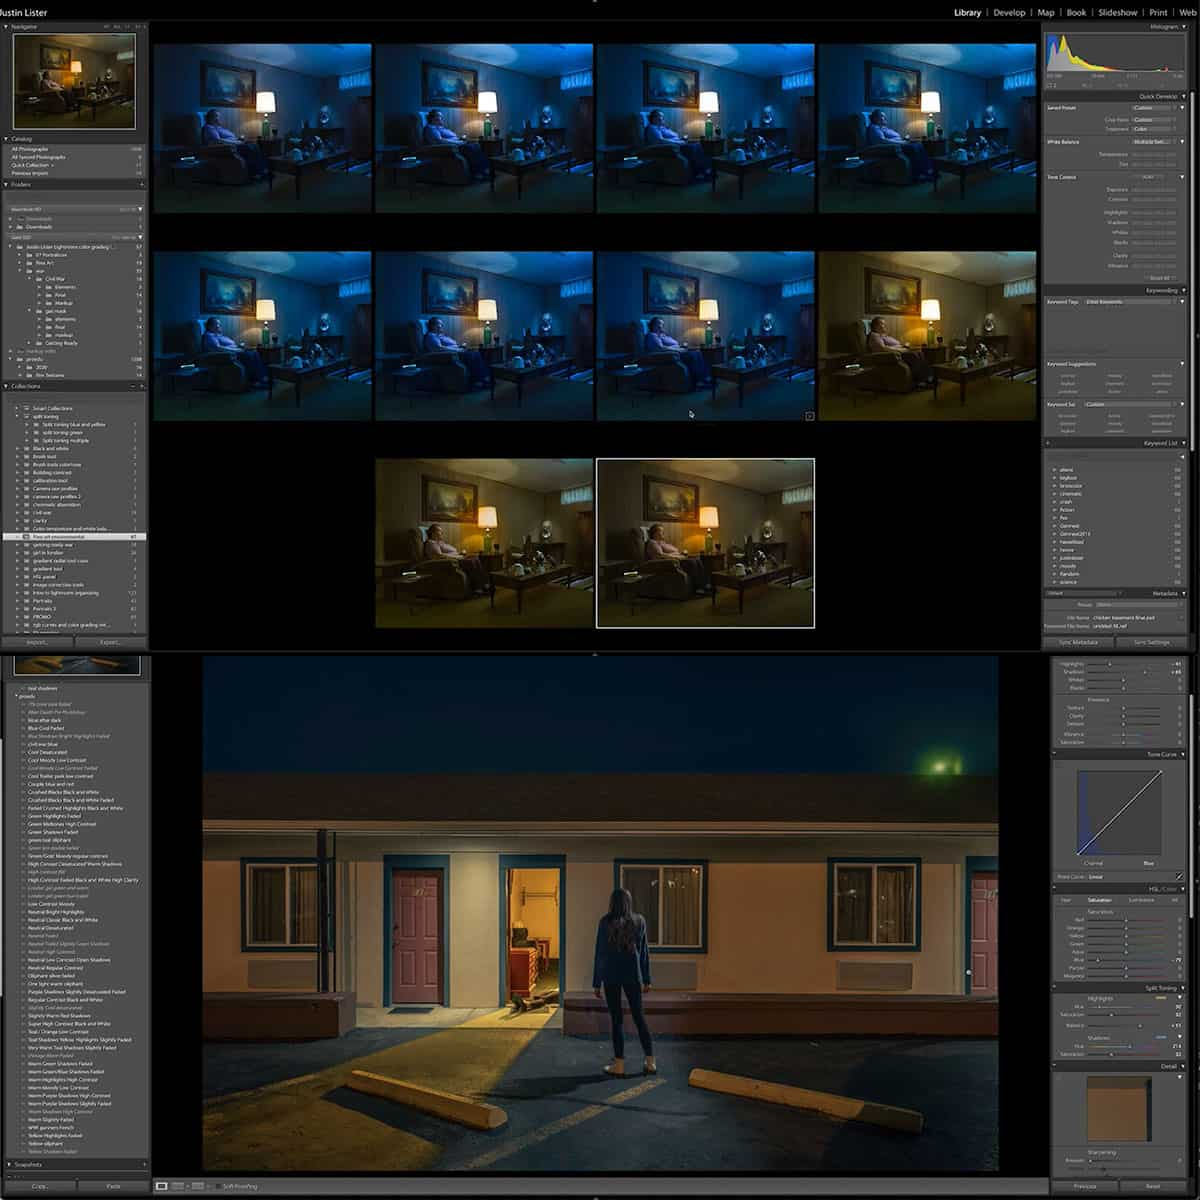
Another advanced feature in Lightroom is the Color Grading tool. This powerful function allows us to make precise adjustments to the colors and tones in our photos, helping us achieve the desired mood or style. By using the Color Grading tool, we can creatively enhance and transform our images.
In conclusion, by exploring and utilizing these advanced features and tools in Lightroom, such as presets, filters, and the Color Grading tool, we can streamline our photo editing workflow and produce stunning images.
Lightroom Workflow: From Import to Export
Let's start with importing your photos. We recommend keeping subfolders within one master directory (or a small number of directories) on your computer's hard drive when importing files into Lightroom source. This keeps your photos organized and easy to find in the future.
Once the photos are imported, selecting the best images is a crucial step in our Lightroom workflow. We suggest using ratings and flags to help filter through your photos source. Flags can be helpful when quickly selecting only the flagged images and disregarding all non-rated images source.
Now, let's move on to the editing process. By mastering this process, we save time and ensure consistent results for our photos source. Consider using presets and the right panel of Lightroom, where all the editing tools are housed, for speeding up the process source.
Once editing is complete, exporting becomes the final step in our workflow. Lightroom provides different export options for various purposes, such as print, web, and social media. Adjust your export settings depending on the intended use to get the best results source.
Following these steps within our Lightroom workflow will help streamline your photo editing process, allowing for efficient and high-quality results across multiple platforms.
Lightroom for Professionals and Beginners
Adobe Lightroom is a valuable tool for both professional photographers and beginners. Its user-friendly interface makes it accessible to those new to photo editing while still offering advanced features that cater to experienced users. One of the main strengths of Lightroom is its mobile compatibility, allowing you to manage and edit your photos on-the-go, from any device.
In Lightroom, you can find a range of options to fine-tune details and punch up the texture of your images. Each feature is designed to help elevate your photography to a professional level. You can easily enhance texture and details in your photos by adjusting various parameters such as contrast, sharpening, and noise reduction.
To help beginners get started, Lightroom offers a collection of presets that can instantly transform an image with just a single click. These presets help streamline the editing process, providing a solid starting point for further customization. Additionally, Lightroom offers numerous tutorials which help photographers of all skill levels master this powerful editing software.
Finally, it's worth mentioning that Lightroom excels in its ability to help you manage and organize your photo library. With intuitive organization tools like collections, keywords, and ratings, you can keep your photos organized and accessible, making it easy to locate and work with specific images when needed.
Frequently Asked Questions
What are the key features of Lightroom for efficient photo editing?
Lightroom offers an array of features that streamline your editing process. Some key features include non-destructive editing, presets, selective adjustments, and advanced color grading tools. These tools allow us to edit photos quickly and effectively without permanently altering the original files.
How can I speed up my workflow in Lightroom?
There are several ways to speed up your Lightroom workflow. First, make use of keyboard shortcuts to navigate and perform common actions. Second, create your own presets or import existing ones for quicker image adjustments. Third, make use of the Loupe View and arrow keys to swiftly sift through your images and select the ones you want to edit.
What are the best presets and plugins for Lightroom?
The best presets and plugins for Lightroom depend on your editing style and preferences. Some popular presets include landscape, portrait, and cinematic styles. You can also explore a variety of plugins for different purposes such as noise reduction, HDR merging, and advanced retouching. To find the best options for you, research and try out various presets and plugins to enhance your editing process.
How do I organize and manage photos in Lightroom?
Organizing and managing photos in Lightroom is essential for an efficient workflow. Start by importing your images into organized folders and collections within the program. Use keywords, ratings, flags, and color labels to categorize and filter your images. This organization system will make it easier for you to locate and edit your photos as needed.
How can I master color grading in Lightroom?
Mastering color grading in Lightroom takes practice, but the program offers powerful tools to help you achieve your desired effects. Begin by adjusting the white balance, contrast, and exposure to create a strong foundation. Then, use the HSL (hue, saturation, and luminance) panel to fine-tune individual colors. Finally, experiment with split toning and the Color Grading panel to add creative color styling to your images.
What are some essential Lightroom shortcuts to save time?
Utilizing Lightroom shortcuts can significantly speed up your workflow. Some essential shortcuts include G to switch to Grid view, E for Loupe view, and D to enter the Develop module. Quickly adjust settings with shortcuts such as +/- to change exposure, I to view image information, and Q to remove spots. Familiarize yourself with these and other shortcuts to enhance your editing efficiency.


